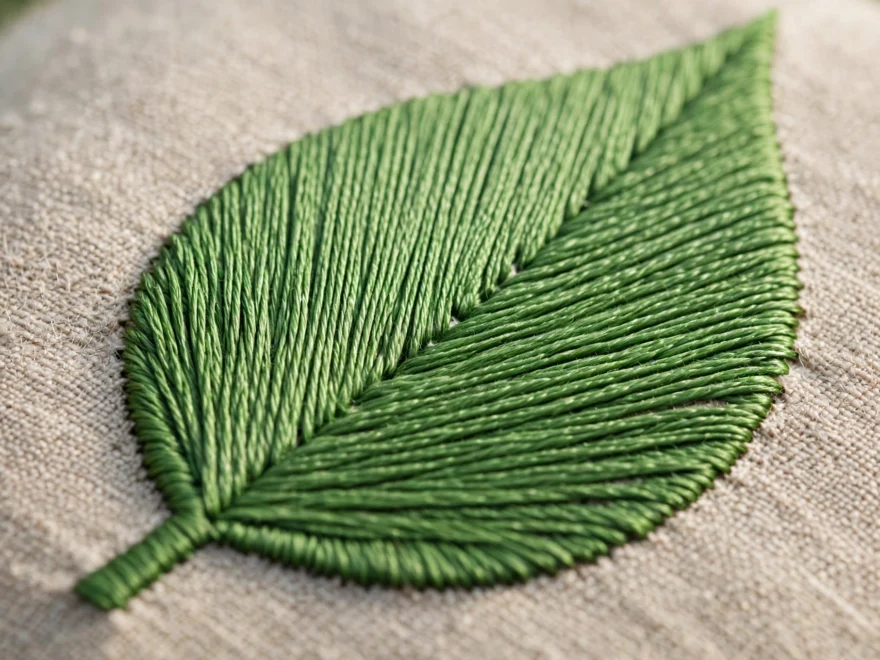
My first satin-stitched leaf looked like corduroy. Ridges, valleys, and three bald gaps where the linen showed through like a bad toupee. I had done everything the diagram showed, or so I thought, until I realized the diagram showed a two-inch petal and I was attempting a five-inch leaf with stitches long enough to bridge a river. Satin stitch filling without gaps is not about talent. It is about four rules, and the fourth one is the one nobody mentions.
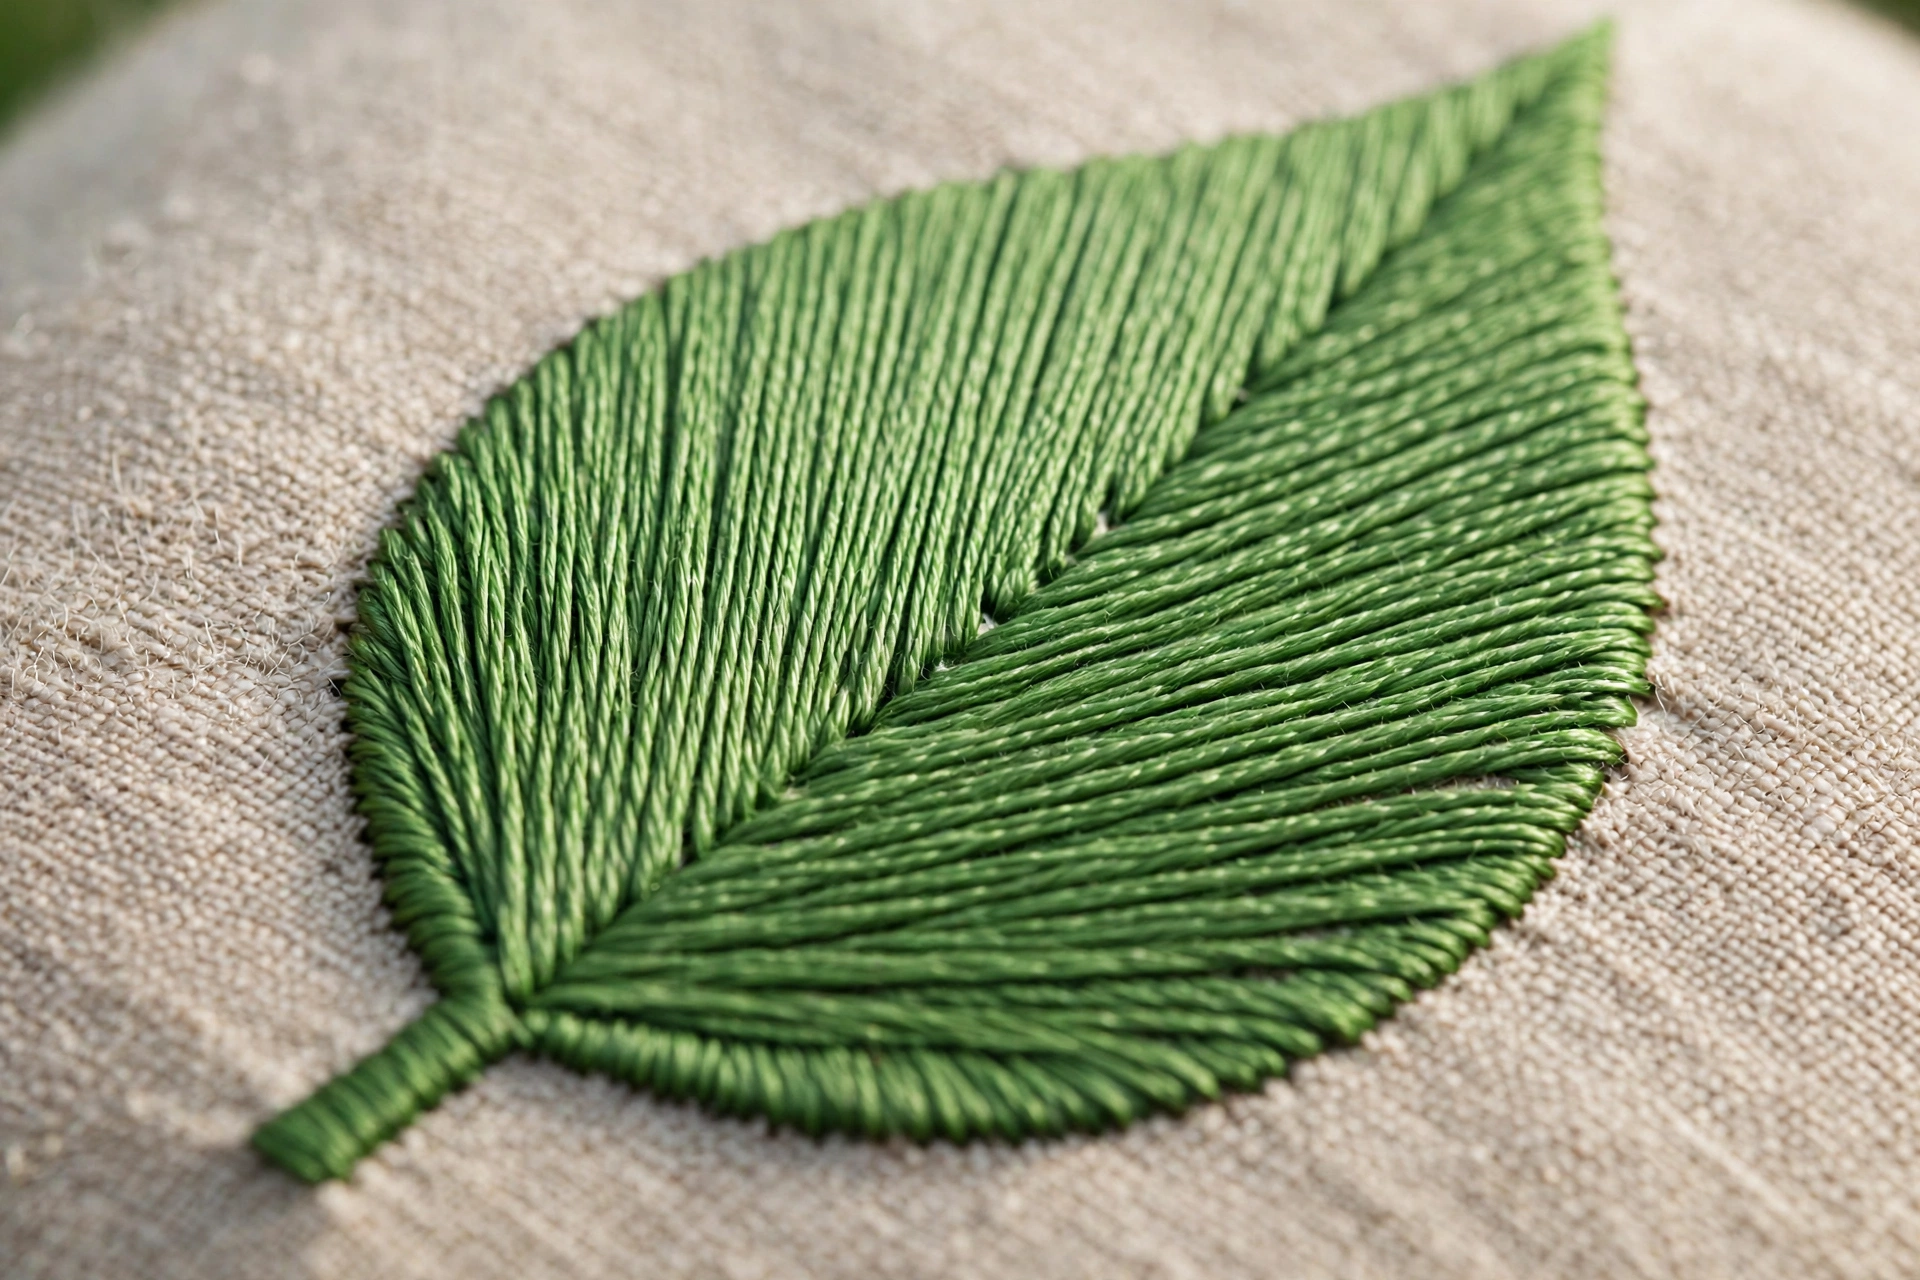
Why satin stitch gets gaps
Gaps happen for exactly three reasons. The stitches are too far apart, so fabric peeks between them. The stitches are too long, so they sink and shift instead of lying flat. Or the edges are ragged, because each stitch lands in a slightly different spot along the outline. Every fix below addresses one of these three, which means if you can diagnose your gap, you already know the cure.
There is also a fourth cause, the unmentioned one: impatience. Satin stitch is slow. A one-inch petal takes me about fifteen minutes of careful work. Beginners try to do it in five, the stitches get sloppy, and the gaps arrive. Budget the time and half the problem disappears.
Satin stitch filling, step by step
Work with 2 strands of floss on a shape no bigger than about an inch and a half across. Bigger shapes need a different approach, covered below. Hoop your fabric drum-tight first. Satin stitch on slack fabric puckers no matter how perfect your technique, and my guide to keeping fabric tight covers the seating method that actually holds.
Step 1. Outline the shape. Work a row of split stitch or backstitch just inside the outline of your shape. This gives your satin stitches a raised edge to butt against, which is the difference between a crisp border and a fuzzy one. I use split stitch in the same color. It takes five minutes and improves the result more than any other single step. 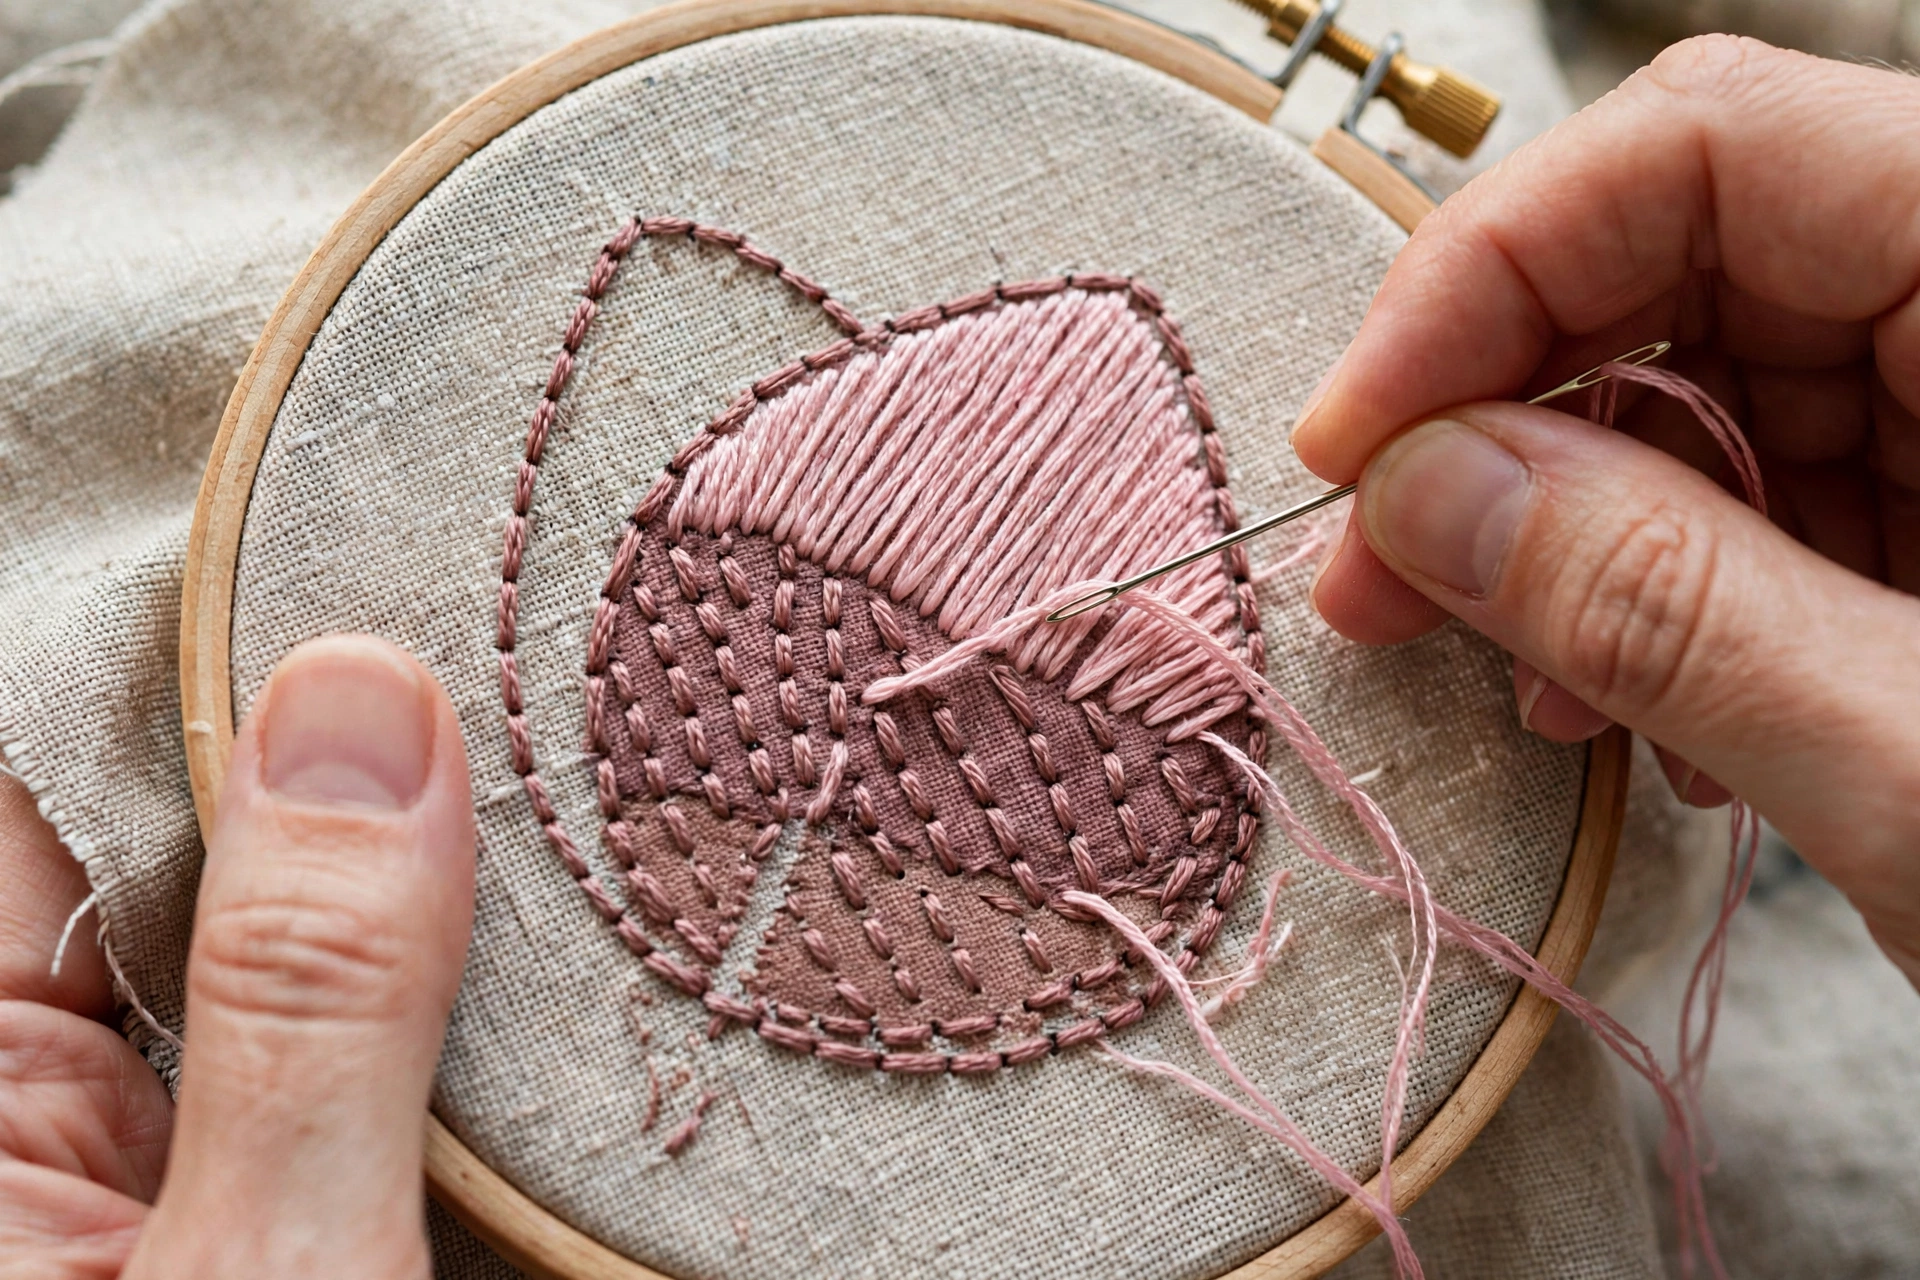
Step 2. Add padding if you want dimension. For a raised, plush fill, lay a foundation of split stitches or chain stitches inside the shape first, running perpendicular to the direction your satin will go. This padding lifts the satin layer and, crucially, fills the microscopic valleys between stitches. Flat satin without padding is fine for small shapes. Padded satin is what makes petals look touchable.
Step 3. Stitch edge to edge at one consistent angle. Bring the needle up just outside the outline on one side and down just outside the outline on the other side, laying each stitch directly against the previous one with no daylight between them. Every stitch follows the same angle. On a leaf, that usually means stitching at a slant from the center vein outward, like a herringbone pressed flat. 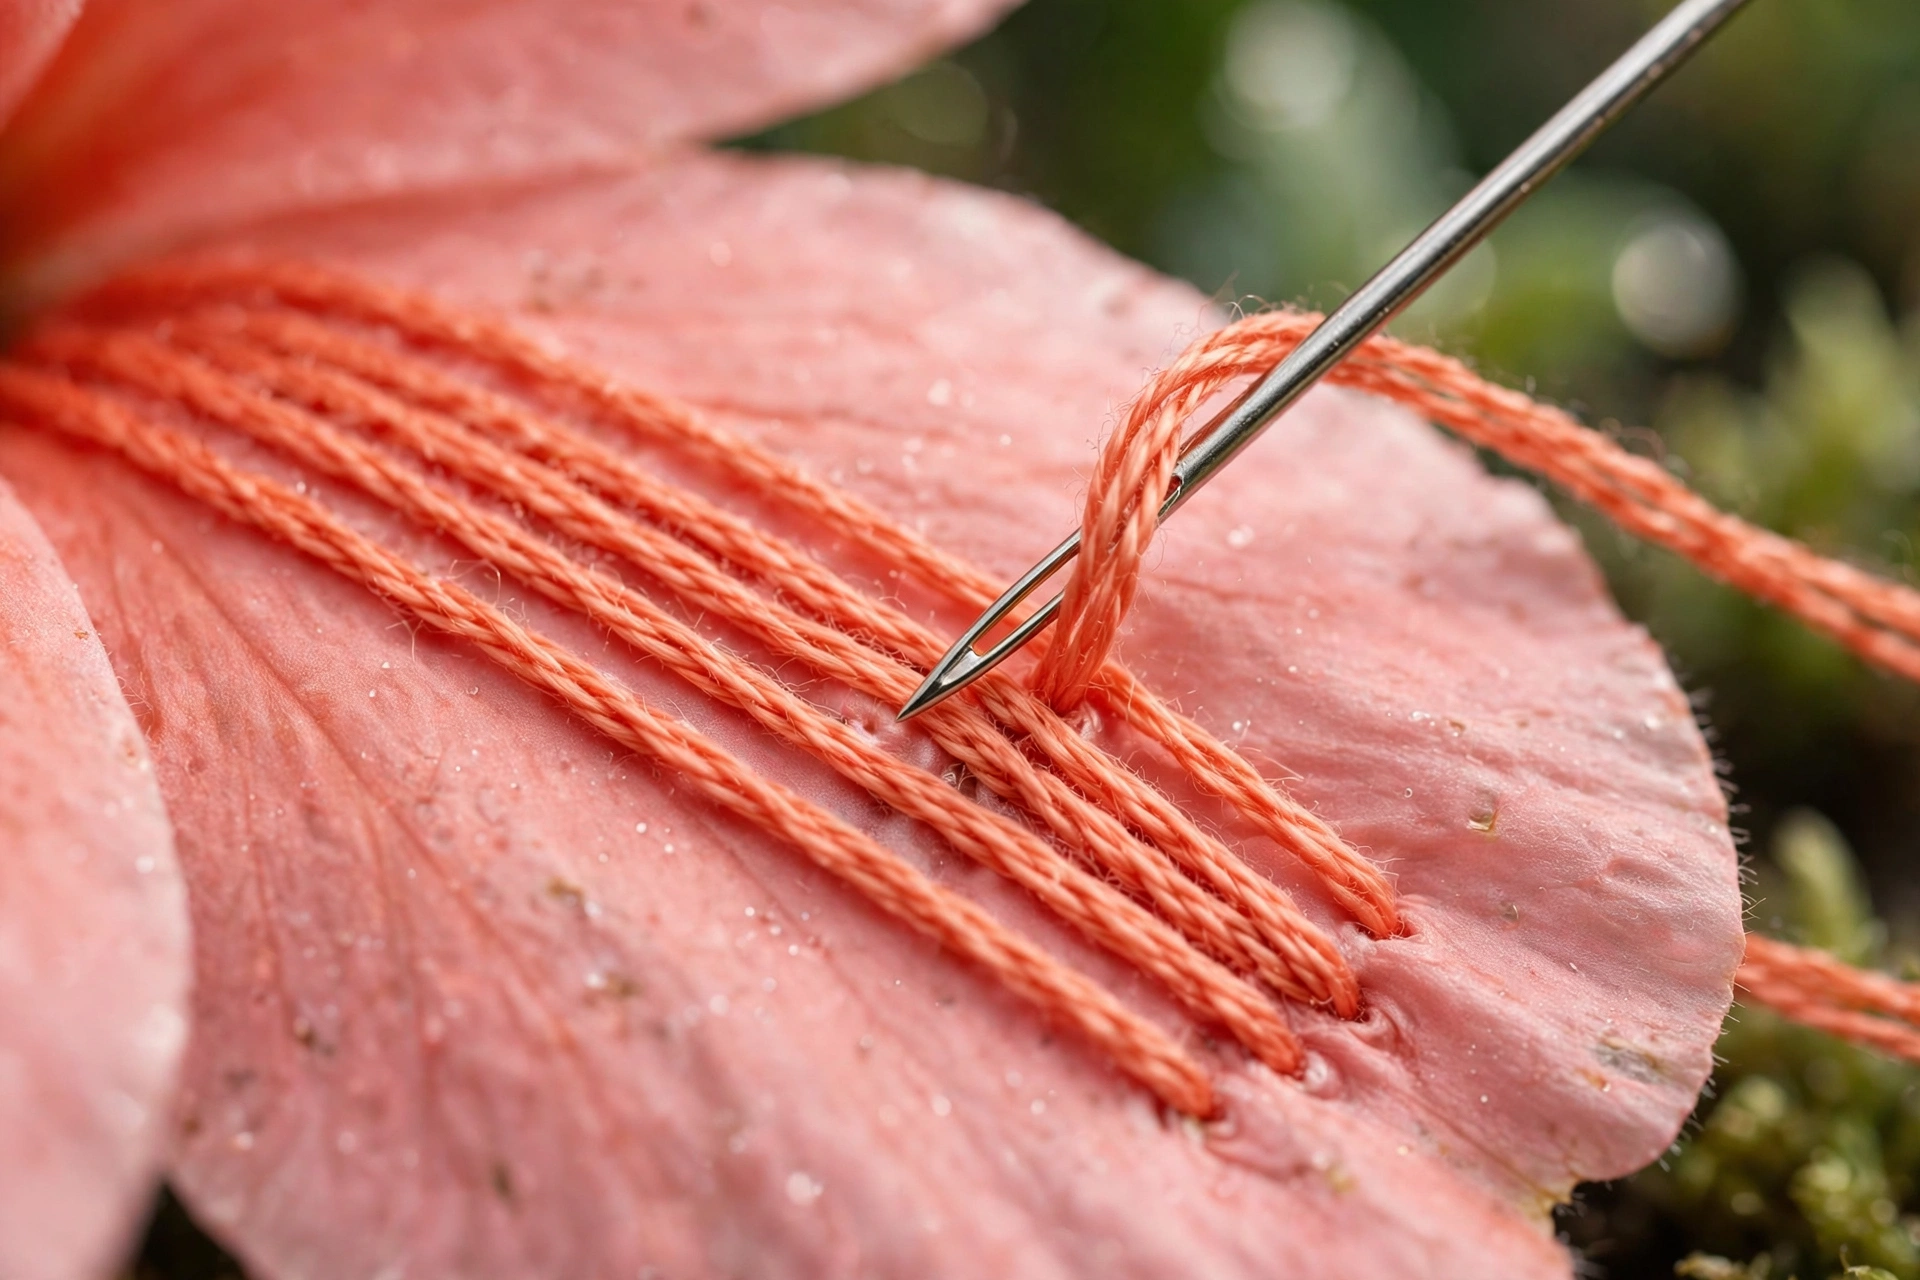
Step 4. Keep going until the shape is full. Do not leave it “almost done” to admire. The last few stitches are where gaps hide, because you are tired and rushing. Finish the shape, then look at it from arm’s length. If you see fabric, add a stitch. The fabric should be invisible under the thread.
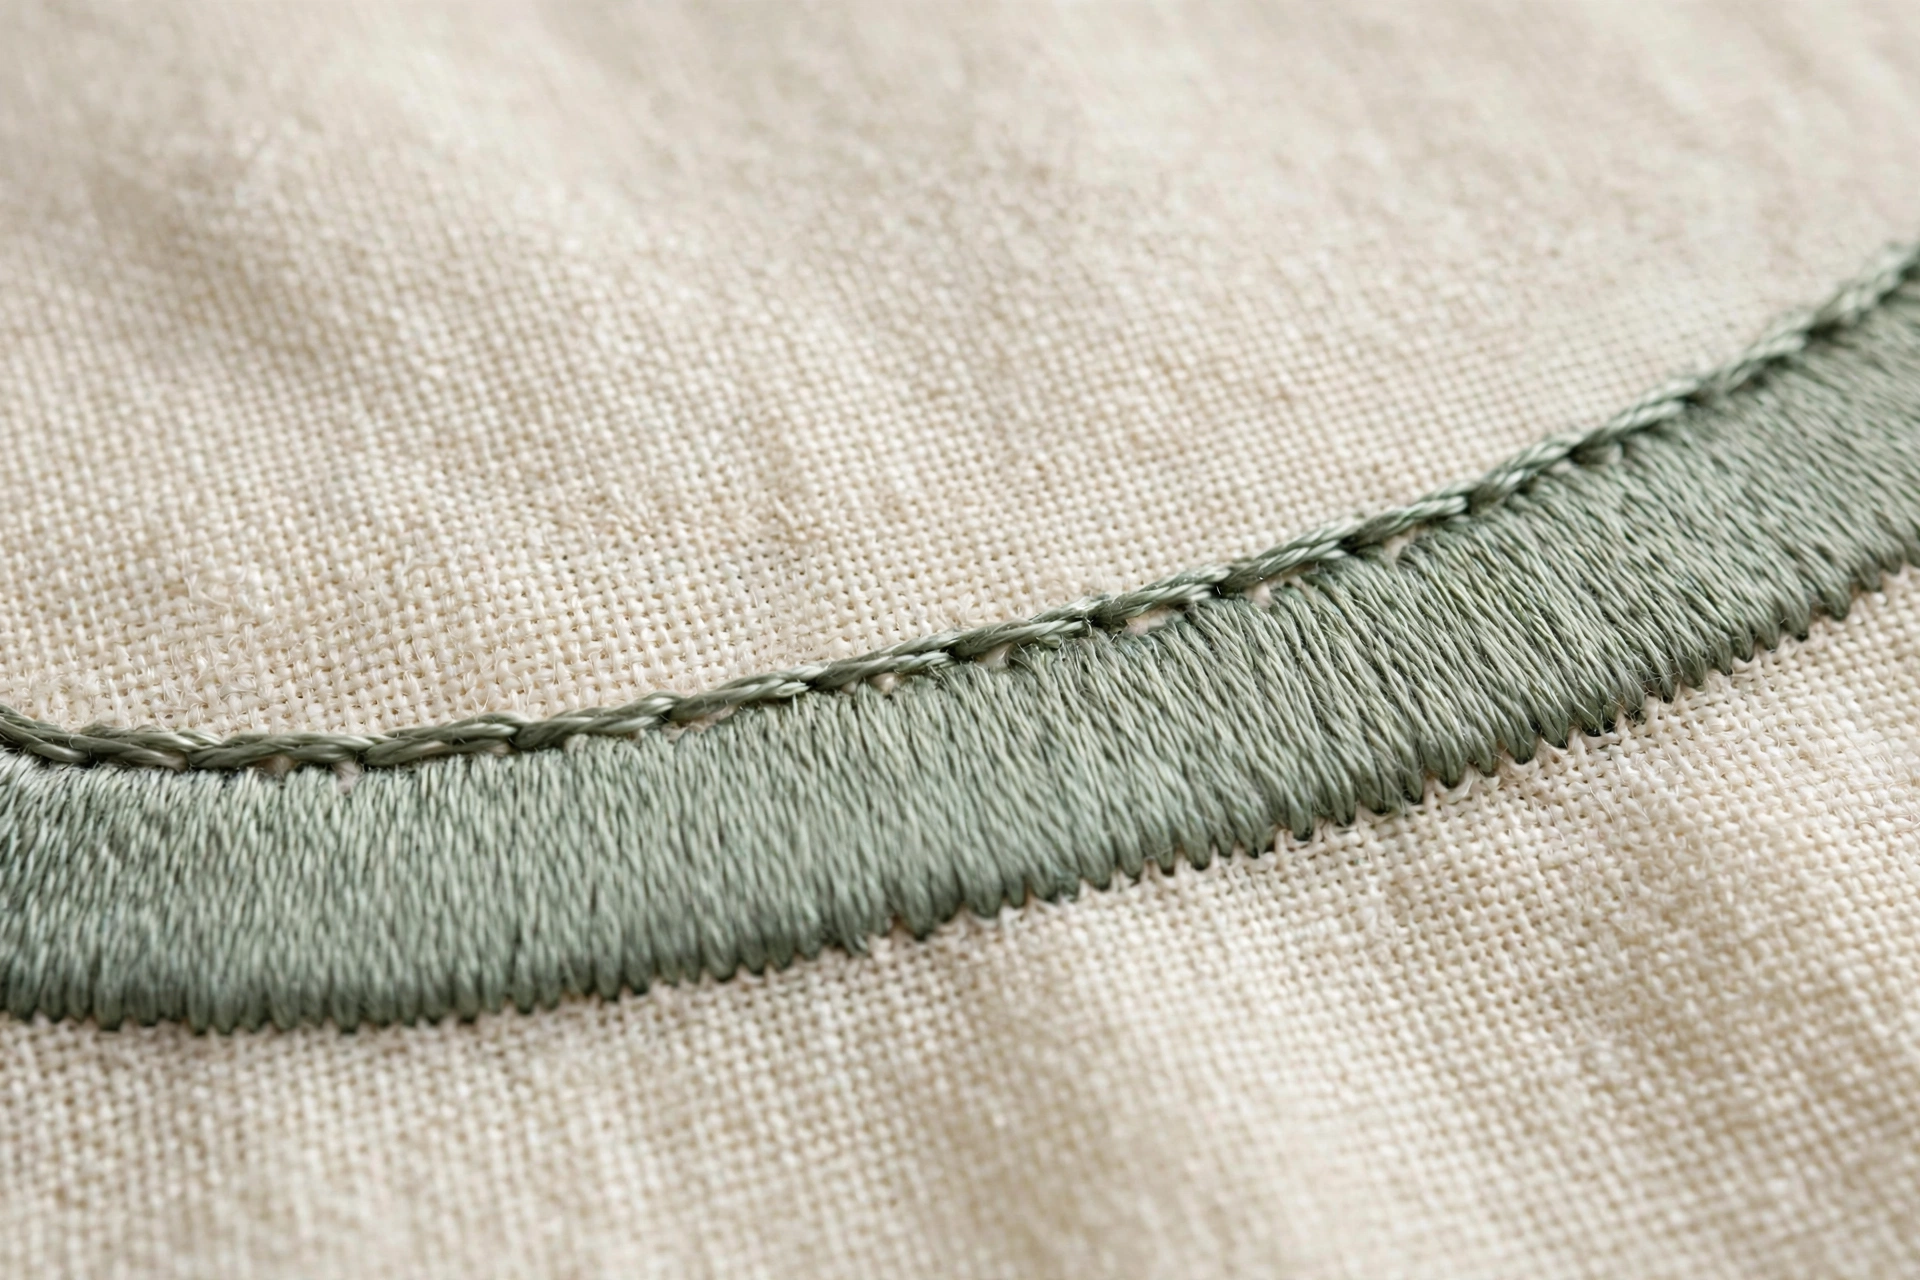
The four rules of gap-free satin stitch
1. One angle, no exceptions
Every stitch in the shape follows the same angle. The moment one stitch tilts differently, it creates a tiny wedge of exposed fabric next to its neighbors. On curved shapes like petals, this means fanning the angle gradually as you follow the curve, not keeping it rigidly parallel. Think of the stitches as sun rays from the petal’s base, not fence posts.
2. Short stitches beat long ones
Keep every stitch under about half an inch long. Long stitches sink into the fabric, catch on things, and shift out of alignment. If your shape is wider than half an inch, do not stretch the stitches. Split the shape into sections and stitch each section separately, or stagger the stitches in a brick pattern, with each row offset from the last. The satin stitch has been done this way for centuries because physics does not negotiate.
3. Snug, not tight
Lay each stitch directly against its neighbor, but do not pull hard. Tight pulling puckers the fabric and actually creates gaps as the cloth bunches. The thread should lie on the surface like it is resting there, which, come to think of it, is exactly what it is doing. If your fabric is dimpling around the shape, loosen your hand, not your standards.
4. Two strands, fresh needle, good light
The unmentioned rule. Two strands of DMC floss covers better than one without the bulk of three. A sharp needle (not the dull one from the kit, throw that away) pierces cleanly instead of shoving fabric threads aside, which keeps your edges crisp. And you cannot see gaps in bad light, so stitch where you can actually see. My lighting guide explains why your evening stitches surprise you in the morning.
Shapes that fight back, and how to win
Long leaves. Stitch from the tip toward the base in two halves, meeting at the center vein. Each half is a manageable width, and the center join looks like a natural leaf vein.
Circles. Start at the center and work outward in a spiral of short stitches, or stitch across in parallel rows and accept slightly longer stitches at the middle. Padding helps enormously here.
Anything over 2 inches. Stop trying to satin-stitch it. Use long-and-short stitch instead, which is satin stitch’s staggered cousin designed exactly for large areas. Insisting on pure satin over a big shape is how you get a corduroy leaf. Ask me how I know.
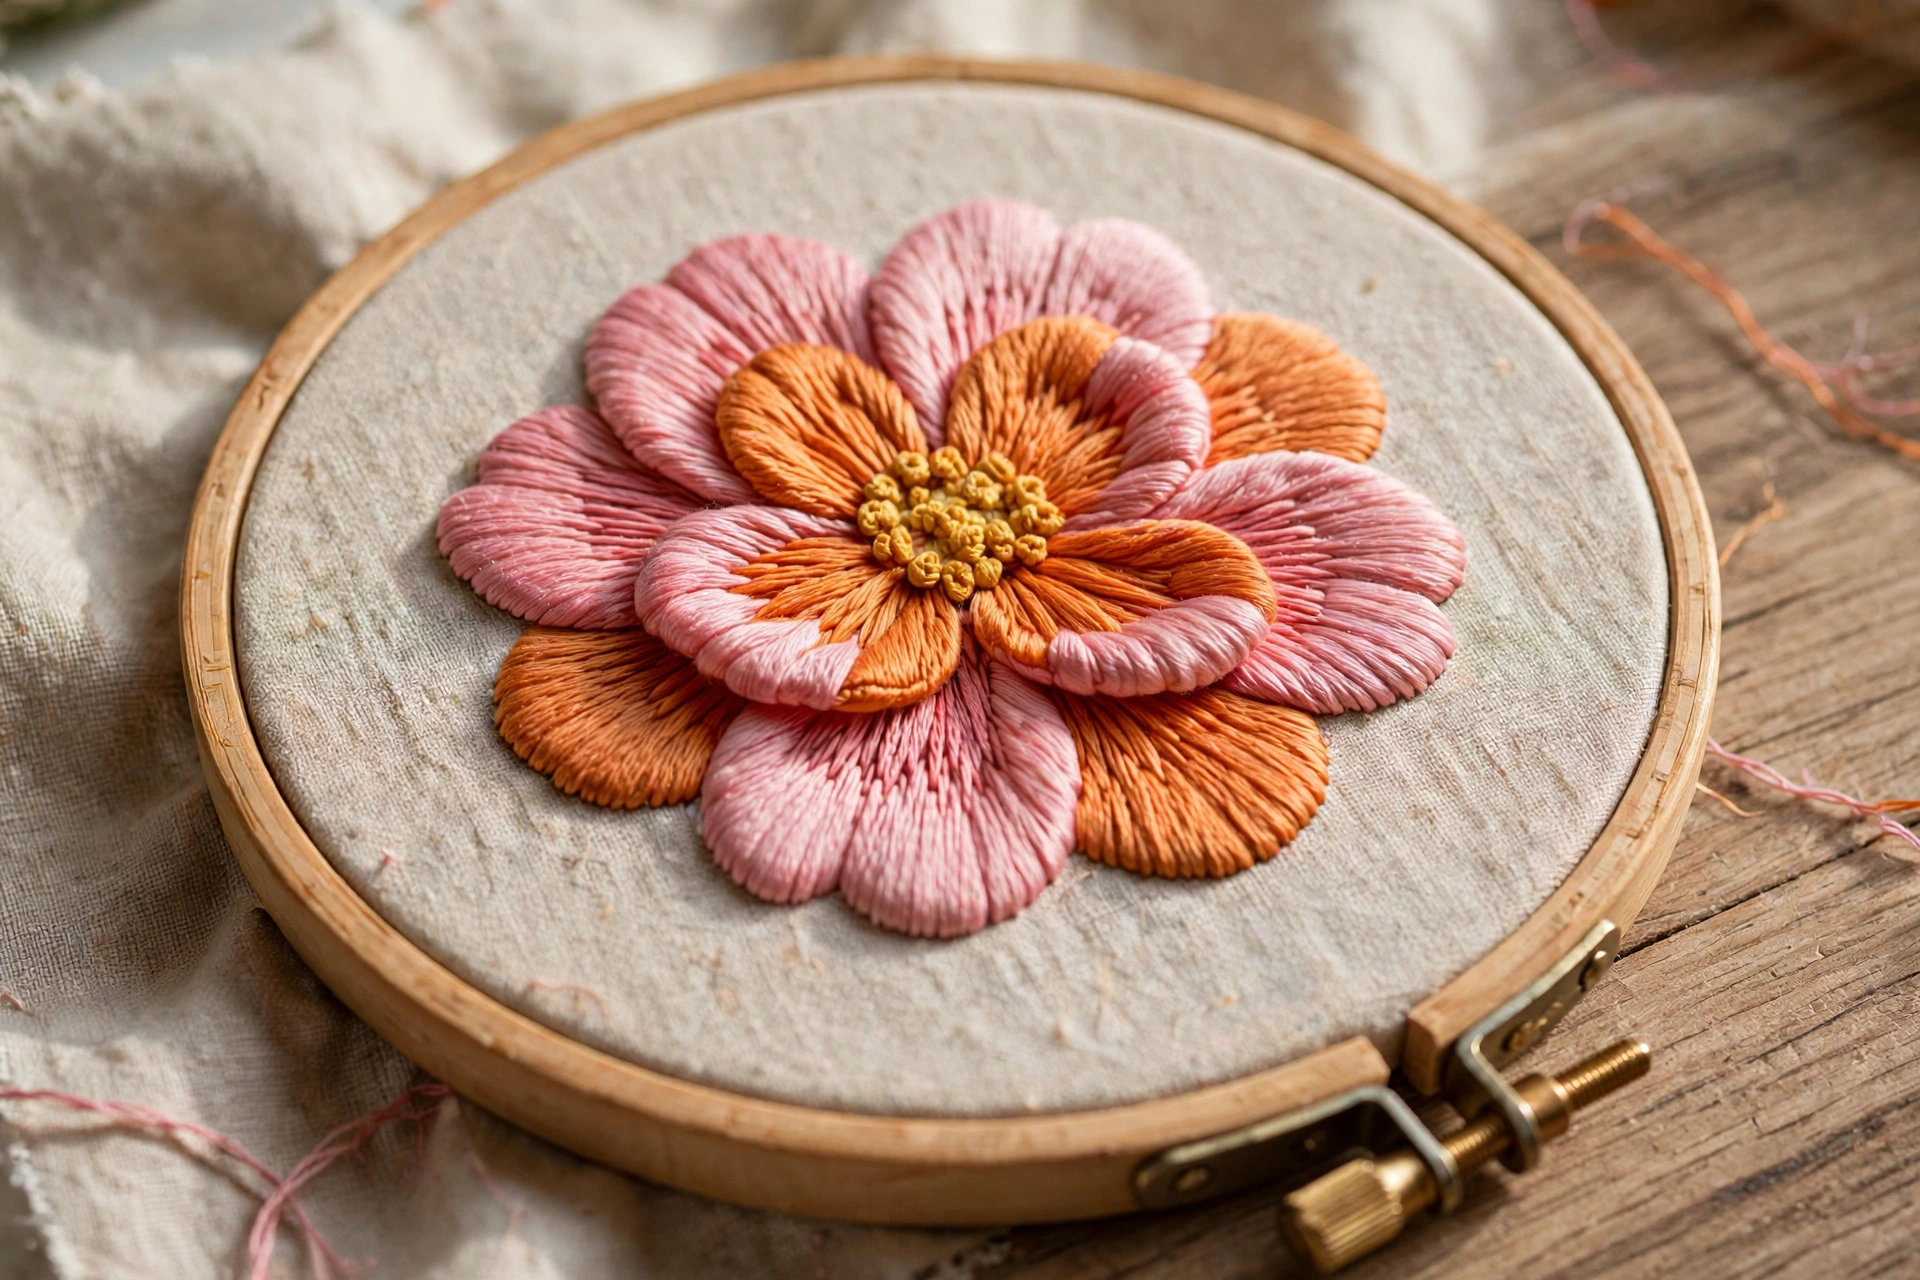
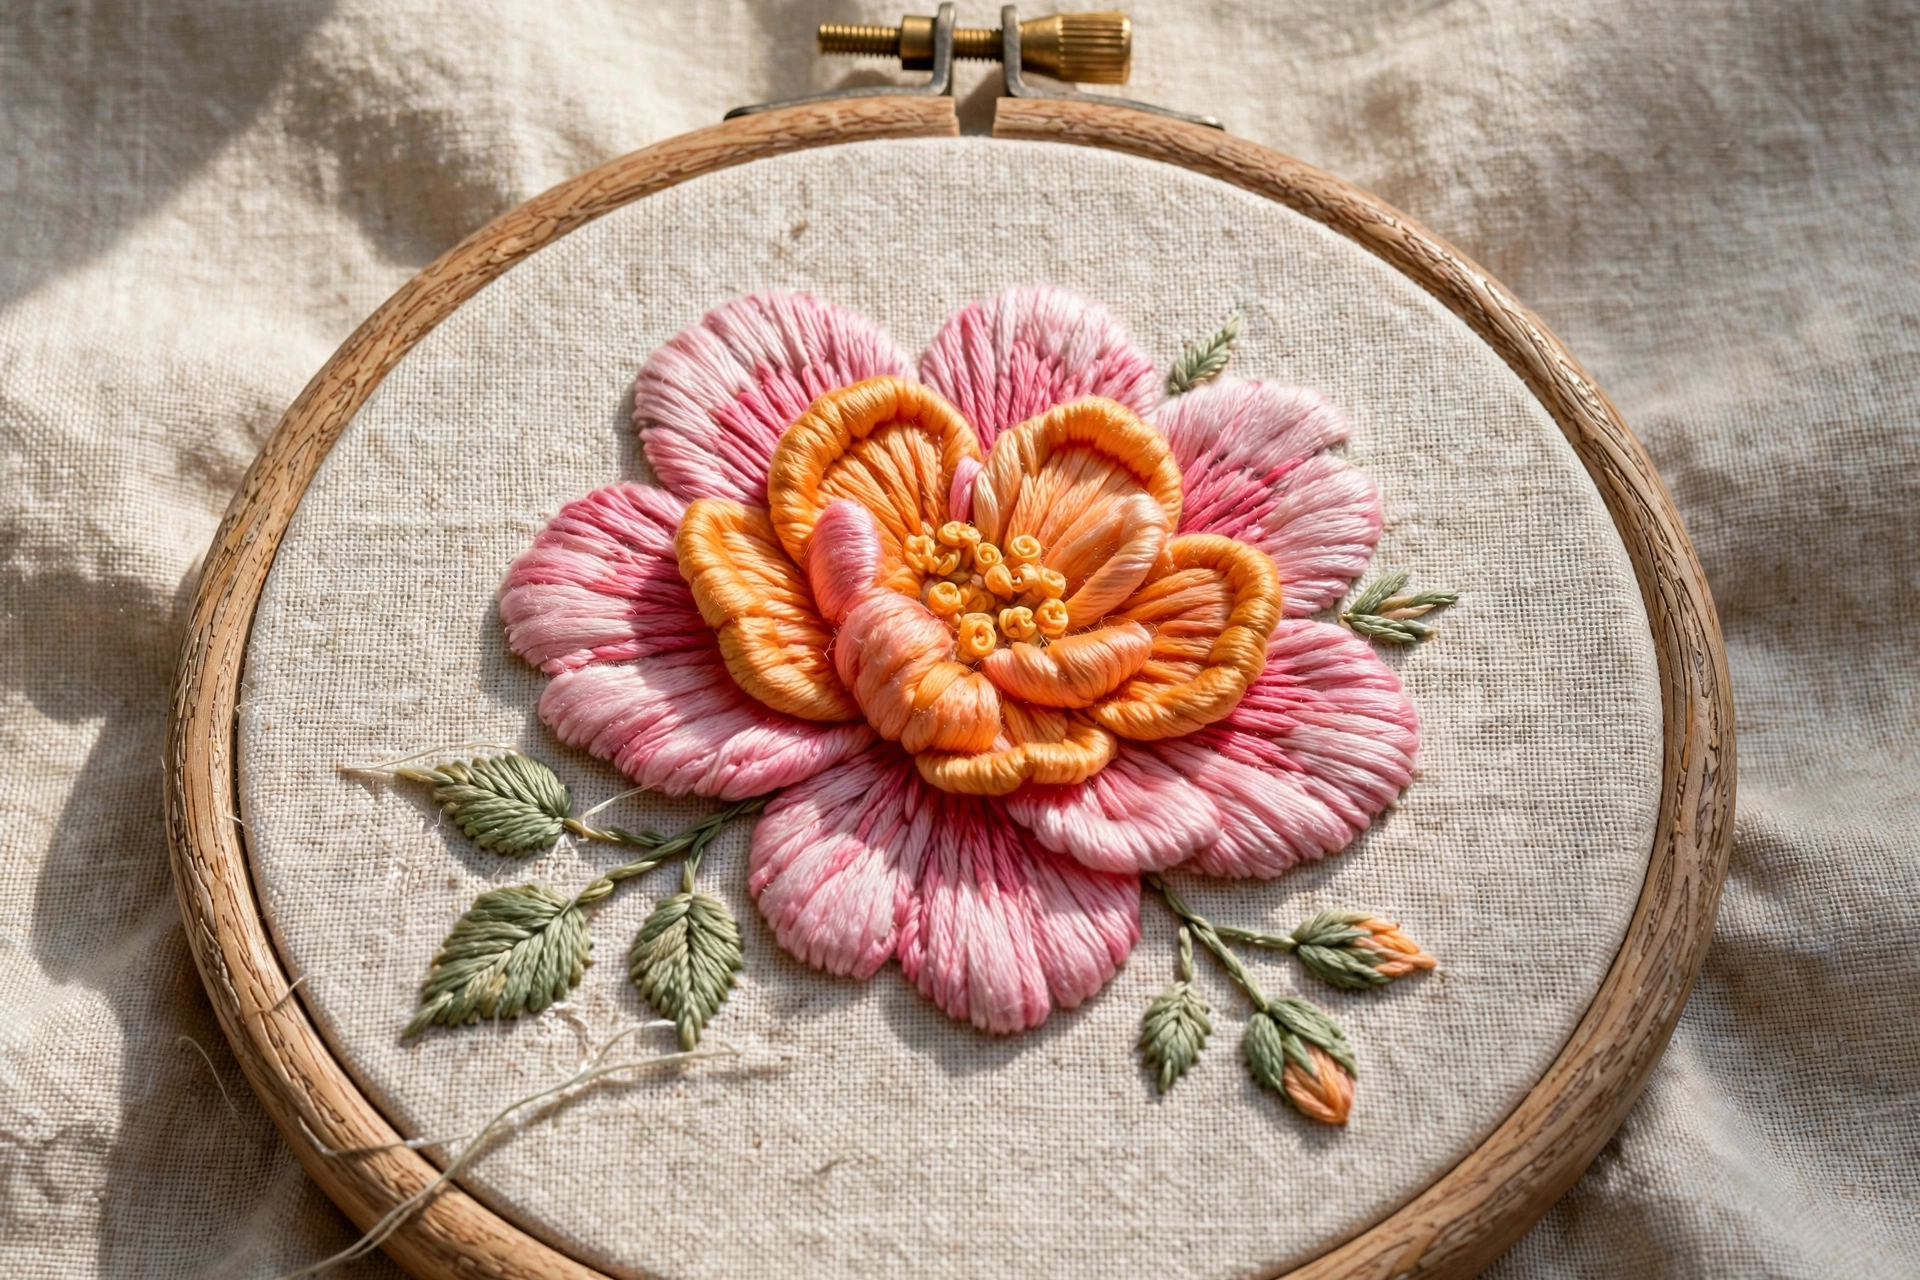
Outline, pad, one angle, snug stitches, honest lighting. That is the whole system, and it works on petal number one as well as petal one hundred. Once your fills are smooth, the basic stitches guide will show you what to put around them, and your needle choice matters more than you would think for keeping those edges clean.