Before you stitch a single flower, it pays to master the green things. Leaves, stems, vines, and branches are the quiet backbone of almost every botanical design, and they are wonderfully beginner-friendly: simple shapes, repetitive stitches, and endless room for creativity. Once you have a personal library of leaf shapes and stem techniques, you can build your own botanical embroidery patterns from scratch instead of always following someone else’s design.
This post is exactly that library. You will find a collection of leaf shapes to draw and stitch, the stems and vines that connect them, the best stitches for botanical work, and a simple method for combining these elements into your own original arrangements. Keep this page bookmarked: you will come back to it every time you design. I wrote a full guide on this here: 10 Cute Animal Embroidery Patterns for Beginners.
A Library of Leaf Shapes
Draw each of these on paper first, then stitch a small sampler of all of them on one piece of fabric. That sampler becomes your personal reference card.
Oval Leaves
The simplest leaf: a plain oval with a center vein. Draw an oval about twice as long as it is wide, add a straight center line, and fill each half with satin stitch angled slightly toward the tip. Stitch the vein in backstitch or stem stitch. Oval leaves are perfect for filling gaps in wreaths and borders. I wrote a full guide on this here: How to Resize Embroidery Patterns: 3 Easy Methods.
Pointed Leaves
Like an oval but with a sharp tip, and sometimes a pointed base too. These look more elegant and work beautifully in formal arrangements. Fill with fishbone stitch, working from the base to the tip so the stitches overlap like a real leaf’s structure, then add the center vein in stem stitch.
Fern Fronds
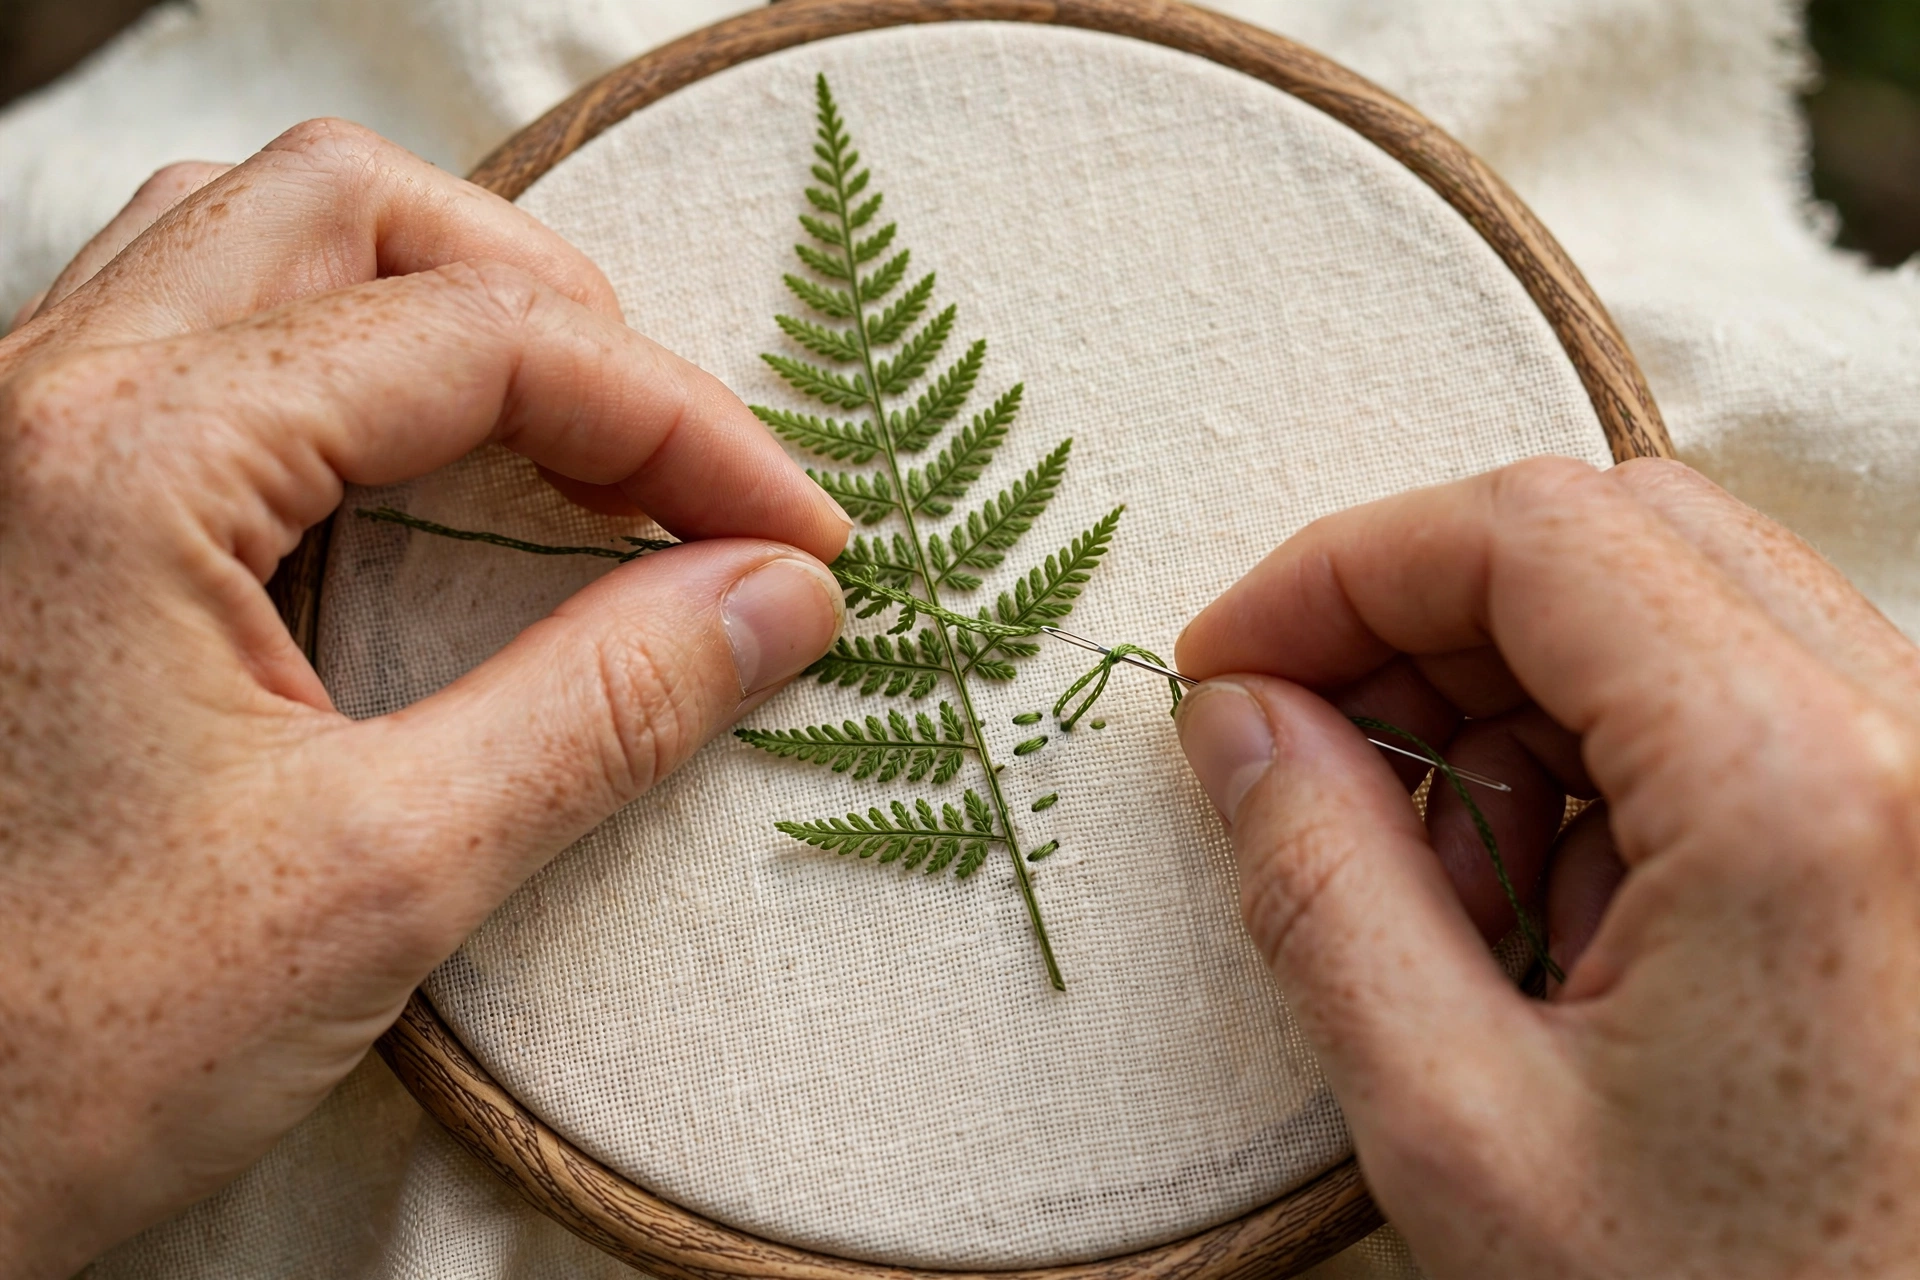
Draw a gently curving central stem, then add small pointed leaflets along both sides, getting smaller toward the tip. Stitch the stem in stem stitch and each leaflet as a single lazy daisy stitch. Ferns add delicate, feathery texture to any botanical piece and stitch up surprisingly fast.
Eucalyptus Sprigs
Draw a thin stem with round or oval leaves attached in pairs along its length. The round leaves are charmingly simple: fill each with satin stitch or a few French knots clustered together for a textured look. Eucalyptus is very on-trend and looks sophisticated in monochrome green.
Monstera-Style Simple Leaves
A beginner-friendly monstera: draw a large heart-ish oval, then cut simple slits in from the edges (do not draw the complex holes of a real monstera). Fill the leaf with satin stitch in a rich green and outline in a darker shade. One monstera leaf makes a bold, modern statement piece on its own.
Long Grass Blades
Simple curved tapering lines, wider at the base and narrowing to a point. Stitch each blade with a single stem stitch line, or fill wider blades with satin stitch. Clusters of grass blades in two green tones add movement and fill empty space naturally.
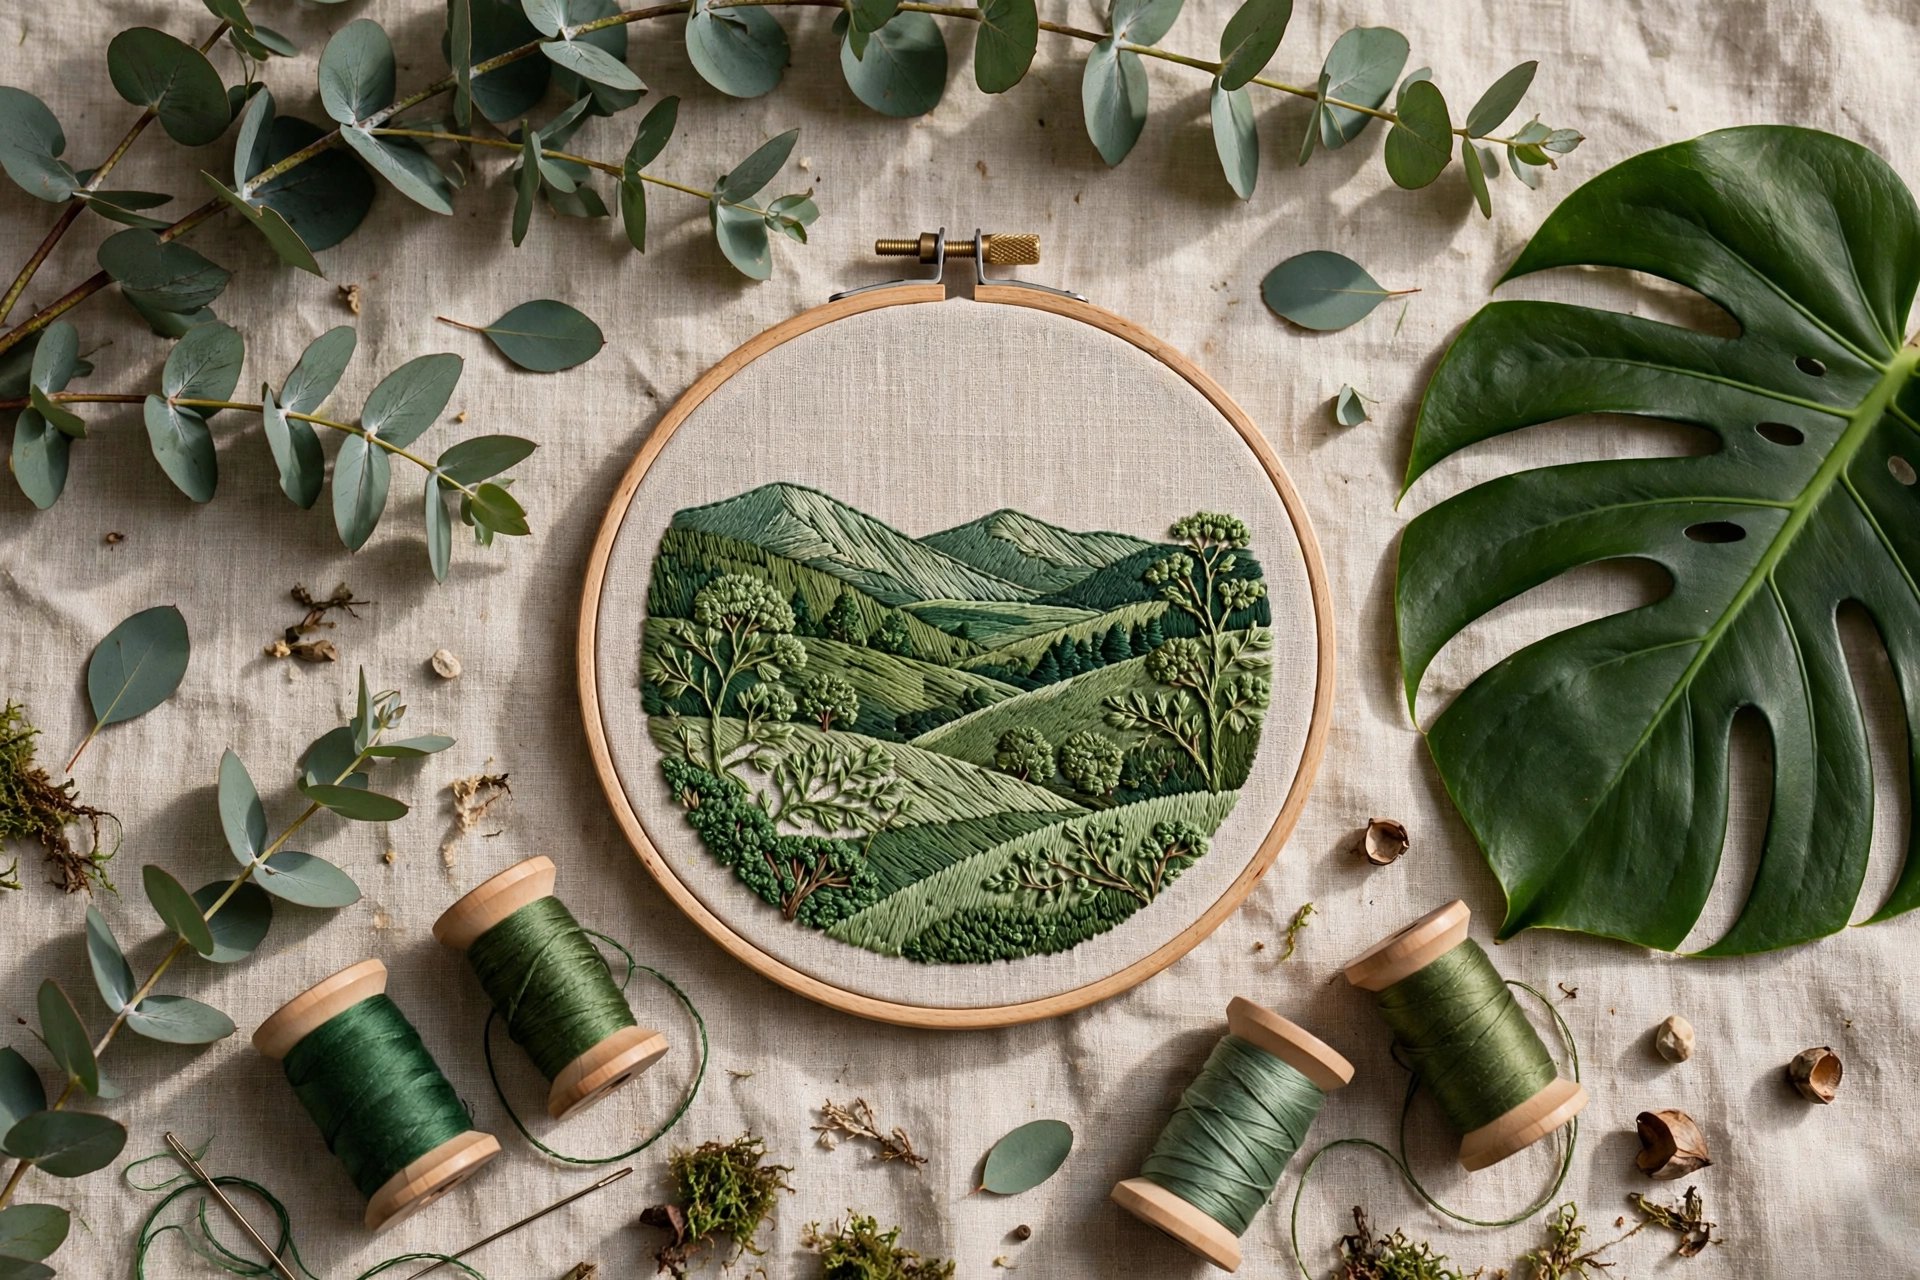
Stems, Vines, and Branches
Stems are the skeleton of botanical designs. Getting them right makes everything attached to them look better.
- Straight stems: A single line of stem stitch. Use for upright sprigs like lavender or eucalyptus. Keep the line smooth and even.
- Curving vines: Draw a loose S-curve and stitch it in stem stitch, keeping your stitches on the outside of the curve for the smoothest line. Add small leaves or tendrils along the vine.
- Tendrils: Tight little spirals at the ends of vines. Draw a spiral and follow it with stem stitch or backstitch. They add a lovely whimsical touch.
- Branching stems: A main stem with smaller side stems splitting off at angles. Stitch the main stem first, then add the branches. This is the structure behind most realistic sprigs.
- Thick branches: For woody stems, stitch two parallel stem stitch lines and fill between them with short straight stitches, or use a padded satin stitch. Add tiny knots for texture.
The Best Stitches for Botanicals
You only need four core stitches to handle nearly all botanical embroidery. Master these and you can stitch any leaf or stem in this collection.
Stem stitch
The workhorse. It creates a smooth, slightly raised line that looks like a real plant stem. Use it for all stems, vines, tendrils, and leaf veins. Keep your working thread consistently on the same side of the line for an even twist.
Fishbone stitch
Made for leaves. The stitches cross alternately along a center line, creating the look of a leaf’s vein structure while filling the shape completely. Work from the base of the leaf toward the tip, and keep each stitch snug against the last with no gaps.
Satin stitch
The classic fill for solid leaves and petals. Bring the thread up on one edge of the shape and down on the opposite edge, laying each stitch flat beside the last. For leaves, angle the stitches slightly toward the tip rather than stitching straight across: it looks far more natural.
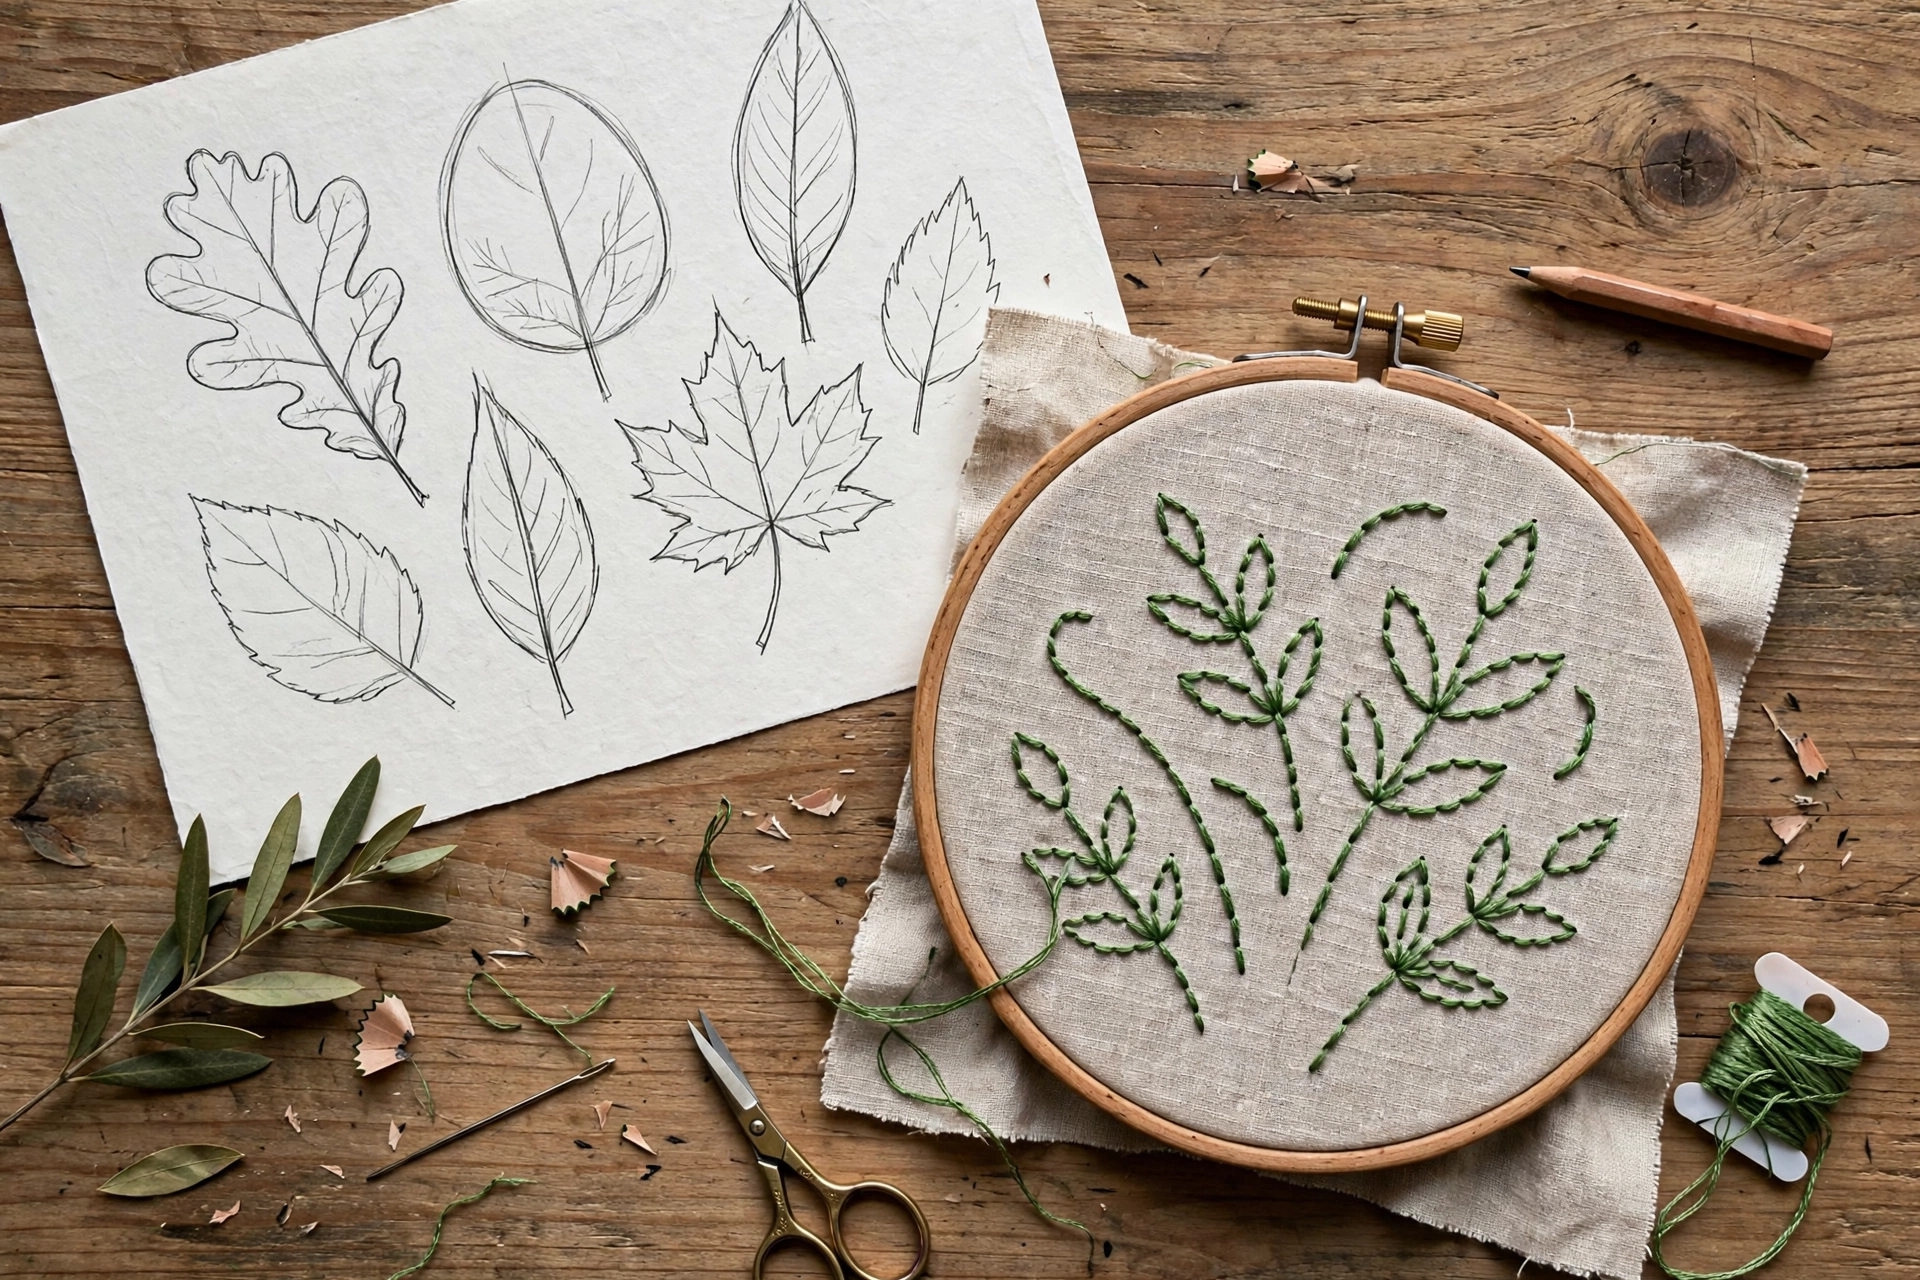
Lazy daisy stitch
Perfect for small leaves, leaflets on ferns, and buds. Each stitch is a single loop anchored with a tiny tacking stitch. Vary the loop sizes along a stem for a natural look: larger leaves near the base, smaller near the tip.
Bonus: French knots and seed stitches
Use French knots for berries, buds, and flower centers, and scattered seed stitches for texture on larger leaves. These tiny details are what make botanical pieces feel alive.
Combining Elements Into Your Own Arrangements
Here is the fun part: turning your library of shapes into original designs. Follow this simple process:
- Choose a structure. Pick one of three classic layouts: a single sprig (one stem with leaves), a wreath (elements arranged in a circle), or a bouquet (several sprigs gathered at one point). Beginners do best starting with the sprig.
- Pick three to five elements. Choose from your leaf library: for example, fern fronds, eucalyptus, and pointed leaves. Odd numbers of element types look more natural than even ones.
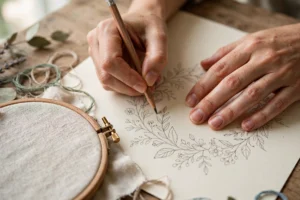
- Sketch the skeleton first. Lightly draw just the stems in your chosen layout. Get the composition right before adding a single leaf: check the balance, the spacing, and the overall shape.
- Add leaves largest to smallest. Place your biggest leaves first to anchor the design, then fill in with medium and small elements. This layering order keeps the composition balanced.
- Leave breathing room. Do not fill every gap. Negative space is part of the design, especially in modern botanical style.
- Add one accent. A few berries, a single small flower, or a contrasting leaf color gives the eye somewhere to land. One accent is enough.
Photograph your sketch before you stitch. If the photo looks balanced, the stitching will too.
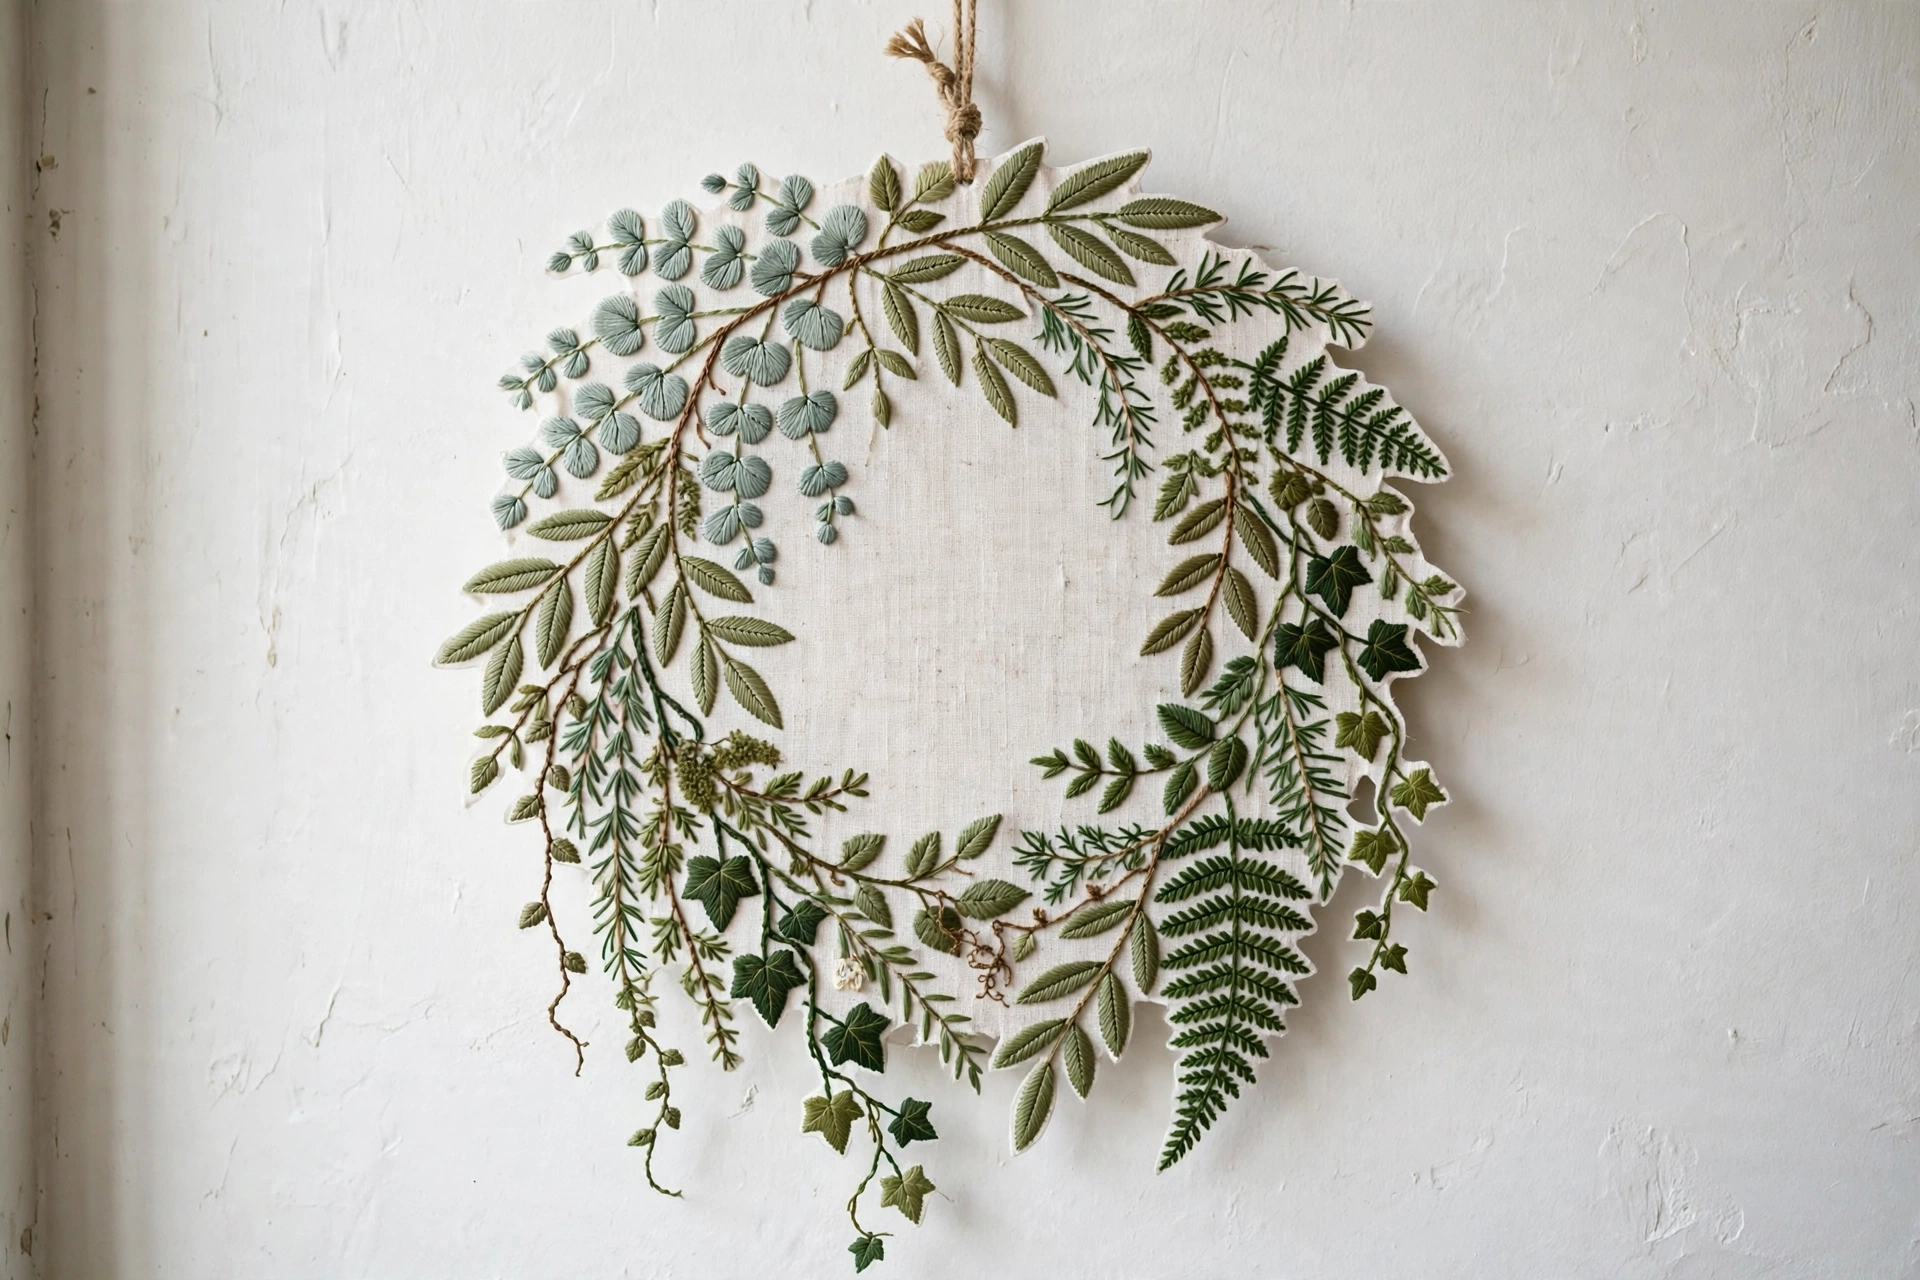
Building a Botanical Reference Sampler
Before you design anything ambitious, stitch a single sampler cloth containing every shape and stitch in this post. Use a piece of plain cotton or linen about twelve inches square, draw a light grid, and fill each cell with one element: an oval leaf here, a fern frond there, a curving vine across the bottom.
This sampler does three jobs for you. First, it is concentrated practice: by the last cell your fishbone stitch will be noticeably neater than in the first. Second, it becomes a permanent color reference, because you can see exactly how your green flosses look stitched on fabric rather than wound on a skein. Third, and most valuable, it is a design menu. When you plan a new piece, you can point at the sampler and choose elements you already know you can stitch well, which takes the fear out of original design.
Date your sampler and keep it. A year from now you will love seeing how far your stitching has come, and you will still be reaching for it when you need a leaf shape in a hurry.
Tips for Lush, Natural Botanicals
- Use at least three greens. A light, a medium, and a dark green mixed through one piece creates depth that a single green never can. Assign the dark green to shadows and undersides.
- Vary leaf direction. Real leaves do not all point the same way. Angle some toward the viewer, some away, some sideways. This single habit transforms flat designs into lively ones.
- Stitch veins last. Complete all leaf fills first, then add the center veins over the top. The veins sit crisply on the surface instead of getting buried.
- Mix stitch textures. Combine smooth satin stitch leaves with textured fishbone leaves and loopy lazy daisy leaflets. Contrast in texture reads as realism.
- Study real plants. Keep a leaf or sprig beside you while you stitch, or look closely at houseplants. Notice how leaves attach to stems and how they overlap. Nature is the best pattern book.
Mistakes to Avoid
- One flat green everywhere. This is the fastest way to make botanical embroidery look amateur. Invest in a small range of green floss.
- Stitching leaves before stems. Always work the stems first, then attach the leaves over them. Reversing the order buries your stem lines.
- Making every leaf identical. Same size, same angle, same stitch: this looks stamped, not grown. Vary something about every leaf.
- Overstuffing the design. Beginners often keep adding “just one more leaf” until the piece is crowded. When in doubt, stop. You can always add more later.
- Ignoring the back. Long floating threads on the back can show through light fabric as shadows. Keep the back reasonably tidy, especially on light linen.
- Forgetting to hoop tightly. Botanical fills like satin stitch need a drum-tight hoop. Re-tighten as you go: fabric loosens with handling.
You now own a complete botanical toolkit: six leaf shapes, five stem types, four essential stitches, and a method for combining them into original designs. Start with a simple sprig sampler this week, stitching each leaf shape you learned here, and keep it where you can see it. Every future botanical project you make will start from that little reference piece. The garden is yours to design now. Happy stitching.