Flowers are the reason many of us pick up a needle in the first place. There is something about petals, leaves, and winding stems that just begs to be stitched, and the good news is that flowers are genuinely the perfect first patterns for a beginner. Petals are forgiving shapes, leaves stitch up fast, and even a slightly wobbly flower still looks charming when it is done in pretty thread.
Below you will find 15 free floral embroidery patterns grouped by type, from the very simplest five-petal blossoms to flowers that will stretch your skills a little further. For each one I have noted the key stitches you will use and an honest difficulty rating, so you can start where you are comfortable and work your way up. All of these can be transferred to fabric with any basic transfer method, and every single one is designed to be stitchable with just a handful of beginner stitches.
Why Flowers Are the Perfect First Patterns
If you are brand new to embroidery, flower patterns give you three huge advantages. First, the shapes are organic, which means your lines do not have to be mathematically perfect. A petal that is slightly larger than its neighbors still reads as a flower, unlike a geometric design where one crooked line ruins the whole piece. Second, most flowers are built from repeated units: petals around a center, leaves along a stem. Once you learn to stitch one petal well, you can stitch twelve. Third, flowers use the core beginner stitches in exactly the way you will use them forever: lazy daisy for petals, stem stitch for stems, French knots for centers. By the time you have finished your first floral hoop, you will have real, transferable skills.
Simple Five-Petal Blossoms
The five-petal blossom is the embroidery equivalent of a warm-up exercise, and it never stops being useful. It appears in borders, wreaths, and standalone designs.
1. Classic Five-Petal Blossom
Draw a small circle, then add five oval petals evenly spaced around it. Work each petal in lazy daisy stitch, pointing the loops outward from the center. Fill the center with one or three French knots in a contrasting color. Difficulty: Very easy. Key stitches: lazy daisy, French knot.
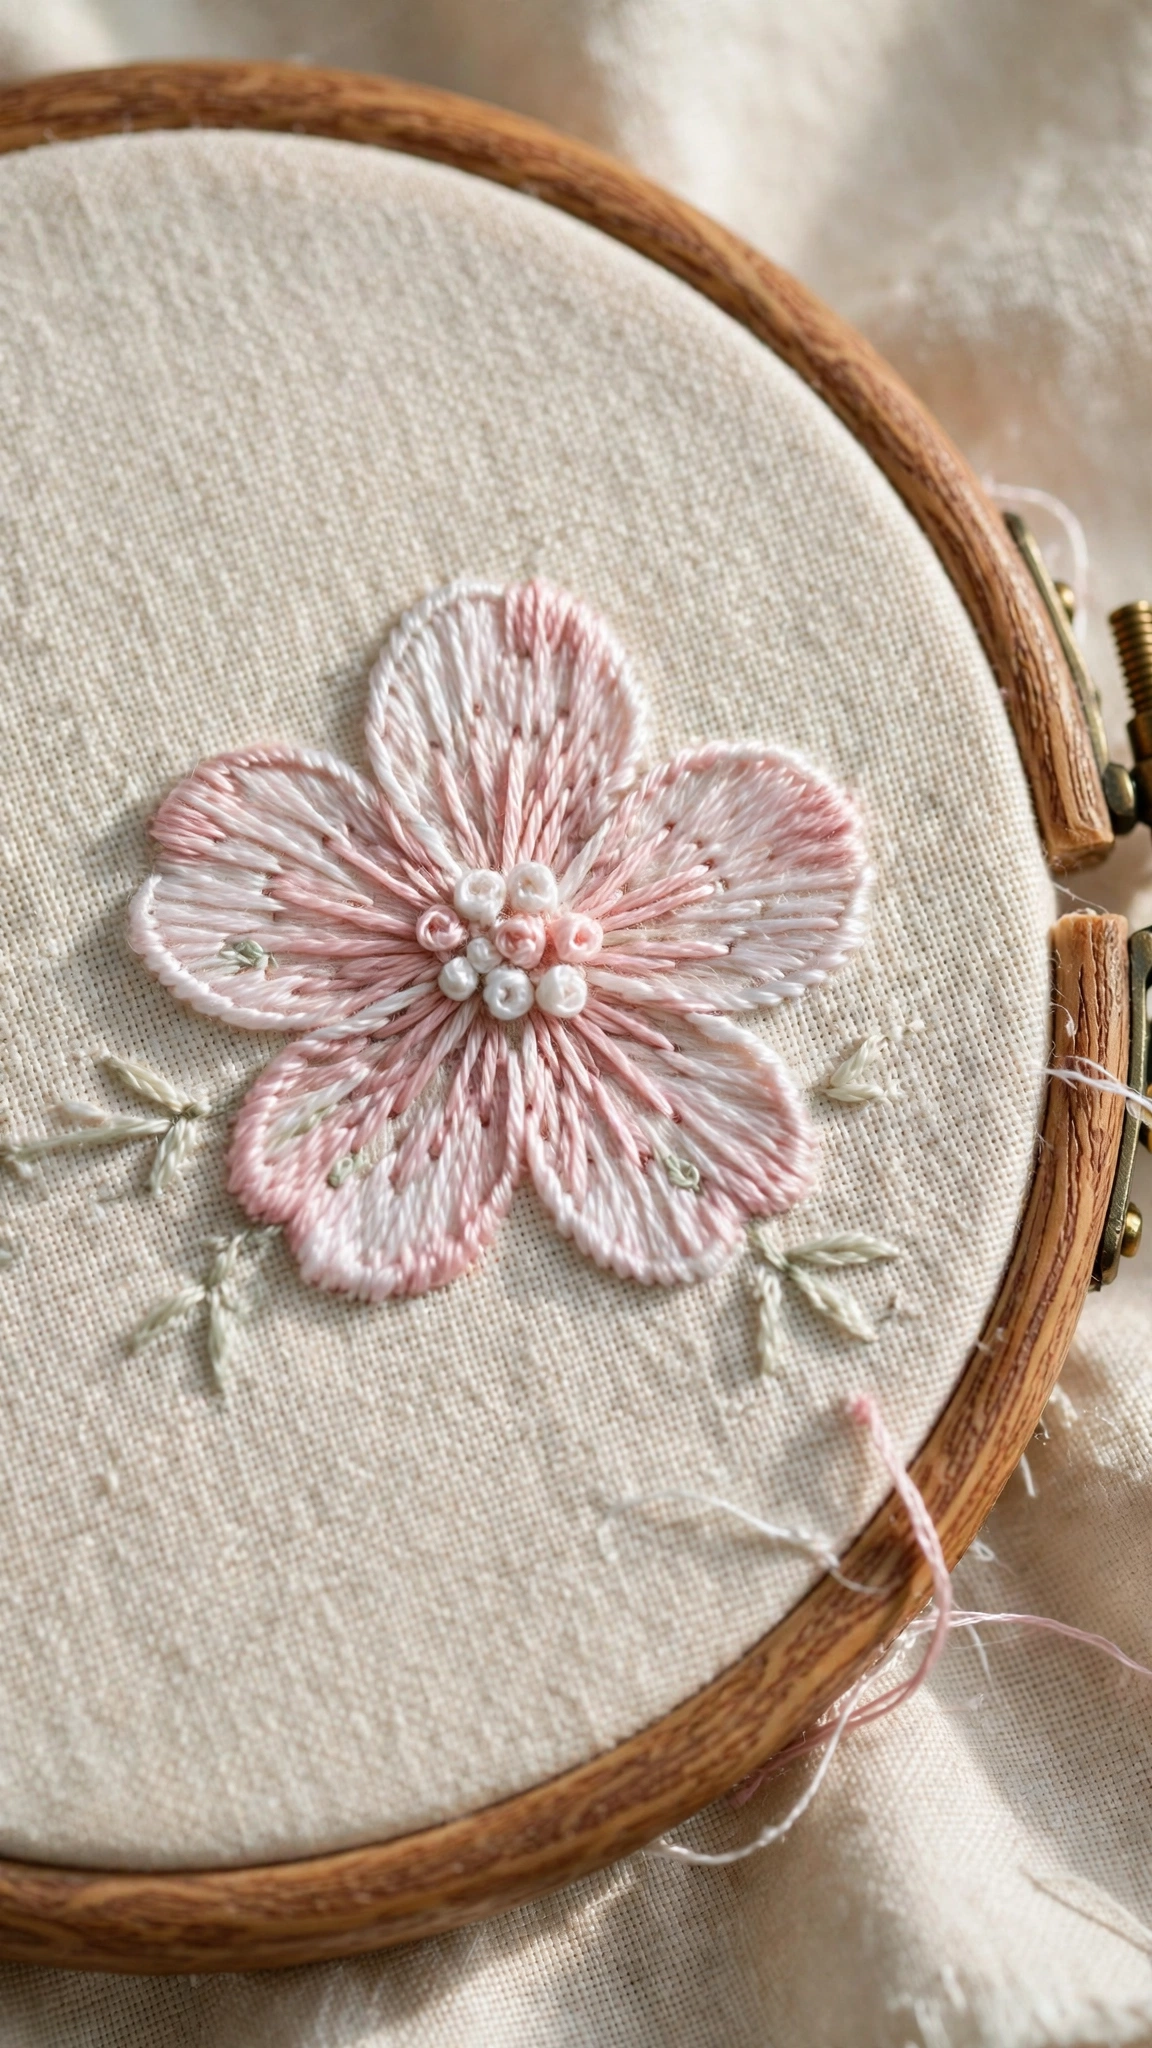
2. Sakura Blossom Cluster
Draw three or four small blossoms connected by curving stems, like a cherry branch. Each blossom gets five petals worked in lazy daisy stitch, but leave the petal centers open for a light, airy look. Add French knots in pale yellow at each center and tiny leaf shapes in green. Difficulty: Easy. Key stitches: lazy daisy, French knot, stem stitch.
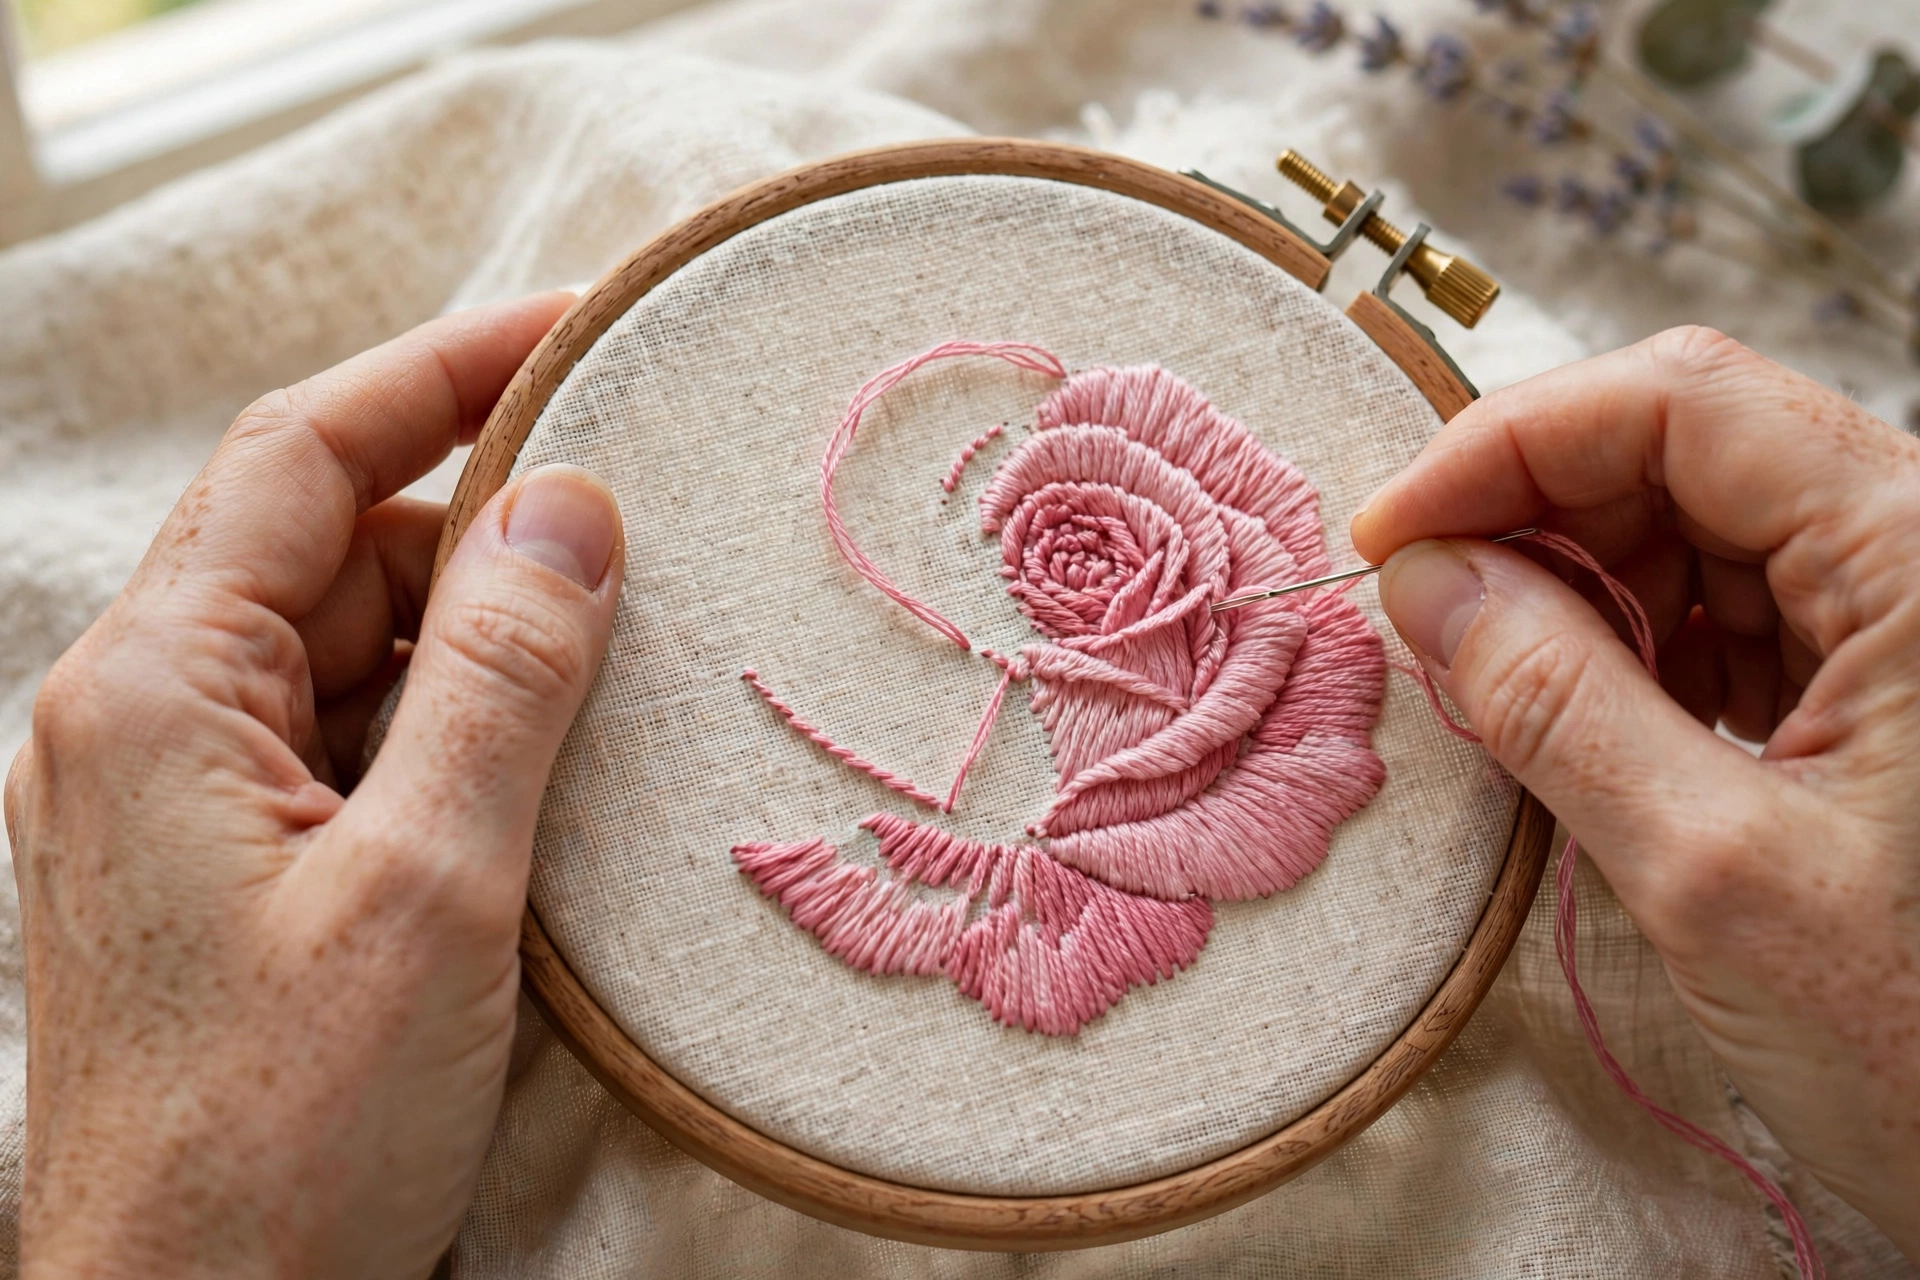
3. Ditsy Floral Sprig
A single curving stem with one five-petal blossom at the top and two or three small leaves. This is a lovely first pattern because it teaches you to combine stitches: stem stitch for the stem, lazy daisy for petals, lazy daisy again for the leaves. Difficulty: Very easy. Key stitches: stem stitch, lazy daisy.
Daisies and Daisy Variations
Daisies are the classic beginner flower because their long, simple petals are incredibly forgiving. They also scale up beautifully for larger projects.
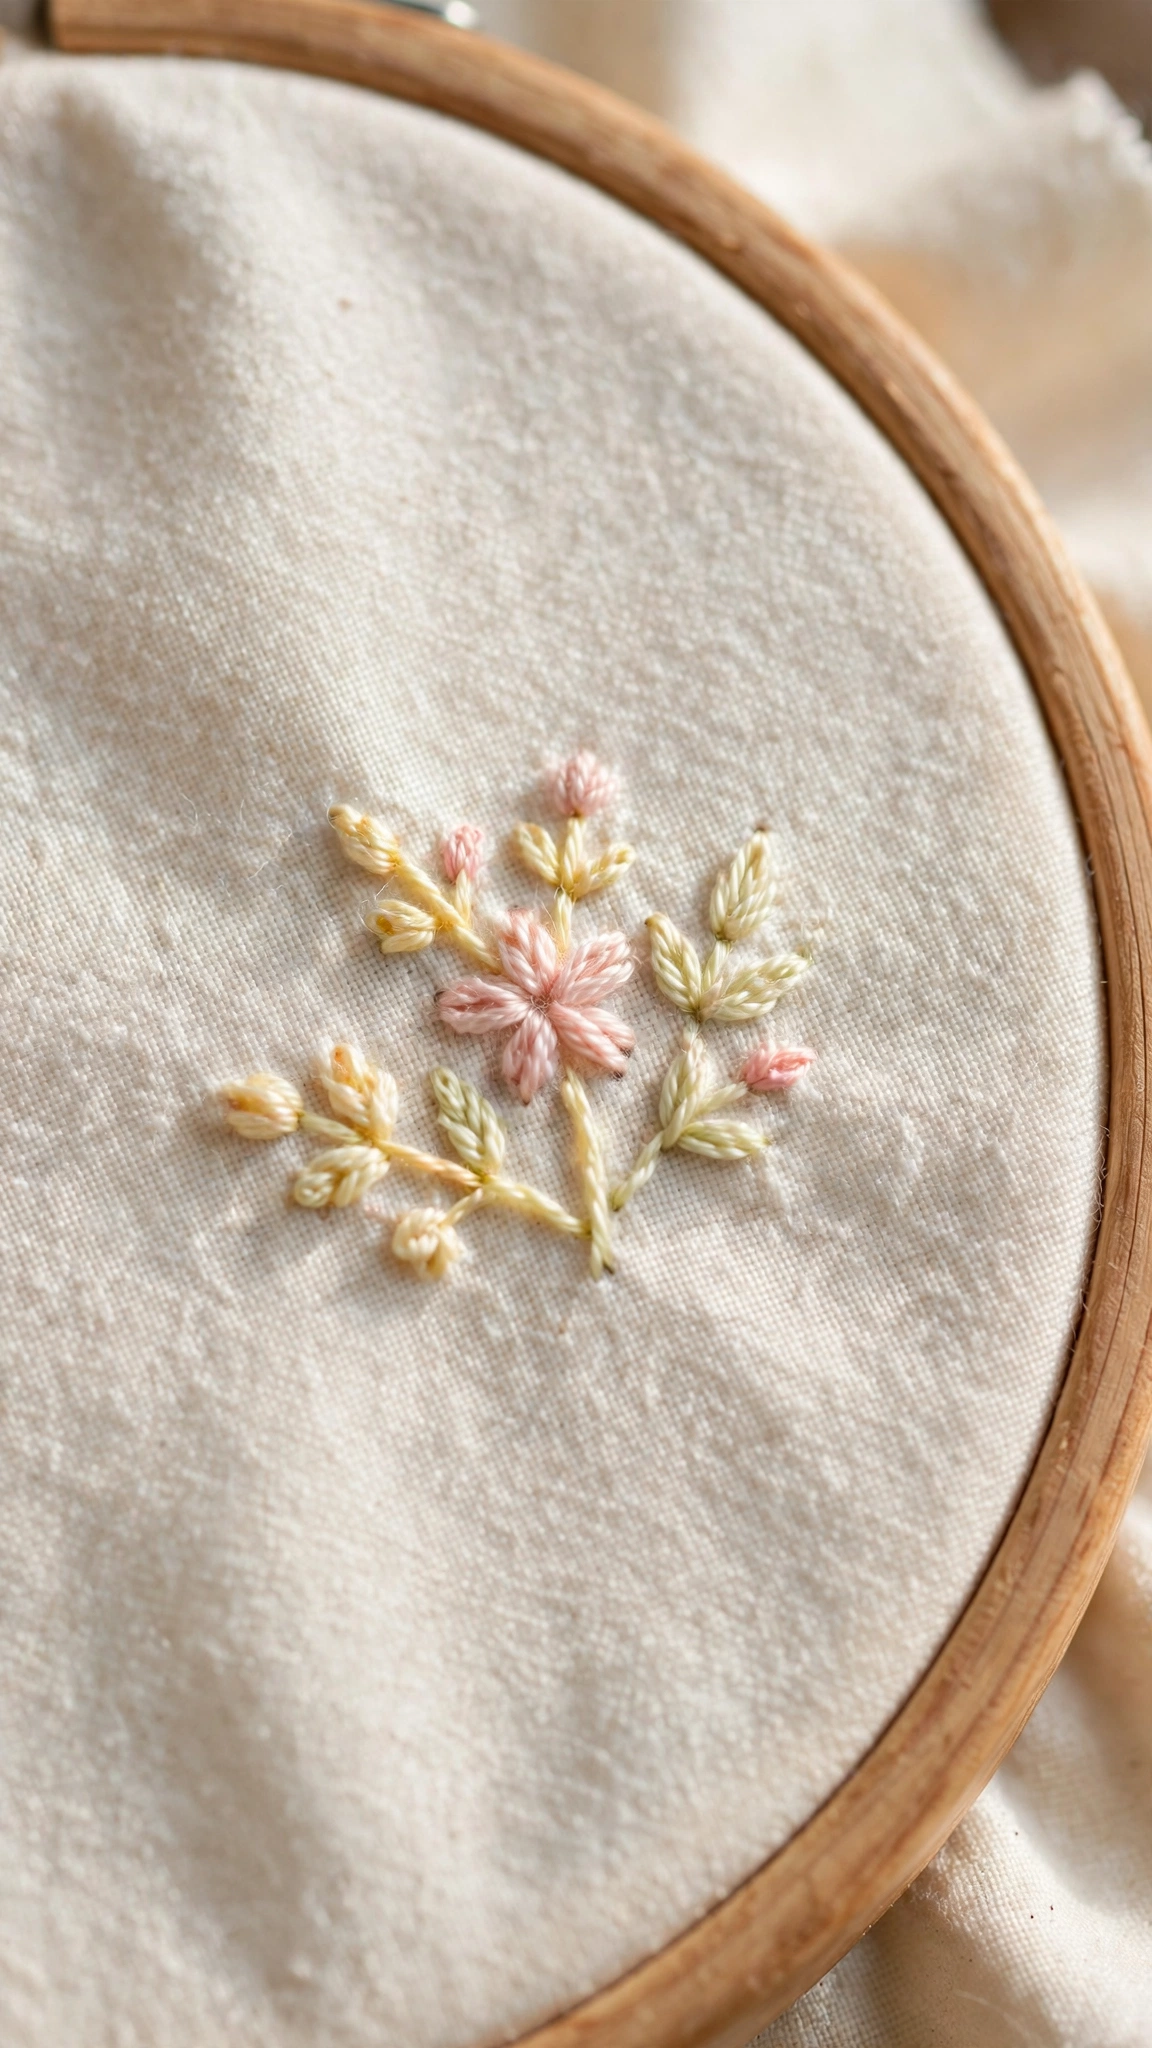
4. Cheerful Daisy
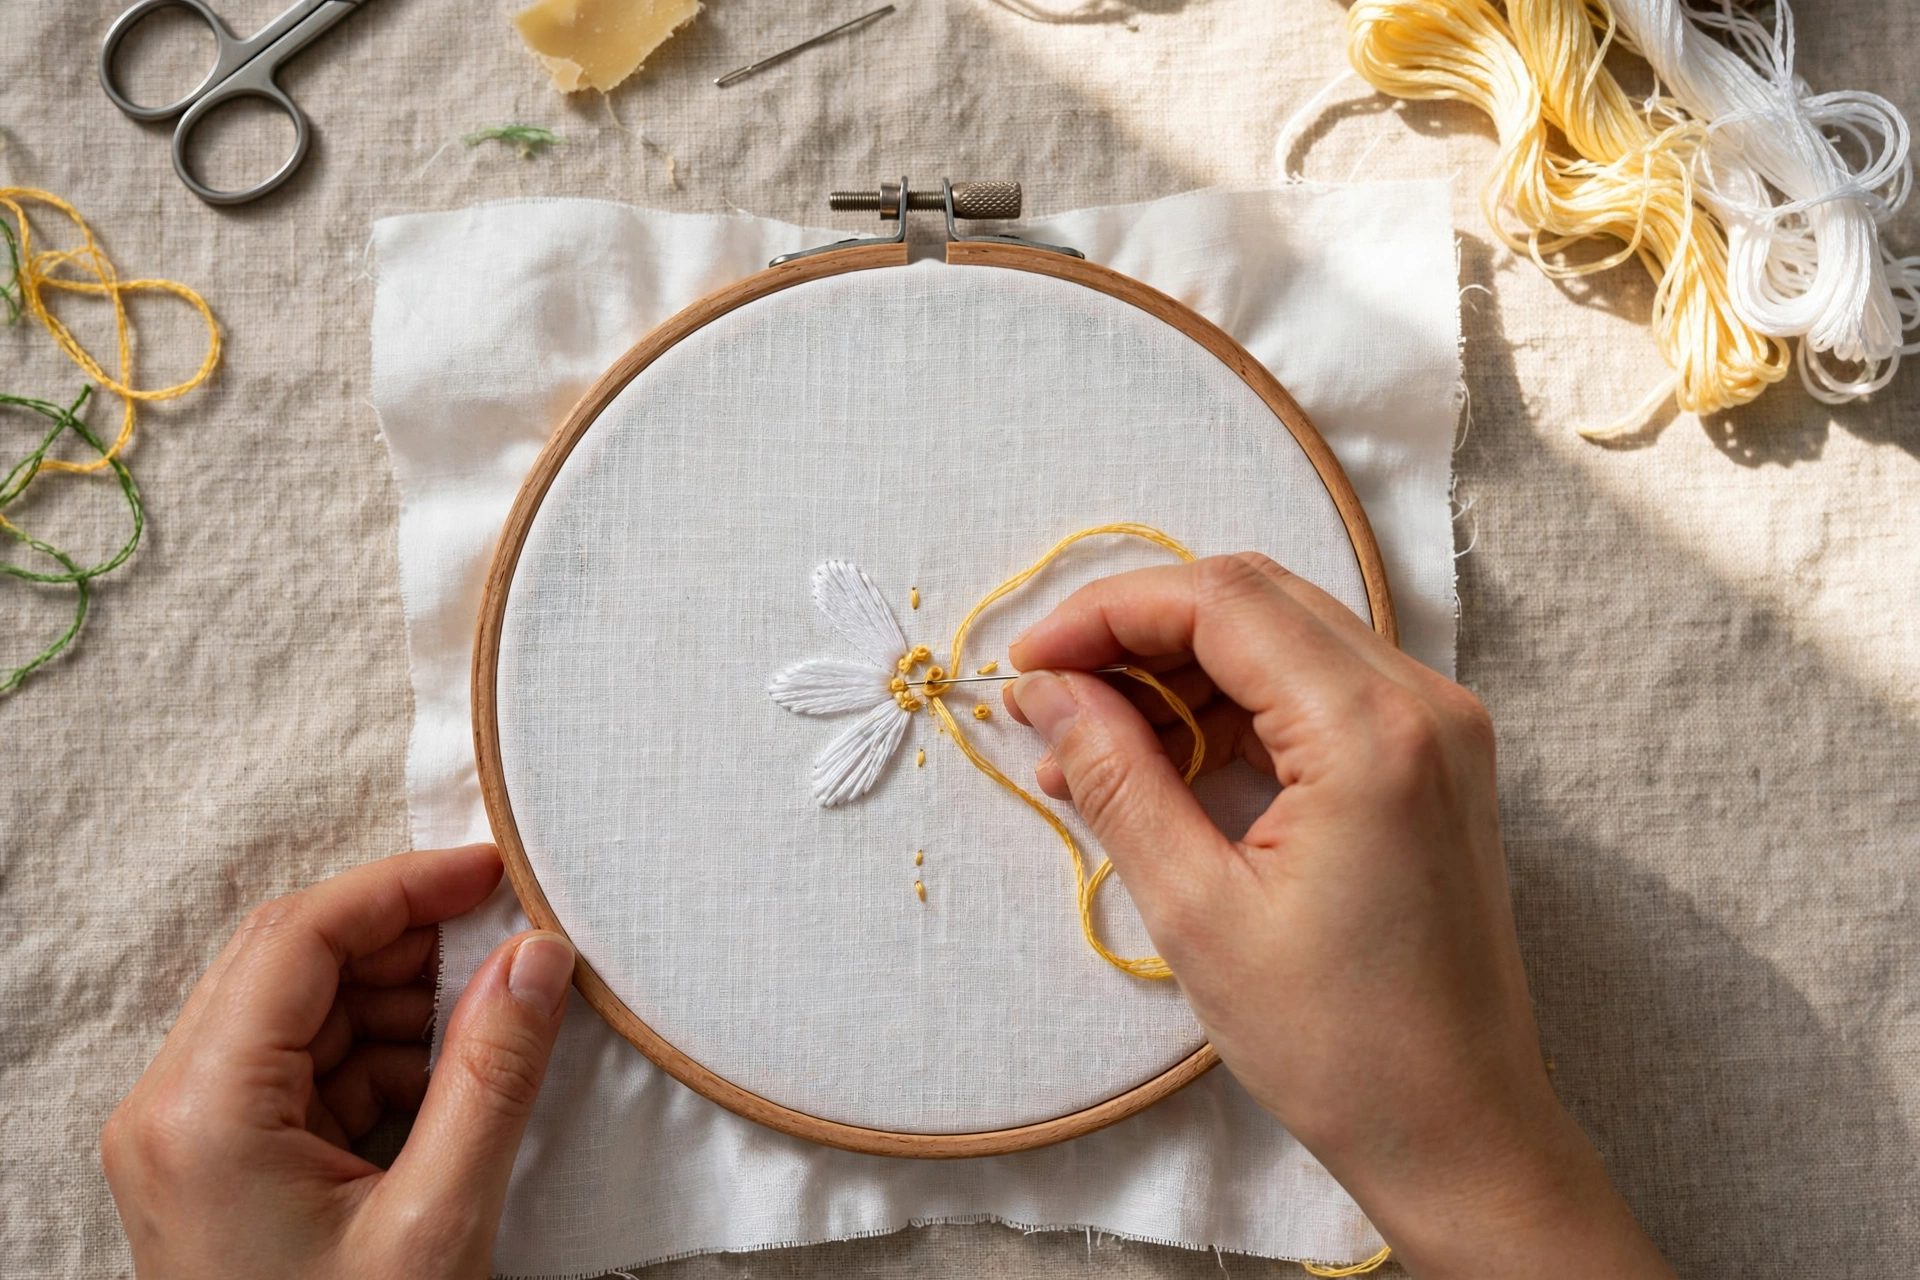
Draw a circle about the size of a coin and add eight to ten long, narrow petals around it. Work each petal in lazy daisy stitch, pulling the stitches snug so the petals look plump. Fill the center with a cluster of French knots in yellow or gold. Difficulty: Very easy. Key stitches: lazy daisy, French knot.
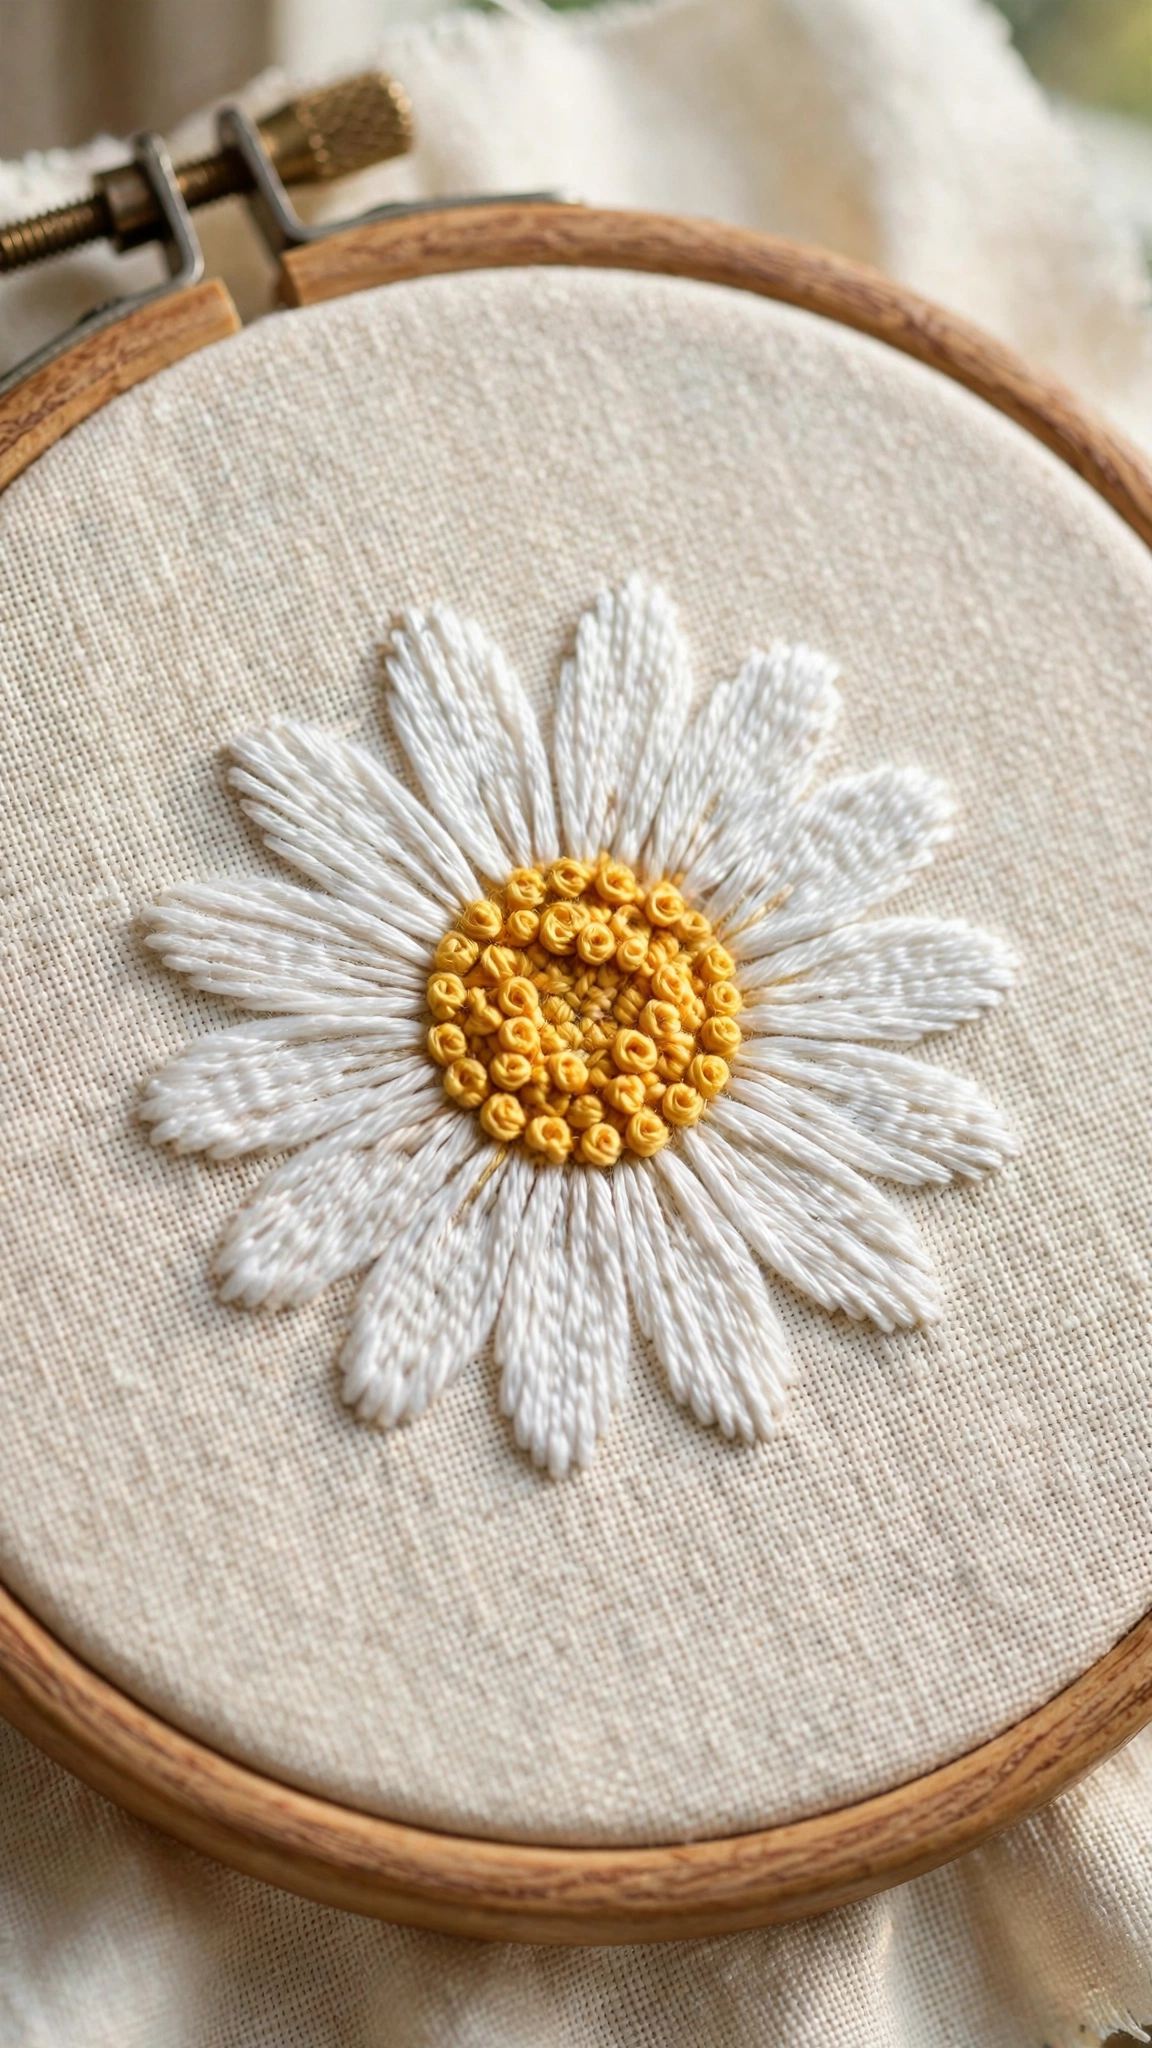
5. Wild Daisy Bouquet
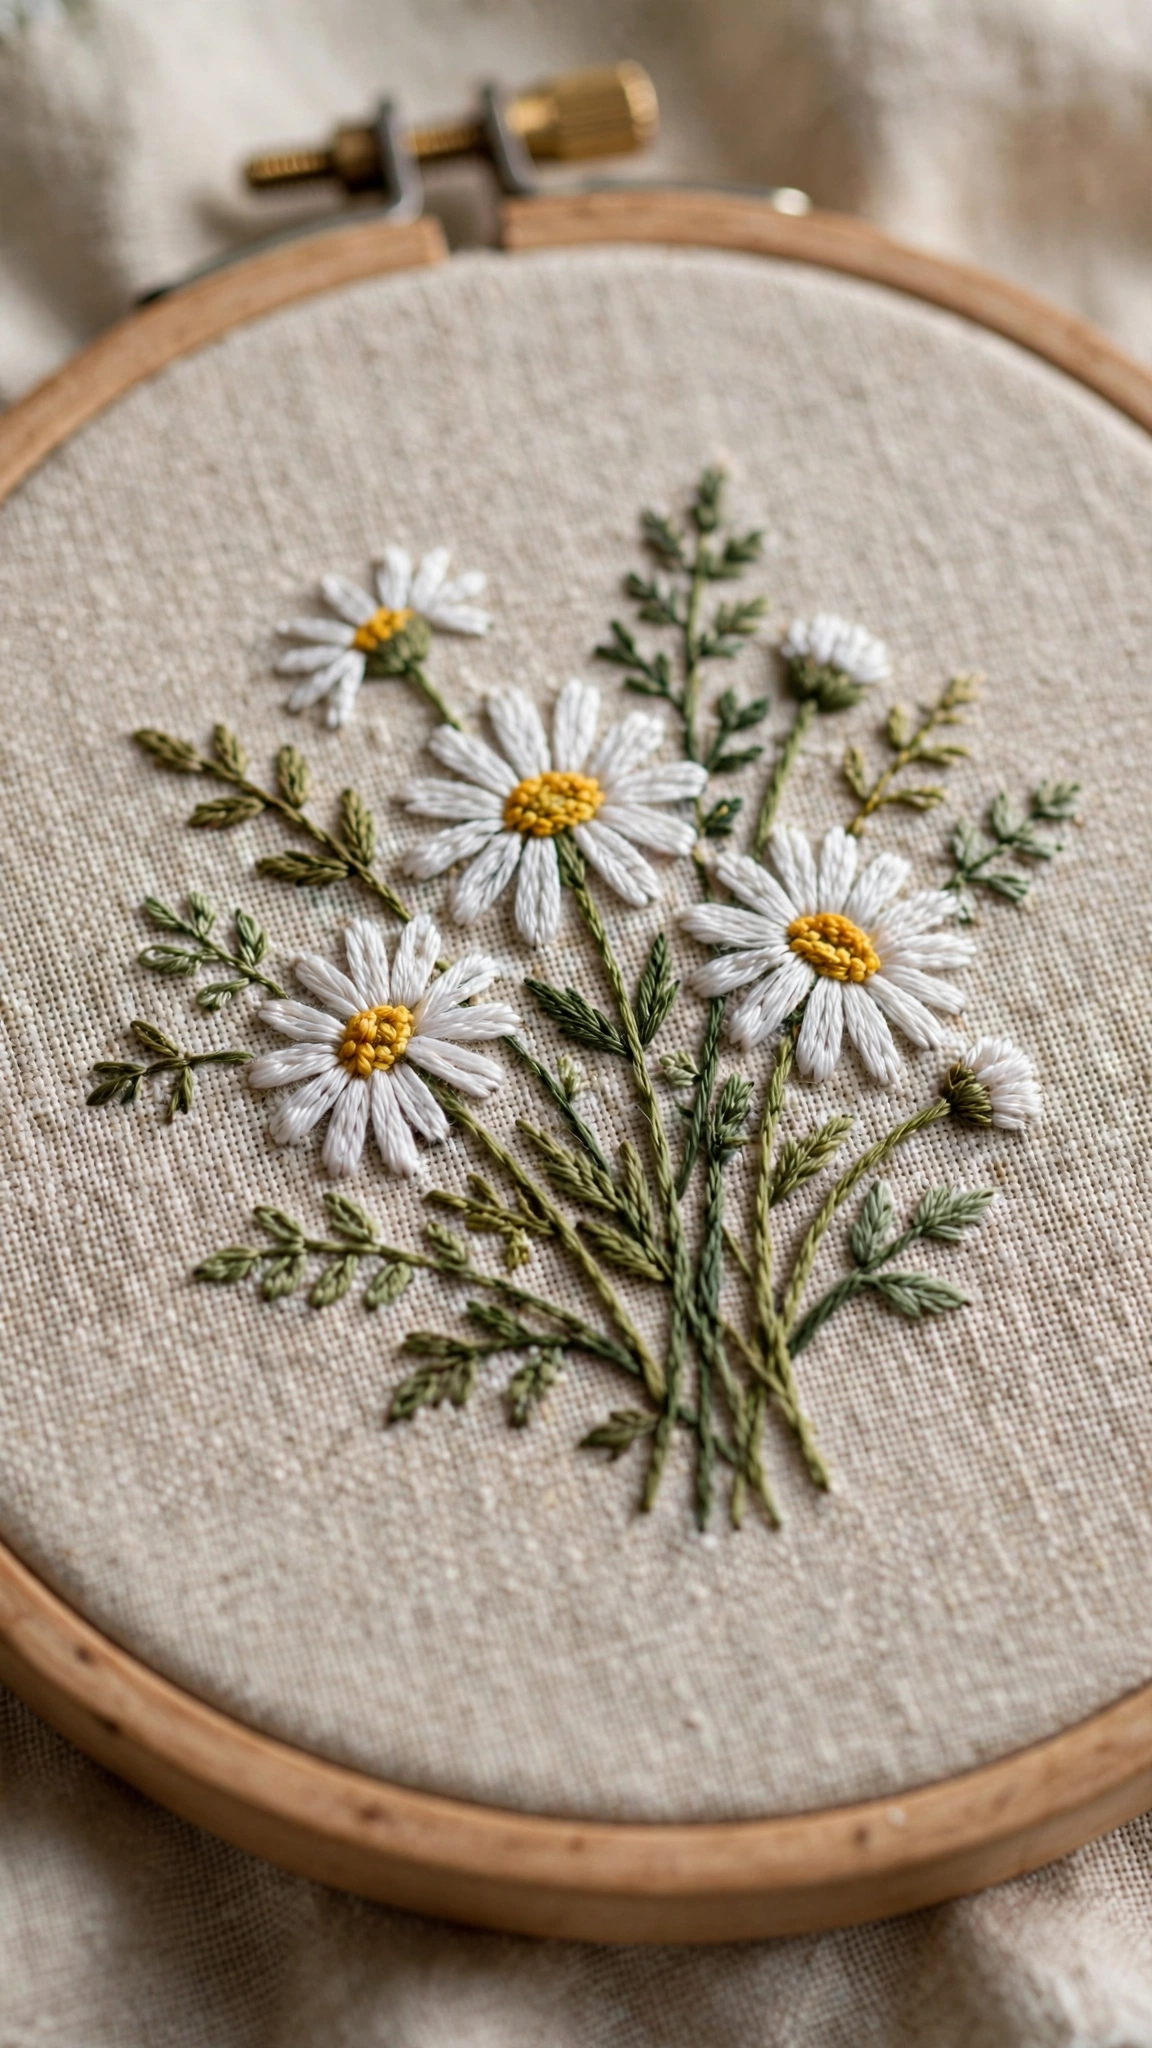
Draw five to seven daisies on stems of different heights, gathered like a hand-tied bouquet. Vary the daisy sizes for a natural look. Stitch the petals in white or cream, the centers in yellow French knots, and the stems in green stem stitch. Add a few detached chain leaves. Difficulty: Easy. Key stitches: lazy daisy, French knot, stem stitch, detached chain.
6. Daisy Chain Border
Draw small daisies spaced evenly along a line, connected by a curving stem. This pattern teaches consistency, since you will stitch the same small flower many times. It makes a wonderful border for pillowcases, table runners, or the edge of a hoop design. Difficulty: Easy. Key stitches: lazy daisy, French knot, stem stitch.
Lavender Sprigs and Tulips
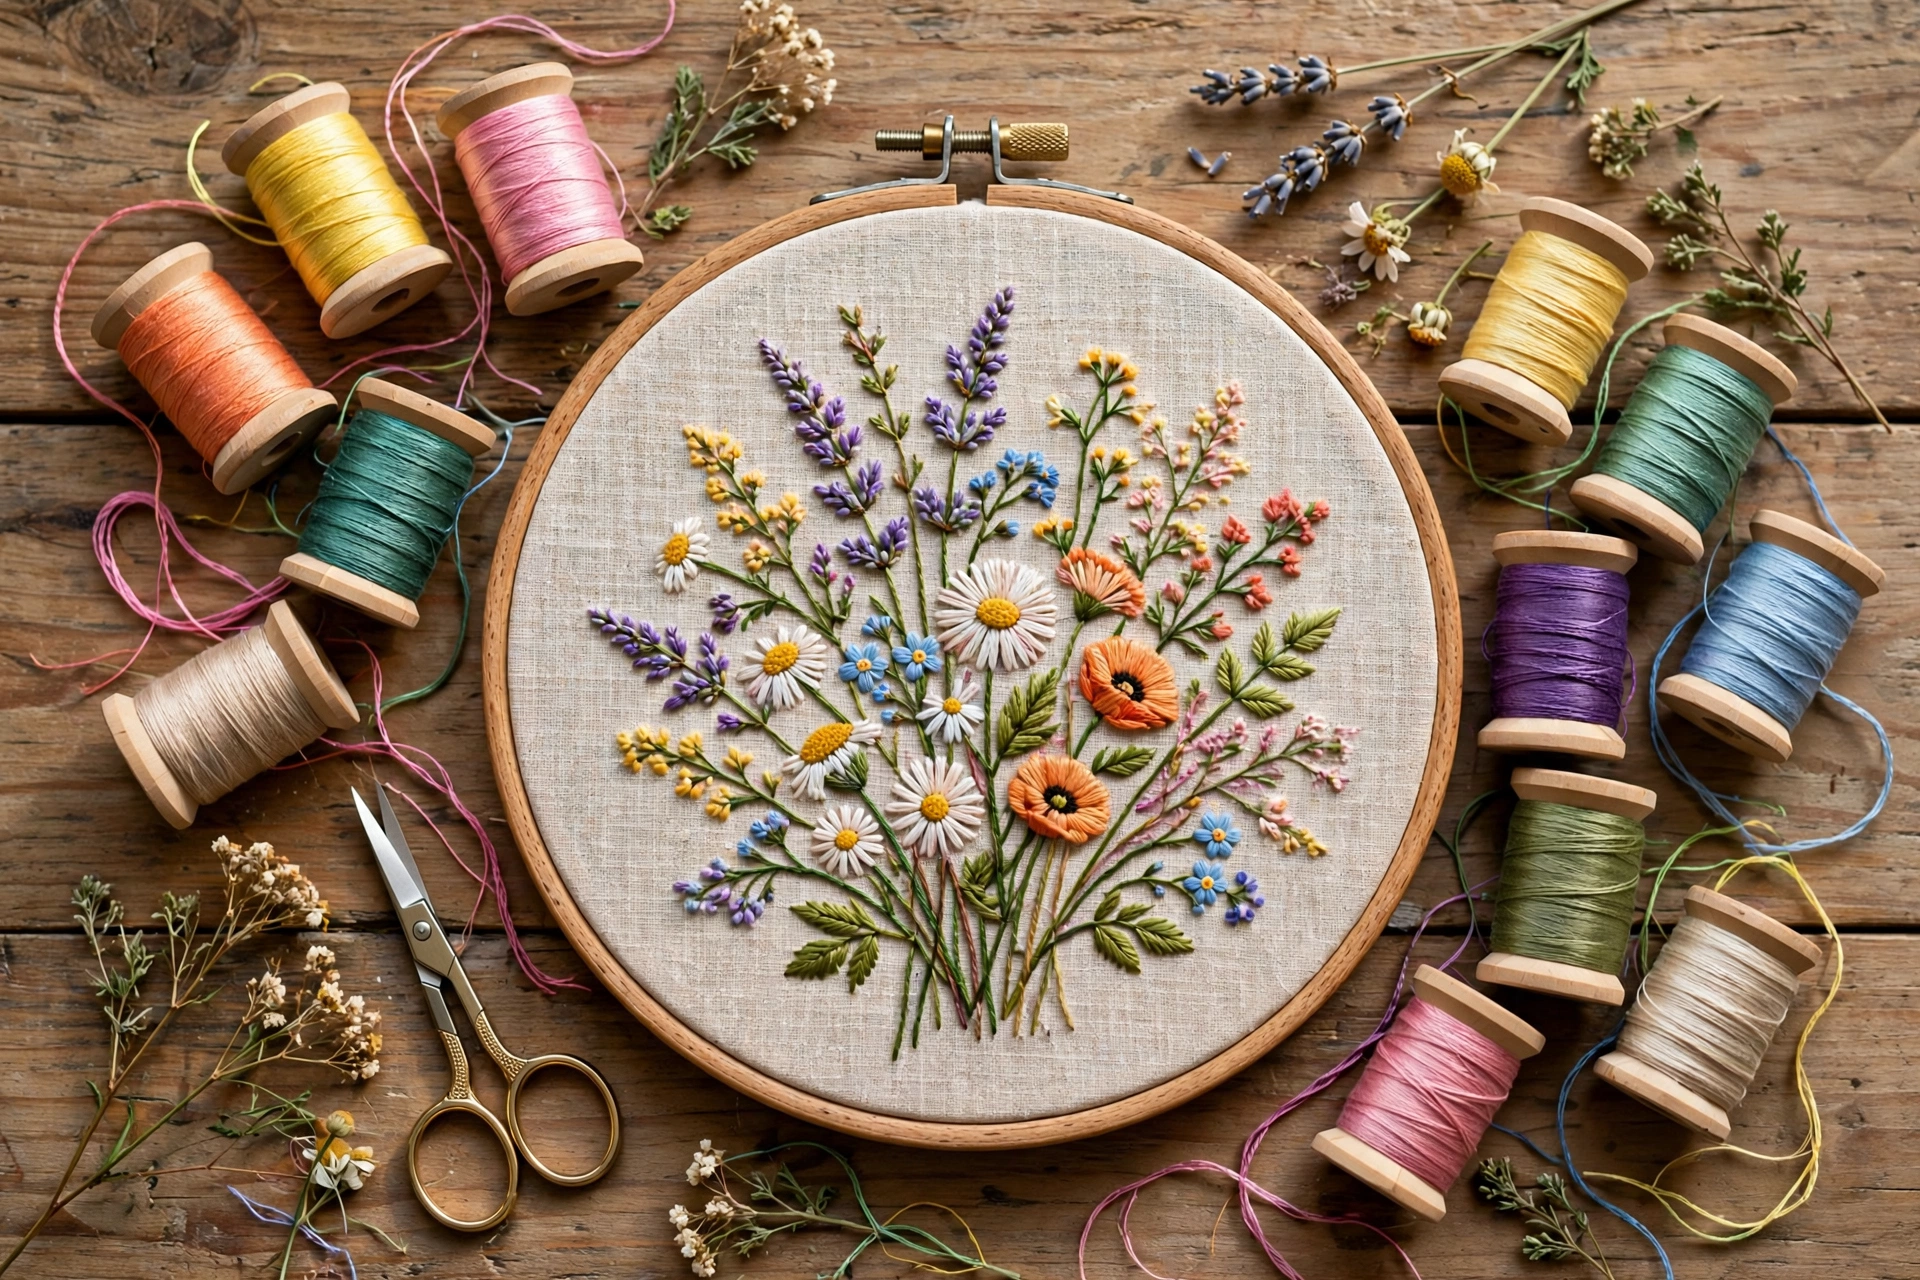
These two are beginner favorites because they look impressive with very little stitching. Both rely on simple repeated marks, which builds rhythm and confidence.
7. Lavender Sprig
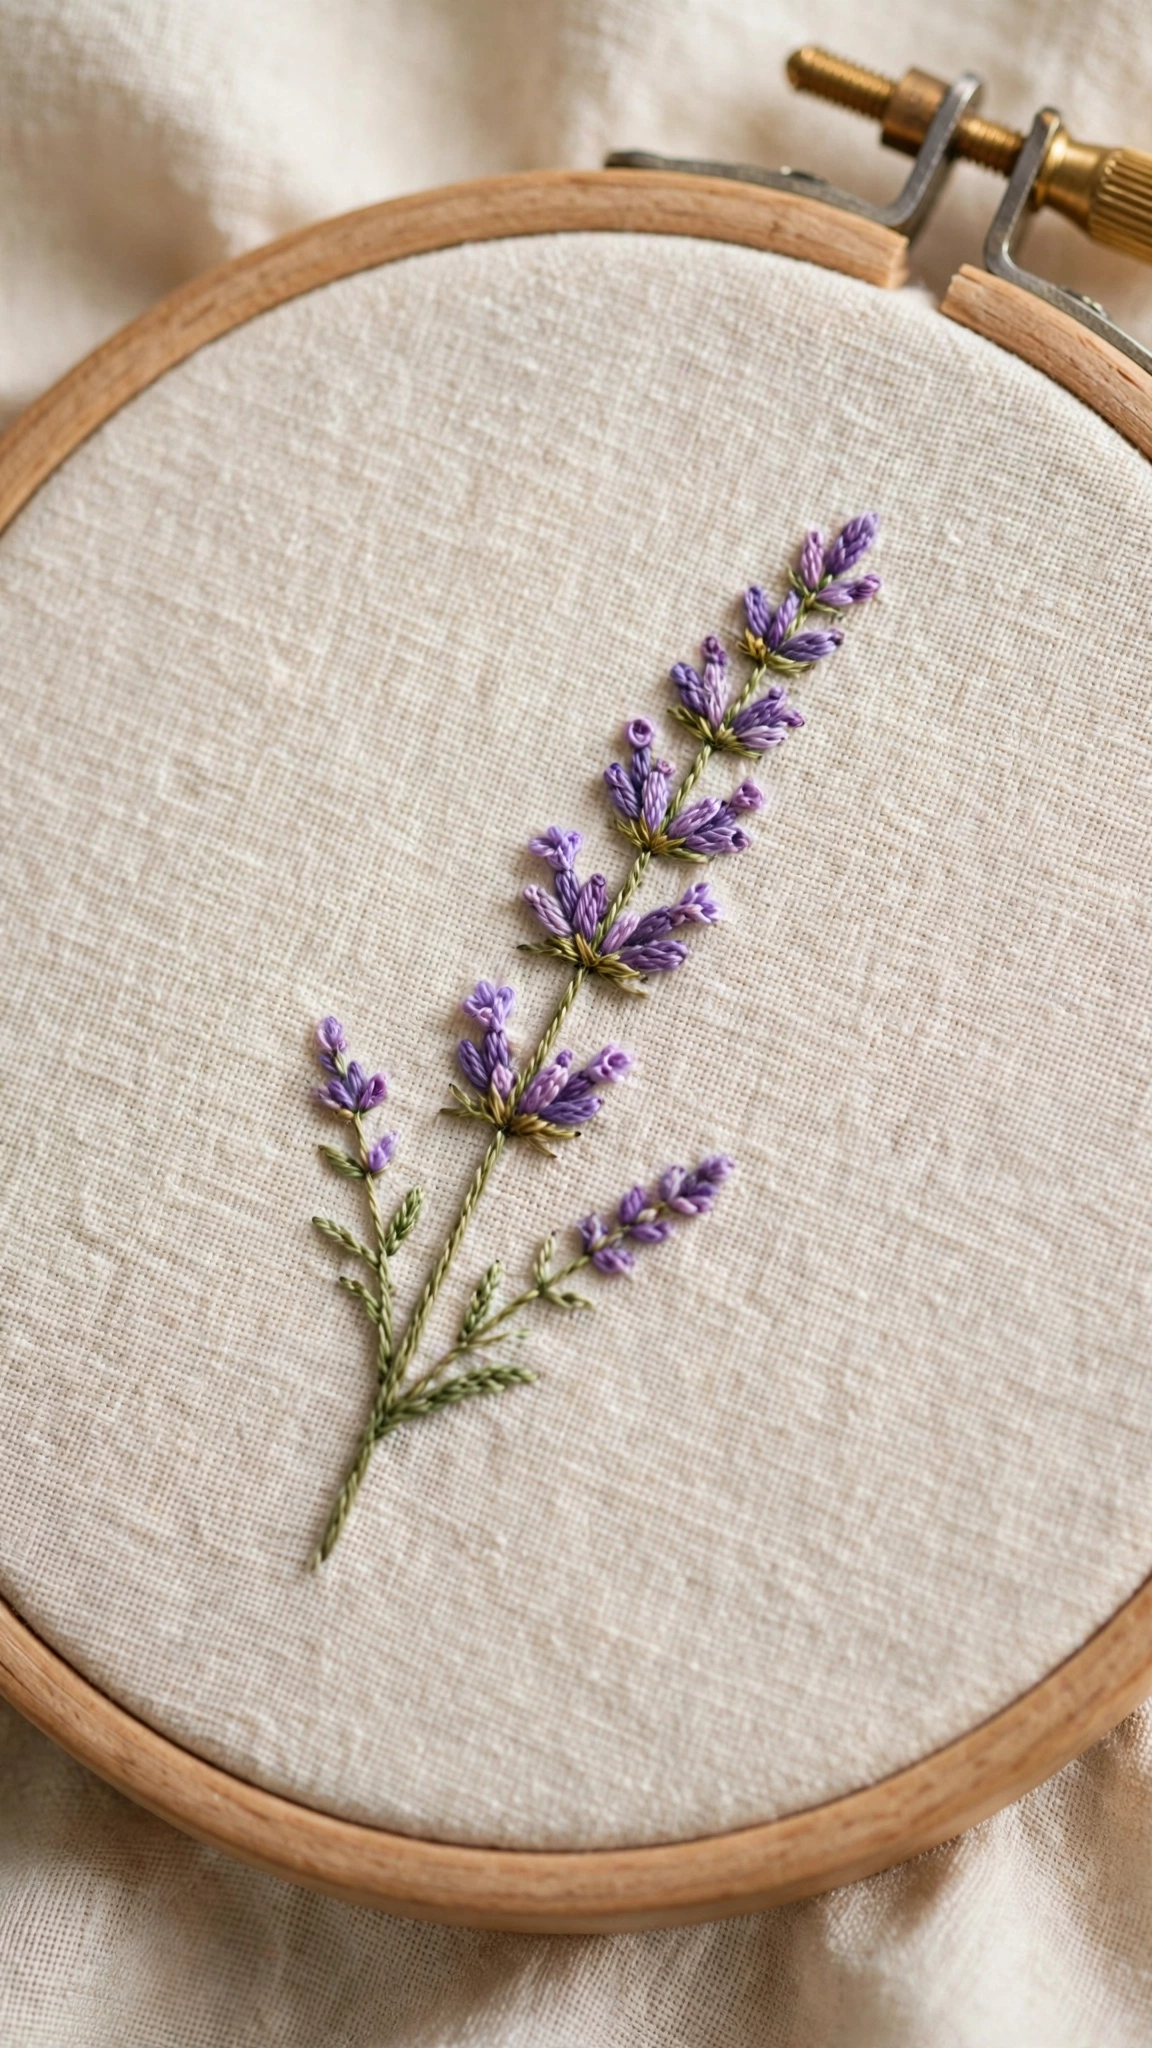
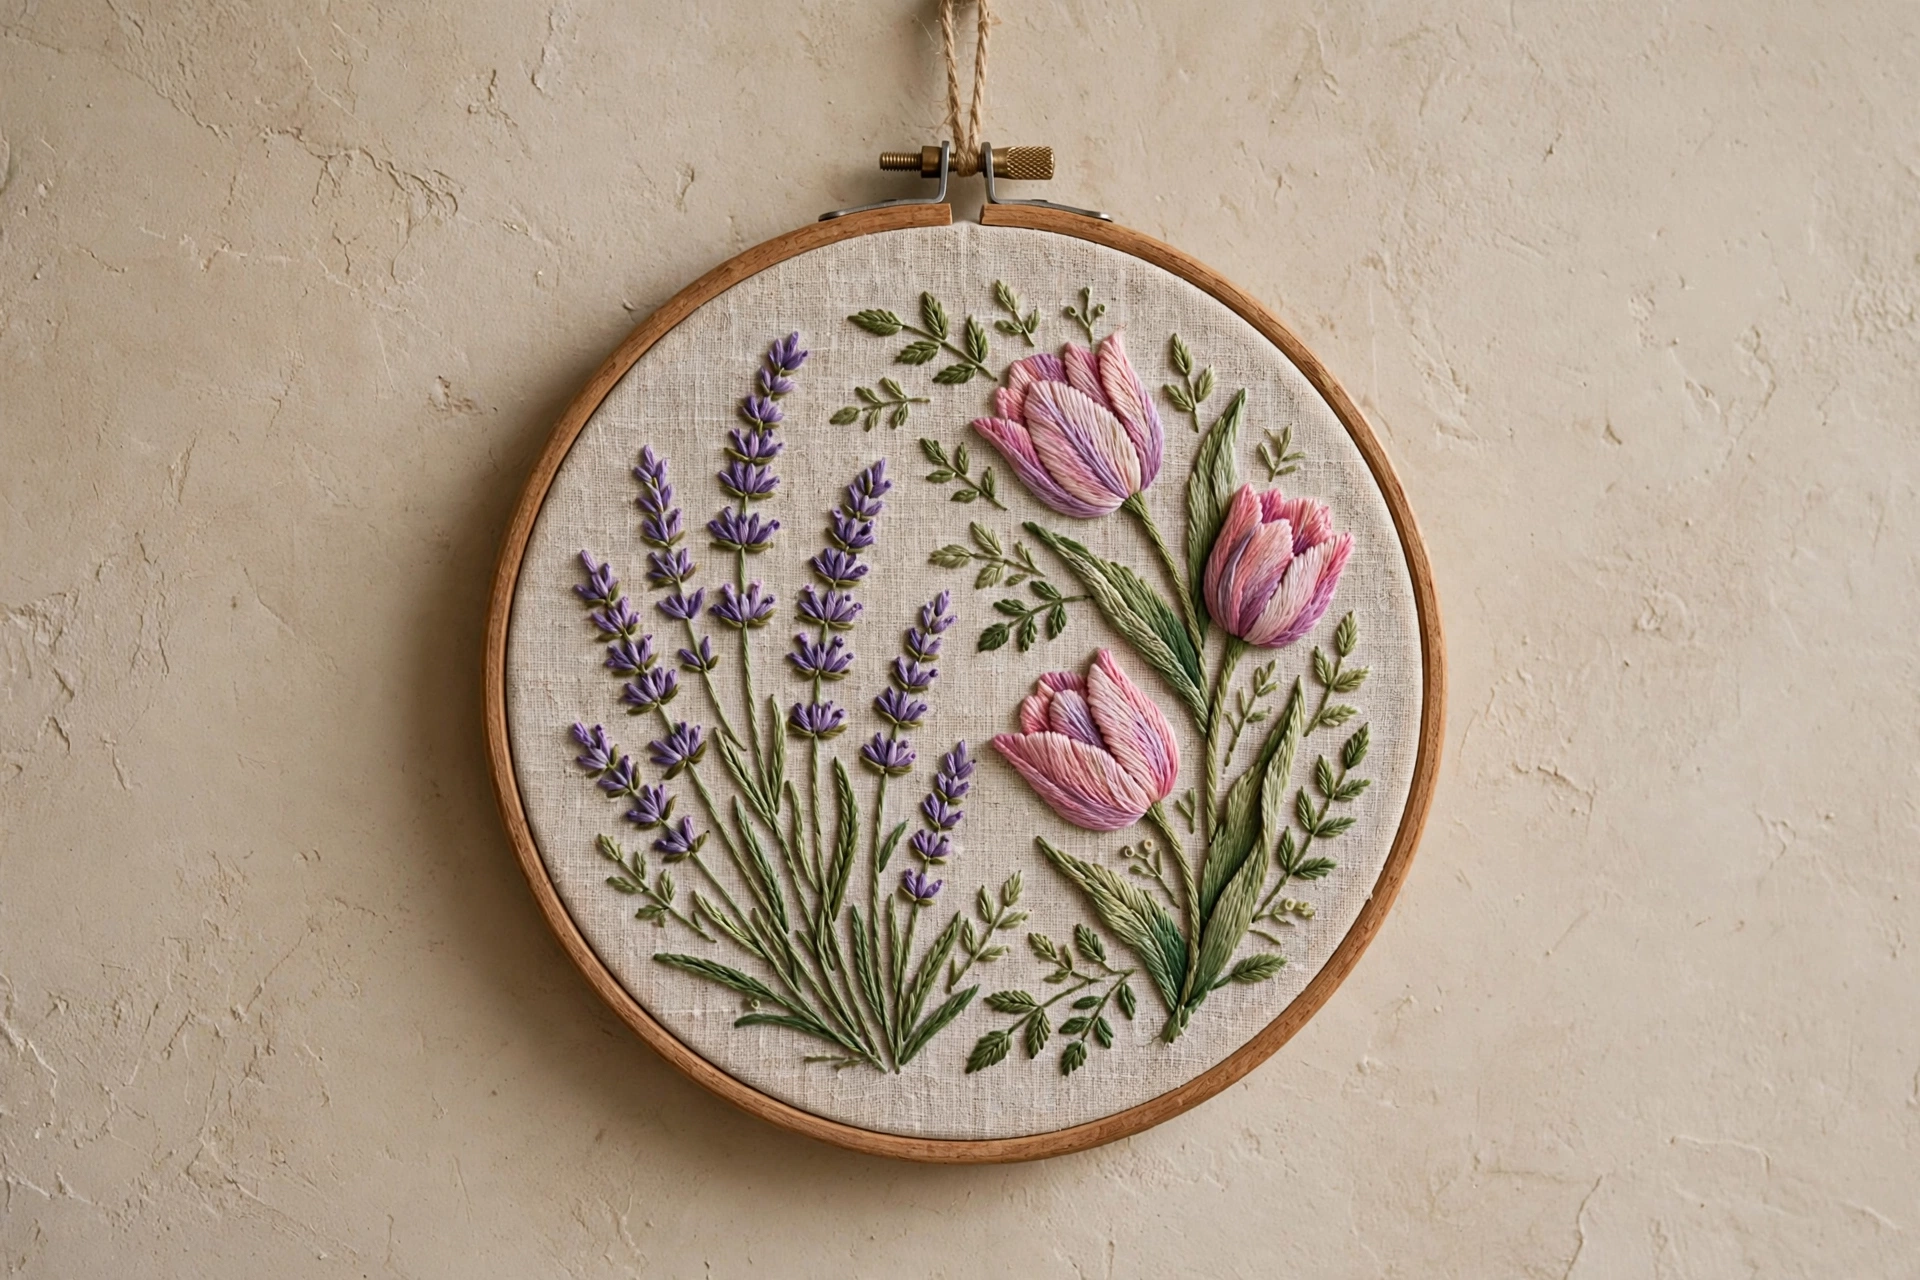
Draw one tall, straight stem. Along the top half, sketch small oval buds on short side stems. Work the main stem in stem stitch, then stitch each bud as a single straight stitch angled outward. Use two shades of purple, alternating them for depth. Difficulty: Very easy. Key stitches: stem stitch, straight stitch.
8. Lavender Bundle
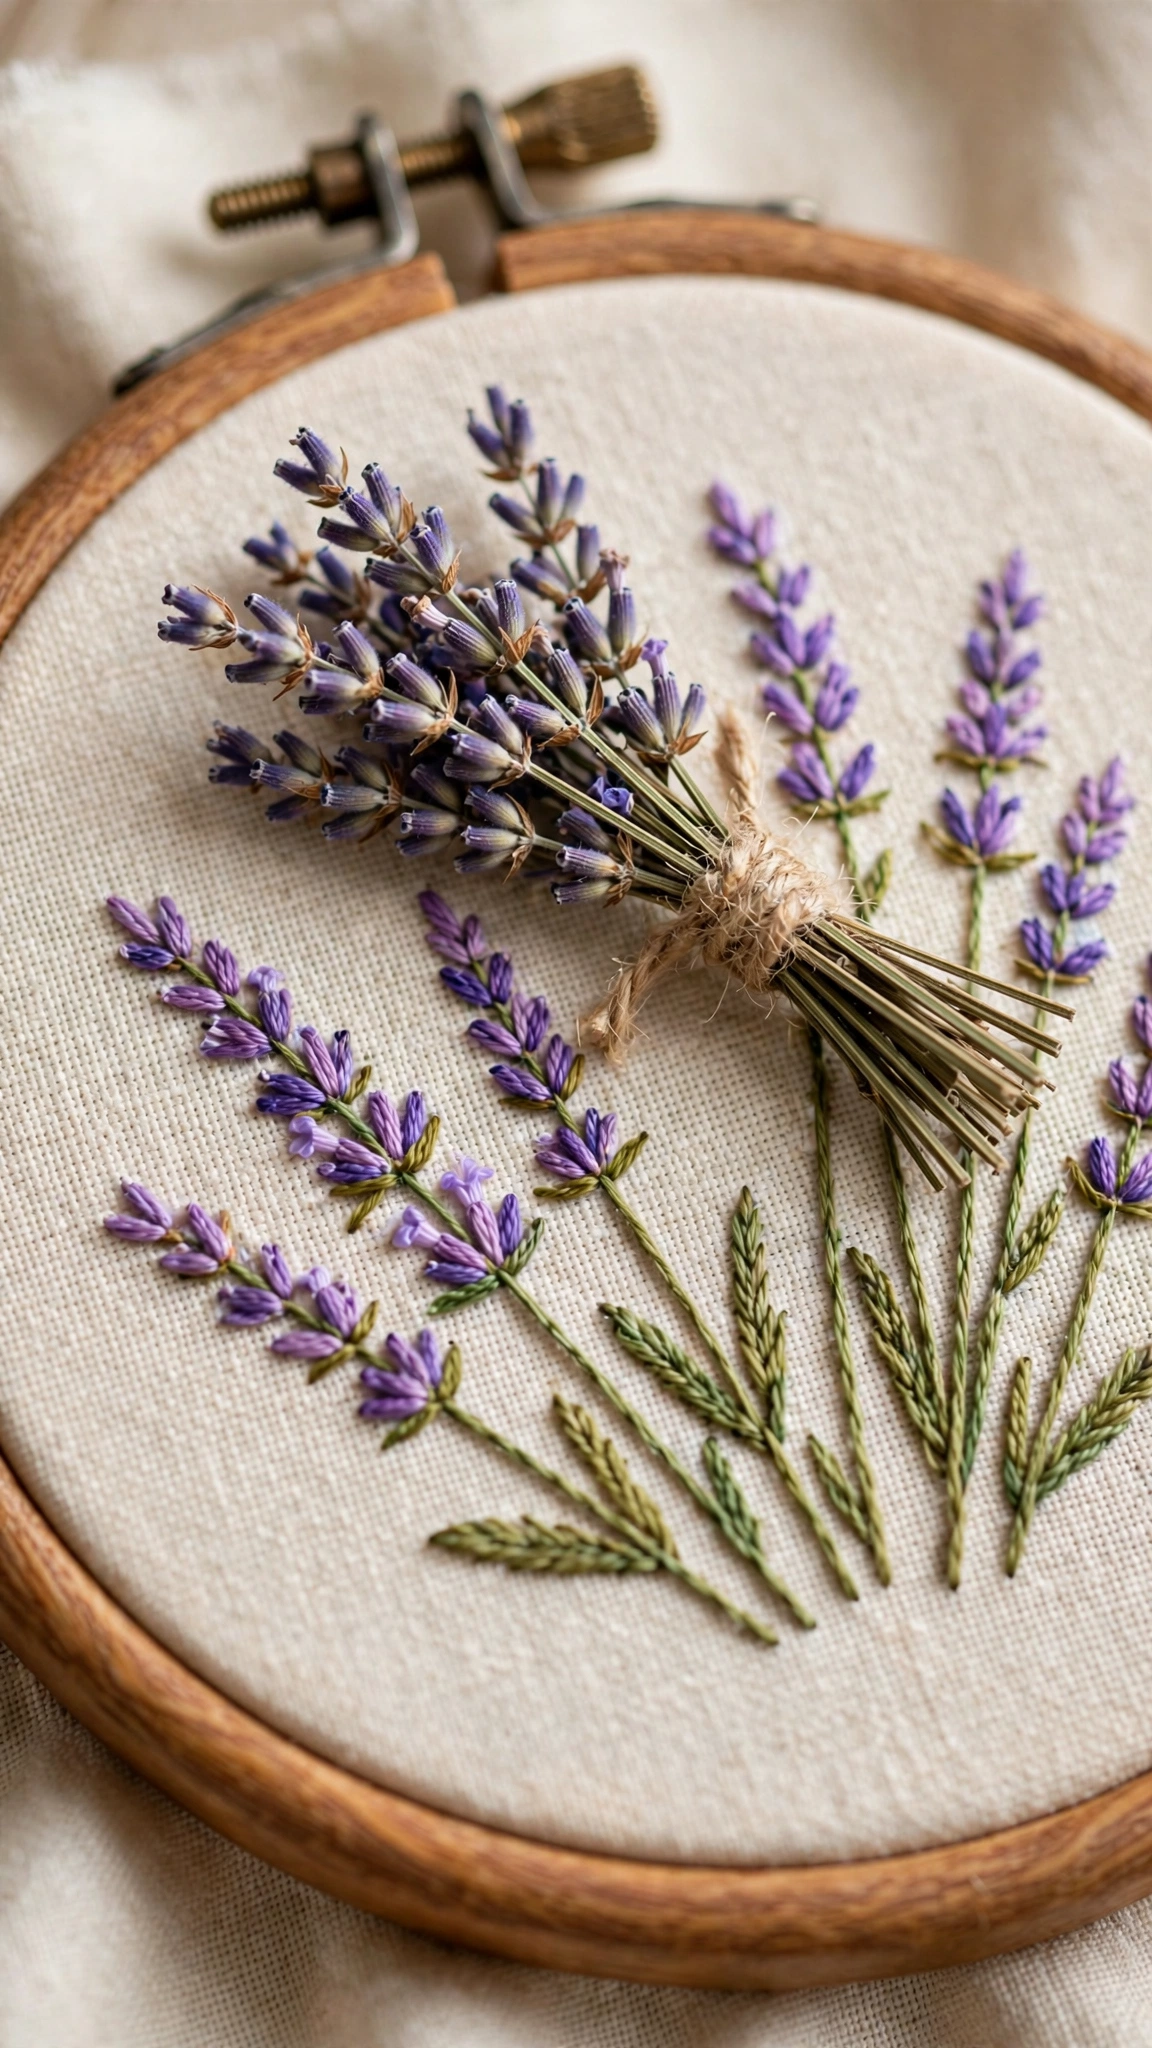
Draw five to seven sprigs fanning out from a tied point at the bottom, like a dried lavender bundle. Stitch as above, then wrap the gathered stems with a few rows of backstitch in a ribbon color to suggest the tie. Difficulty: Easy. Key stitches: stem stitch, straight stitch, backstitch.
9. Simple Tulip
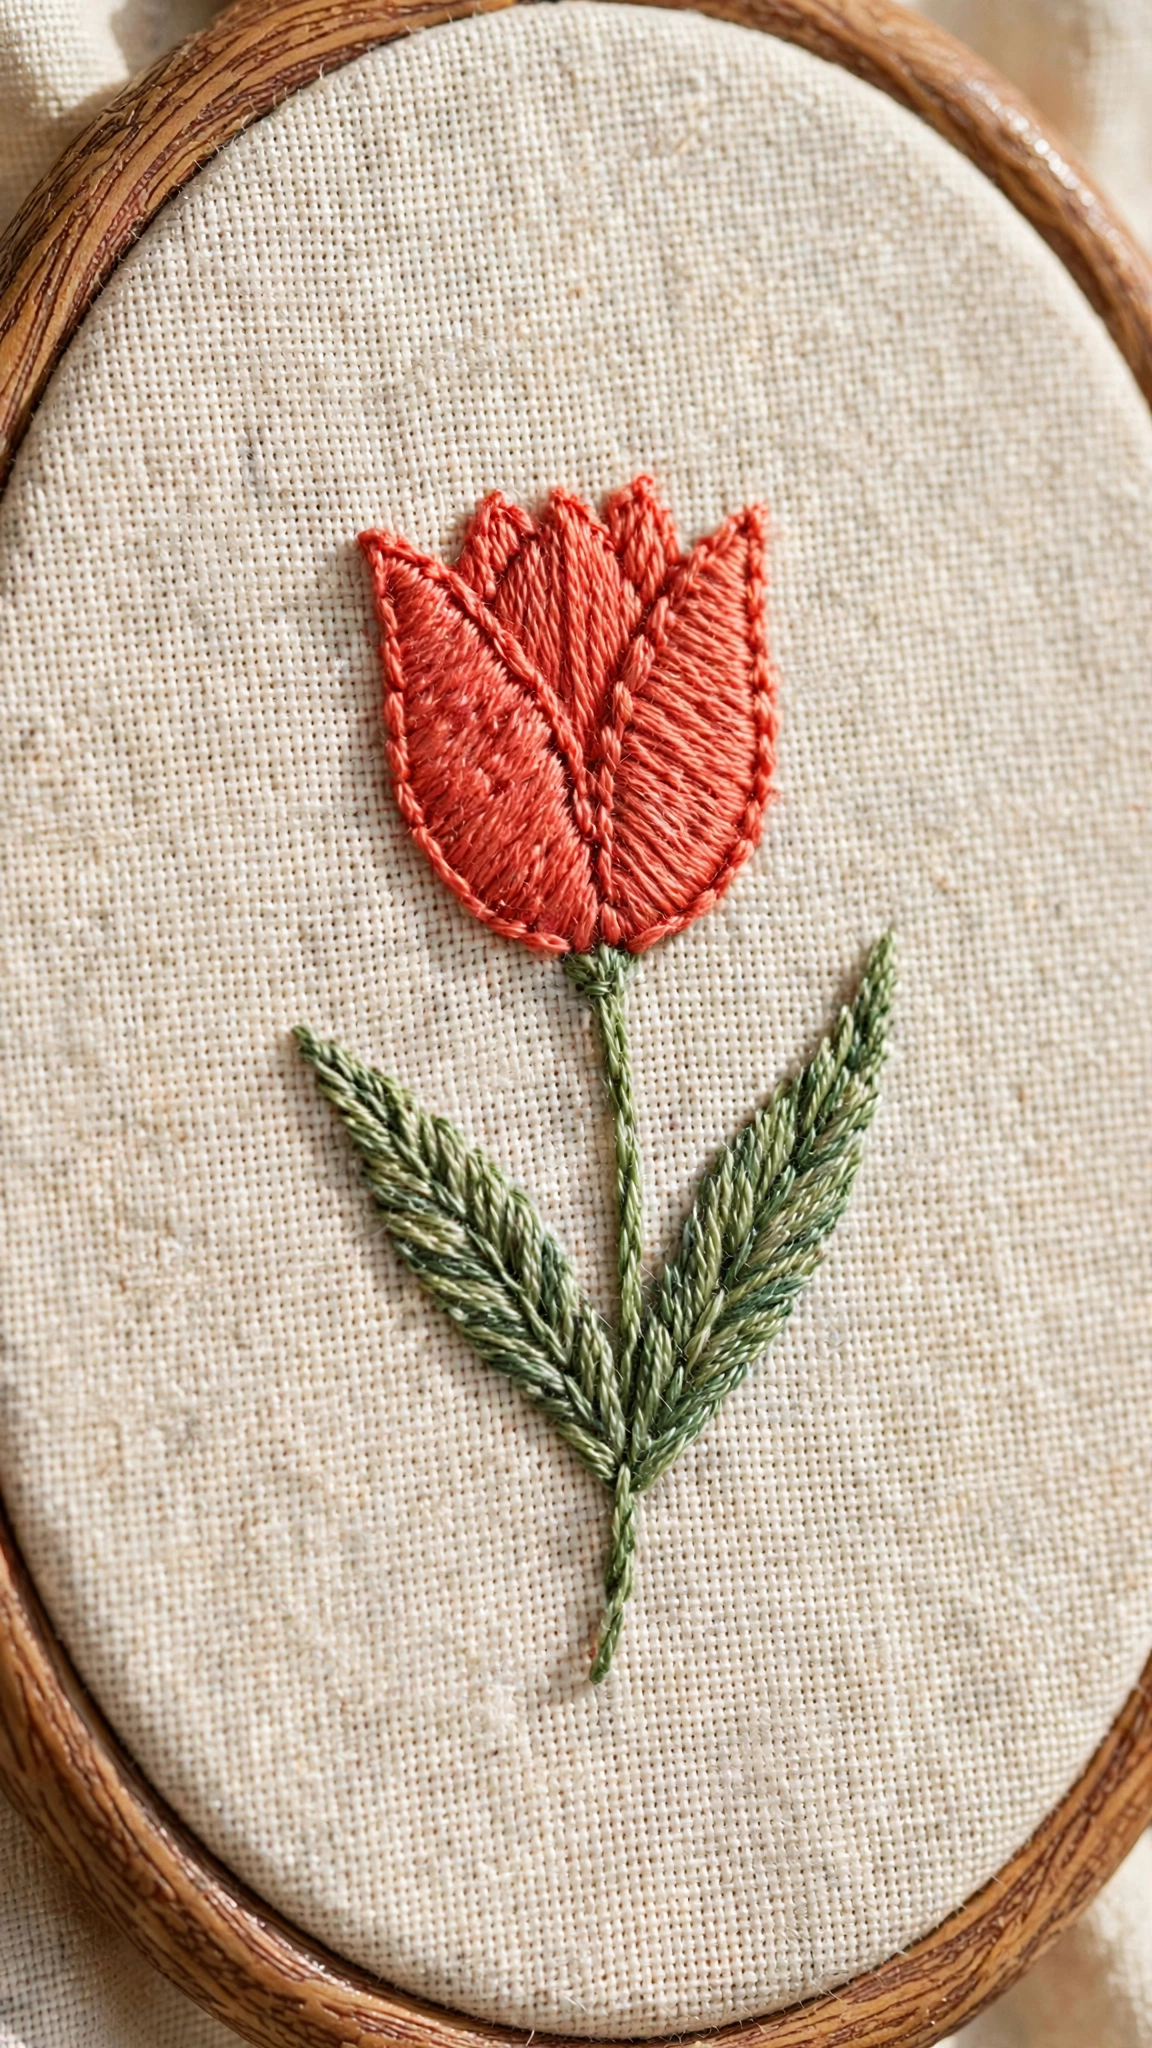
Draw the classic cup shape: three points at the top, a rounded bottom. Fill the cup with satin stitch worked vertically, changing color halfway down if you like for a two-tone effect. Add a long stem in stem stitch and one leaf in lazy daisy or fishbone stitch. Difficulty: Easy. Key stitches: satin stitch, stem stitch, lazy daisy.
10. Tulip Trio
Three tulips on stems of different heights with a few leaves. The repetition makes each tulip better than the last, and the finished piece looks like a proper little garden scene. Try each tulip in a different color. Difficulty: Easy. Key stitches: satin stitch, stem stitch, fishbone stitch.
Wildflowers and Meadow Designs
Wildflower patterns celebrate imperfection, which makes them wonderful for beginners. No one expects a wildflower to look polished.
11. Wildflower Meadow Sprig
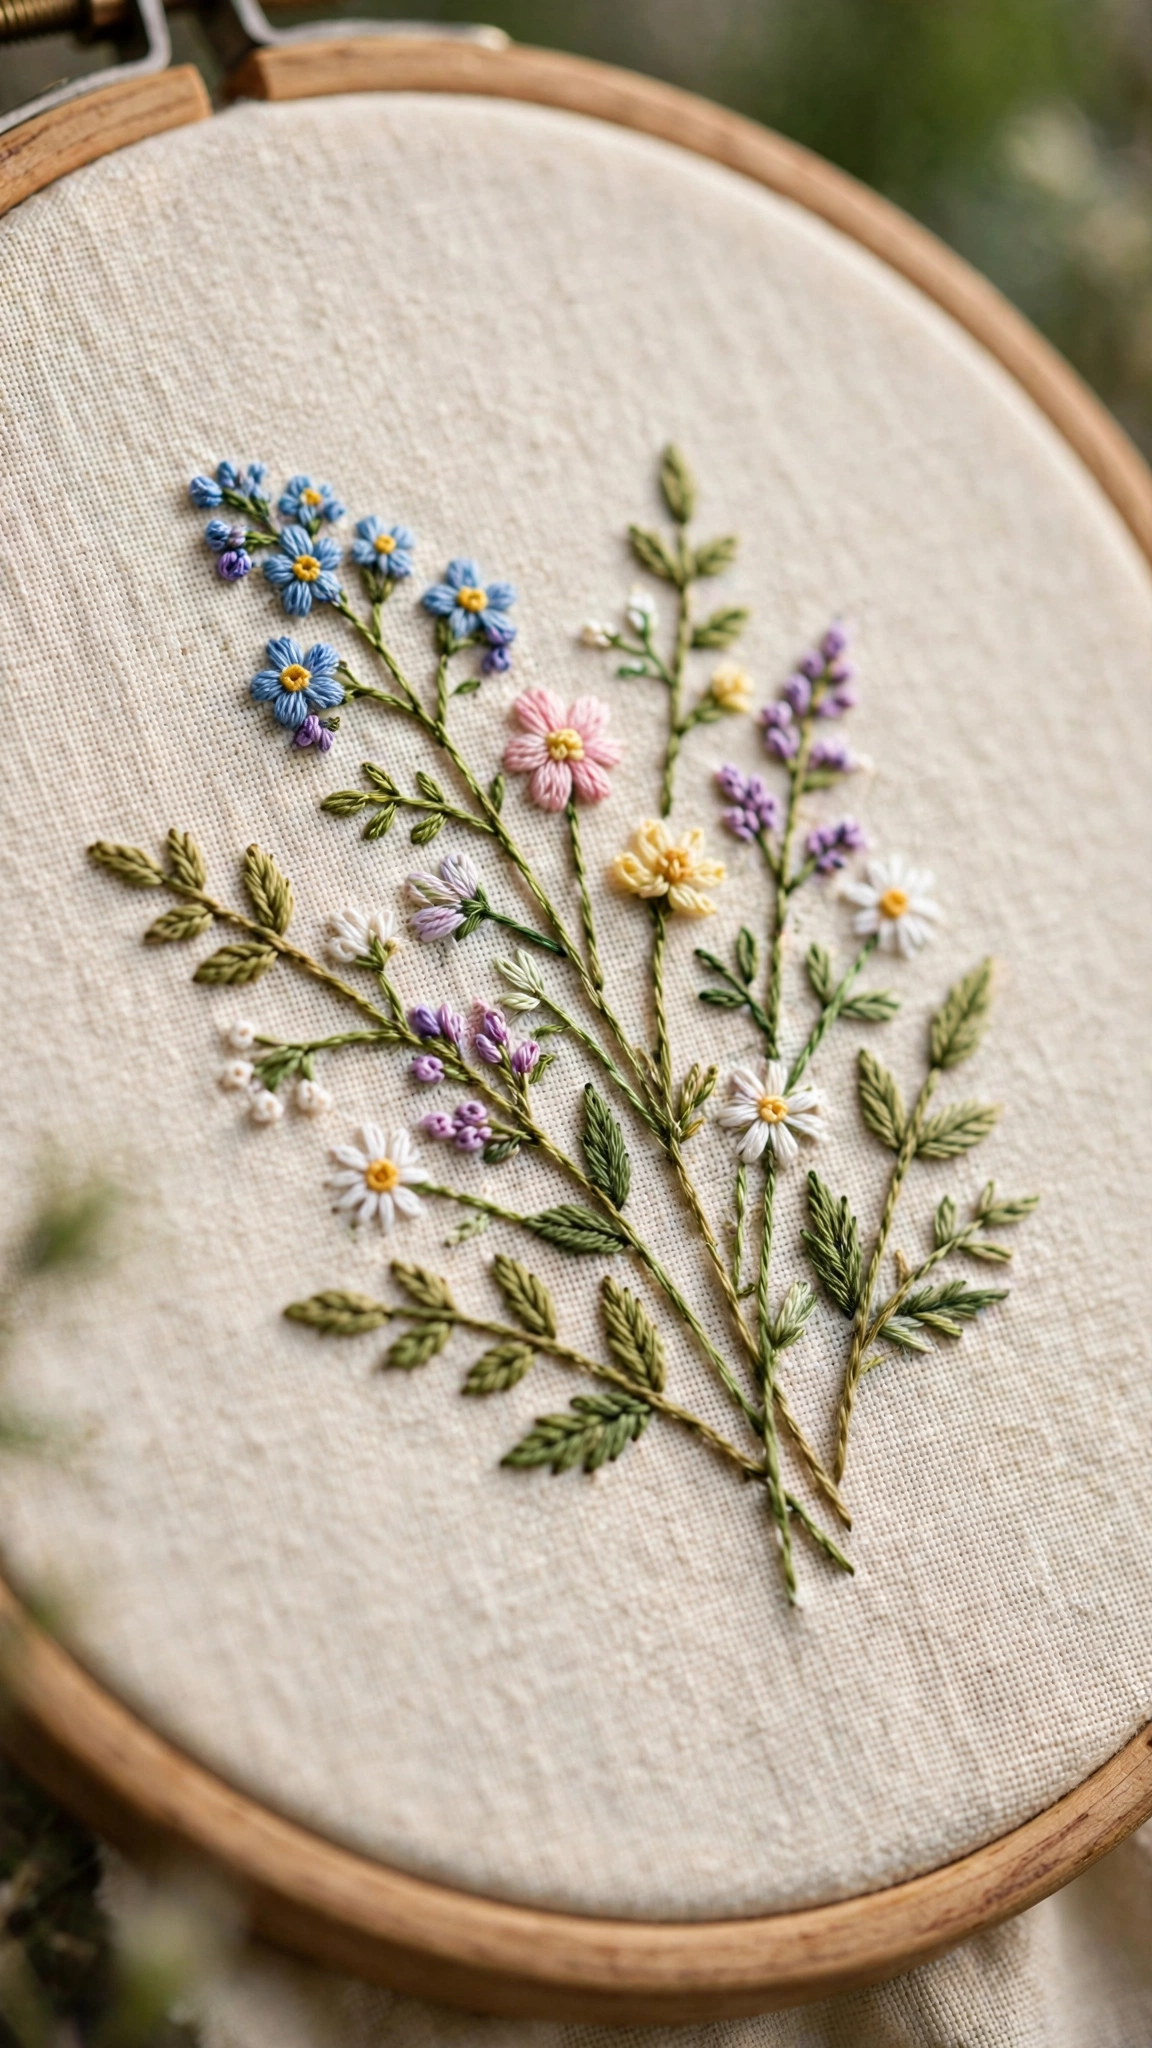
Draw a stem with small round flower heads scattered along the top and a few grass blades. Work the flower heads as clusters of French knots in mixed colors, the stem in stem stitch, and the grass in straight stitch. The French knot practice alone makes this pattern worthwhile. Difficulty: Easy. Key stitches: French knot, stem stitch, straight stitch.
12. Coneflower
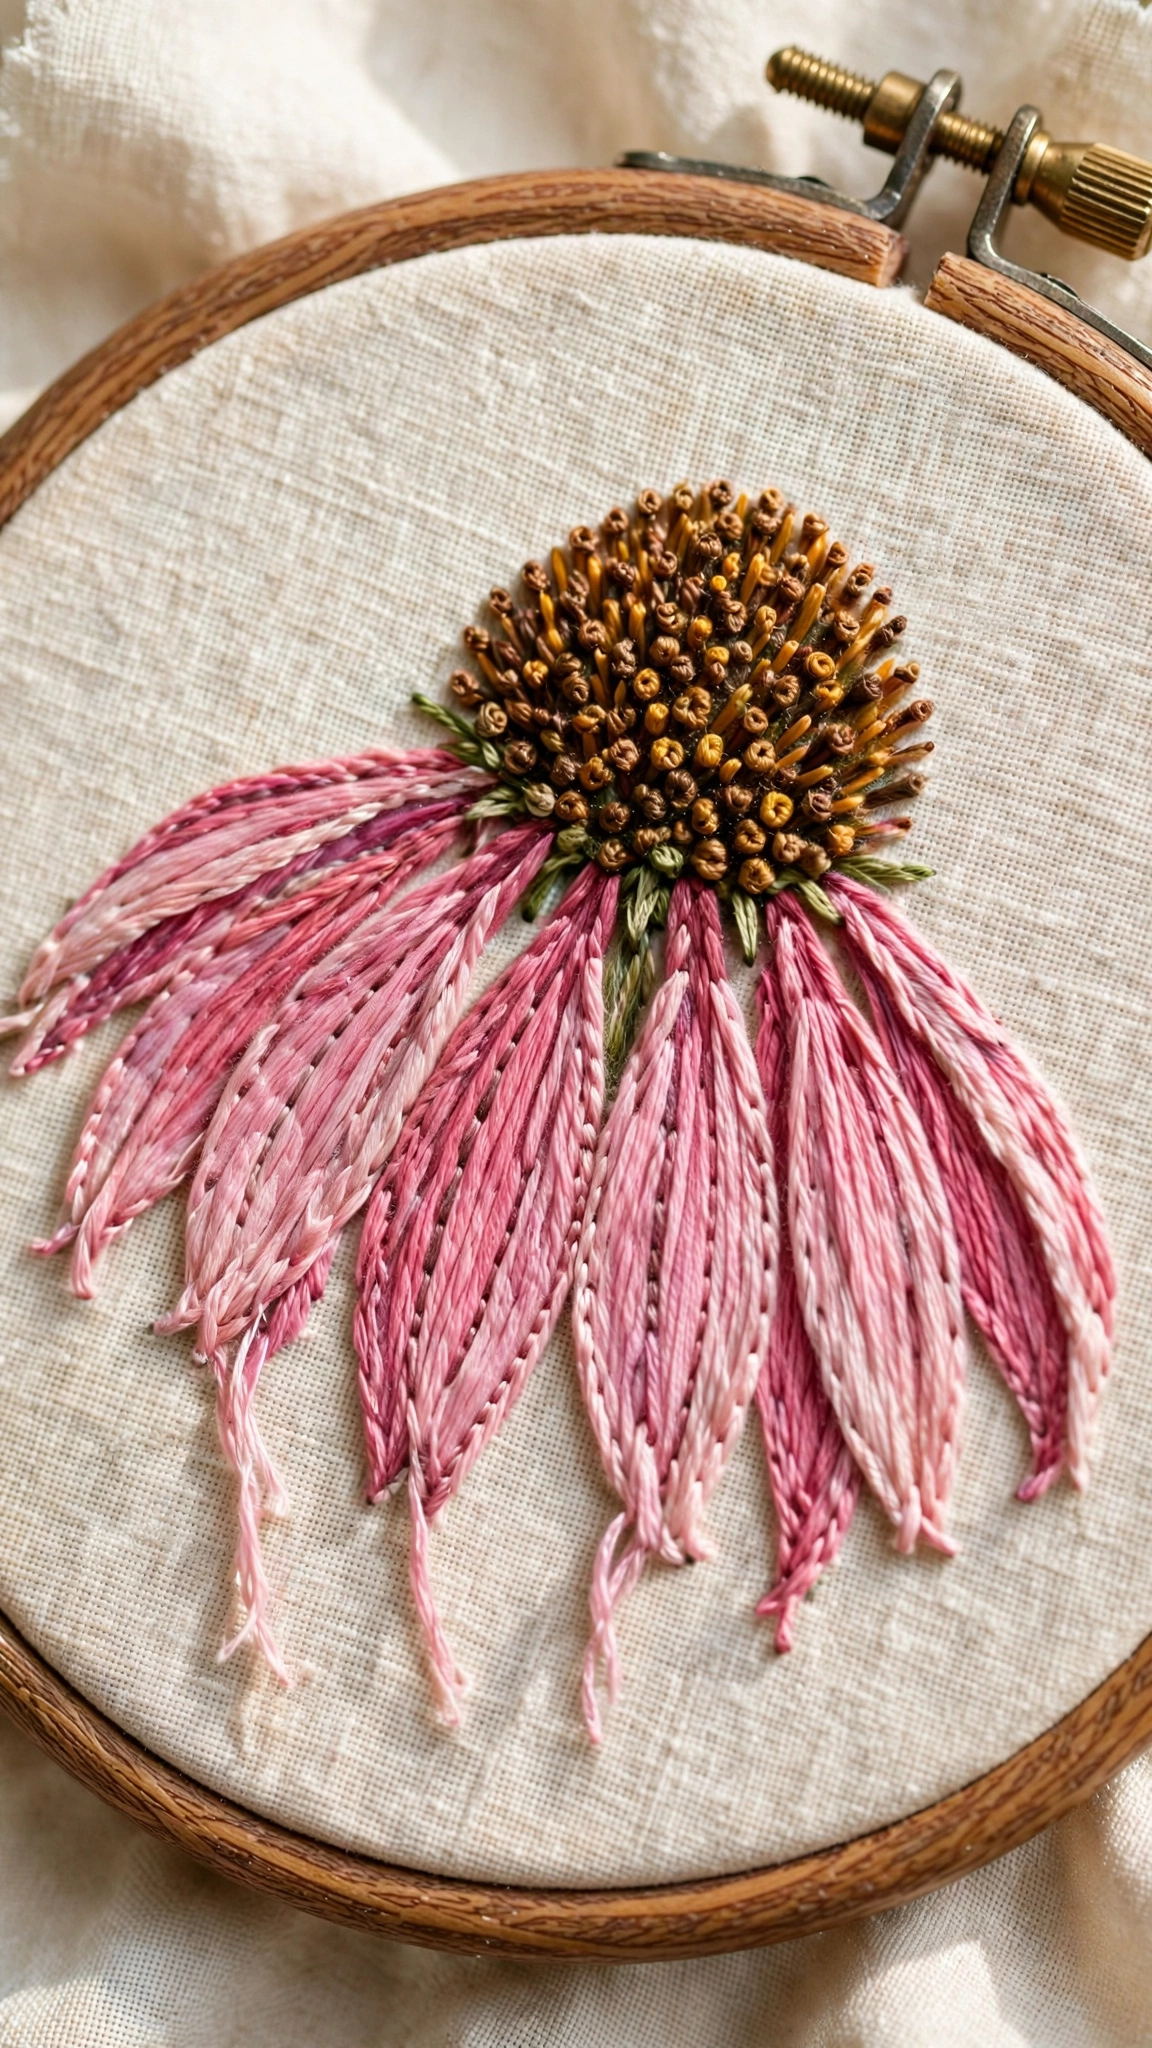
Draw a spiky seed head: an oval center with pointed petals radiating downward. Fill the center with French knots in brown or bronze, and work the drooping petals in lazy daisy stitch in purple or pink. Add a sturdy stem and one or two leaves. Difficulty: Easy to moderate. Key stitches: lazy daisy, French knot, stem stitch.
Roses, Sunflowers, and Showpieces
These patterns look more advanced than they are. They use the same basic stitches as everything above, just arranged with a bit more care.
13. Woven Wheel Rose
Draw a small circle. Stitch five straight-stitch spokes radiating from the center, then weave your thread over and under the spokes in a spiral until the circle is full. This creates a beautiful dimensional rose from just two steps. Add stem-stitched stems and lazy daisy leaves. Difficulty: Moderate (the weaving takes a little practice). Key stitches: woven wheel, stem stitch, lazy daisy.
14. Cheerful Sunflower
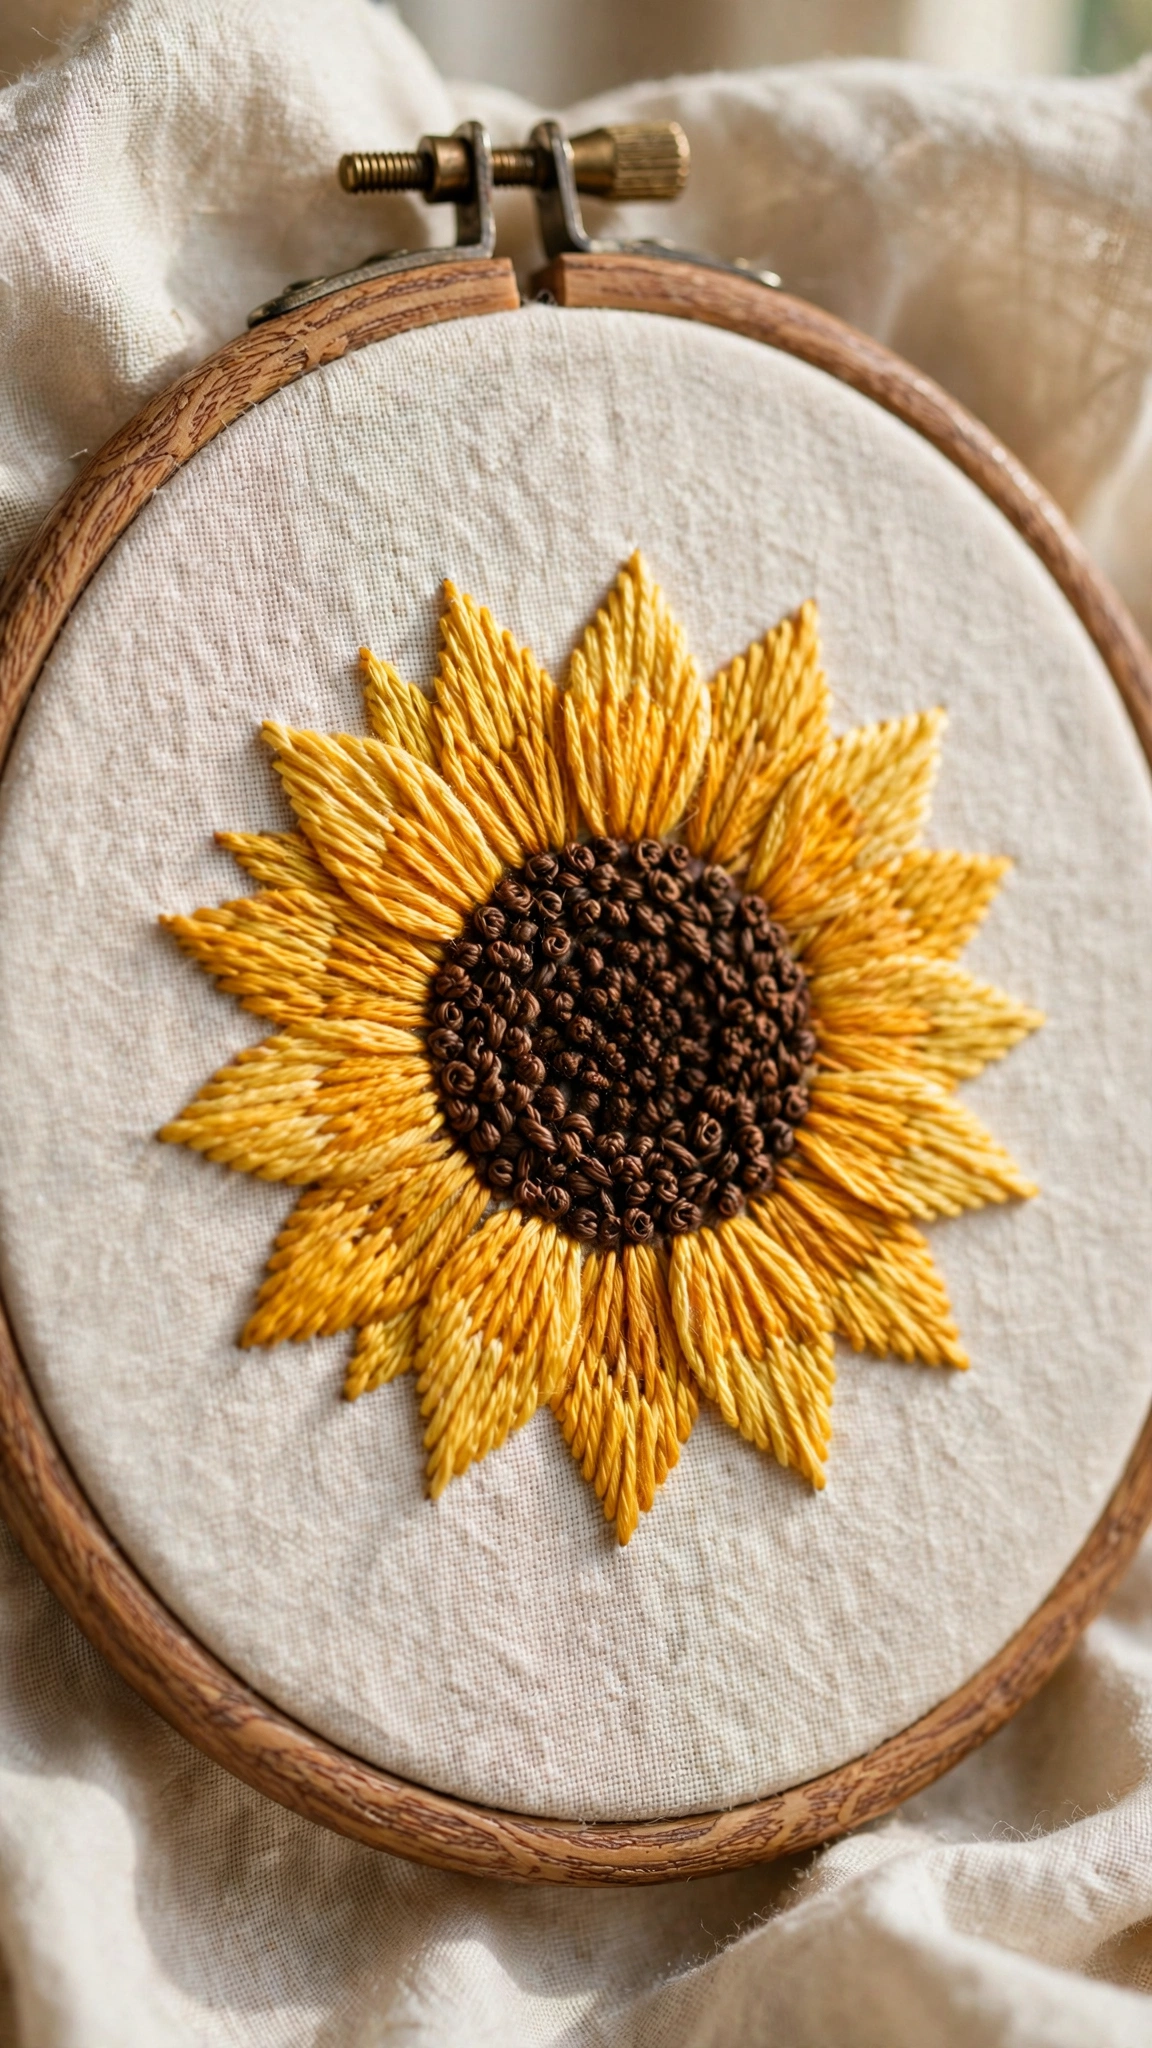
Draw a large center circle with twelve to sixteen long petals around it. Fill the center with French knots packed tightly in brown and gold, and work the petals in lazy daisy or satin stitch in bright yellow. Add a thick stem and two large leaves in fishbone stitch. Difficulty: Easy to moderate. Key stitches: lazy daisy, French knot, fishbone stitch.
15. Floral Wreath Sampler
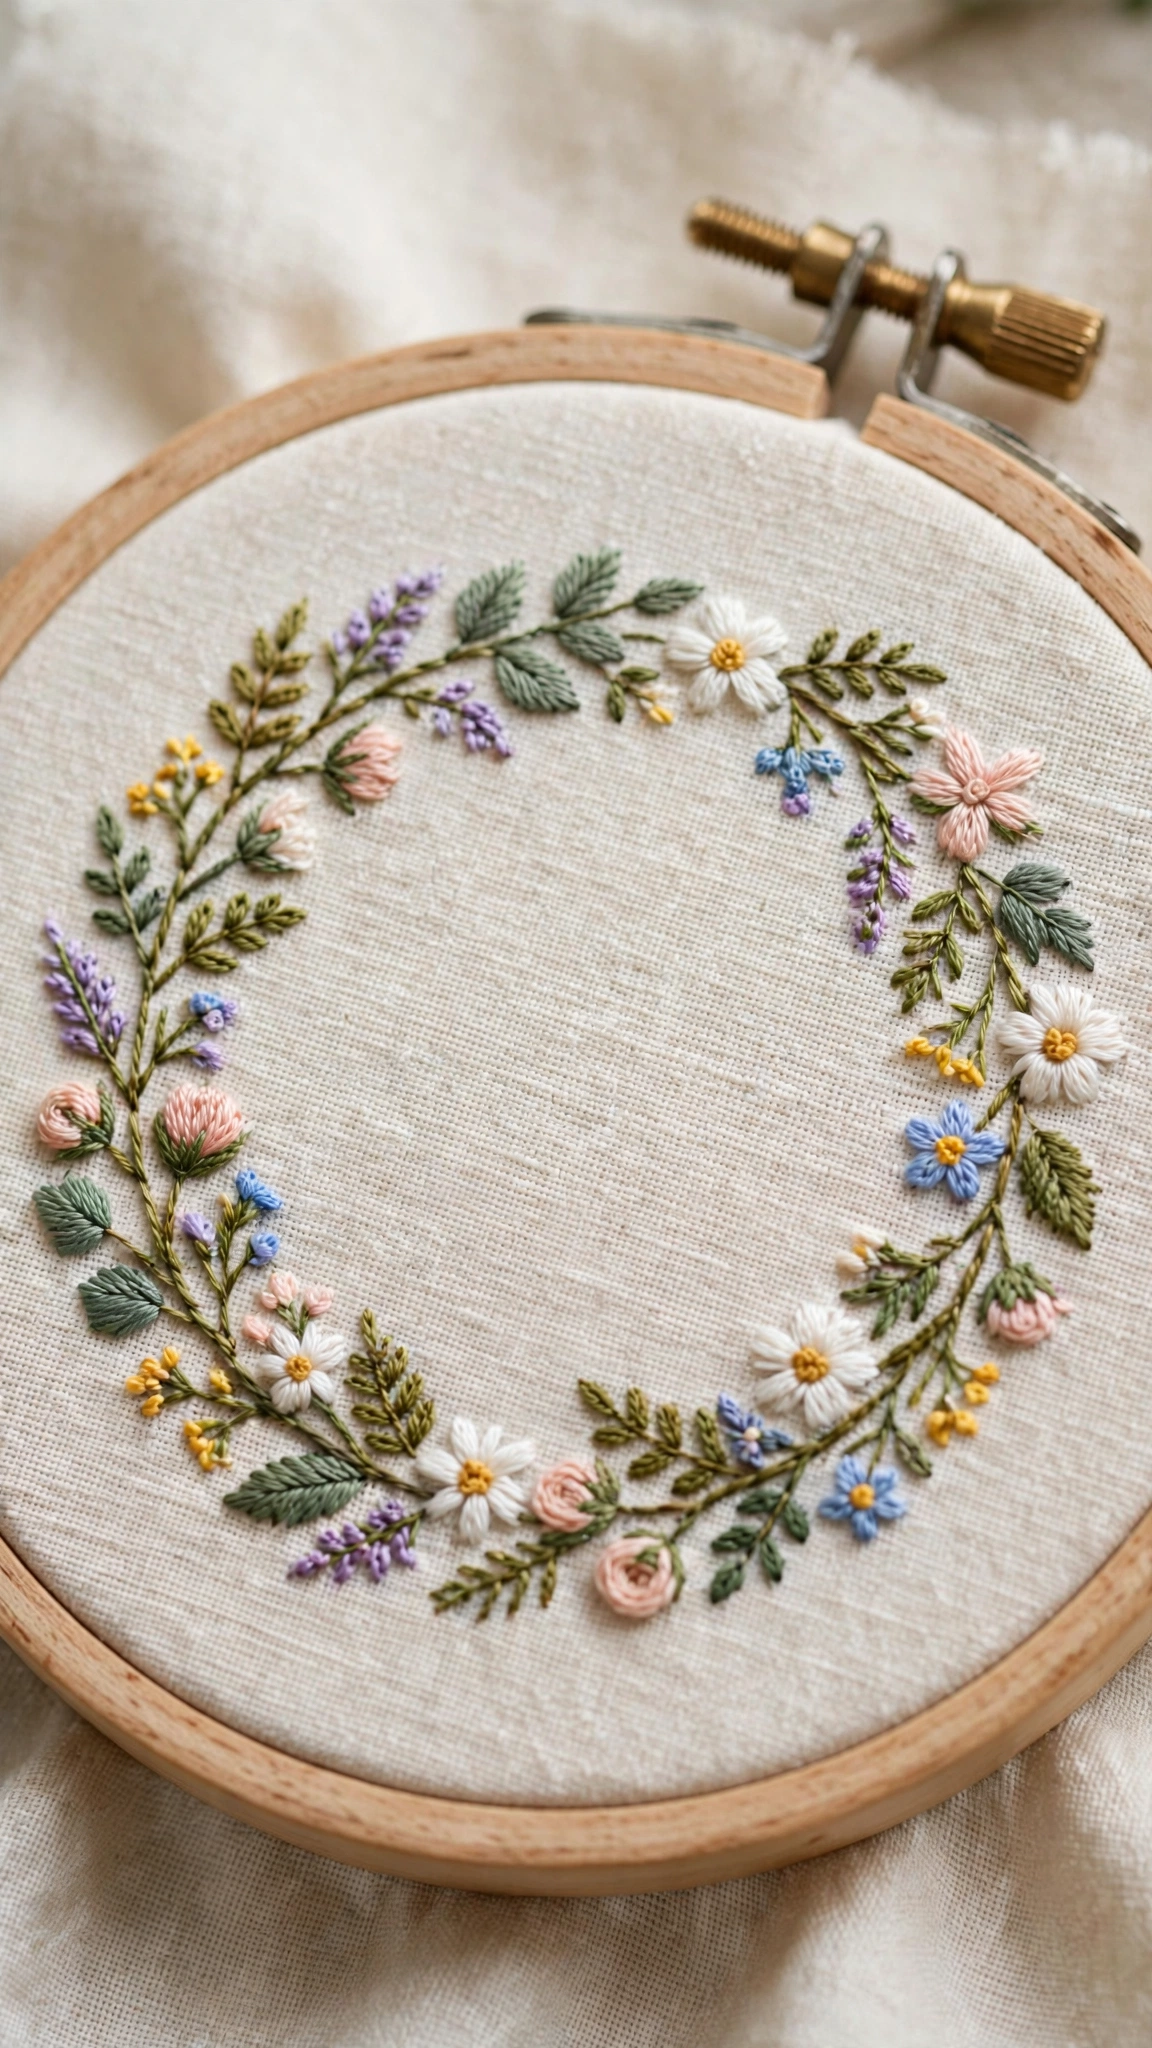
Draw a large circle and arrange any of the flowers above along it: blossoms, daisies, lavender sprigs, leaves. This is your graduation piece. It uses every stitch you have learned and lets you design your own arrangement. Add your initial or the year in backstitch at the center. Difficulty: Moderate. Key stitches: everything you have learned.
How to Transfer and Use These Patterns
You do not need fancy equipment to get these patterns onto fabric. If you can trace, you can transfer. Here are the simplest approaches:
- Lightbox or window tracing: Tape your pattern to a bright window, tape your fabric over it, and trace with a water-soluble pen or pencil. This works beautifully on light fabrics and costs nothing.
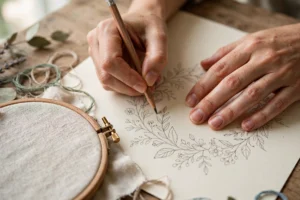
- Printable transfer: Sketch the pattern on paper, then trace over your lines firmly with a heat-transfer pencil or use printable embroidery transfer paper. Iron or press according to the product instructions.
- Freehand drawing: For simple patterns like the blossom or daisy, you can draw directly on the fabric with a water-soluble marker. Give yourself permission to keep it loose.
Start every pattern on a practice swatch if you are unsure. A six-inch square of calico or quilting cotton costs almost nothing and saves you from unpicking your main piece.
Tips for Beautiful Floral Stitching
- Use two strands of floss for most of these patterns. It gives a nice full look without being bulky. Six strands is almost always too much for small flowers.
- Keep your tension even. Petals look best when every lazy daisy loop is roughly the same size and snugness. Check the back of your work occasionally: it should look fairly neat.
- Stitch the background elements first. Work stems before flowers, and flowers before French knot centers. This keeps the front layers clean.
- Vary your greens. Real foliage is not one flat green. Using two or three green tones for leaves and stems adds instant realism.
- Let the fabric breathe. Not every inch needs stitching. A simple sprig on plain linen can be more elegant than a crowded hoop.
Mistakes to Avoid
- Pulling stitches too tight. This is the number one beginner error. Tight stitches pucker the fabric and make petals look pinched. Aim for firm but relaxed.
- Skipping the hoop. Stitching without a hoop lets the fabric shift, and your flowers will wander. Hoop up every time, even for small pieces.
- Starting with the hardest pattern. The woven wheel rose is wonderful, but stitch five or six blossoms and daisies first. Your rose will be far better for it.
- Using the wrong needle. A sharp needle with too small an eye frays your floss and your patience. Use an embroidery or crewel needle sized for your fabric and strand count.
- Choosing busy fabric. A patterned background fights with your stitching. Stick to plain linen, cotton, or calico while you are learning.
- Giving up after one wonky petal. Unpick it and try again, or just keep going. Nobody examines your first flowers as closely as you do, and the tenth one will look ten times better than the first.
Flowers are where almost every embroiderer finds their footing, and now you have fifteen places to start. Pick the pattern that made you smile when you read about it, thread up two strands of something pretty, and stitch your first blossom today. The wreath sampler at the end is waiting for you when you are ready, and I promise it will feel like a small triumph. Happy stitching, and come back to tell me which flower you stitched first.