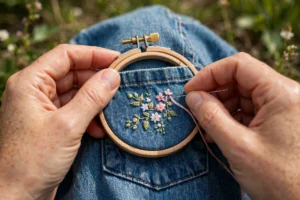
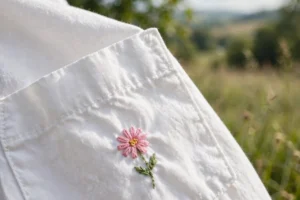
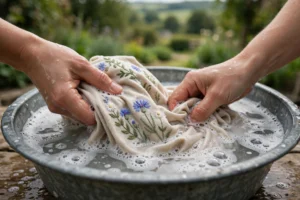
There is something special about an embroidered denim jacket. It turns an everyday wardrobe staple into a personal statement, a wearable canvas that only gets better with age. Denim is also one of the most forgiving fabrics for hand embroidery: it is stable, it does not stretch, and it hides small imperfections gracefully. If you have been wanting to customize a jacket, this is the perfect project to try.
This guide walks you through the entire process, from gathering tools to placing your design, transferring it, stitching it, and finishing the back so the inside looks as good as the outside. Whether you are decorating a thrifted find or a brand-new jacket, you will finish with a piece you will actually wear.
What You Will Need
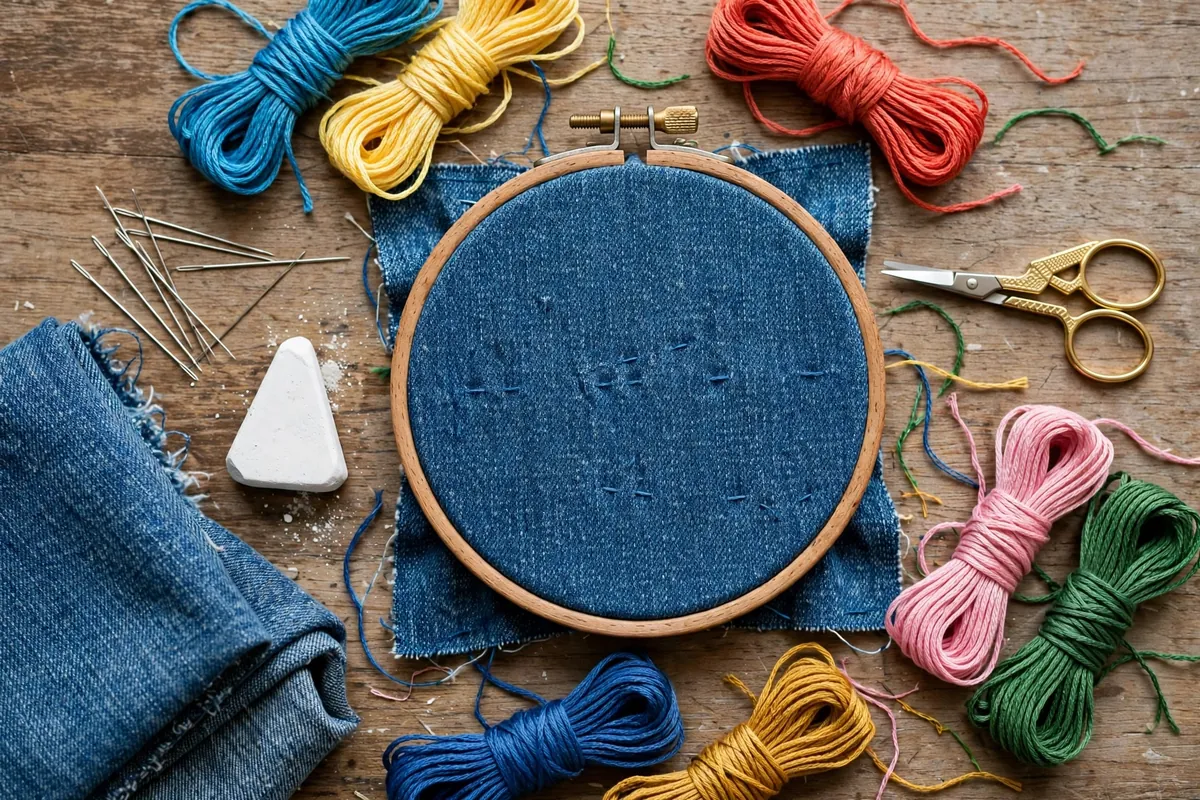
Denim is thick, so your tools matter more here than on a t-shirt. Gather these before you start:
- The jacket. A thrifted or pre-washed jacket is ideal. Washing first removes sizing and pre-shrinks the denim so your embroidery does not distort later.
- Embroidery needles for denim. Use sharp, strong needles: a size 3 to 5 embroidery (crewel) needle, or a dedicated jeans/denim hand needle. Denim will bend flimsy needles, so do not use a fine size 9 or 10.
- Embroidery floss. Standard six-strand cotton floss works beautifully and gives you endless color choice. For extra durability on a jacket that will be worn hard, consider pearl cotton size 8, which is a twisted thread that resists abrasion.
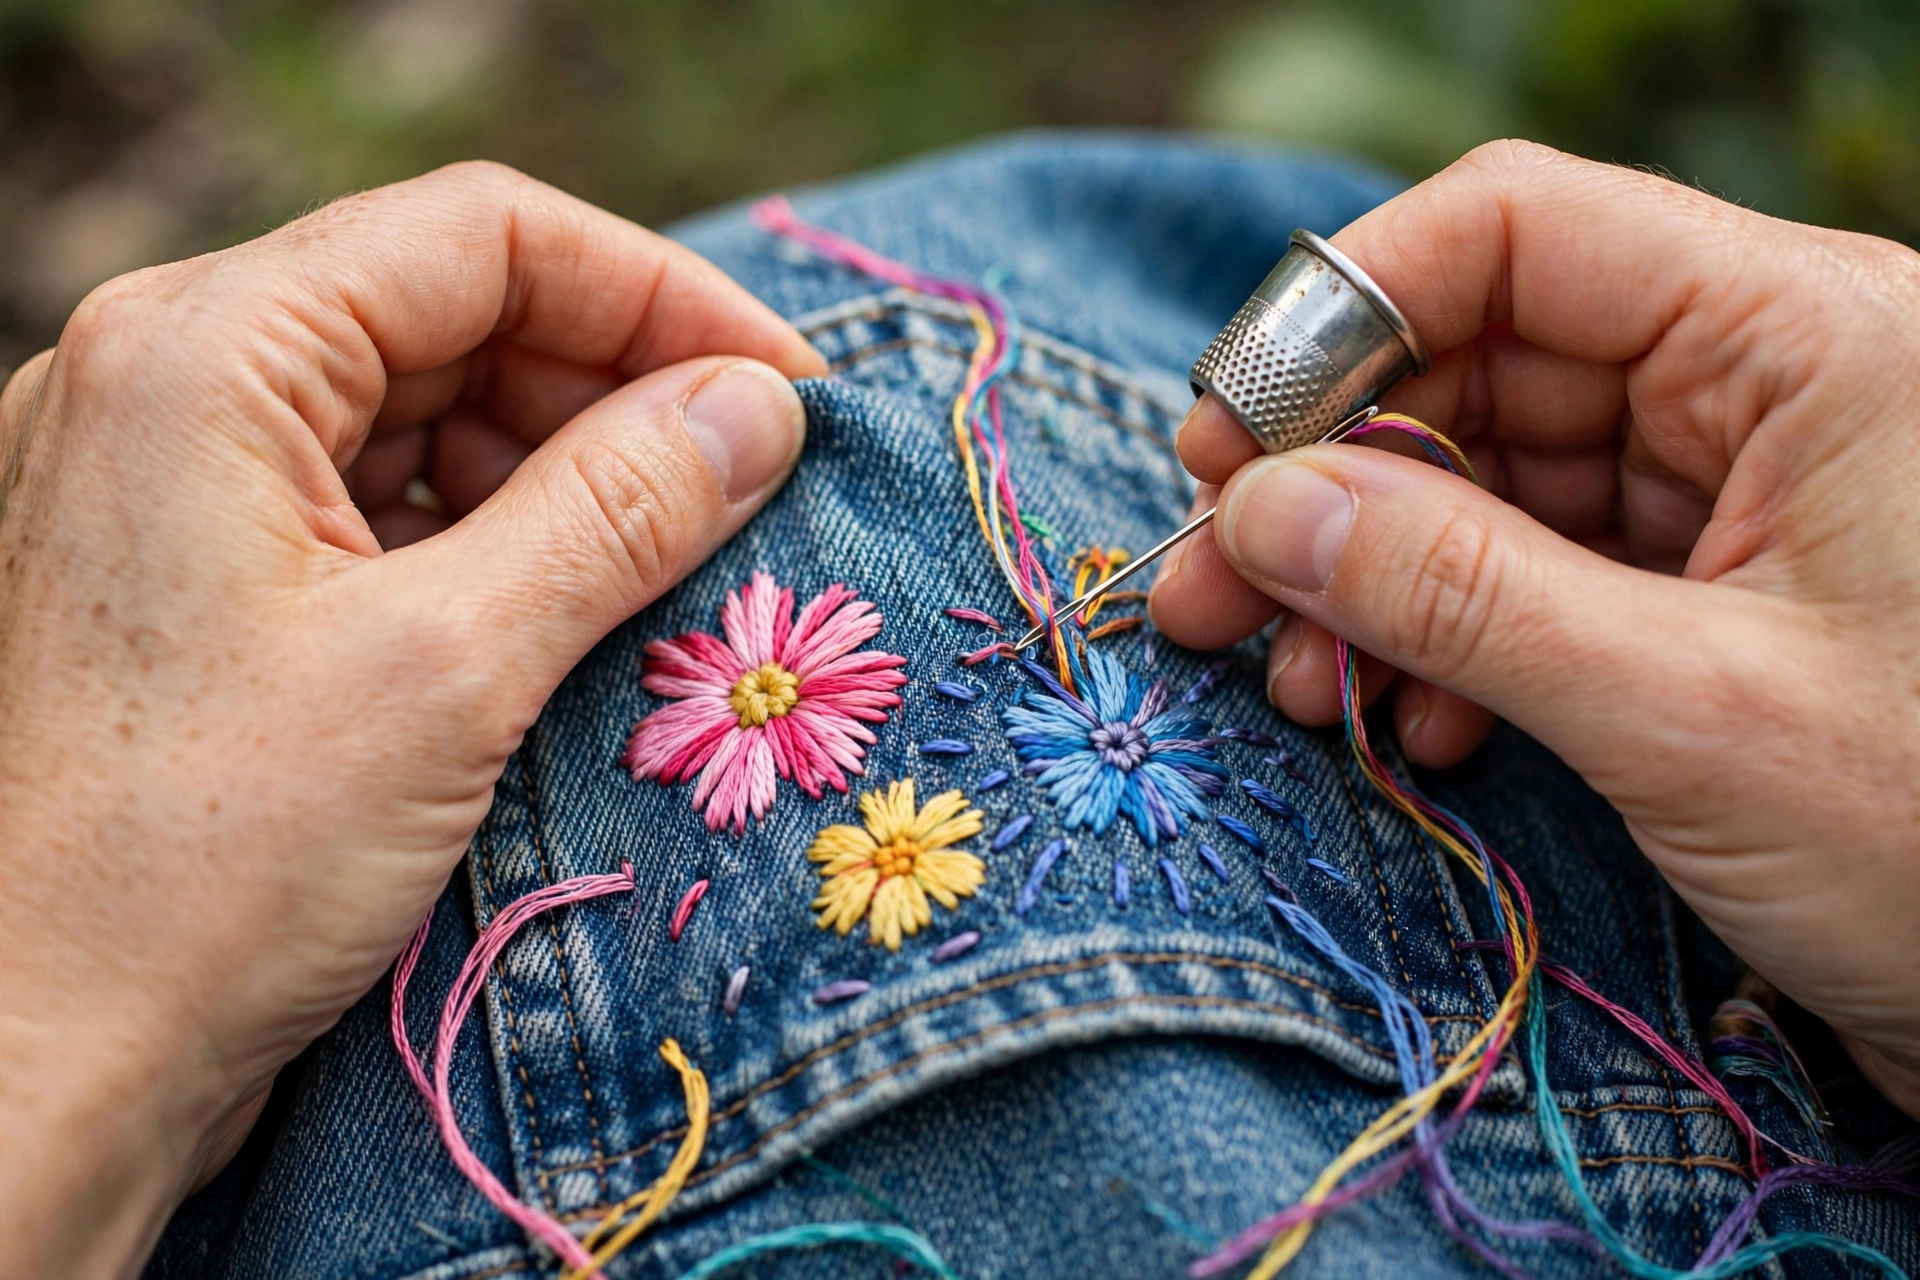
- A thimble. Pushing a needle through multiple layers of denim hurts without one. A metal thimble on your middle finger is the classic solution, and your fingertip will thank you.
- An embroidery hoop or frame. A sturdy wooden or plastic hoop. For large back-panel designs, you may work in sections, moving the hoop as you go.
- Stabilizer (optional but helpful). A medium tear-away or light cut-away behind dense designs keeps stitches crisp. Denim is stable enough that small designs often need none.
- Design transfer supplies. A water-soluble fabric pen or tailor’s chalk for drawing directly, or transfer paper and an iron for printed designs.
- Small sharp scissors and a seam ripper. For trimming threads and fixing mistakes.
- Needle gripper or pliers (optional). Flat-nosed pliers help pull the needle through thick seams and layered areas.
Step 1: Choose and Prepare Your Jacket
Start with a clean, washed jacket. If it is new, wash and dry it exactly as you will in the future, because denim shrinks, and you want all the shrinking done before your stitches go in. A thrifted jacket has the advantage of already being broken in and soft, which makes stitching easier on your hands.
Check the jacket’s construction. Look at where you want to stitch: is it a single layer of denim, or are there facings, linings, or pocket bags behind it? The back panel of most trucker-style jackets is a single layer, which is perfect. Pocket areas and yokes may have extra layers. Knowing what is behind your stitching area helps you plan, because you will be stitching through all the layers, and you may want to keep a pocket usable by stitching carefully around it or through only the outer layer in some spots.
Step 2: Decide on Design Placement
Placement is half the art of a great embroidered jacket. The classic spots each have their own character:
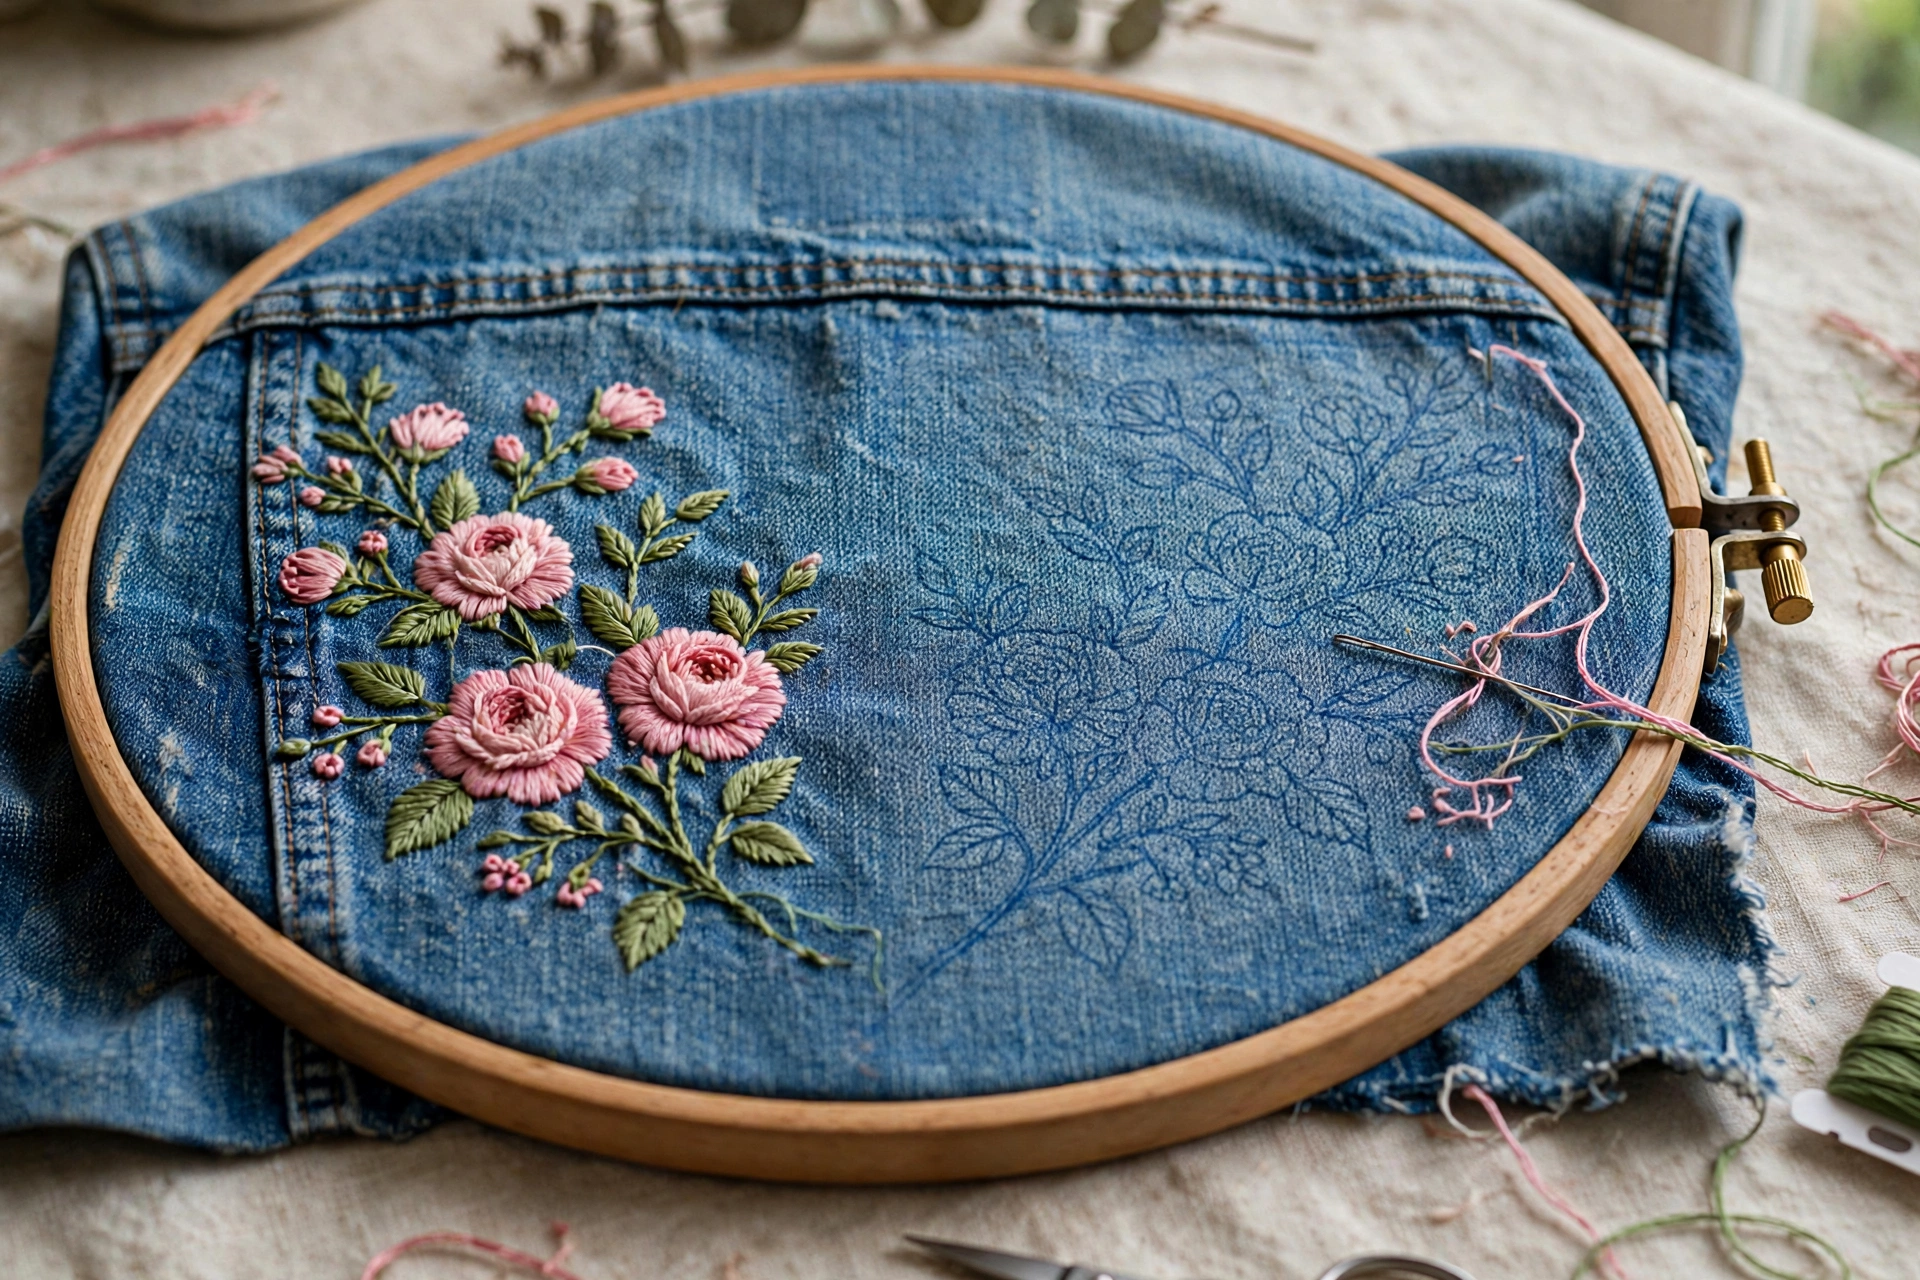
- The back panel. The big statement zone. A large floral spray, an animal, a landscape scene, or bold lettering across the upper back. This is the showpiece placement and the most forgiving, because the panel is large, flat, and single-layer.
- The front pockets or chest. Smaller motifs work here: a sprig of flowers on a chest pocket, a bee or butterfly near the collar, initials on a pocket flap. Keep designs modest in size so they do not fight the jacket’s hardware.
- The collar. Small designs on the collar points or the underside of the collar are a lovely hidden detail. Remember the collar folds, so test how the design reads when worn.
- The cuffs and sleeves. A band of pattern around a cuff or a small motif on the upper sleeve adds craft-fair charm. Sleeves are tubular and trickier to hoop, so keep these designs simple.
- The yoke. The yoke seam across the shoulders frames a design nicely. A horizontal arrangement of small motifs along the yoke looks intentional and polished.
A practical tip: put the jacket on (or have someone wear it) and mark your intended placement with a pin or a small piece of tape while looking in a mirror. Designs that look centered on a flat table can sit oddly once the jacket is on a body. Checking placement on the body takes two minutes and prevents the most common placement regret.
Step 3: Transfer Your Design
Denim’s dark, textured surface needs transfer methods with good contrast. Choose based on your design:
- White or yellow tailor’s chalk / chalk pencil. Excellent for drawing freehand or tracing on dark denim. It brushes off when you are done. The lines are soft, so redraw if they fade as you handle the jacket.
- Water-soluble white fabric pen. Gives finer lines than chalk and removes with a dab of water. Test on a hidden spot first, because on some dark denims the white can leave a faint ghost if not fully rinsed.
- Iron-on transfer pencil or transfer paper. Draw or print your design with transfer pencil, then iron it onto the denim. This gives crisp, precise lines for detailed designs. Mirror-image the design before transferring if direction matters, like lettering.
- Tissue paper method. Trace your design onto lightweight tissue paper, baste the tissue to the jacket, stitch right through the paper, then tear it away. This is brilliant for very dark denim where pens are hard to see, and for designs you want to place precisely.
- Printable wash-away stabilizer. Print your design directly onto the stabilizer sheet, stick it to the jacket, stitch through it, and rinse it away. Precise and clean, and it doubles as light stabilization.
Whichever method you use, transfer the design after the jacket is washed and before hooping, and double-check the placement on the body one more time before you commit.
Step 4: Hoop the Denim
Hooping a jacket is more awkward than hooping flat fabric, but it is very doable. For the back panel, open the jacket flat, slide the inner hoop under the panel from inside the jacket, smooth the denim over it, and press the outer hoop down. You may need to fold the rest of the jacket out of the way. For pockets and chest areas, work with the jacket open and flat, tucking excess fabric aside.
Denim is thick, so tighten the hoop screw firmly; a loose hoop on denim will slip as you stitch. If the area is too thick or too close to a seam for a hoop, you can stitch without one, since denim is stable enough to support itself. If your design is dense or large, add stabilizer behind the area: a medium tear-away hooped with the denim, or a piece of light cut-away basted in place.
Step 5: Choose Your Stitches and Thread
Denim loves bold, textured stitching. The fabric is sturdy enough to support stitches that would overwhelm lighter fabrics. Great choices include:
- Satin stitch for filled petals, leaves, and lettering. Keep individual satin stitches under half an inch to prevent snagging.
- Backstitch and stem stitch for outlines and lettering. Crisp and durable.
- French knots and colonial knots for flower centers and texture. They sit beautifully on denim’s grain.
- Chain stitch and lazy daisy for vines, petals, and borders. The raised texture looks wonderful against denim.
- Long and short stitch for shaded, painterly fills like animal fur or sunset skies.
Use three to six strands of floss depending on the boldness you want. Chunkier thread reads well on denim’s texture; fine single-strand detail can get lost in the weave. Keep your thread lengths moderate, around 15 inches, because dragging long thread through denim wears it out fast. And always use a thimble. Your fingers will be pushing hard, especially through seams, and a thimble turns a painful chore into comfortable work.
Step 6: Stitch in a Sensible Order
Work from the background to the foreground, and from the largest areas to the smallest details. Fill large shapes first, then add outlines, then add the small accents like French knot centers and tiny highlights last. This order keeps your outlines crisp on top of the fills and prevents you from stitching over details you already placed.
Handle seams and thick spots with care. When your needle must pass through a seam allowance, use pliers to pull it through rather than forcing it. If a section is simply too thick to stitch comfortably, adjust the design to flow around it.
Keep the back reasonably tidy as you go. On a jacket, the back of the embroidery may be visible inside the garment, and long floating threads can catch on things. Carry thread across short distances only, and knot or weave in ends neatly.
Step 7: Finish the Back Neatly
The inside of your jacket deserves attention. Once the design is complete, trim any stabilizer: tear away tear-away, or trim cut-away to about a quarter inch beyond the stitches. Weave in all loose ends and trim them short.
For a truly professional finish, cover the back of the embroidery with a backing. A piece of lightweight fusible interfacing ironed over the back protects the stitches from abrasion, prevents threads from catching on clothing worn under the jacket, and looks clean and intentional. Cut the interfacing to cover the design area with a small margin, press it on according to the package directions, and you are done. Alternatively, a piece of soft cotton fabric hand-stitched over the area works as a classic embroiderer’s backing.
Common Mistakes to Avoid
- Using a too-fine needle. Denim bends delicate needles. Use a sturdy size 3 to 5 embroidery needle and a thimble.
- Skipping the pre-wash. Unwashed denim shrinks, and shrunken denim distorts embroidery. Always wash first.
- Placing the design without trying the jacket on. Check placement on the body, not just on the table.
- Stitching through pocket bags unintentionally. Check what is behind your stitching area so you do not sew a pocket shut.
- Using very long thread lengths. Denim abrades thread quickly. Keep lengths around 15 inches and rethread often.
- Forcing the needle through thick seams. Use pliers, or route the design around the thickest spots.
- Leaving a messy back. Long floats catch and snag. Keep the back tidy and consider a fusible backing.
- Choosing thread too fine for the fabric. Bold thread suits denim’s texture. Do not be shy with three to six strands.
Caring for Your Finished Jacket
Wash your embroidered jacket inside out in cool water on a gentle cycle, or hand wash it if the design is very elaborate. Skip the harsh detergents and never use bleach. Hang or lay flat to dry rather than tumble drying on high heat, which stresses both denim and thread. Iron from the inside with a pressing cloth, never pressing directly on the embroidery. Treated kindly, your embroidery will age right along with the denim, fading and softening into something even more beautiful.
Wear Your Work Proudly
A hand-embroidered denim jacket is the kind of project that gets compliments from strangers and becomes a favorite for years. Denim’s stability makes it one of the most beginner-friendly garments to embroider, and the skills you practice here, transferring designs, managing thick fabric, finishing the back, transfer directly to jeans, tote bags, and beyond.
Start with a small motif on a pocket if the full back panel feels ambitious. Finish it, wear it out, and enjoy the moment someone asks where you bought it. Then you get to say the best sentence in crafting: I made it myself.