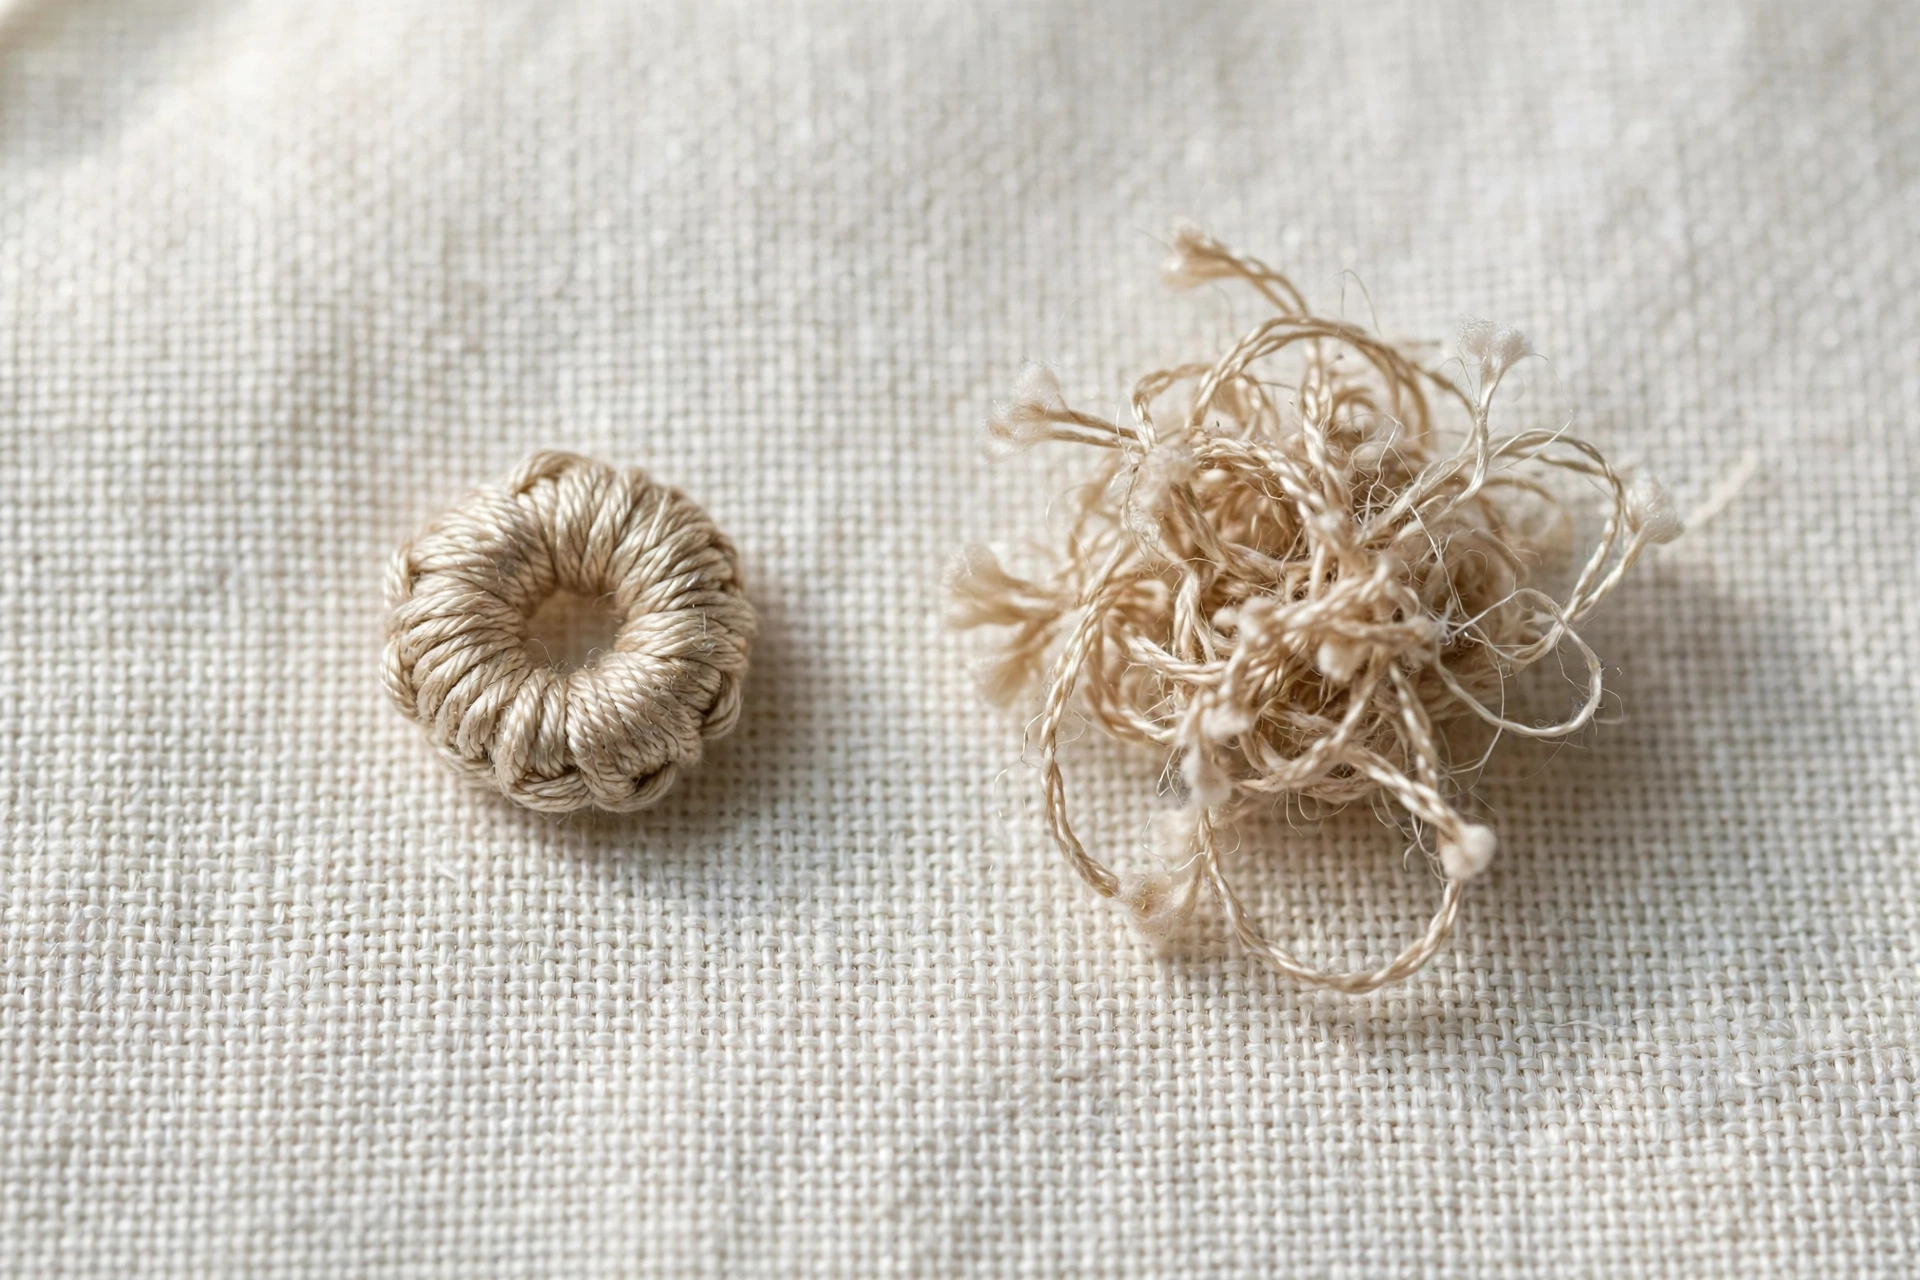
My French knots used to fall apart if I looked at them wrong. I would finish one, admire it for three seconds, and watch it dissolve into a sad little tangle the moment I pulled the needle through. I developed a theory that French knots were a prank the embroidery establishment played on beginners. Then a woman at a stitch retreat watched me fail four in a row, took my needle, and made twelve perfect knots in under a minute with the same thread I was using. It was never the thread. If your French knots keep falling apart, it is one of three specific failures, and all three are fixable today. If you have never made one at all, start with my beginner’s French knot tutorial, then come back here when they start misbehaving.
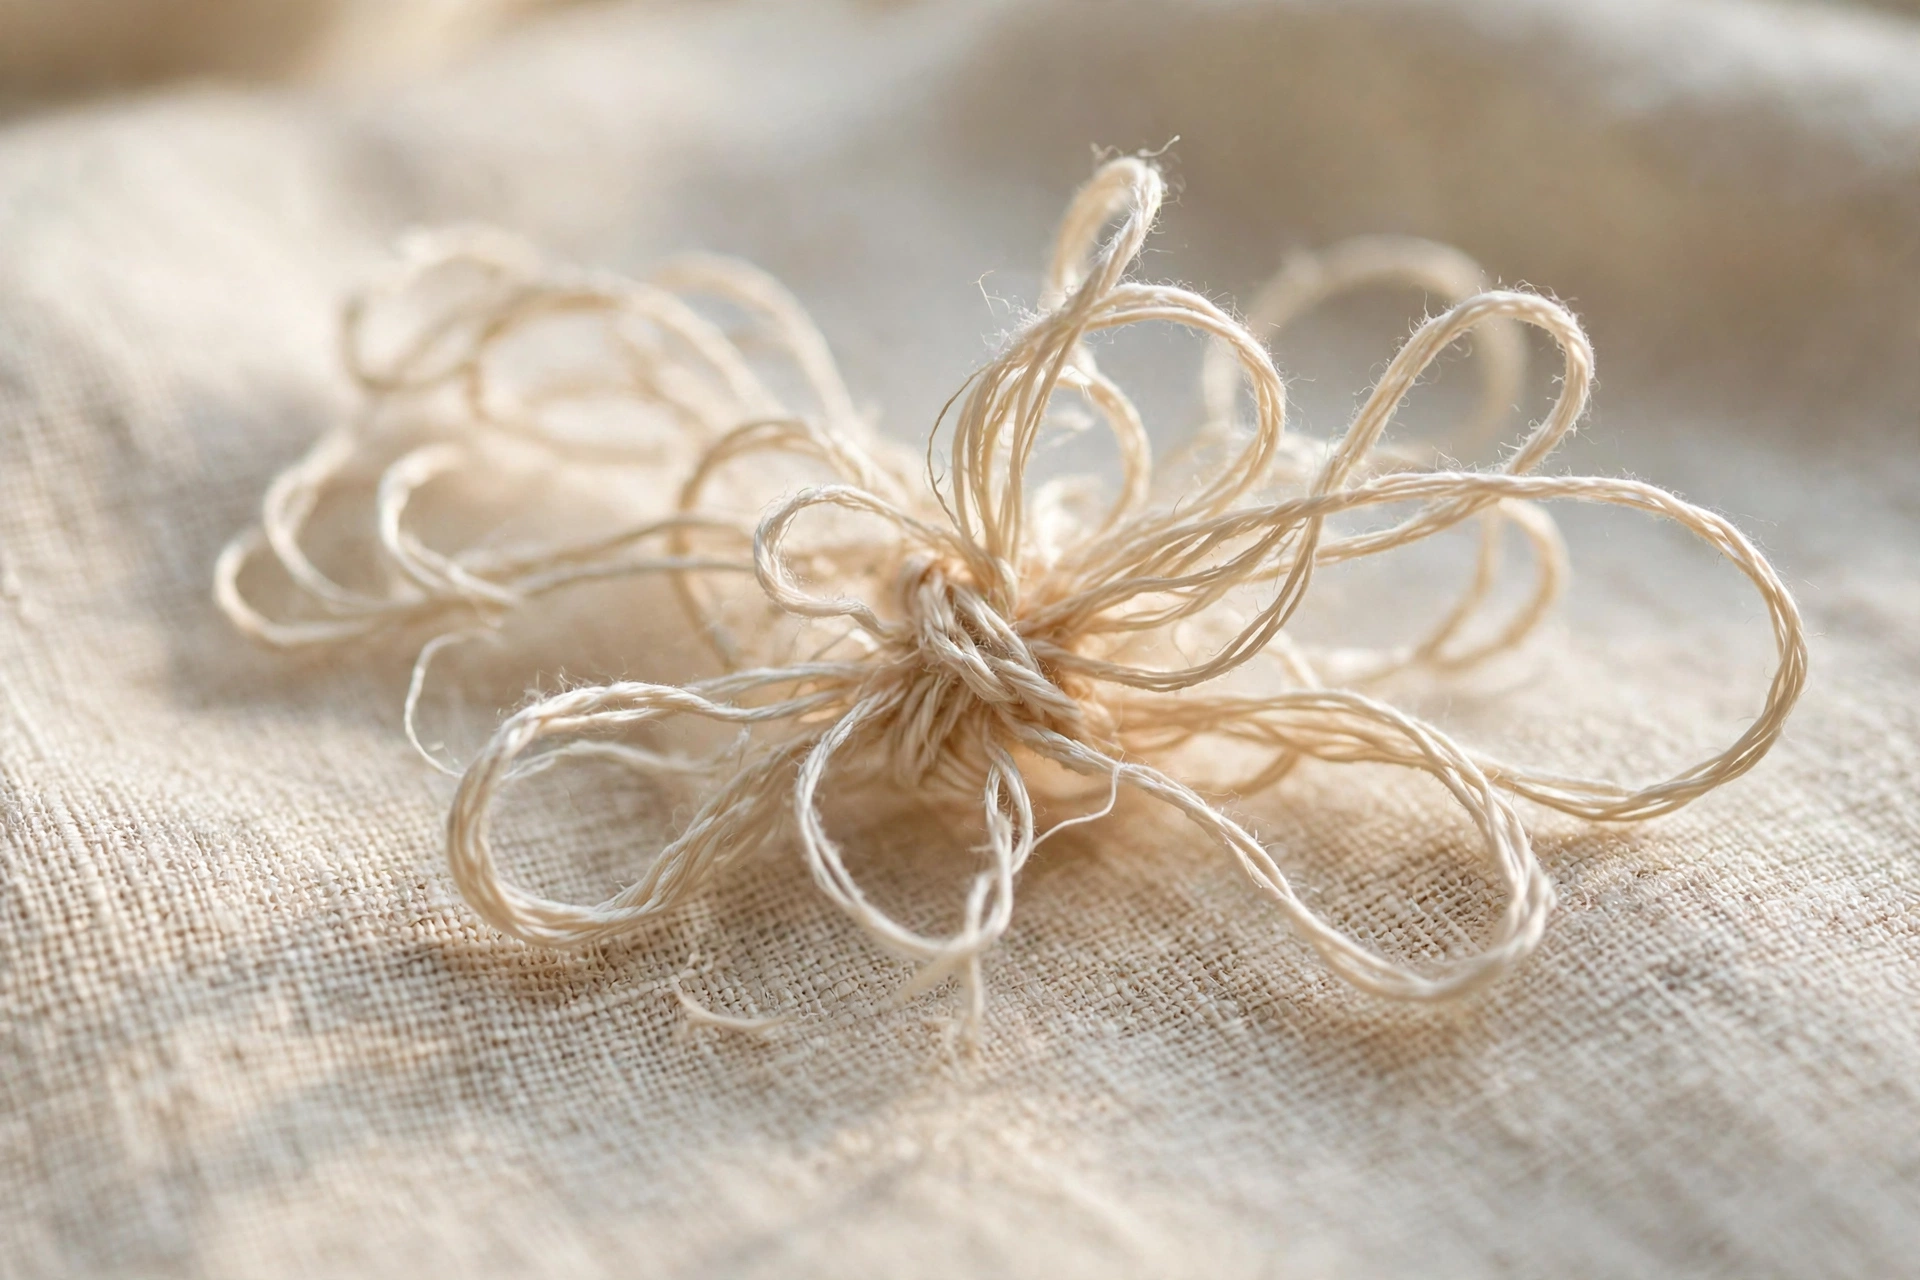
French knots falling apart? Failure 1: the knot slides off into nothing
The symptom: you wrap the thread around the needle, pull the needle through, and instead of a knot sitting on the fabric you get a loose loop of thread lying there like a dropped shoelace. The cause: you let go of the working thread too early. A French knot is not tied by the needle. It is tied by your non-dominant hand holding the working thread taut while the needle slides through the wraps. The needle is just the mold. Your holding hand is the knot.
The fix: after wrapping, pinch the working thread between the thumb and forefinger of your non-needle hand, about two inches from the fabric, and do not let go until the needle is fully through and the knot is seated. Keep the thread taut the whole time, but not straining. Think of holding a dog leash, firm enough to control, not enough to choke. Nine out of ten sliding failures are a letting-go problem. I wrote a full guide on this here: How to Do a French Knot Without the Mess.
Failure 2: the knot forms, then unravels as you pull through
This one is heartbreaking because it works right up until the last second. The knot is there, sitting pretty, and then it melts as the needle comes through the fabric. Two causes. The first is too many wraps for your needle size. Three wraps around a fine needle make a knot too fat to pass through the hole the needle just made, so the fabric strips the knot off like a too-tight ring. The second is pulling the needle through at an angle, which drags the wraps sideways and opens them up.
The fix: two wraps, always, until you are experienced enough to break the rule on purpose. And pull the needle straight down through the fabric, perpendicular, while your holding hand keeps the wraps snug against the needle shaft. If the knot still will not pass, your needle is too fine for your thread. Size up one needle size. A knot that has to fight through the fabric will lose every time.
Failure 3: it stays put but looks like a blob
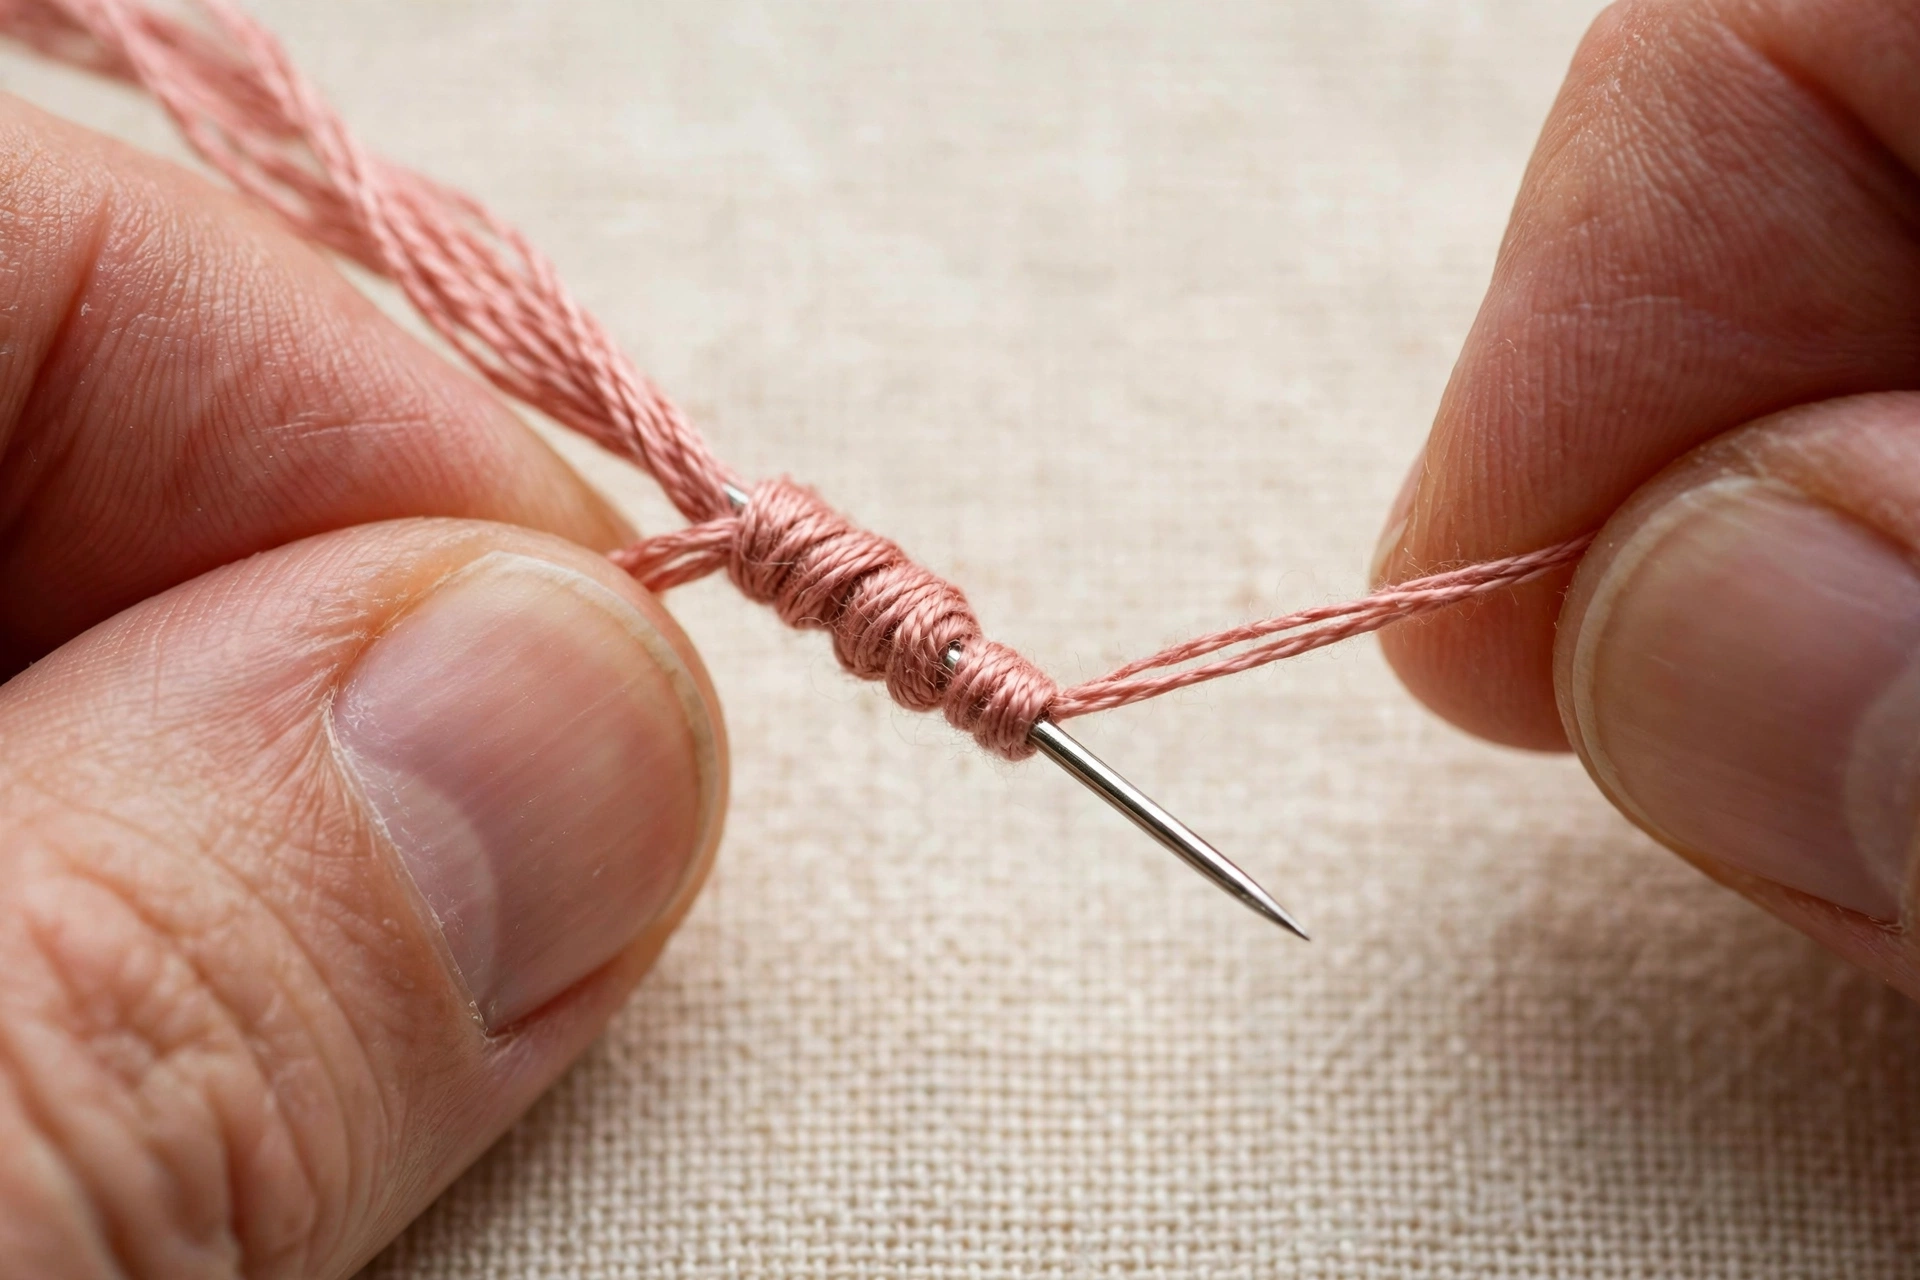
The knot holds, technically, but it looks like a tiny bird’s nest instead of a neat bead. The cause is sloppy wraps: the thread coils overlapping each other, crossing, stacking unevenly around the needle instead of lying side by side in a neat coil. Each wrap should sit next to the last one like rungs on a ladder, not piled like firewood.
The fix is in the wrapping motion. Hold the needle still and wrap the thread around it with your other hand, keeping each wrap adjacent to the previous one. Do not wrap the needle around the thread, which is what beginners instinctively do and what produces the pile-up. Two neat wraps, side by side, held taut. Also check your entry point: come back up through the fabric right next to, not through, your original hole. Going back through the same hole lets the knot sink into it and disappear. A millimeter to the side keeps it sitting proud on the surface.
The setup that makes knots stay
Technique matters most, but the wrong setup makes good technique impossible. Here is my knot kit. Two strands of DMC floss, always. One strand makes a knot too small to seat properly, and three strands make a knot too bulky for most needles. A John James sharps in size 7 or 8, which has an eye small enough to slide through the wraps without catching, but a shaft thick enough to make a proper hole. Fabric hooped drum-tight, because a French knot tied into sagging fabric will loosen the moment the fabric shifts.
Fabric choice matters too. French knots seat beautifully on medium-weave linen and quilting cotton. On very loosely woven fabric the knot can pull through to the back entirely, which is a special kind of demoralizing. If your fabric is open-weave, back it with a layer of muslin or switch to colonial knots, which sit flatter and grip better. I will say it plainly: the colonial knot is the superior knot in almost every way, and I only teach the French knot first because patterns ask for it by name.
The knot in slow motion
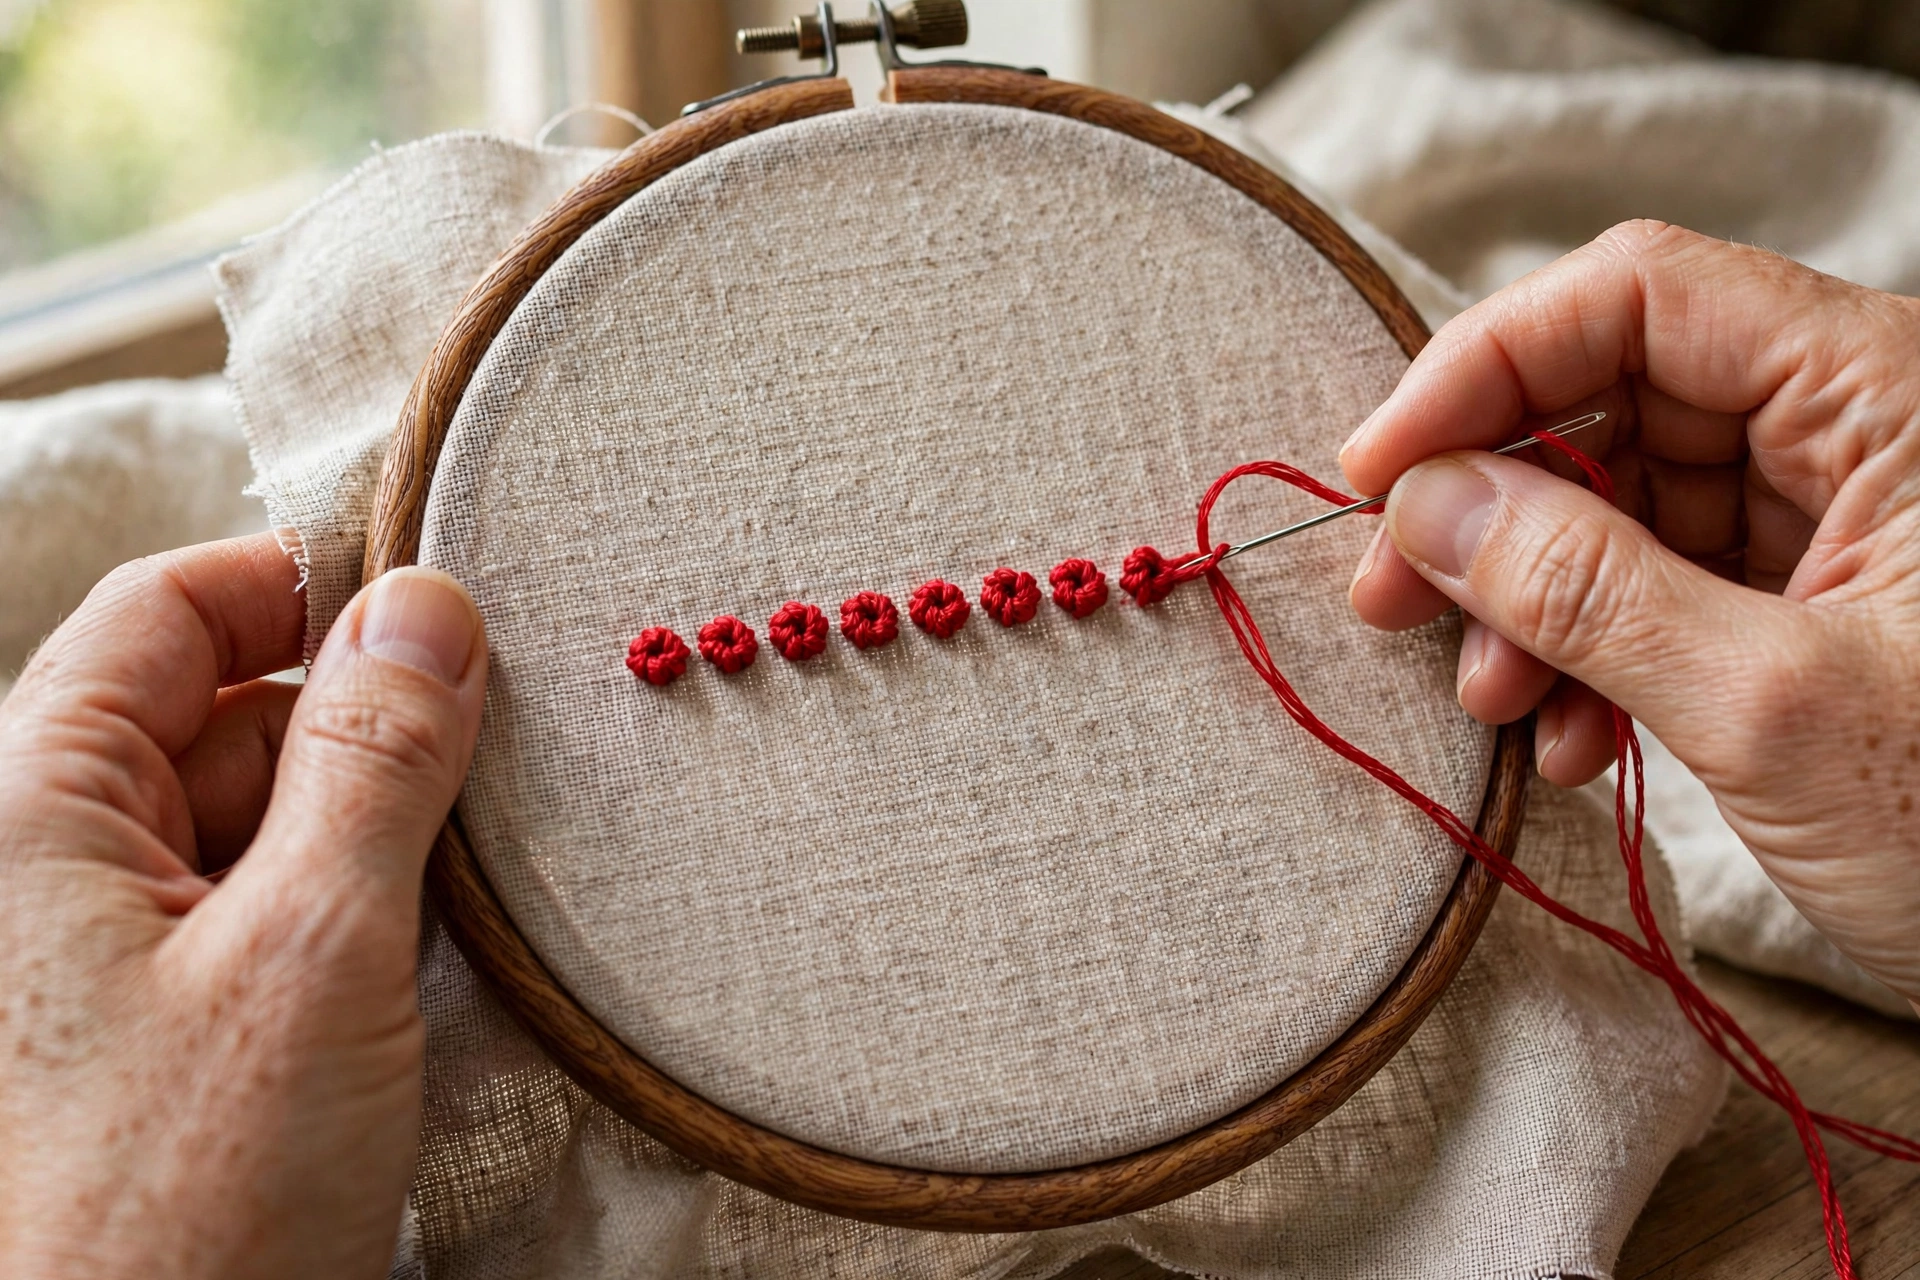
Put it all together. Come up through the fabric. Hold the needle horizontally in front of you. With your other hand, wrap the working thread twice around the needle shaft, neat and adjacent. Pinch the working thread taut two inches from the fabric. Keeping that tension, insert the needle back into the fabric a millimeter from the exit hole, straight down. Slide the needle through the wraps while your holding hand keeps everything snug. Do not release the working thread until the knot is seated on the surface. Then, and only then, let go and admire.
The whole motion takes about ten seconds once it clicks, and it will click. Mine clicked on knot number thirty-seven of a border that needed fifty. By knot fifty I was showing off. Stitch twenty on a scrap of linen, slowly, watching each wrap, and count your failures by type. When you know which of the three failures is yours, you know exactly what to fix. That is the whole diagnostic. The DMC knot tutorials show the same motion, and they are worth a look for the hand positioning, but the failure diagnosis is the part nobody writes down, so I wrote it down.
One last thing. If a knot fails, do not try to save it by stitching over it. Snip it off and redo it. A French knot takes ten seconds. A lumpy cover-up takes ten seconds plus eternal regret every time you look at the piece.