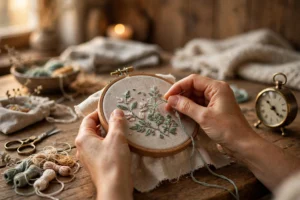
On a rainy Saturday in March 2019, I walked into the Michaels on Bethel Road in Columbus, Ohio with exactly one goal: buy everything I needed to start embroidering. I walked out forty-seven dollars and eighty-three cents later carrying a Dimensions beginner kit, a grab bag of “assorted craft floss” in colors nobody would choose on purpose, and a plastic hoop that warped the first time I tightened the screw. Half of it went in the trash within a month. If you’re hunting for an embroidery supplies for beginners checklist, here is the one I wish someone had handed me in that parking lot: you need seven things, most of them cost less than a sandwich, and nearly everything else on the craft-store wall can wait. I wrote a full guide on this here: Embroidery Tools for Beginners: Complete Checklist.
I have strong opinions about this because I bought the wrong stuff twice. The first time was that Michaels trip. The second time was a month later when I “upgraded” to a 100-color floss set off a discount site that tangled if you looked at it wrong. This checklist is the version that survived. Every item below is something I still use, six years later, and every skip is something I paid to learn.
The complete embroidery supplies for beginners checklist
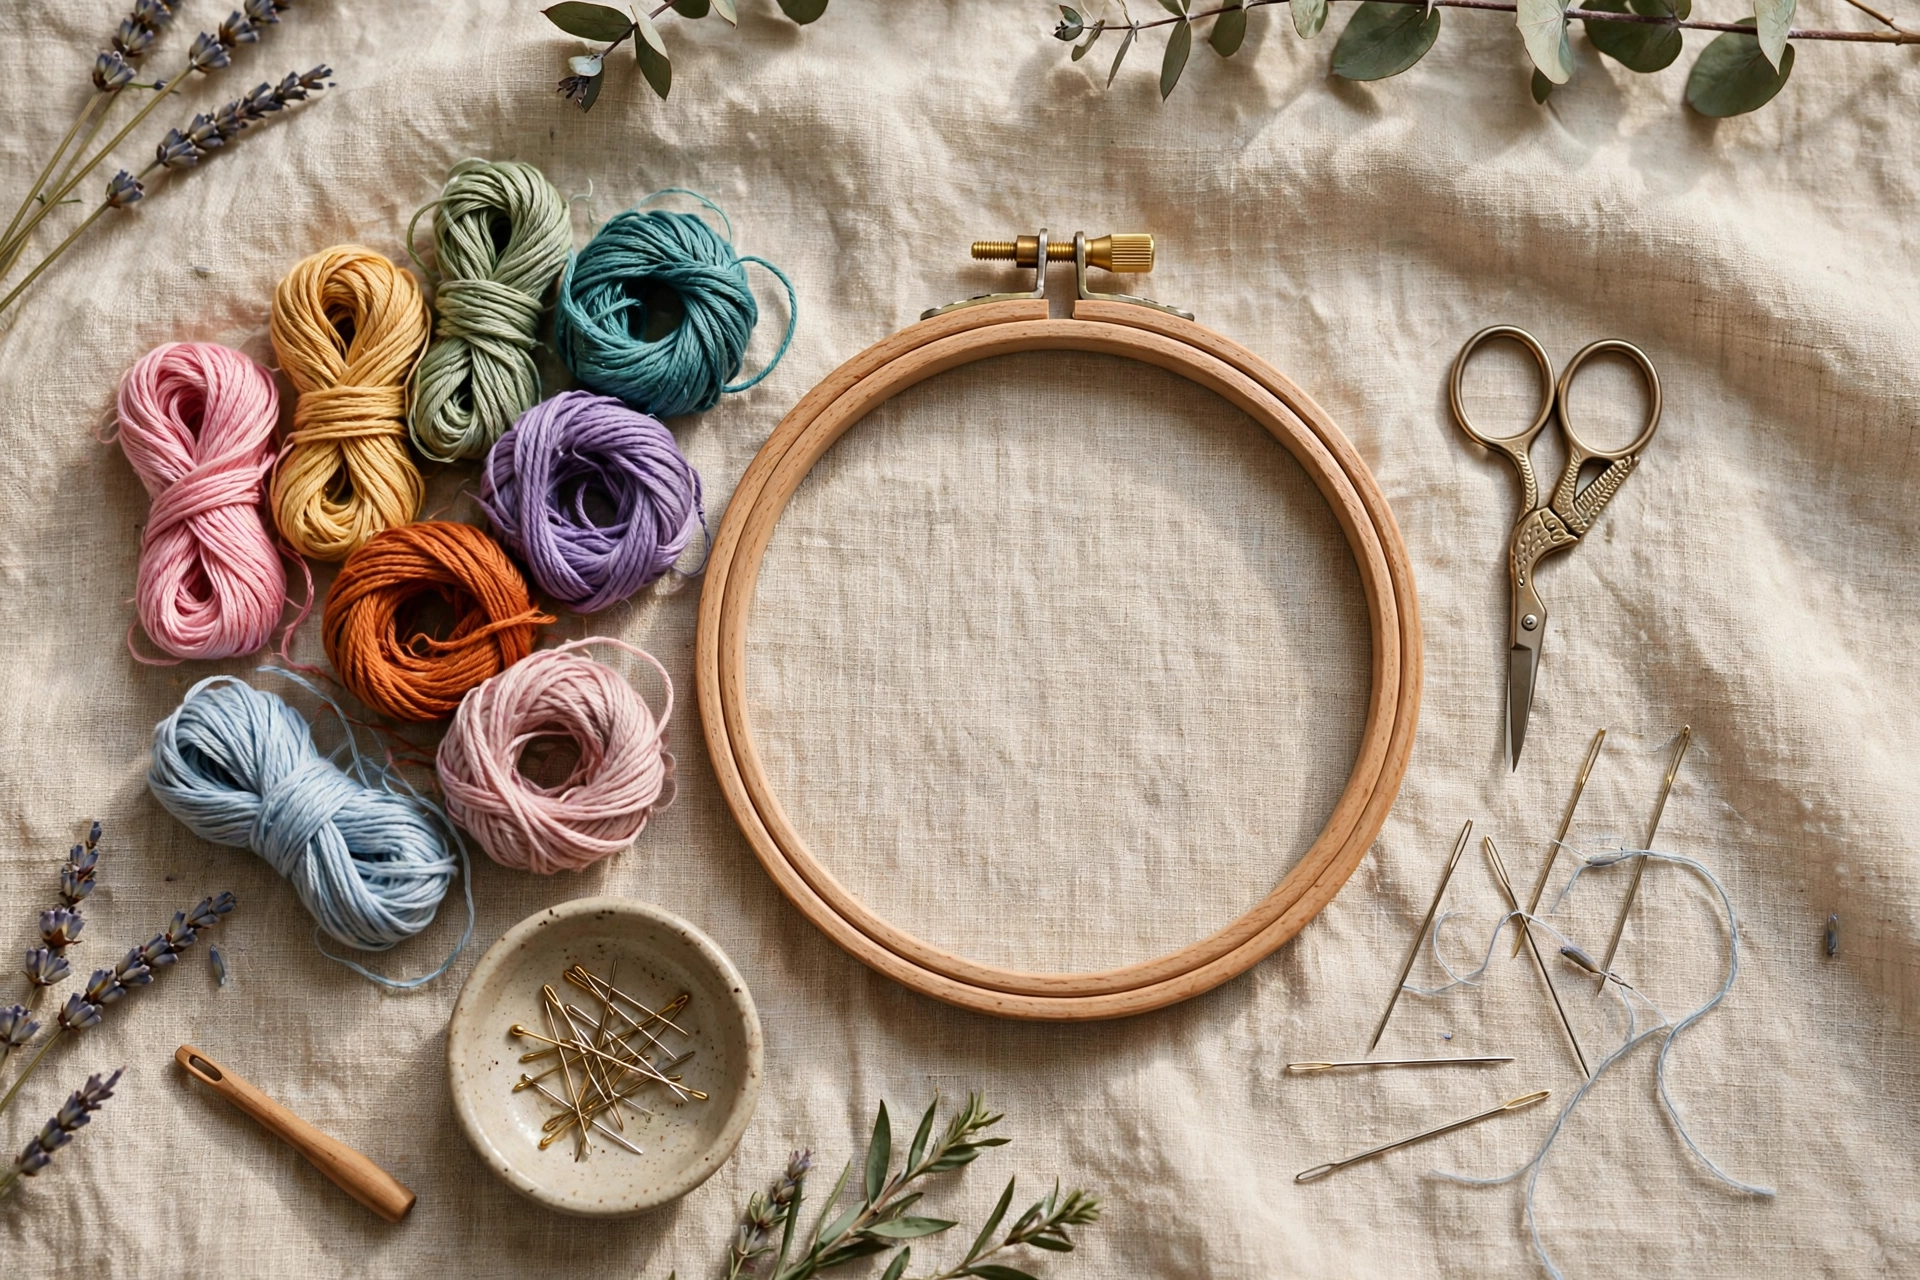
Here is the short version before we get into the why. One 6-inch wooden hoop with a brass tension screw. One pack of John James size 7 embroidery needles. Ten to twelve skeins of DMC stranded cotton in colors you actually like. One fat quarter of Kona cotton in Snow or Natural. One pair of small, sharp embroidery scissors. One water-soluble fabric marking pen. One needle threader, because pride is not a stitching tool. That is the whole list. It fits in a sandwich bag, it costs roughly thirty-five dollars, and it is enough to stitch your first twenty projects.
Notice what is not on the list. No kit with pre-printed fabric and mystery thread. No giant organizer. No lightbox, no stand, no thimble collection, no “embroidery starter bundle” with forty pieces of which you will use nine. Beginners do not fail for lack of supplies. They fail because they bought a pile of mediocre supplies that made stitching feel harder than it is.
The hoop: the single most important purchase you will make
A cheap hoop is a false economy. This is the hill I will die on. The hoop is the one tool that touches every single stitch you make, and a bad one will punish you the entire time. That plastic hoop I bought in 2019 had a tension screw that stripped after three uses, and the inner ring was smooth enough that the fabric slipped every twenty minutes. I spent more time re-tightening than stitching.
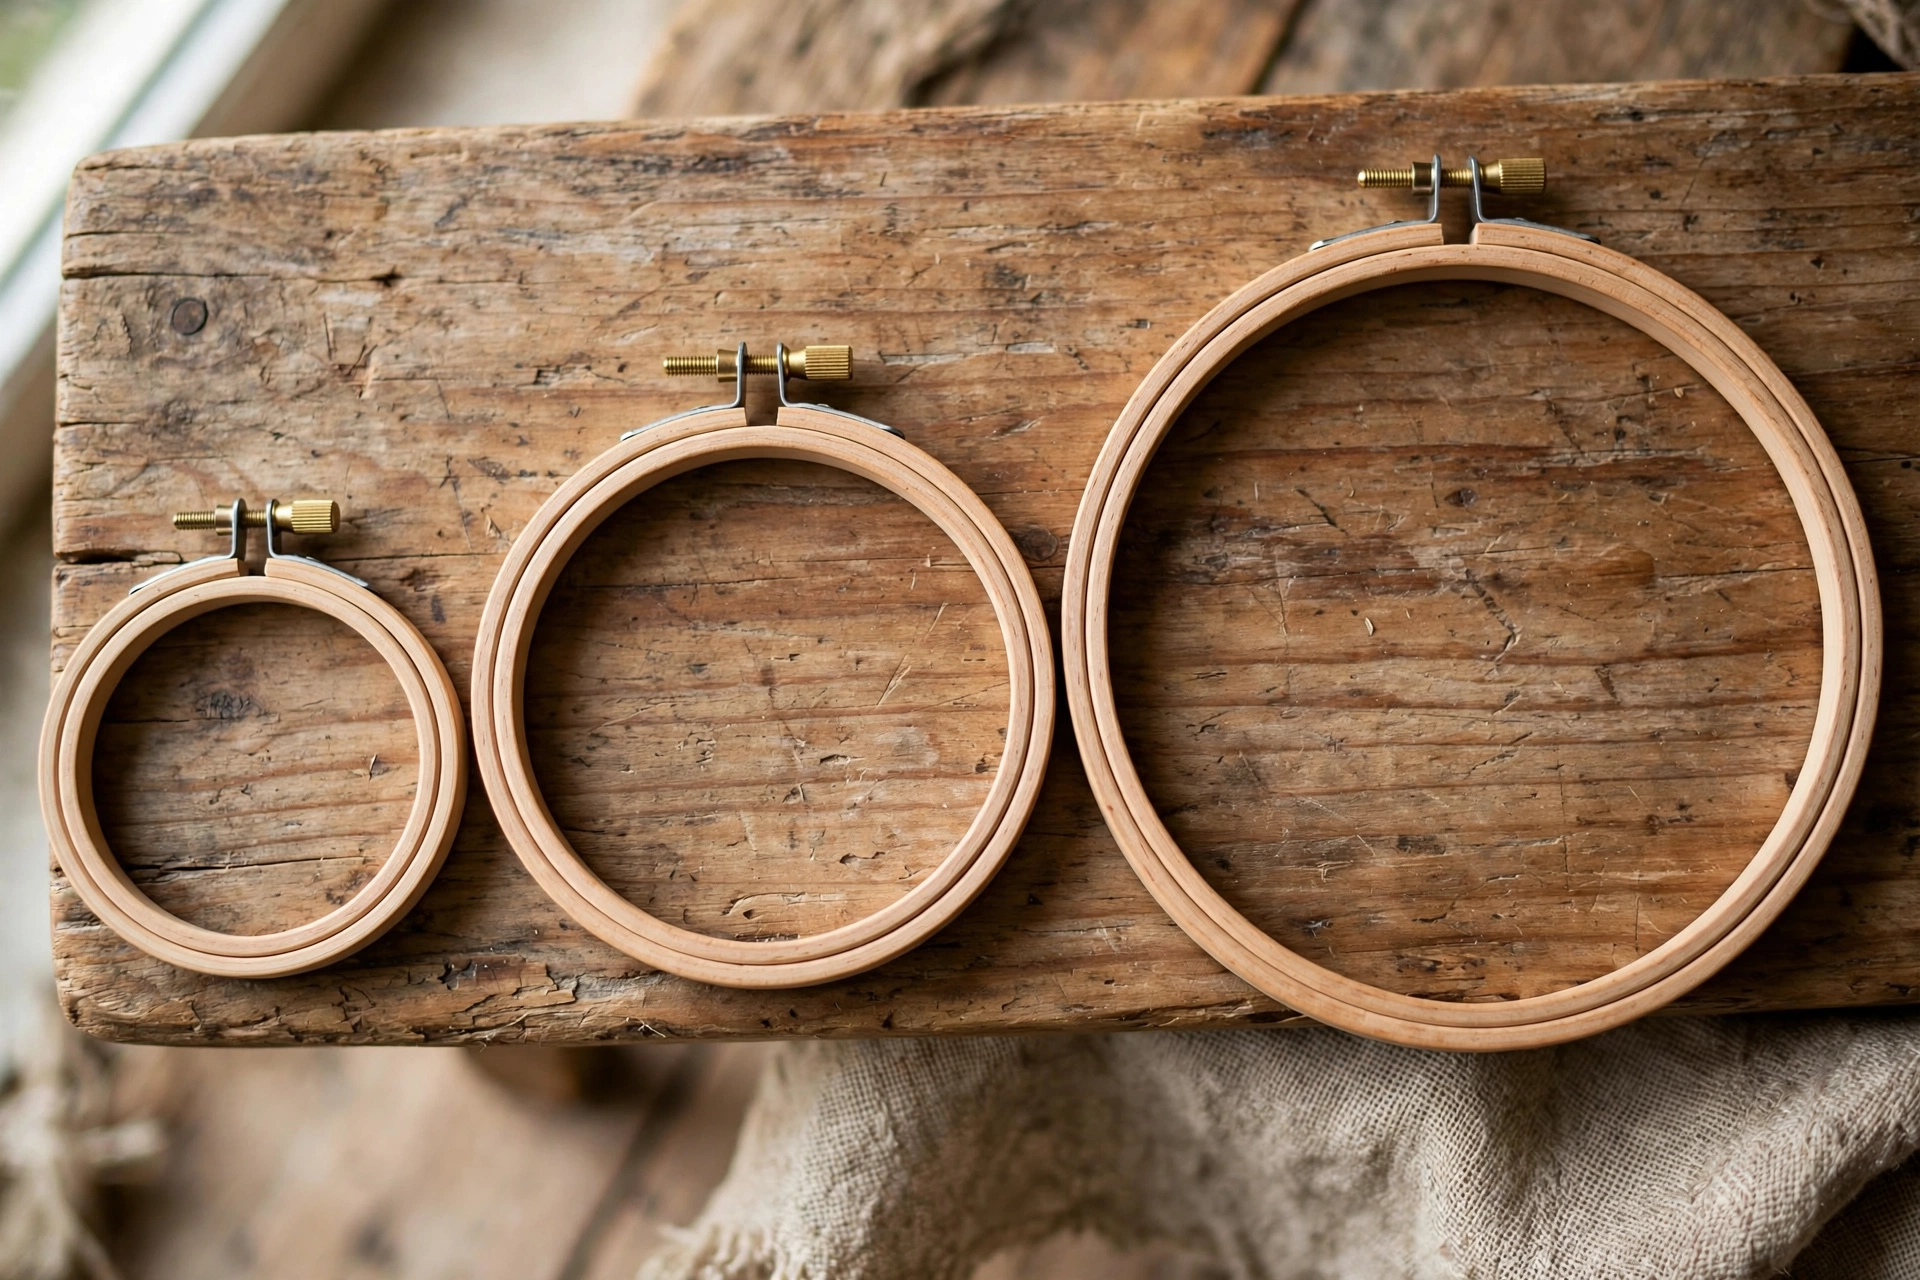
Buy one wooden hoop, 6 inches across, with a metal tension screw. Six inches is the sweet spot for beginners: big enough that your hand does not cramp working in a tiny circle, small enough that the fabric stays drum-tight without heroic effort. Expect to pay six to nine dollars for a decent one. If the store has a choice between bamboo and beechwood at the same price, take the beechwood. It sands smoother and the screw seats better. Run your finger around the inner ring before you buy. If you feel a ridge or a rough patch, put it back. That ridge will snag your fabric and show up as a crease in every project.
What to skip: the 3-pack of assorted hoops, the plastic hoops, and anything labeled “vintage style” that costs twice as much for the same function. You do not need a 4-inch hoop yet, and you definitely do not need a 10-inch one. One 6-inch hoop will carry you through your first year. I stitched my first eleven finished pieces in the same six-dollar hoop before I bought a second one, and only because I wanted to keep a work in progress mounted while I started something new.
Needles: throw away the one that came in the kit
If you bought a beginner kit, the needle inside it is almost certainly garbage. I mean this literally. Kit needles are often blunt, the eyes are rough, and they will shred your floss and your patience in equal measure. Throw it away. A six-pack of John James size 7 embroidery needles costs about three dollars and fifty cents, and the difference is the difference between pushing thread through fabric and fighting it.
Size 7 is the beginner sweet spot. Embroidery needles (also called crewel needles) have a long, slightly larger eye than regular sewing needles, which matters because you are threading up to six strands of floss instead of one thread. Size 7 is medium: small enough for detail work with two strands, large enough that threading does not require a magnifying glass and a prayer. John James is the brand every stitcher I know uses. They come in a little blue-and-white paper envelope, they are made in England, and one needle will last you months. I am still using needles from a pack I bought in 2021.
What to skip: the variety pack of forty needles in sizes you will never touch, “gold-plated” needles (a solution to a problem you do not have), and any needle that came free with something. Also skip sharps for now. Sharps are sewing needles with tiny eyes, and threading three strands through a sharp is a special kind of misery. Embroidery needles, size 7, John James. Done.
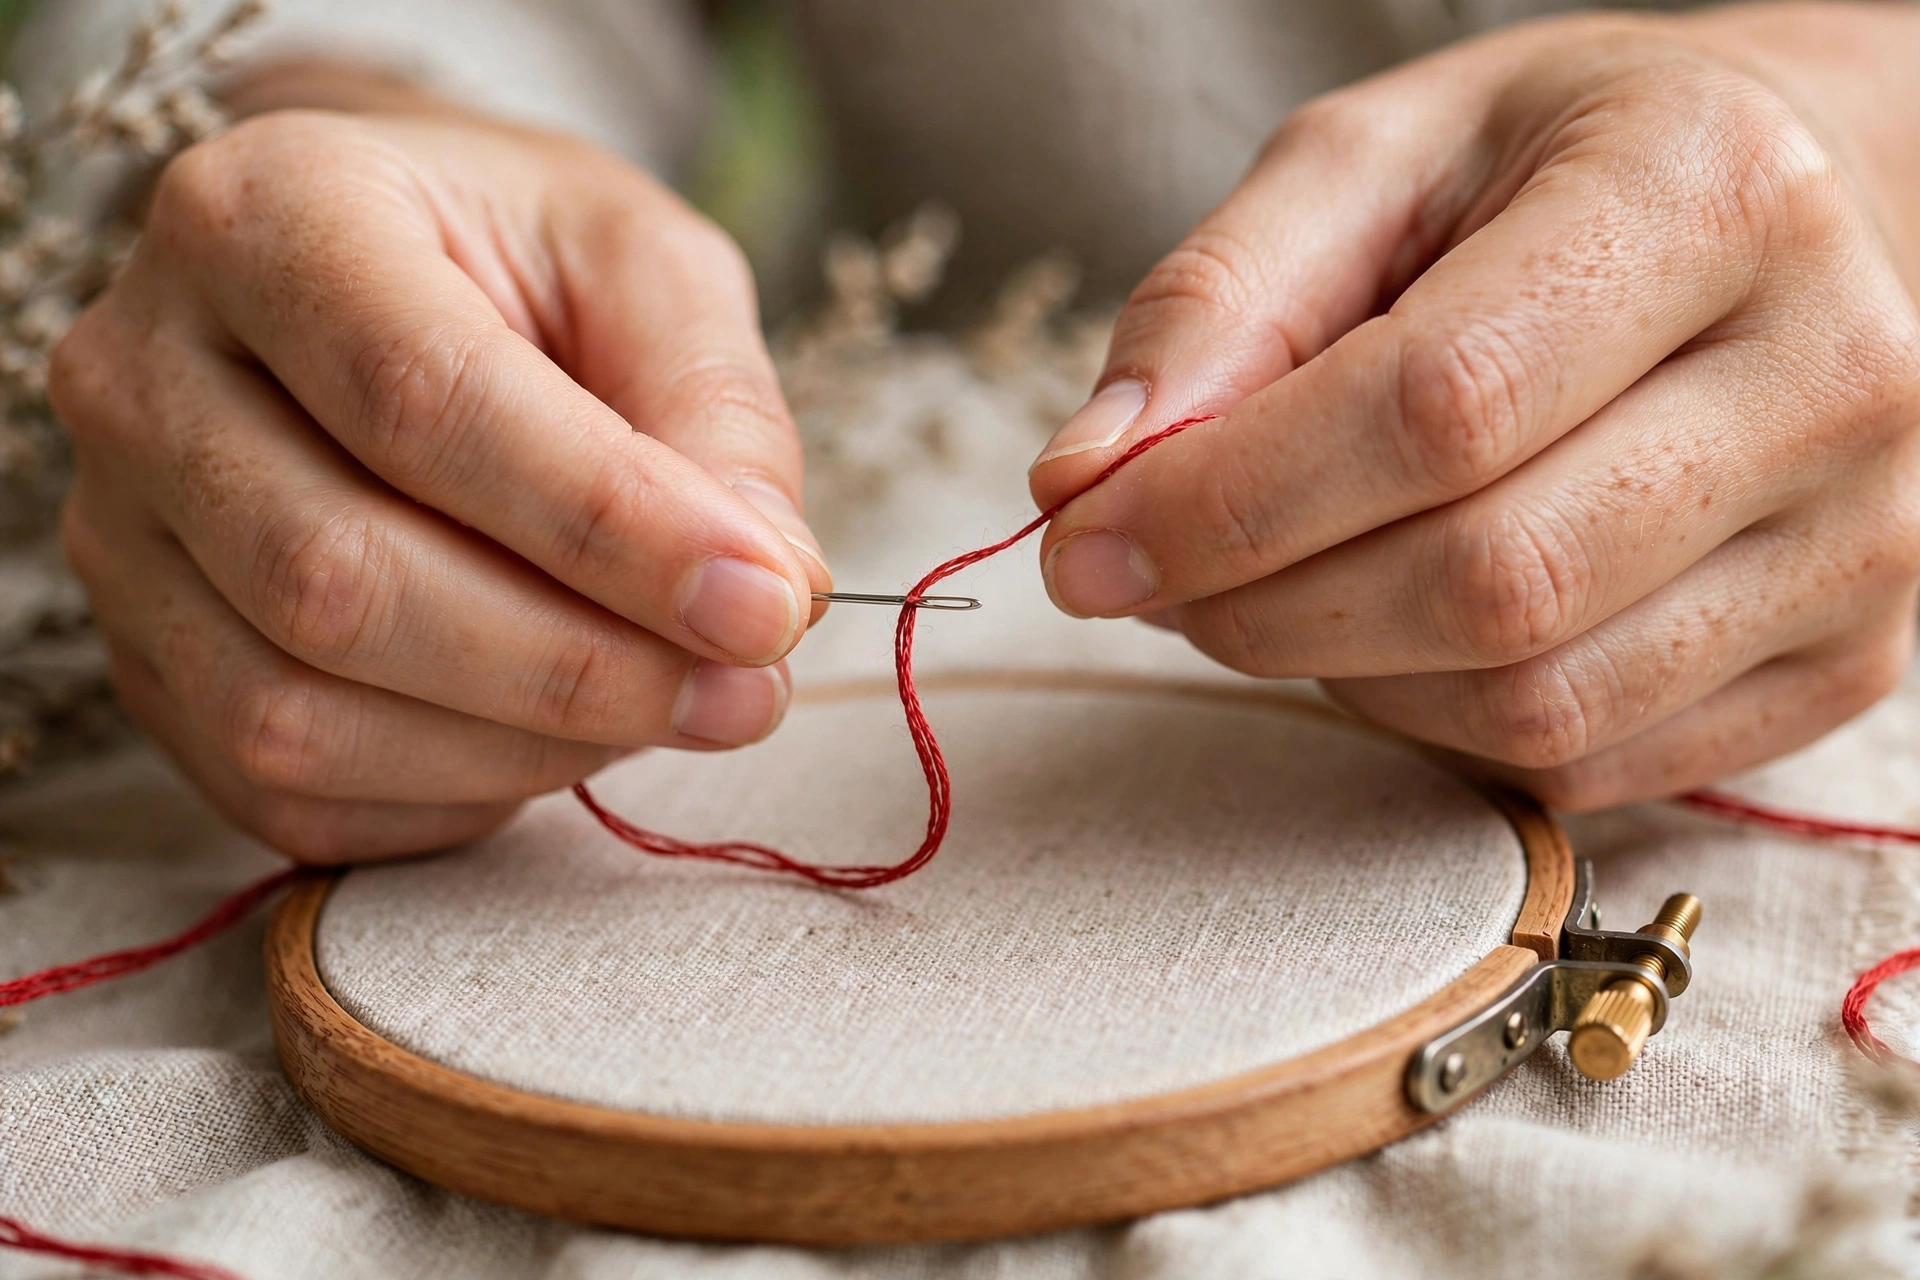
A note on threading, since this is where beginners quietly suffer: cut your floss to about 18 inches, no longer. Long thread tangles, twists, and wears thin from being dragged through fabric a hundred times. Eighteen inches feels short. It is correct. And yes, buy the needle threader. It is a dollar. Your eyes will thank you at 10 pm.
Floss: buy DMC, and buy it one skein at a time
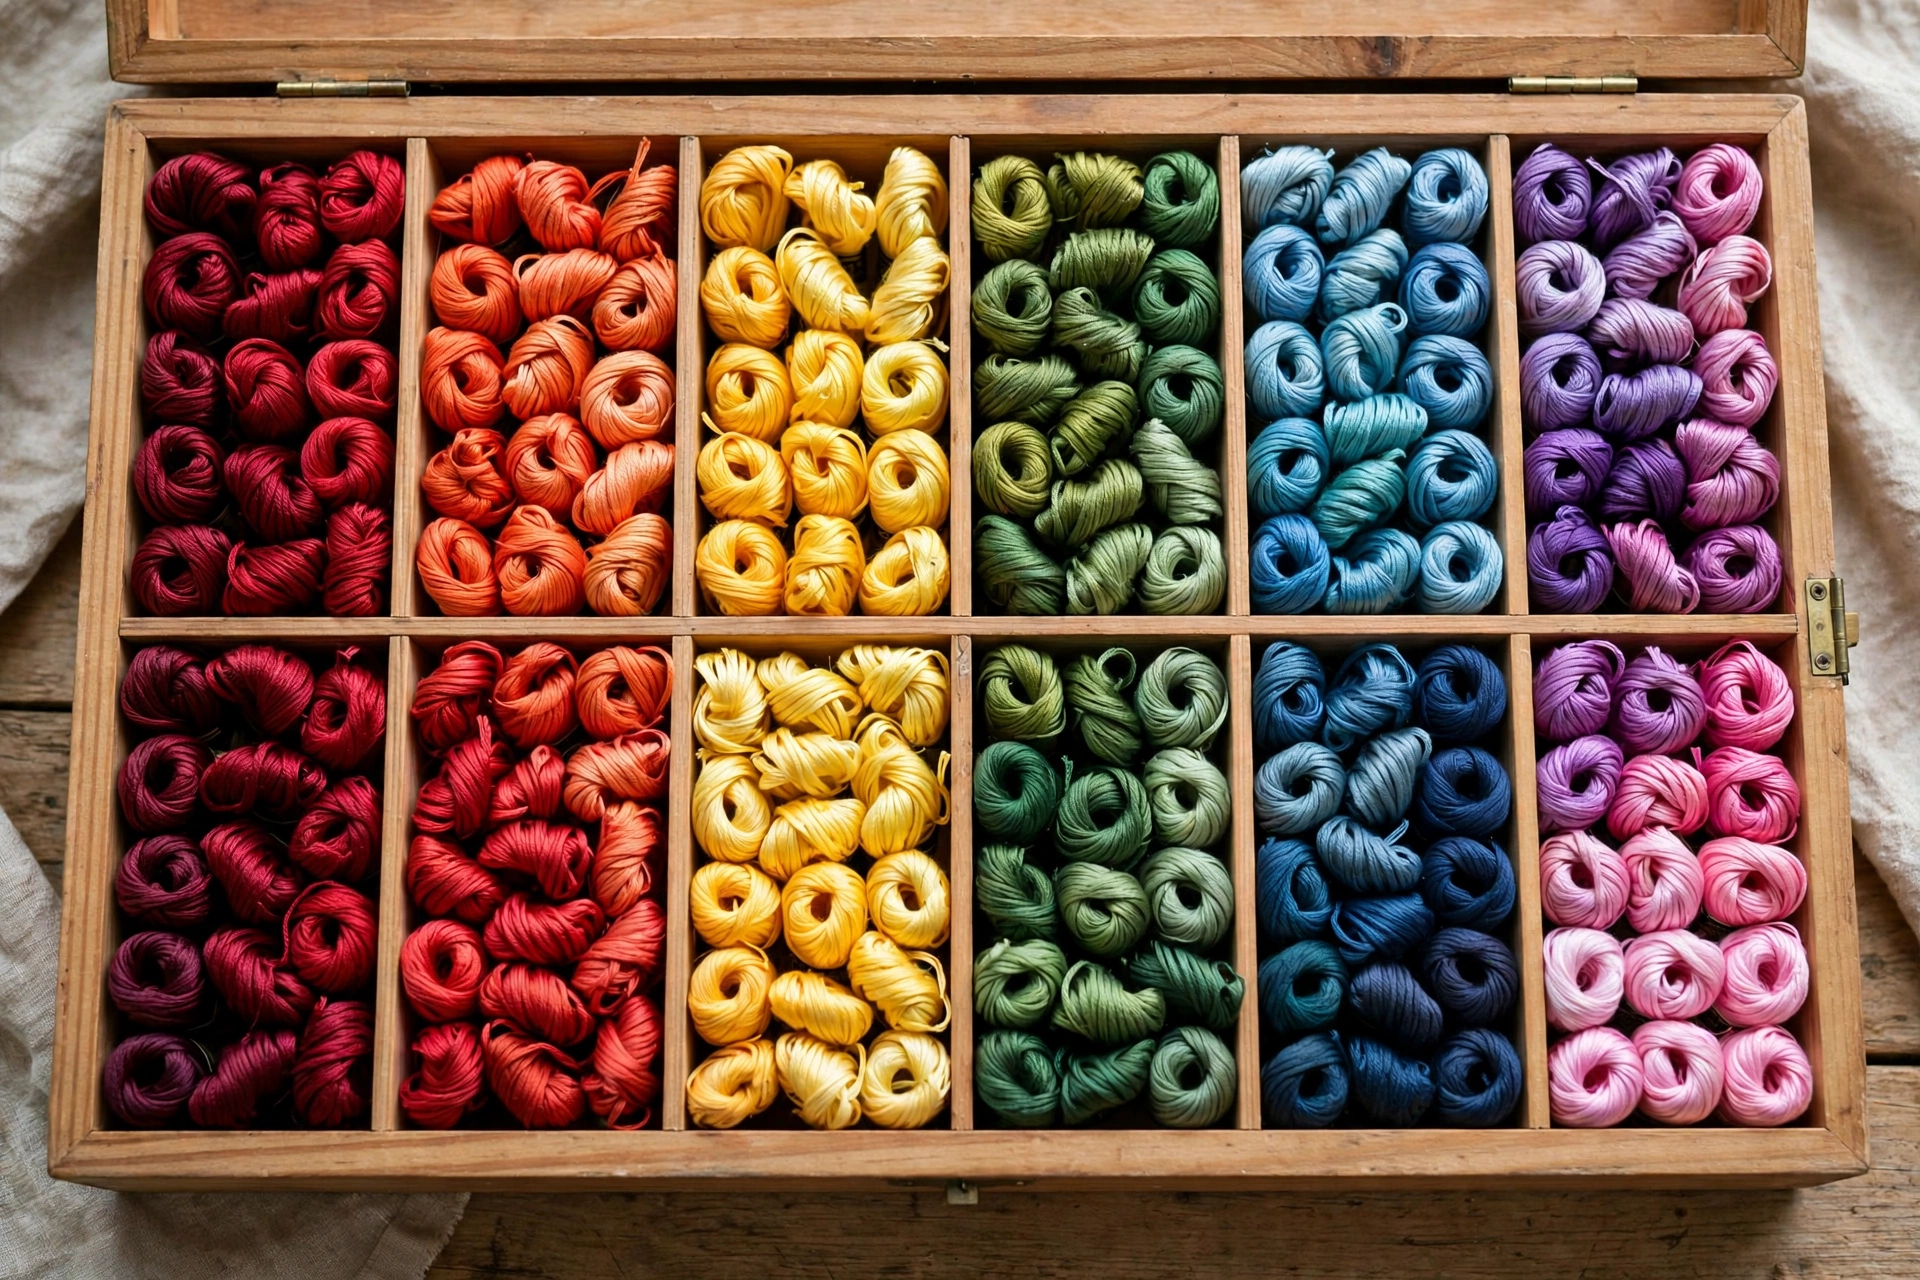
All floss is not created equal, and this is the second hill I will die on. DMC stranded cotton is the standard for a reason. It is colorfast, it is mercerized so it has a slight sheen, the dye lots are consistent, and a skein costs about seventy-nine cents at a big-box store. The “assorted craft floss” bag I bought in 2019 bled pink dye onto white fabric the first time I rinsed a finished piece, tangled constantly, and had the texture of dental floss that gave up. There is no bargain in thread that ruins the work.
You do not need fifty colors. You need ten to twelve that you love, because you will stitch more when you like your palette. Here is a starter set that covers nearly every beginner pattern: 310 (black), Blanc (white), 321 (Christmas red), 744 (pale yellow), 519 (sky blue), 367 (dark pistachio green), 986 (dark forest green), 3012 (light khaki green), 800 (pale Delft blue), 434 (light brown), 814 (garnet), and 758 (very light terra cotta). That is twelve skeins, roughly nine dollars and fifty cents, and it will stitch florals, lettering, animals, and most of the cute stuff on Pinterest.
Learn the strand math early because it changes everything. A skein of DMC is six strands twisted together. For most beginner work on cotton, you will stitch with two strands for outlines and detail, and three strands for filling shapes. Two strands gives you crisp lines. Three gives you coverage without bulk. Six strands, the full skein, is for bold outlines on heavy fabric and will look like rope on a fat quarter. When a pattern says “2 strands,” it means pull two strands out of the six and stitch with those. This is the single most useful technical fact in this whole post.
What to skip: the 100-color discount set, any floss without a brand name, and “embroidery thread” that turns out to be pearl cotton or crochet thread in disguise. Pearl cotton is lovely stuff, but it does not separate into strands and it behaves differently. Buy stranded cotton that says DMC on the label. If your budget is truly tiny, buy six skeins instead of twelve: 310, Blanc, 321, 367, 519, and 744. You can stitch a shocking amount with black, white, red, green, blue, and yellow.
One more thing: write the color number on the paper band of each skein and keep the bands. Six months from now you will run out of 367 mid-project and you will be very glad you know exactly which green to rebuy. I keep mine in a little tin. Fancy organizers are optional. The numbers are not.
Fabric: Kona cotton is your best friend
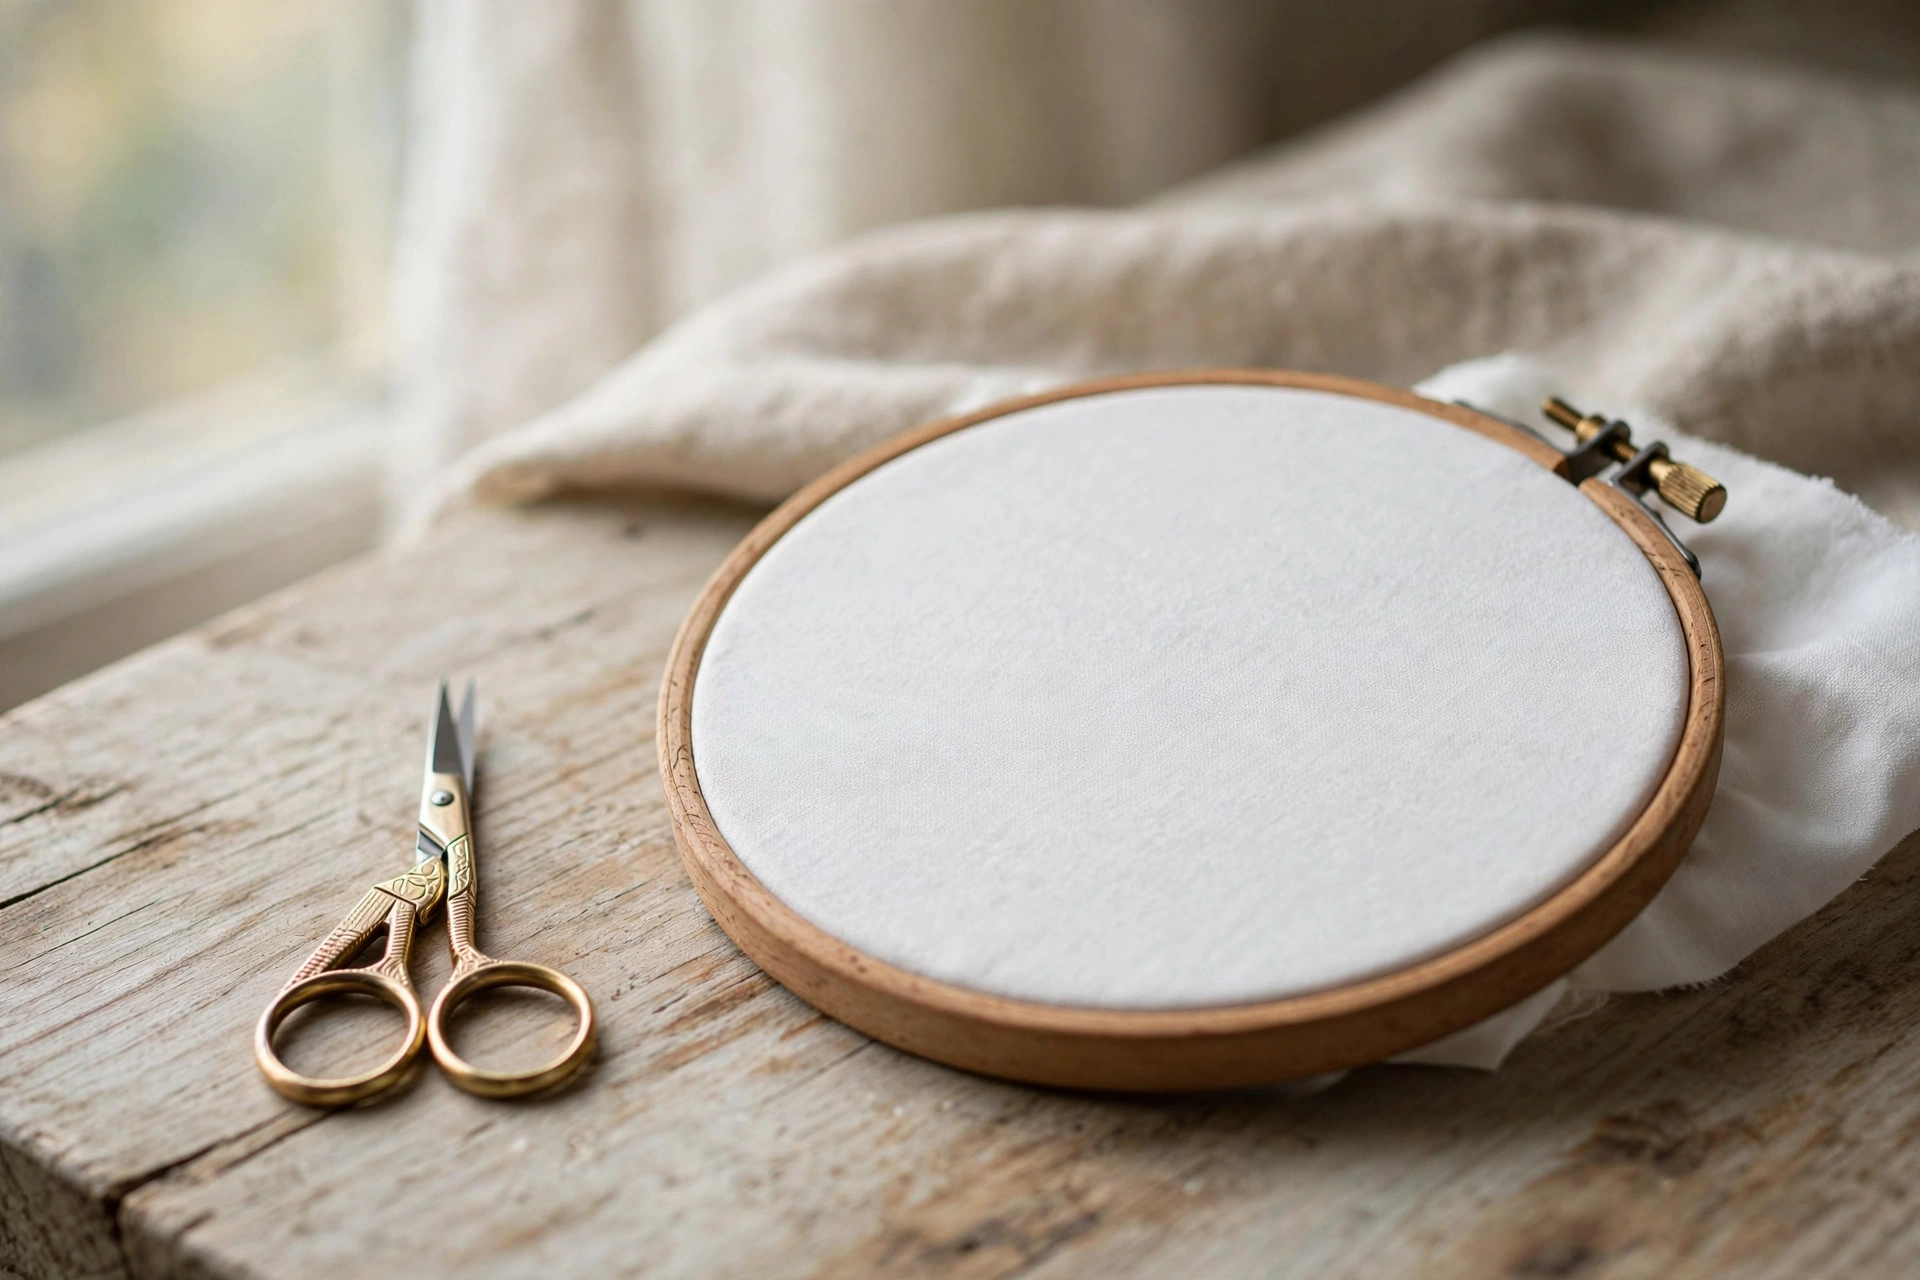
Your first fabric should be boring, and I mean that as a compliment. Kona cotton in Snow or Natural, bought as a fat quarter for about three dollars, is the ideal beginner ground. It is a quilting cotton with a tight, even weave, which means your needle goes through cleanly and your stitches sit evenly. The weave is visible enough to count if you need to, invisible enough that it does not fight your design. I stitched my first thirty or so projects on Kona and I still keep a stack of fat quarters in Natural for practice and gifts.
Cut your fat quarter into pieces roughly 10 by 10 inches for a 6-inch hoop. You want at least two inches of excess fabric all around the hoop so you have something to grip when you tighten it. Beginners always cut too small. Then they spend the whole project with the hoop popping off. Cut bigger than feels necessary. Fabric is cheap. Frustration is not.
What to skip, and this matters: do not start on a t-shirt. Stretchy knit fabric shifts under the hoop, puckers around stitches, and requires stabilizer, which is a whole second skill. Do not start on Aida cloth either. Aida is for cross-stitch, and its stiff grid will teach you habits that do not transfer. Do not start on dark fabric, because you will not be able to see your transferred design lines, and do not start on linen yet. Linen is beautiful and I love it, but its uneven weave punishes imprecise stitching, and your first stitches will be imprecise. That is fine. That is what the Kona is for.
When you are ready to level up, usually around project five or six, try a mid-weight linen in natural or flax. It costs more, around fourteen dollars a yard, and your stitches will suddenly look more textured and expensive. But earn it first. The Kona phase is short and it is doing important work.
Scissors and the small things that actually matter
You need small scissors with sharp points. That is the whole requirement. Mine are a four-inch pair with stork handles that cost eleven dollars, and they are the only scissors in my house that nobody is allowed to use on paper. Paper dulls fabric scissors. This is not a myth or a precious crafter superstition. Cutting paper with your embroidery scissors will ruin them, and then every thread you snip will fray instead of cut, and you will slowly go insane. Buy the scissors, then hide them.
The water-soluble marking pen is the other small thing that punches above its weight. Get a blue Dritz Disappearing Ink pen or a similar water-soluble marker, about four dollars. You draw your design on the fabric, stitch over it, and the lines vanish with a dab of water or fade on their own in a day or two. Test it on a scrap first, always, because some fabrics hold a ghost of the line. And do not iron over the marks before removing them. Heat can set some inks permanently, which is a lesson I learned on a pillowcase I still own and still resent.
The needle threader is a dollar and it ends the 10-pm threading standoff. The thimble is optional. I do not use one. Some stitchers swear by them. Try stitching without one first; if your middle finger gets sore from pushing the needle, then buy one. Do not buy the thimble preemptively. It will sit in a drawer and judge you.
What to skip entirely: the beginner money traps
Now the part that would have saved me thirty dollars in 2019. Skip the all-in-one beginner kit from the big-box store. The floss is the worst grade, the needle is blunt, the printed fabric is often off-grain, and the “instructions” are a single folded sheet that assumes you already know what a French knot is. Kits from actual embroidery designers are a different story and can be lovely. The generic craft-aisle kit is a trap.
Skip the giant floss organizer with 200 compartments. You own twelve skeins. They fit in a sandwich bag. Organizers are for the person you will become in two years, not the person you are today, and buying one now is just paying rent on ambition.
Skip the embroidery stand, the floor frame, and the lap hoop holder. These solve a problem you do not have yet, which is stitching for four hours at a stretch. Your one hand holds the hoop. That is the stand. It is free and it has worked since roughly the Iron Age.
Skip specialty threads for now: metallics, variegated floss, silk. Metallic thread in particular is the final boss of embroidery supplies. It kinks, it frays, it breaks, and it will make a beginner cry. I did not touch metallics until my second year and I still mutter at them. Master plain DMC first. The fancy threads will wait.
And skip the lightbox unless you are tracing intricate designs every week. For your first projects, a sunny window works perfectly as a lightbox. Tape your pattern to the glass, tape your fabric over it, trace. Total cost: zero dollars and a little dignity.
The honest budget: what this actually costs
Let us add it up with real numbers. Six-inch wooden hoop: seven dollars. John James size 7 needles, pack of six: three dollars and fifty cents. Twelve skeins of DMC at seventy-nine cents each: nine dollars and forty-eight cents. Kona cotton fat quarter: three dollars. Small sharp scissors: eleven dollars if you buy decent ones, five if you buy basic. Water-soluble pen: four dollars. Needle threader: one dollar. Total: roughly thirty-nine dollars, or about thirty-three if you go basic on the scissors.
That is less than most people spend on takeout in a week, and it is a complete setup, not a starter teaser. The beautiful economics of embroidery are that the ongoing cost is nearly zero. After the initial buy, each project costs you a dollar or two in floss and a scrap of fabric. Compare that to basically any other craft. Knitting will eat forty dollars in yarn before you finish a scarf. Embroidery is the cheapest hobby with the most expensive-looking results, and I will not be taking questions on this.
If money is genuinely tight, here is the absolute floor: borrow scissors from your kitchen drawer (fabric only, and wash them after), buy the hoop, one pack of needles, six skeins of DMC, and a fat quarter. That is about twenty-two dollars. The pen can wait; trace with a regular pencil, lightly, on light fabric. It works. It is not ideal, but it works, and done beats perfect every time.
Where to buy it all without overthinking it
You can buy this entire list in one trip to a Michaels or Joann, and there is no shame in that. The DMC wall at a big-box store is real DMC, the hoops are fine if you check the inner ring, and you will be stitching tonight. What I would not do is buy floss anywhere without a brand name, which rules out most discount sites and the craft aisle’s bargain bin.
The upgrade path, when you are ready, is your local quilt shop or needlework shop. The prices are a little higher, the selection is dramatically better, and the staff will talk you out of bad purchases, which is a service worth paying for. Online, I buy DMC from shops that sell it by the skein with the color numbers listed, never from mystery bundles. If a listing does not show color numbers, close the tab.
One practical tip for the store trip: bring this list on your phone and do not browse. Craft stores are designed to make you buy seventeen things you did not come for. I once went in for floss and came out with a glue gun I have used twice. The list is your armor. Buy the seven things, leave, and go stitch. If you want a guided path for what to do with your new supplies, my beginner’s start guide walks through your first stitches, and the tools checklist covers the few extras worth adding once you are hooked. When you are ready to learn your first real stitch properly, the backstitch guide is where I send everyone.
Final warning, and then I will let you go: within a month of starting, you will own forty-seven shades of green and use exactly two of them. You will buy floss “just in case” and develop opinions about hoop tension that bore your friends. This is normal. This is the hobby now. Welcome to it.