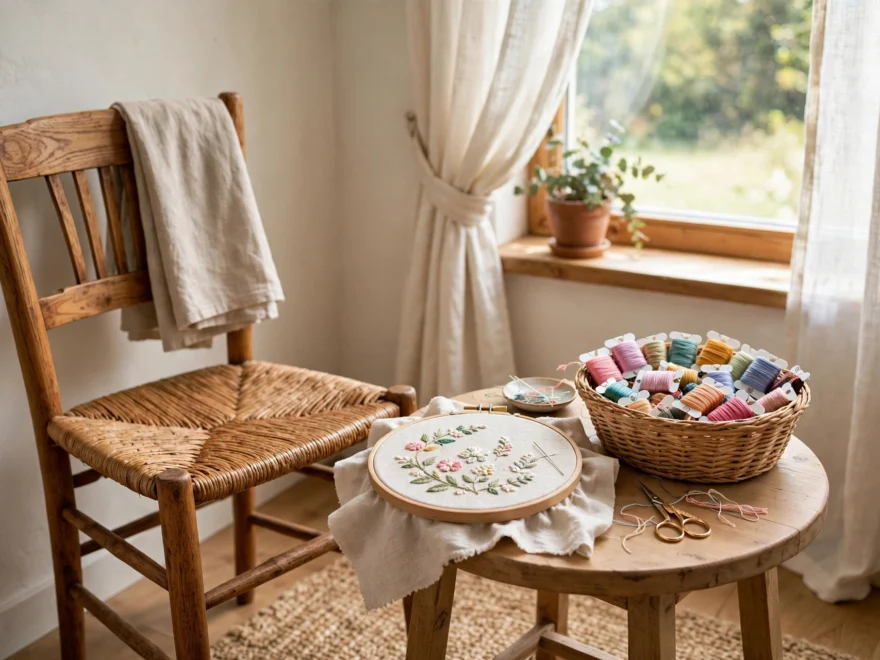
I stitched hunched over the left arm of our old IKEA couch for a year. The one with the spring poking through the fabric. My neck filed a formal complaint around month four. When I finally claimed one corner of our small bedroom, my stitching time tripled. Not more hours in the day. Just less setup: thirty seconds from decision to first stitch, instead of fifteen minutes of gathering supplies from four different rooms. A good embroidery workspace is not about square footage. It is about removing every tiny friction between you and the needle.
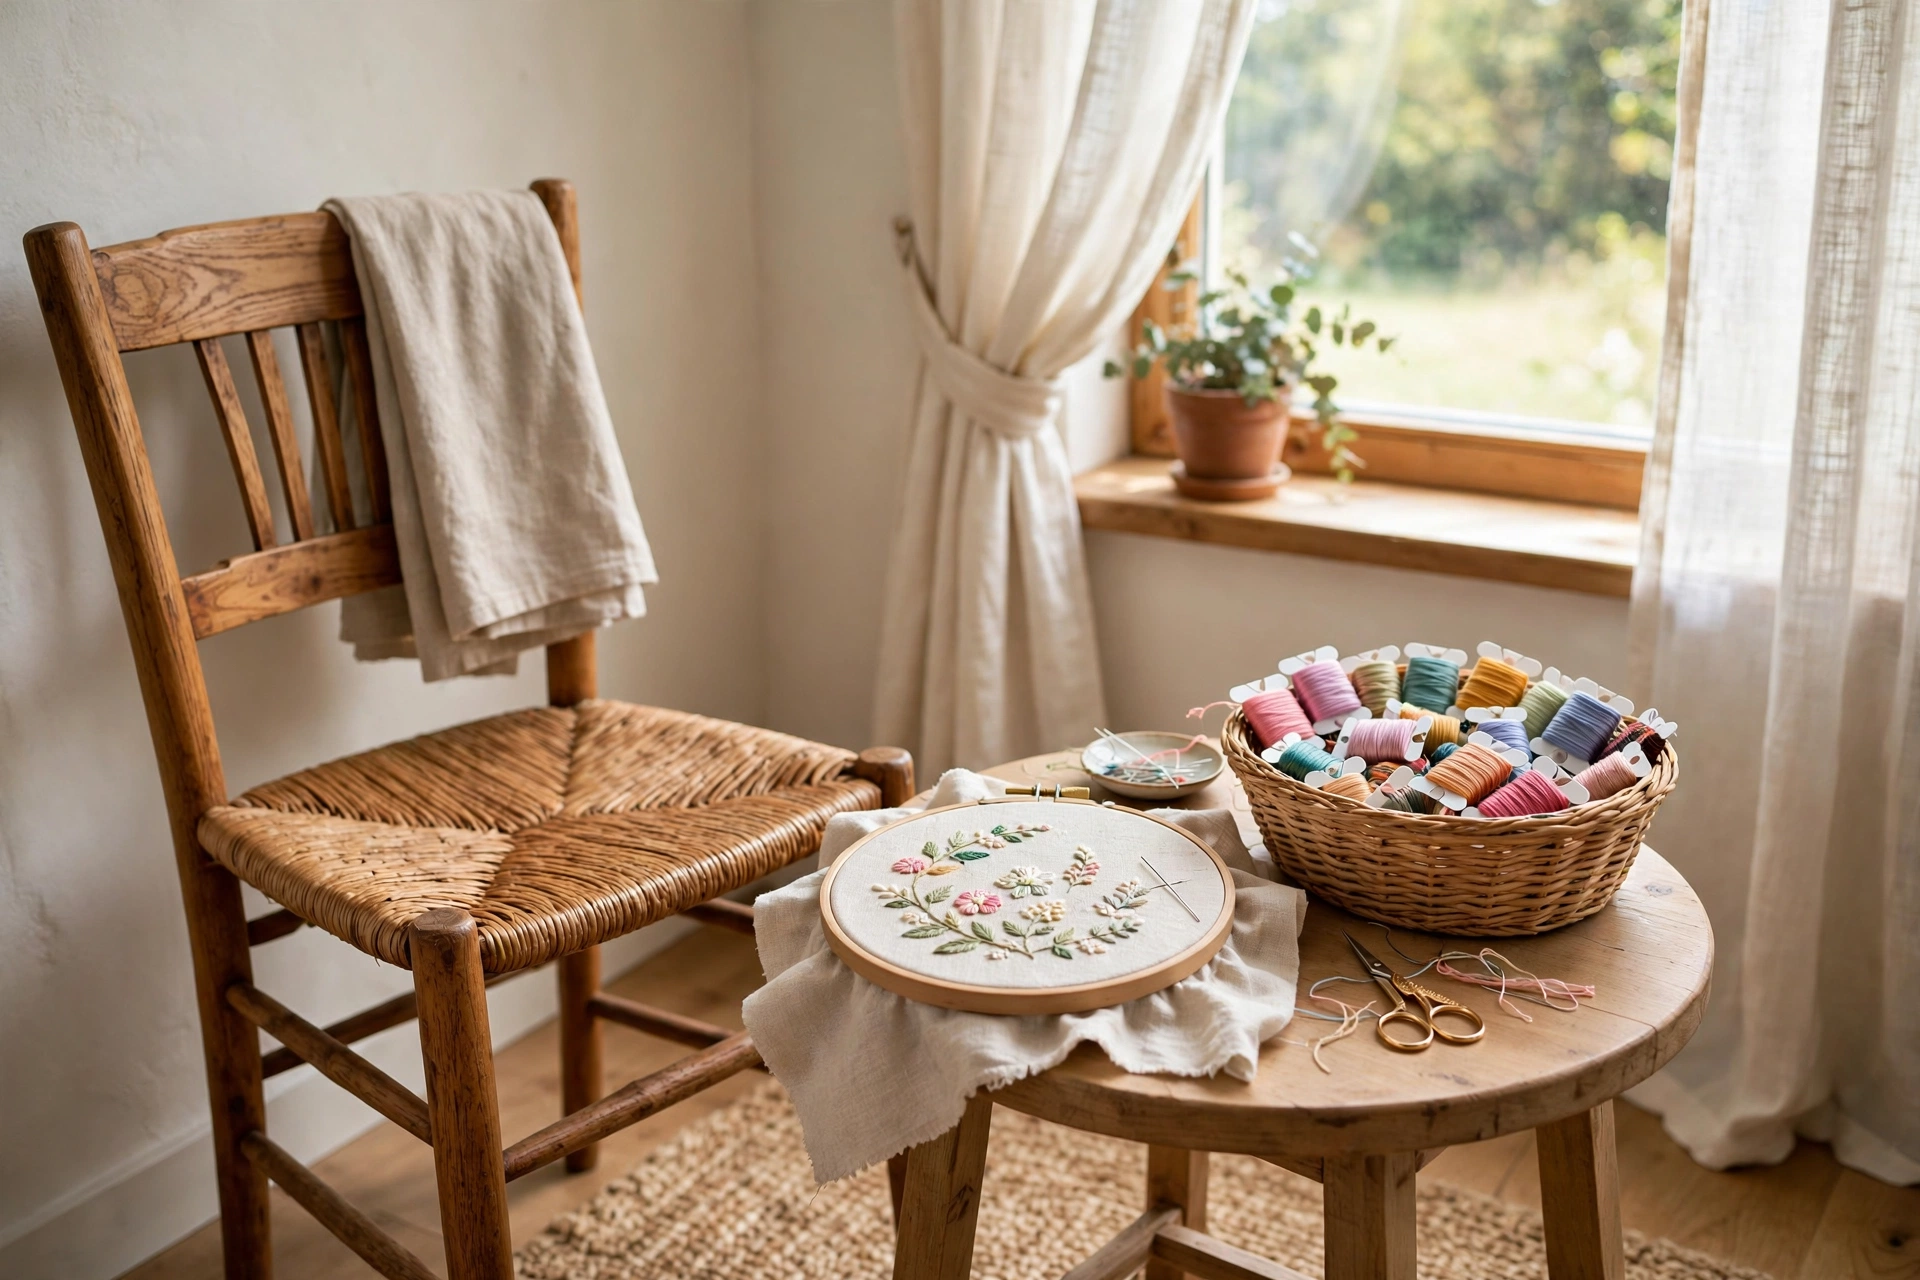
This guide runs on one rule: the 30-second rule. If starting takes longer than thirty seconds, you will skip tonight. Every recommendation below serves that rule, and all of it fits in a corner. No craft room required, no new furniture required.
The 30-Second Rule
Time yourself tonight. Decision to first stitch: how long? Most beginners land between ten and twenty minutes, because the hoop is in the closet, the floss is in a drawer, the scissors are wherever scissors go to die, and the good lamp is in another room. Every one of those is a tiny reason to check your phone instead.
The fix is embarrassingly simple. Count the items: chair, light, hoop, floss, scissors. Five things. If any of them lives in another room, move it tonight. Your whole embroidery workspace is those five items within arm’s reach, and the 30-second rule is the only metric that matters.
Light First, Chair Second
Pick the spot closest to the window first, seating second. Daylight shows true thread colors and is easier on the eyes than any bulb you can buy. Sit facing the window or sideways to it. Never with the window behind you, unless you enjoy stitching in your own shadow.
Then test the chair with your hoop for ten minutes. Feet flat, back supported, shoulders down. Whatever aches at minute ten will scream at minute sixty, and nobody finishes a border with screaming shoulders. The chair matters more than the table, more than the storage, more than everything except the light. Get the lighting right here, because bad light ruins color choices before you make a single stitch.
Building Your Embroidery Workspace, Step by Step
- Clear the corner completely. A fresh empty surface beats reorganizing clutter. Everything that lives there from now on has to earn its place.
- Chair first, angled at the window. This is the anchor. Everything else orbits it.
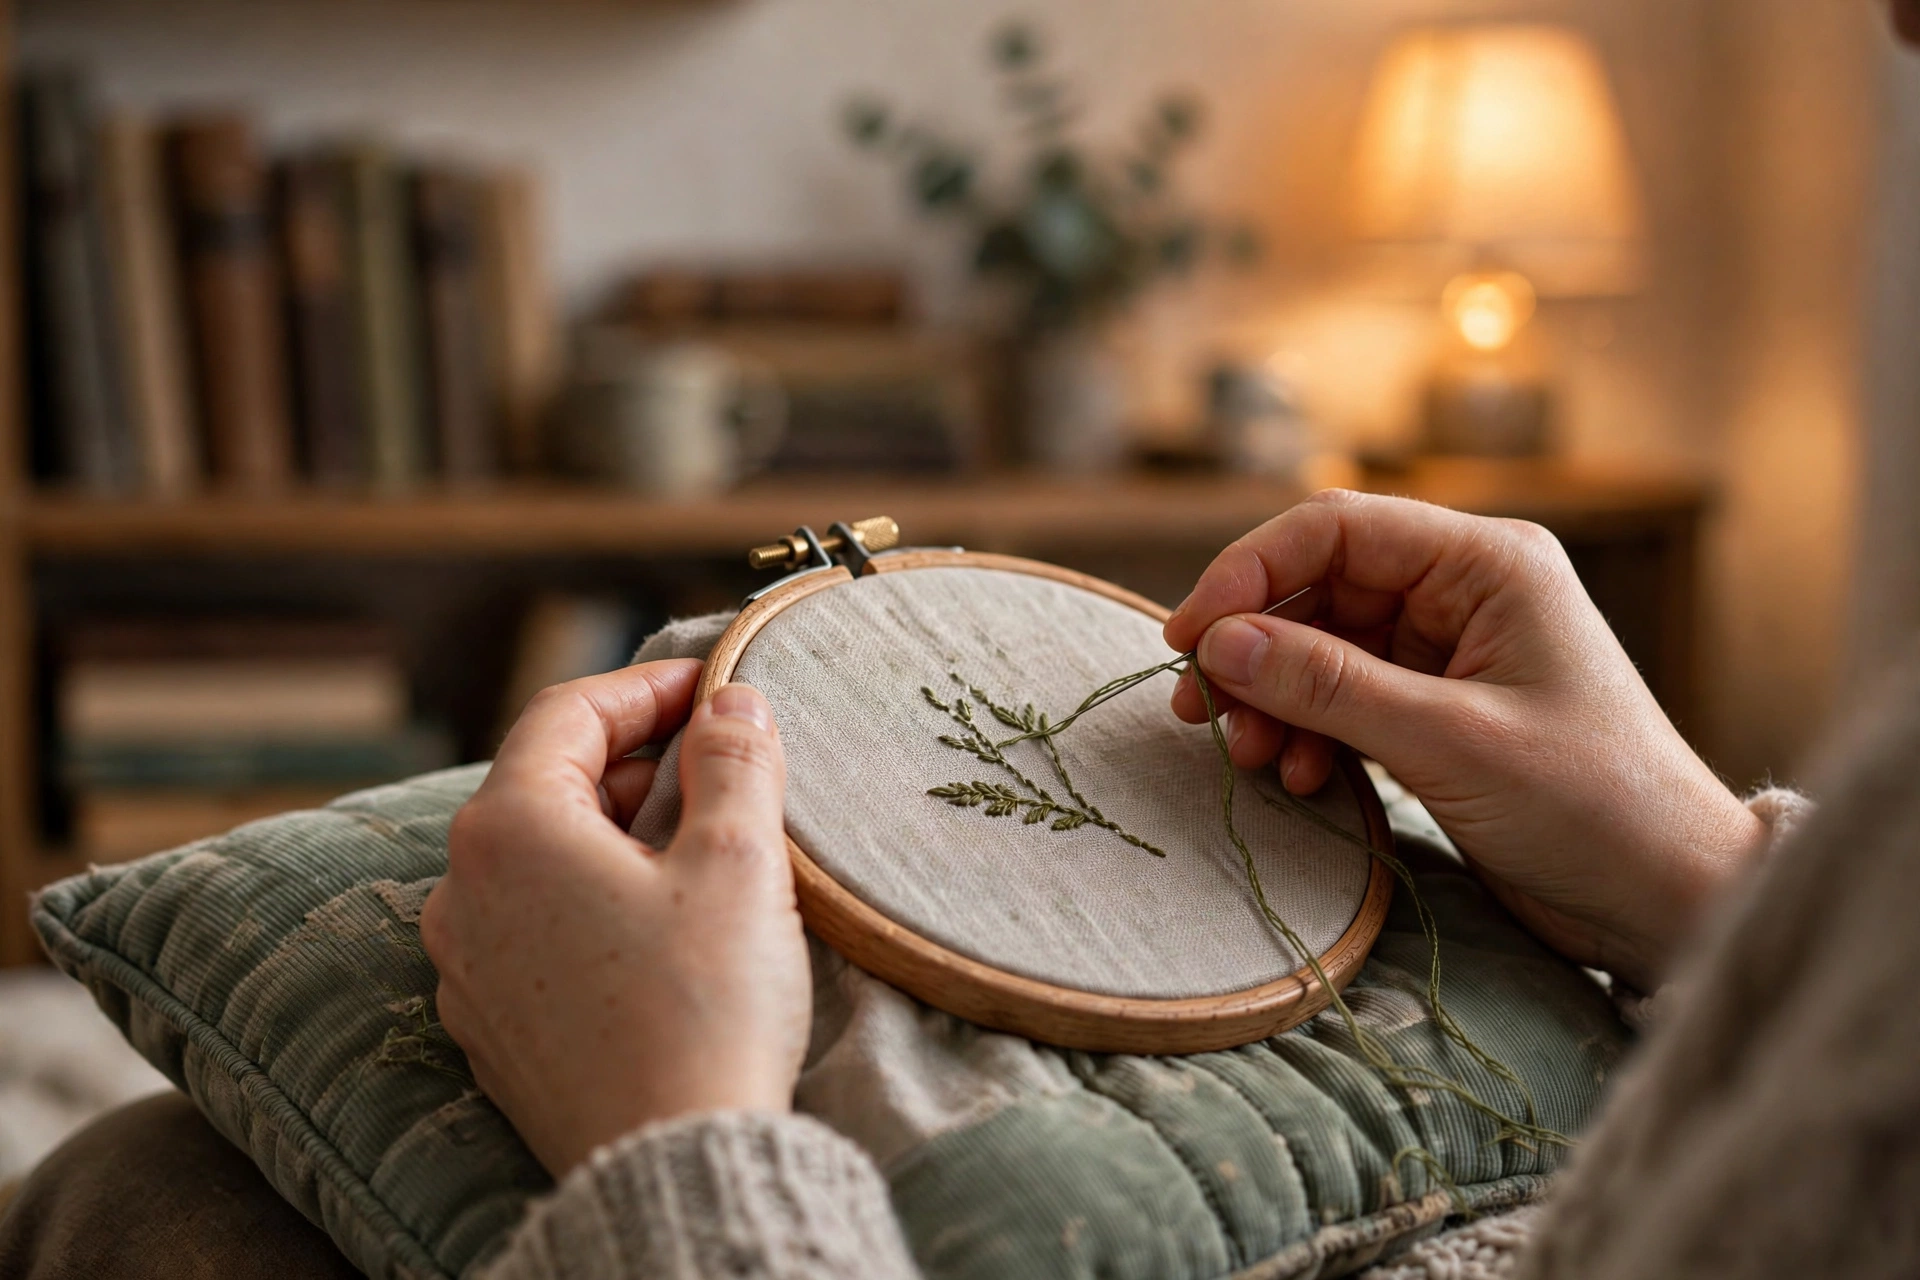
- Add a surface at elbow height within reach. A side table, a sturdy tray on an ottoman, a lap desk. It holds your hoop when you pause, your scissors, and today’s floss colors. When the lap setup starts limiting longer sessions, a stand or lap frame is the upgrade, not a bigger table.
- Lamp on the opposite side from your stitching hand. Right-handed? Lamp on the left. Your hand should never cast a shadow on the work. Daylight bulb, 5000 to 6500K. That Kelvin number on the box is the difference between true colors and guessing.
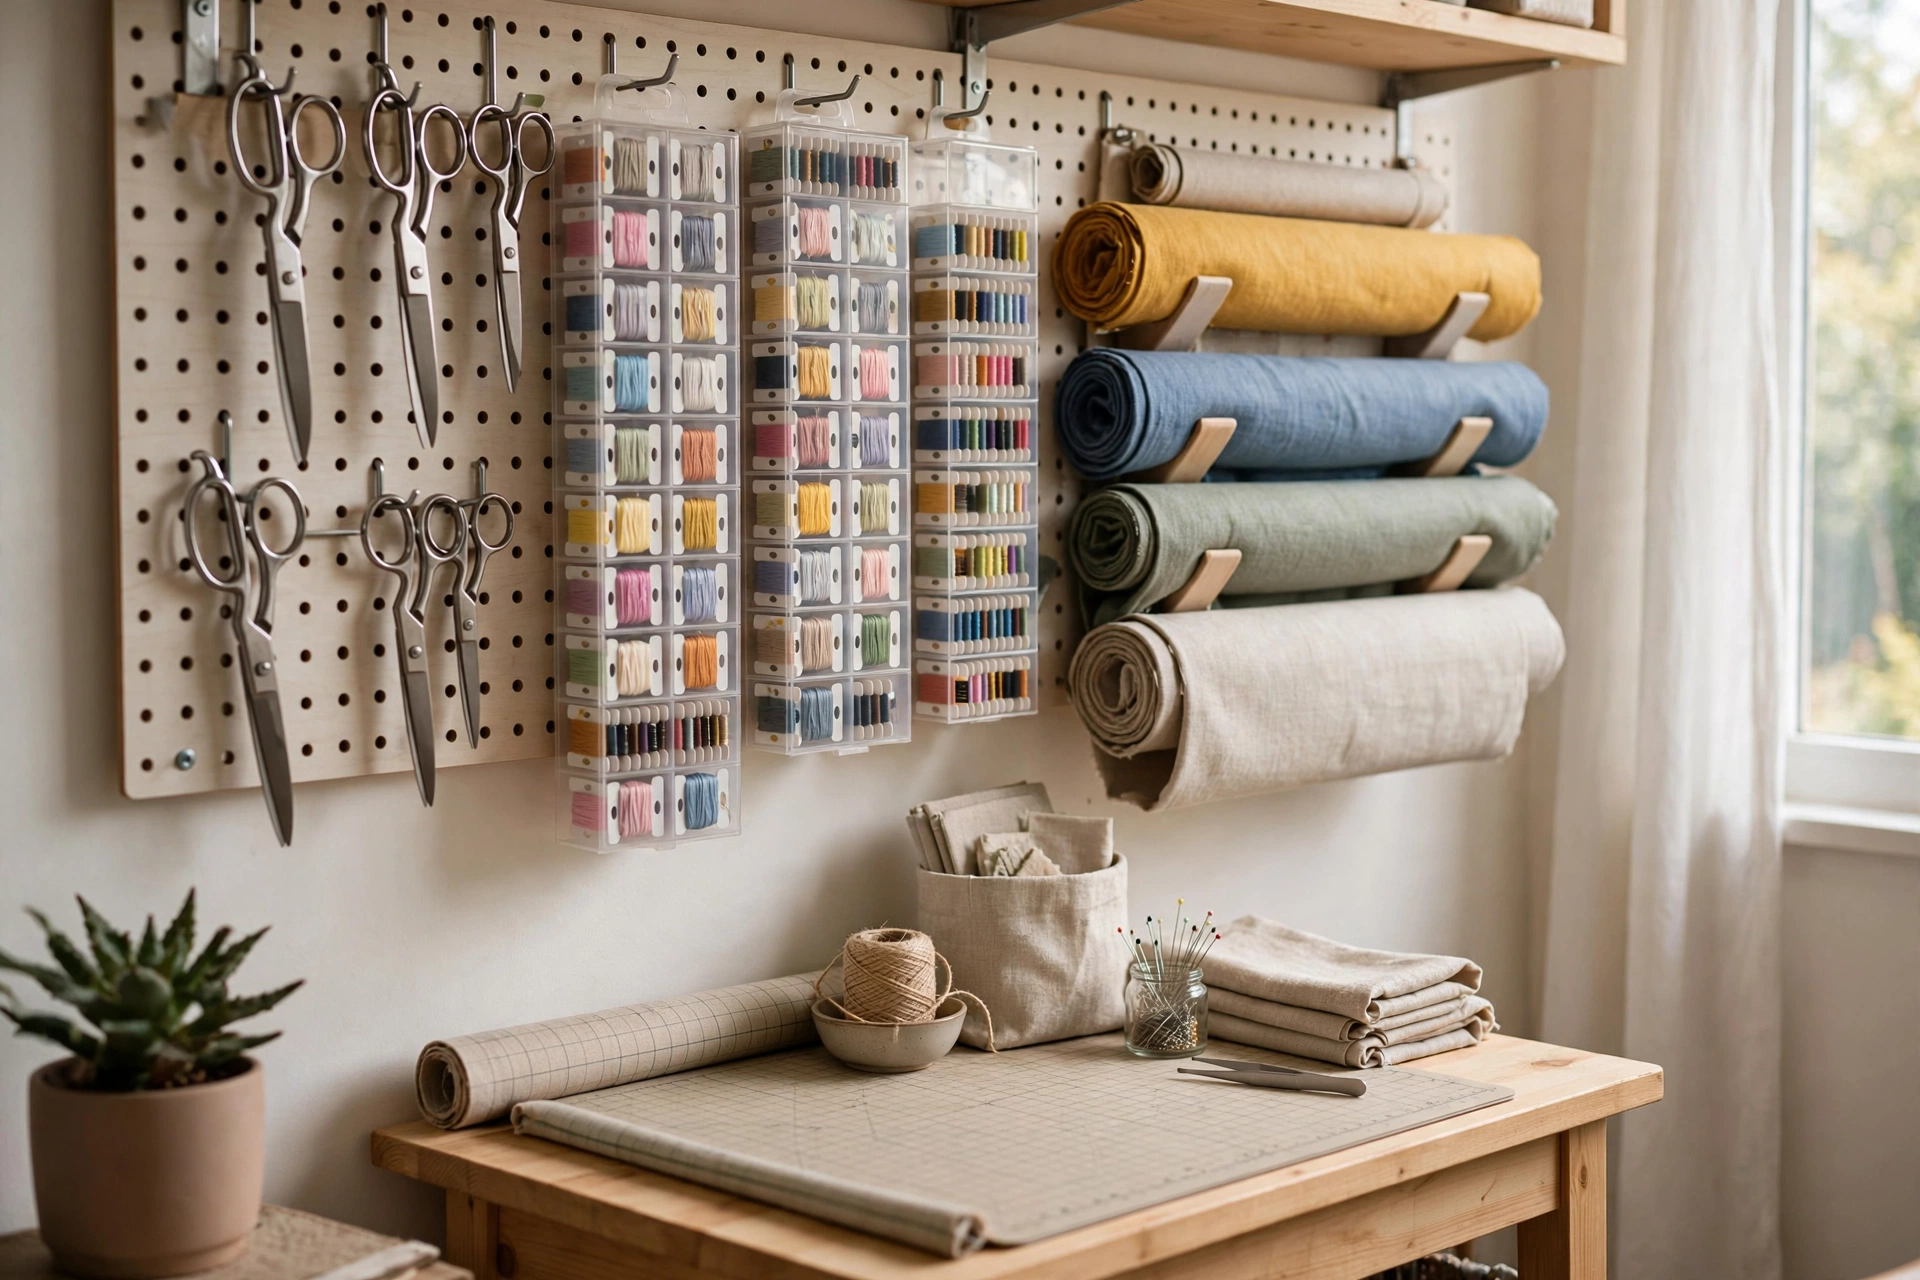
- Go vertical. A small pegboard, adhesive hooks, a hanging organizer on the wall or the side of a bookshelf. Scissors, hoops, and rulers go up, not out. In a small room, the walls are free real estate.
- Give floss one home, within arm’s reach. Your bobbin box or ring system lives on a shelf or in a drawer you can touch without standing up. Set up the floss system first, then give it its spot.
- Add a waste bowl for snips. A small bowl, a magnetic pin dish, anything. Snips on the floor become carpet archaeology. Contained snips take two seconds.
Storage That Earns Its Floor Space
In a small room, every storage item pays rent. Here is what pays:
- Over-the-door organizer. Dead door space becomes floss, fabric, and tool storage without touching a single square foot of floor.
- Three-tier rolling cart. Tucks beside furniture, rolls to the chair when you stitch, rolls away when you do not. In a small room, portability is a feature, not a compromise.
- Under-bed flat boxes for the fabric stash. Labeled, out of sight, sorted. Out of sight is fine. Out of mind is how you buy the same fat quarter three times.
- One in, one out. Every new supply replaces or consolidates something. This is the only rule that prevents the slow creep back to chaos, and the creep is always slow until it is suddenly total.
When It Still Is Not Working
Neck and shoulder pain means your work is too low or too far away. Raise the hoop closer to eye level with a cushion on your lap, and check that you are not hunching toward dim light. Clutter creeping back within a week means too many homes for things: reduce to one floss home, one tool home, one fabric home. Eye strain in the evenings means the lamp is too dim or too warm, so bring it closer and go brighter before you blame your eyes. And if housemates or kids keep disturbing the setup, lean into portability: a rolling cart plus a project bag means the whole workspace packs away in two minutes.
Start tonight. Chair, light, one surface. The rest can arrive one small upgrade at a time, and each one will feel like a gift because you will know exactly what it fixed. Your neck will notice by Friday.
One comment