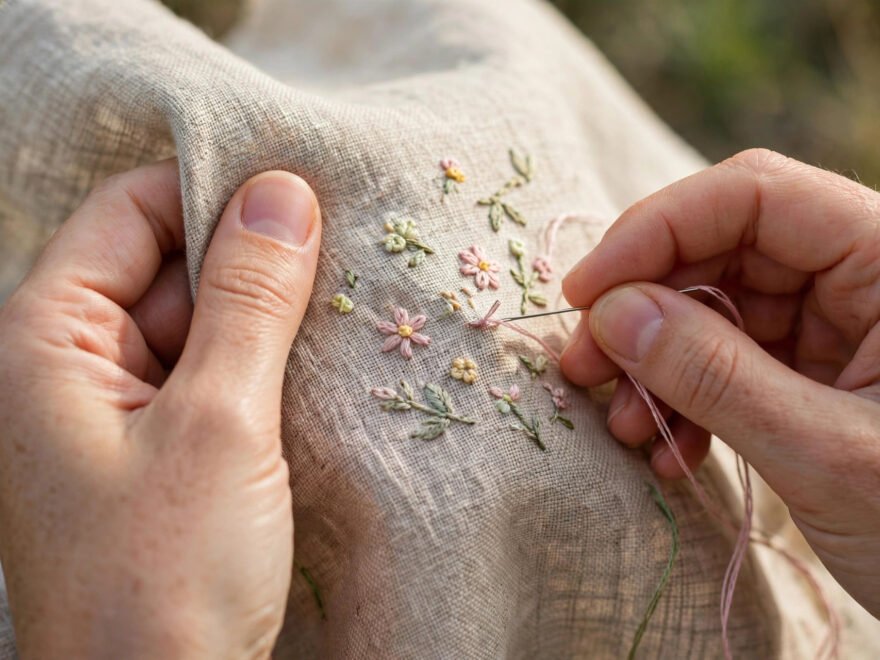
I cracked my only hoop on a Tuesday night in February, halfway through the border of a sampler, and every shop within driving distance was closed. So I finished the border stitching in hand, cursing, and you know what? The stitches came out fine. That night rewired my brain. Embroidery hoop alternatives are not sad backup plans. Some of them are just good ways to stitch.
Here is my ranked list, from the one I reach for most to the one I reserve for special occasions. All of them hold fabric taut enough for real work. None of them require buying anything exotic.
The ranking: 6 embroidery hoop alternatives
1. Your own two hands
This is the oldest method in the book and still my default for anything under 3 inches. You hold the fabric taut across the fingers of your non-dominant hand and stitch with the other. Zero setup. Zero dollars. Works on the couch, in a waiting room, on a train.
The trick is keeping the working patch small. Bunch the excess fabric loosely in your fist and let only the bit you are stitching sit flat. It suits medium-weight fabrics best: quilting cotton, midweight linen. Stretchy knits will fight you, and that is the fabric’s fault, not yours.
2. A small wooden picture frame
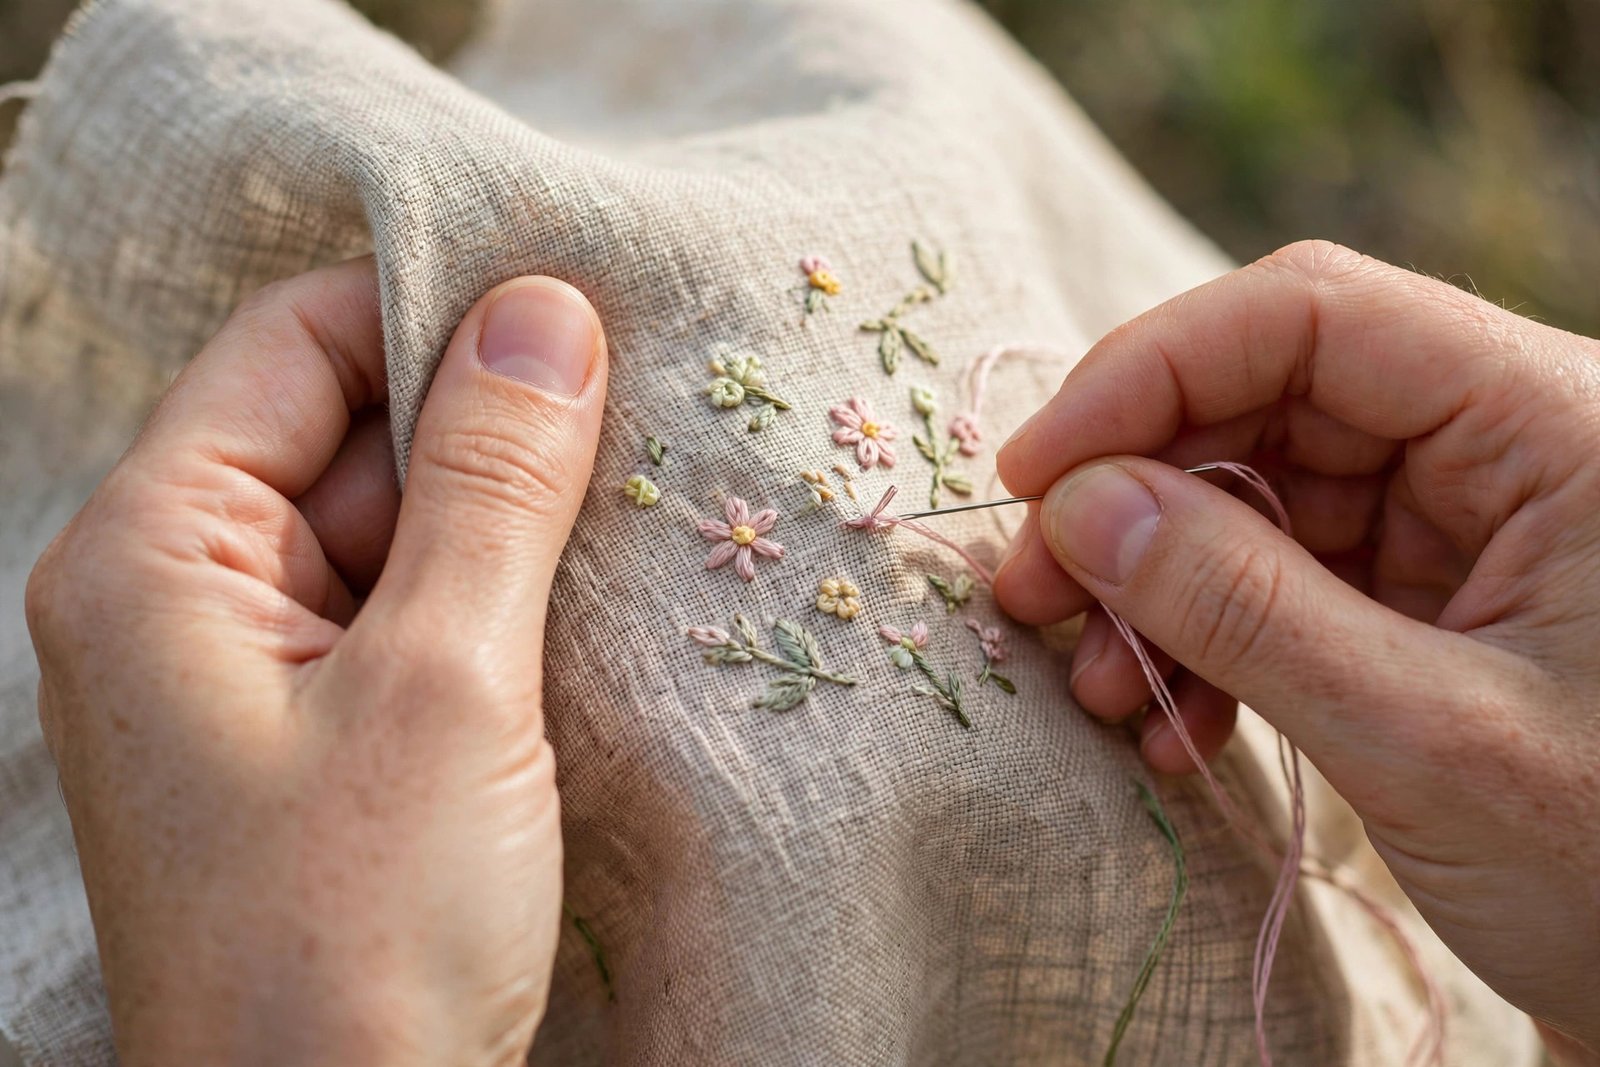
A 4×6 wooden frame from the dollar store, glass and backing removed, fabric laid over the front and secured around the edges with 1-inch binder clips. I keep one in my travel pouch and it has saved at least three trips.
Tension is decent, though never as even as a real hoop, because you are pulling from the edges instead of all the way around. It shines for rectangular designs and for anything you plan to frame later, since the fabric is already cut to frame size. Skip plastic frames. They flex, and the clips walk right off them mid-session.
3. Binder clips and a clipboard
For tiny motifs, clip the fabric to a clipboard with two or three large binder clips, pulling it snug as you go. Firm, flat, both hands mostly free. This is my favorite way to stitch a name or a small flower onto a patch before it gets sewn onto a jacket.
Obvious limit: you can only use the flat area, and the fabric under the clips is dead space. Keep your design at least an inch from the clip edges. And use the big 1-inch clips. The small ones do not grip fabric, they grip hope.
4. A DIY PVC pipe frame
The homemade cousin of the Q-snap: four short lengths of half-inch PVC pipe, four elbow joints, and four snap clamps from the hardware store. Press the fabric over the square frame, snap the clamps on. Total cost is usually under five dollars, and tension is honestly excellent.
The square shape gives you more stitching area than a round hoop of similar size. The downside is bulk. It does not fold, so it lives in your craft corner, not your bag. Mine lives behind the couch and gets dragged out for every medium project.
5. Your Q-snap, if you own one
If you already upgraded to a Q-snap frame, congratulations, you own a hoop alternative. The clamps grip fabric on four straight sides with no hoop burn and beautifully even tension. I mention it here because half the stitchers I know own one and still think of it as “the fancy frame” instead of the everyday workhorse it is.
6. Artist stretcher bars
Canvas stretcher bars, the kind painters use. Assemble the rectangle, stretch your fabric over it, staple or pin the edges to the back. This gives the most drum-tight tension of anything on this list, and it is the traditional method for large or formal pieces.
The catch is commitment. Stapling is semi-permanent, so this is for finished pieces, not practice cloth. It is also overkill under 8 inches. But if you are stitching something meant for a wall, starting on stretcher bars means you skip the framing step entirely. Efficient, if a little bossy.
How to stitch hoop-free without puckering everything
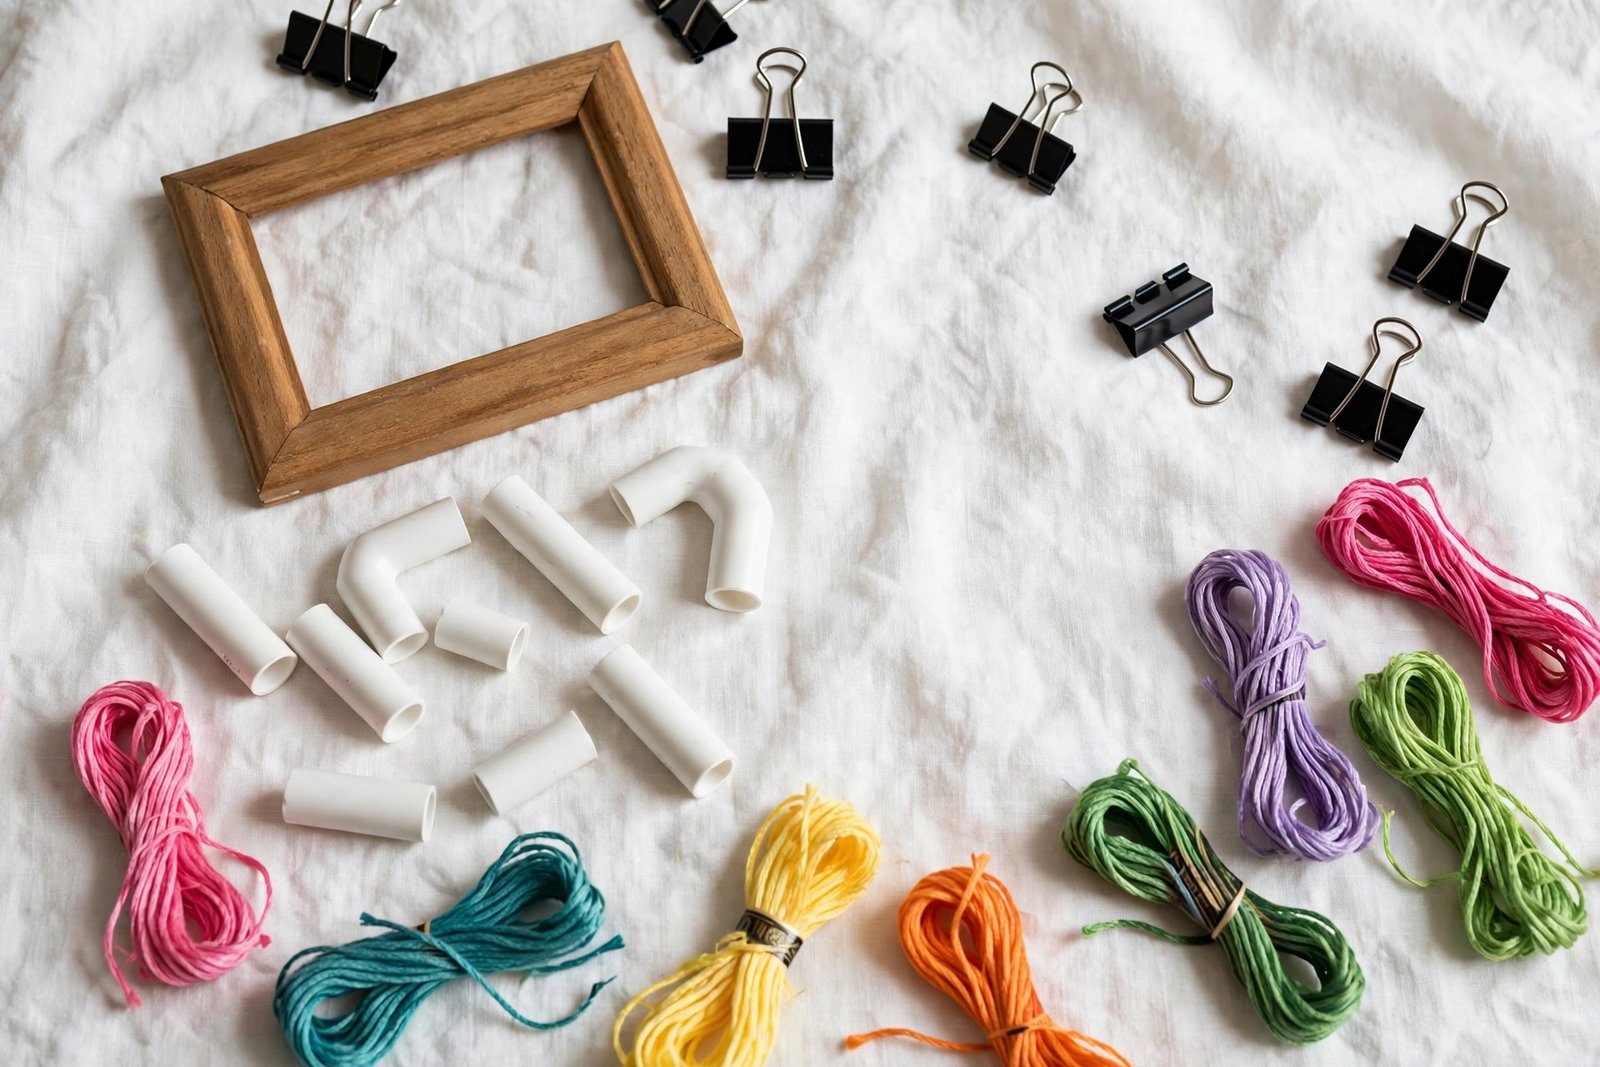
Whatever substitute you pick, the technique matters more than the tool. Cut your fabric at least 2 inches larger on every side than the design, because you need margin to grip, clip, or staple. Tension the fabric first, then transfer your design. Transferring first and tensioning second is how motifs end up stretched and sad.
Use shorter thread than usual, about 14 inches instead of 18. Long thread tangles faster and pulls unevenly when there is no hoop stabilizing things. And check the back of your work every few minutes. Uneven tension shows up on the back first, as puckering or loose loops, and catching it early saves a lot of frogging.
One more thing: when you take a break, release the clips or loosen your grip. Fabric left under tension for days stretches permanently, especially cotton. Your future self will not remember to do this. Do it anyway.
When a hoop is actually worth it
I am not anti-hoop. I own six of them. A good 6-inch wooden hoop with a brass screw is still the cheapest, simplest way to hold fabric, and if you are buying your first frame, that is the size to get. Hoops also double as frames for finished pieces, which is the entire reason hoop art exists.
But the hoop is a tool, not a rule. The stitchers who came before hoops were mass-produced did beautiful work holding fabric in their hands, and the embroidery hoop itself is just one relatively recent answer to an old problem. Learn two or three of these alternatives and you will never again lose a stitching night to a cracked ring of beechwood.
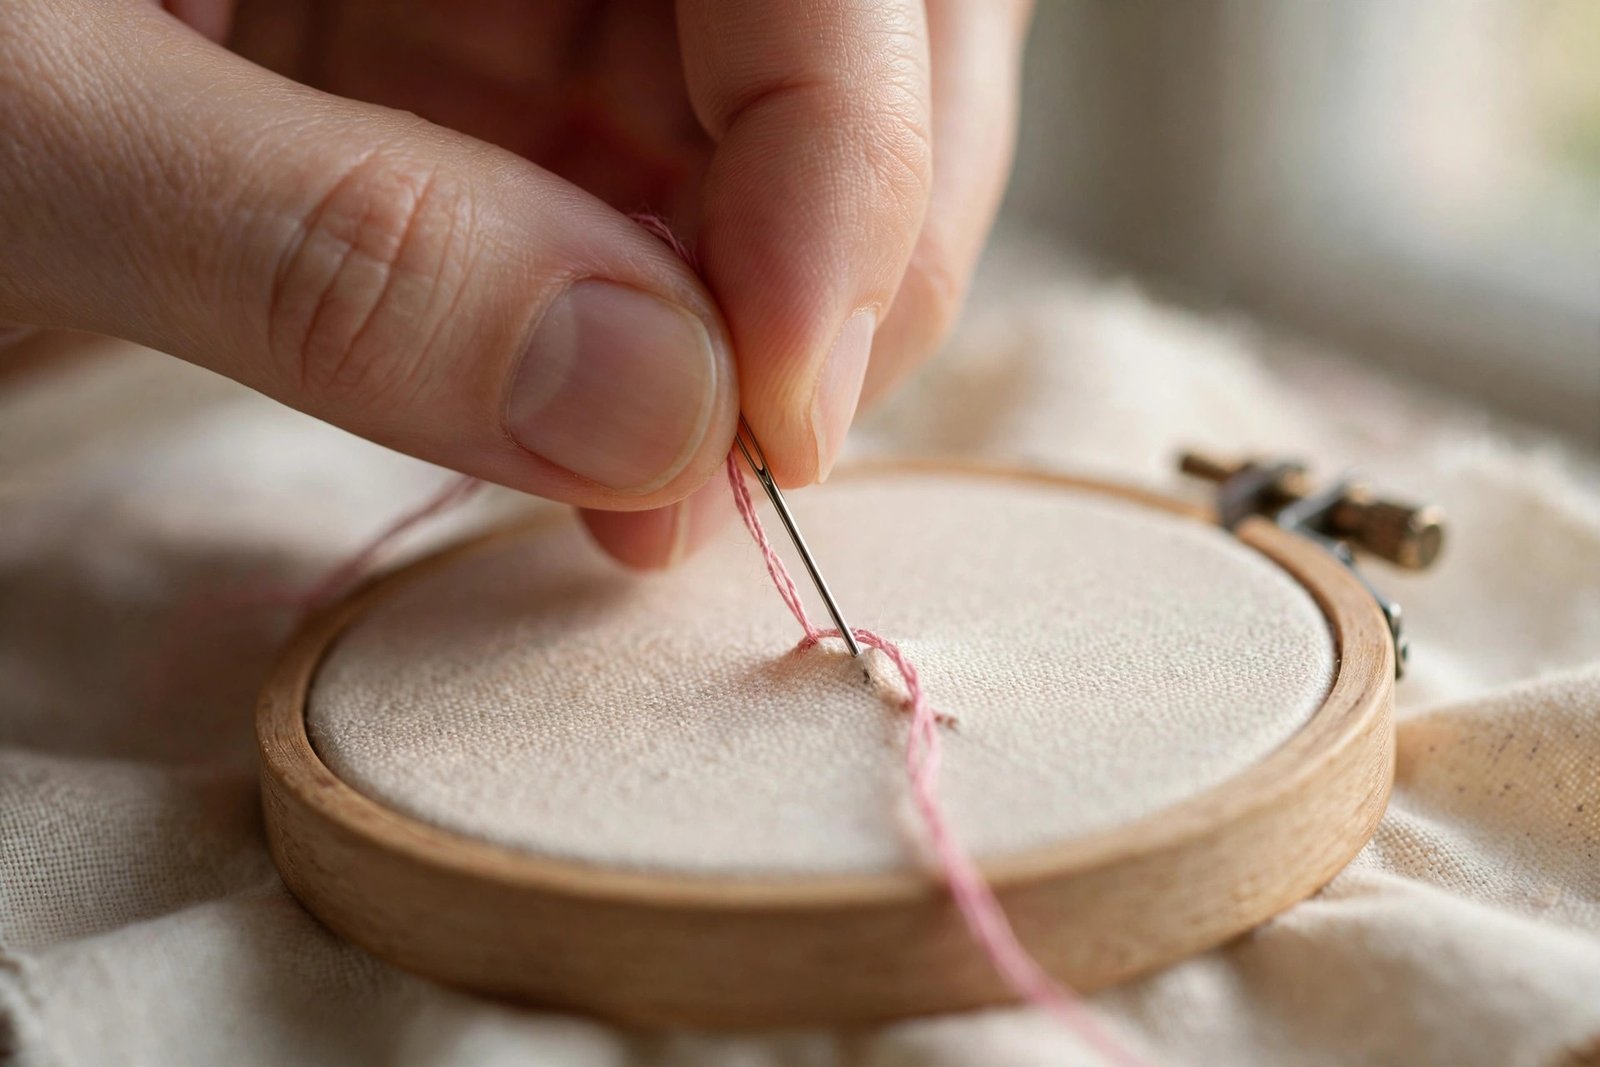
If your fabric keeps going slack no matter what holds it, the problem is usually technique, not hardware. My guide on keeping fabric tight covers the four-direction pull and the screwdriver trick that fixed it for me.