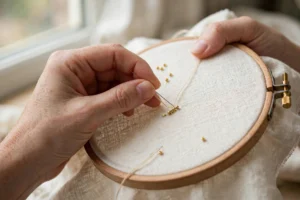
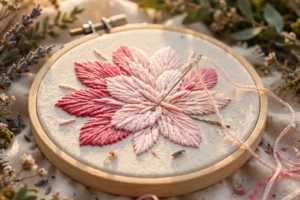
Goldwork has a reputation for being the most difficult, most precious, most intimidating corner of embroidery. I believed that too, right up until a teacher handed me a piece of gold thread, showed me one simple technique, and I realized the secret: goldwork embroidery for beginners is not about talent, it is about learning to handle a few special materials. The shine does all the showing off.
Goldwork is embroidery worked with metal threads: real gold, gold-plated, or imitation metallic threads couched, coiled, or looped onto fabric to create raised, glittering designs. Traditionally you see it on royal robes, military uniforms, and church vestments. But the beginner techniques are genuinely simple, and a small goldwork motif on a pouch, a hoop-art piece, or a holiday ornament looks absolutely luxurious. In this guide I will show you exactly which materials to buy (and which expensive ones to skip for now), the three starter techniques I recommend, and the handling tricks that keep metallic thread from fraying.
What you will need
- Fabric: a firm, non-stretch ground such as cotton twill, linen, or felt in a dark color. Dark fabric (navy, black, deep green, burgundy) makes gold thread glow and hides any small gaps. Hoop it very tightly.
- Metallic threads to start with: Japanese thread (a flat gold-wrapped thread on a silk core, size 8 is a good beginner weight), gold pearl purl (a hollow coiled wire that looks like tiny beads), and smooth purl (a shinier coiled wire). Buy small quantities: one spool of Japanese thread and a short length each of pearl purl and bright check purl will cover your first projects.
- Couching thread: a strong thread in a matching gold or yellow color for tacking down your metal threads. Gutermann polyester sewing thread or a fine silk thread works well.
- Needles: chenille needles (sizes 18 to 22) for pulling threads through fabric, and fine sharps for couching. Keep a dedicated needle for metal threads so you do not dull your good embroidery needles.
- Beeswax: a small block to run your couching thread through. It strengthens the thread and stops it tangling.
- Small sharp scissors for cutting metal threads cleanly. Cut purls with a gentle rocking motion rather than a hard snip.
- Tweezers: for placing tiny cut pieces of purl accurately.
- A mellor or stiletto (optional): a smooth pointed tool for nudging metal threads into place. A large tapestry needle works as a substitute.
- Marking pen and your design: start with a simple leaf, star, or circle about 1.5 to 2 inches across.
One money-saving note: real gold threads cost a small fortune and you do not need them yet. Good imitation metallic threads (brands like Kreinik or DMC Diamant alongside entry-level Japanese thread) behave similarly enough for learning, and nobody can tell the difference in a finished beginner piece.
How goldwork differs from regular embroidery
In ordinary embroidery, your pretty thread goes in and out of the fabric with every stitch. In goldwork, the metal thread usually stays on the surface and a second, plainer thread (the couching thread) does the work of pinning it down. This is because metal threads are stiff, fragile, and far too precious to drag through fabric repeatedly. Once you understand this surface-laid logic, every goldwork technique starts to make sense.
The other big difference is handling. Metal threads kink, fray, and snap if you pull them the way you pull cotton floss. Short lengths (no more than 12 to 15 inches at a time) and gentle tension will save you most of the frustration beginners report.
Step-by-step: your first three goldwork techniques
Start with these three in this order. Each one builds handling confidence for the next, and together they can complete a genuinely beautiful small motif.
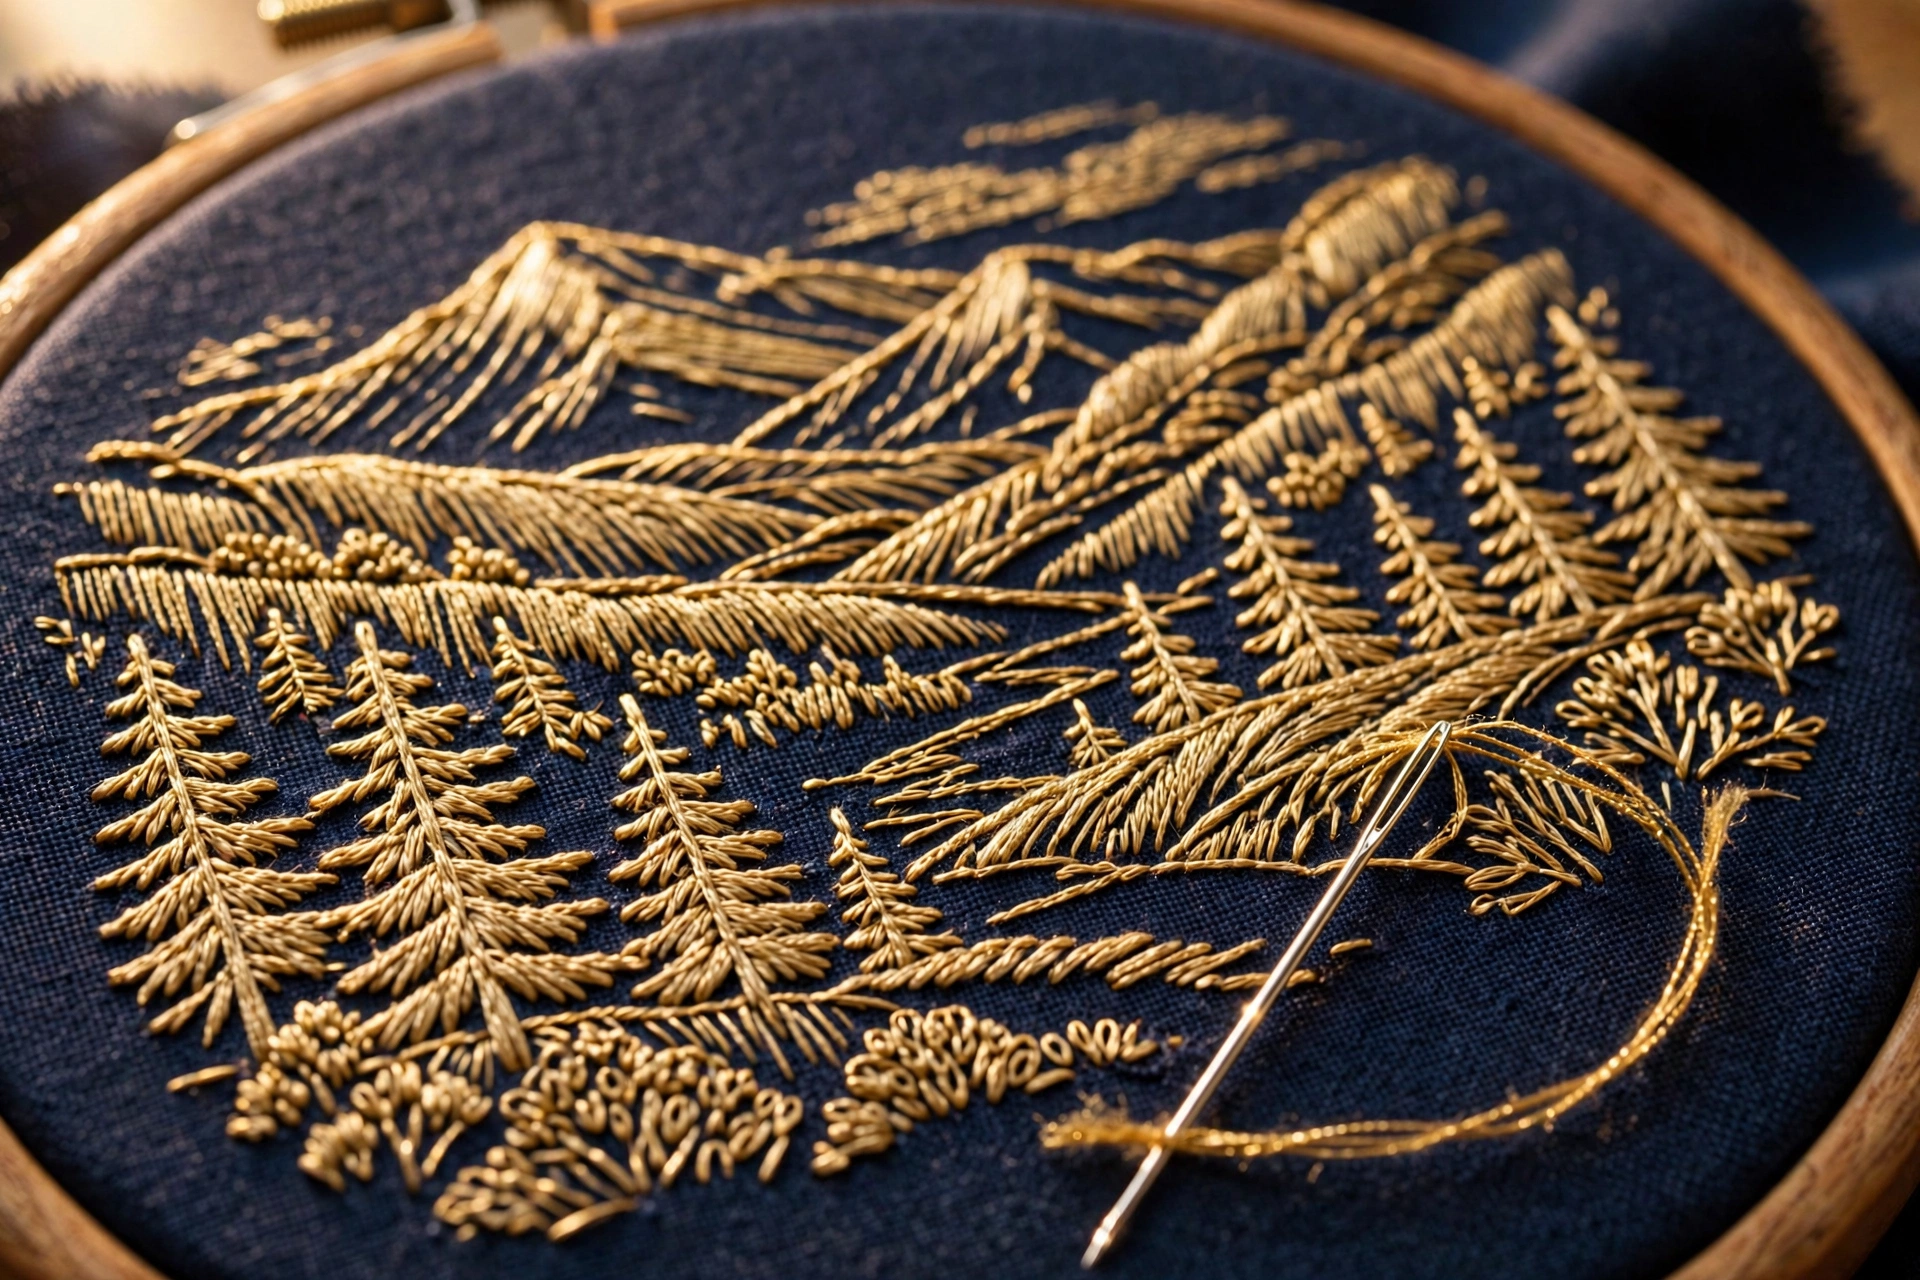
Technique 1: Couching Japanese thread (the foundation skill)
Couching is the single most important goldwork technique, and it is wonderfully simple.
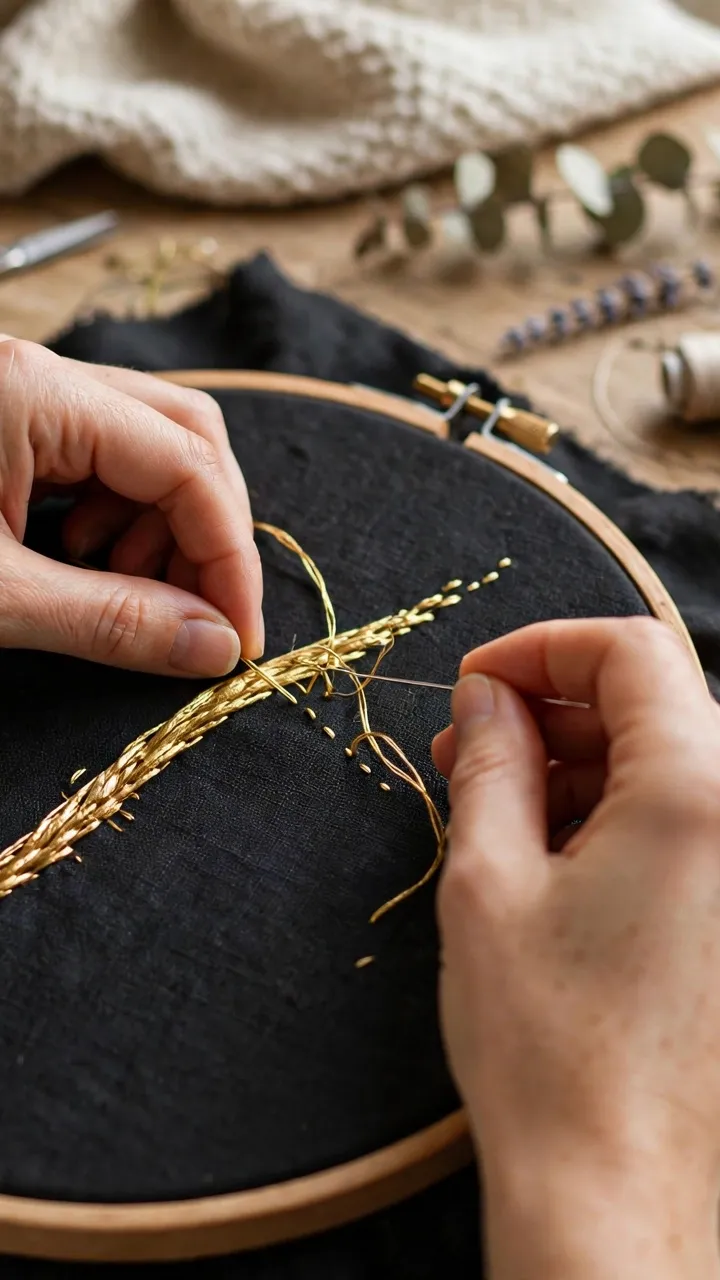
1. Draw a gently curving line or a simple leaf outline on your fabric. Thread your chenille needle with a length of Japanese thread (about 12 inches) and bring it up from the back at one end of the line, leaving a 1-inch tail on the back.
2. Lay the gold thread along your drawn line. Thread a sharp needle with waxed couching thread, bring it up just beside the gold thread, cross over the gold thread, and go back down on the other side. That tiny over-and-down stitch is one couching stitch.
3. Place couching stitches every 1/8 inch (about 3 mm) along the line, keeping them evenly spaced and pulling just snug enough to hold the gold without denting it. Angled couching stitches (slanting slightly in one direction) look neater than straight-across ones.
4. To finish, plunge the gold thread to the back: thread the tail onto your chenille needle, push the needle down through the fabric right at the end of the line, and pull the gold through. Secure the tail on the back with two small stitches in the couching thread. Never knot metal thread; it weakens and shows through.
Practice couching until you can lay a smooth curve without the gold twisting. Try pairs of couched lines side by side to fill a leaf shape: this is called couched filling.
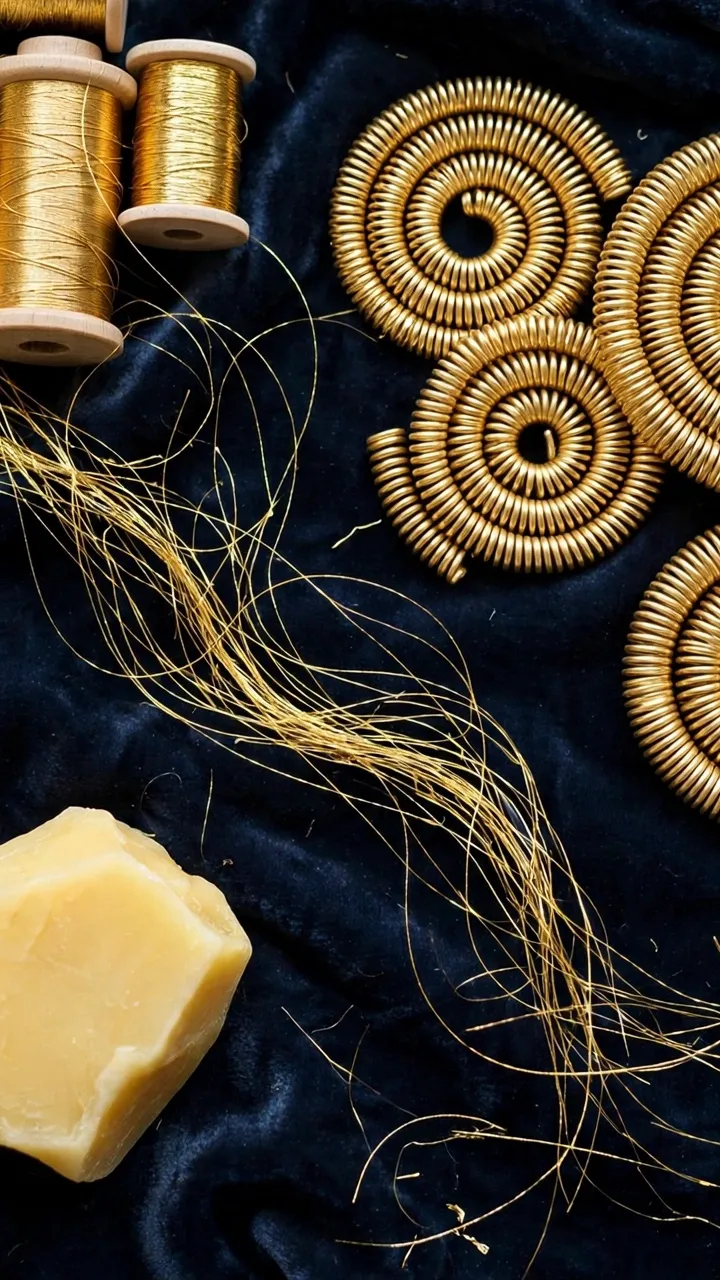
Technique 2: Pearl purl outlines (instant beaded shine)
Pearl purl is a hollow metal coil that looks like a string of tiny beads. You use it in short cut pieces, which makes it very forgiving.
1. Gently stretch a short length of pearl purl and cut it into pieces about 1/4 inch (6 mm) long using a rocking cut with sharp scissors. Cut over a tray or cloth so the tiny pieces do not roll away.
2. Thread a sharp needle with waxed couching thread and knot it on the back of the fabric. Bring the needle up on your design line, thread one purl piece onto the needle, and lay it flat along the line.
3. Take the needle down just past the end of the purl piece so the thread exits tight against it, then come up again for the next piece. Each piece butts up against the last, forming a continuous glittering line.
4. For corners, use a slightly shorter piece so it turns cleanly. For a closed shape like a circle, measure your last gap and trim one piece to fit exactly rather than forcing it.
Pearl purl outlines make stunning borders around a couched filling, and because you handle the metal in tiny pieces, there is almost nothing that can tangle.
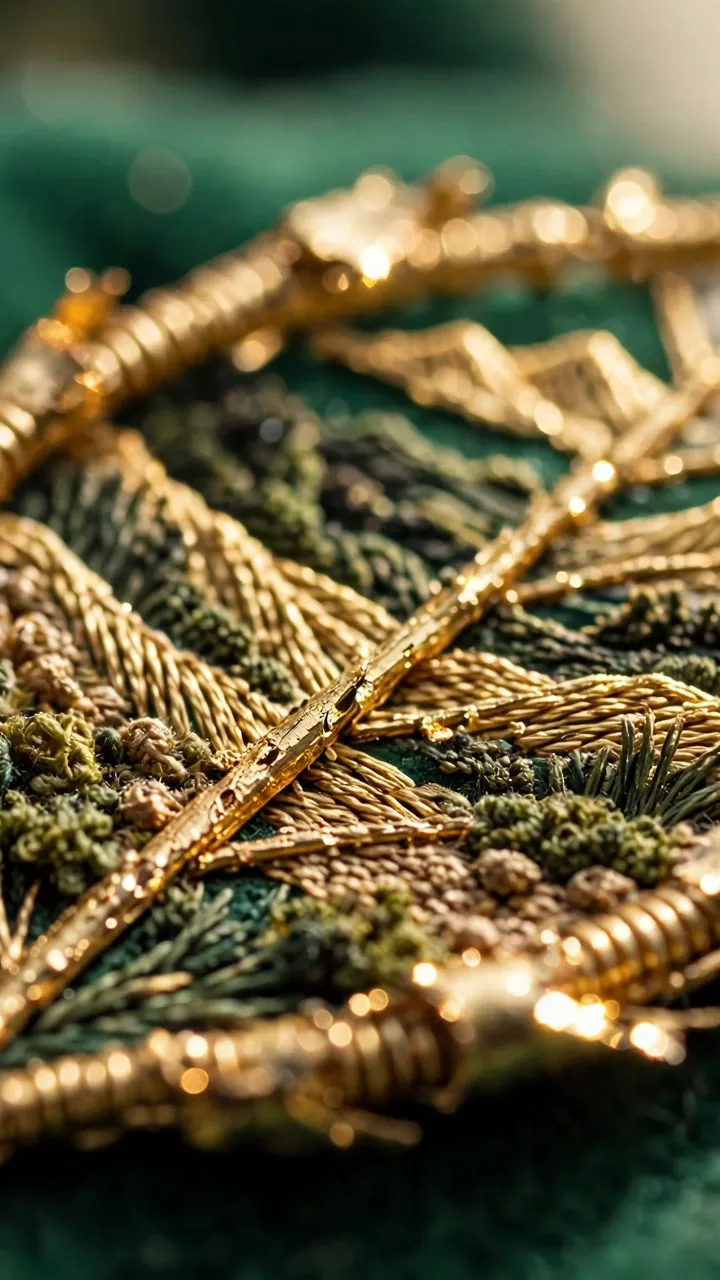
Technique 3: Chipping with bright check purl (textured sparkle)
Chipping means covering a shape with small cut pieces of purl stitched on like sequins, and it gives the most “wow” for the least effort.
1. Draw a small shape, a leaf or petal about 1 inch long is perfect. Cut bright check purl into pieces roughly 1/8 inch (3 mm) long.
2. Bring your waxed thread up inside the shape near one edge. Pick up a purl piece with tweezers, thread it onto the needle, and take the needle down just beside where you came up so the piece lies flat like a tiny tube.
3. Continue placing pieces in neat rows, brick-style, until the shape is filled. Keep every piece pointing the same direction for a smooth satin-like shine, or vary directions slightly for a sparkling, textured effect.
4. Edge the chipped shape with a pearl purl outline (technique 2) to hide the raw ends and give it a finished, professional look.
Chipping eats through purl quickly, so save it for small accent areas: the center of a flower, a star, a single leaf. A little goes a long way visually.
Tips that make it easier
- Work with short lengths. Cut metal threads no longer than 12 to 15 inches. Longer lengths twist, kink, and fray as they drag through your fingers.
- Wax everything. Run your couching thread across beeswax two or three times before you start. It glides smoother, tangles less, and grips the metal thread better.
- Keep your hoop drum-tight. Goldwork on slack fabric is miserable: the needle pushes the fabric down instead of piercing it, and couched lines wander. Re-tighten your hoop often.
- Handle purl by the ends, not the middle. Pinching the middle of a coil crushes it. Use tweezers on the ends when placing cut pieces.
- Plan your plunging. Every laid thread has to go to the back somewhere. Plan where threads will plunge before you start a line so you do not trap yourself in a corner with nowhere to end.
- Use a laying tool. A mellor, stiletto, or even a spare tapestry needle held in your non-dominant hand lets you nudge the gold into perfect position while the other hand stitches. It feels awkward for ten minutes, then becomes second nature.
- Store metal threads flat. Never wind purl tightly around a card. Keep it in its original coil or a loose loop in a small bag so it does not develop kinks before you even start.
Mistakes to avoid
- Pulling metal thread too tight. This is the number one beginner error. Tight couching dents the gold, tight purl pieces buckle, and over-pulled Japanese thread strips its wrapping. Snug is enough.
- Knotting metal threads. Knots weaken the wire and create lumps that show through the work. Always plunge threads to the back and secure tails with the couching thread instead.
- Dragging long lengths through fabric. Every pass of metal thread through fabric wears its surface. Keep lengths short and handle the thread as little as possible.
- Using a dull or wrong-size needle. A needle with too small an eye forces the metal thread through under friction, fraying it. Size your chenille needle generously.
- Couching with an unmatched thread. Bright white or black couching thread crossing over gold screams “beginner” in the worst way. Match your couching thread to the metal (gold, yellow, or champagne tones) so the tiny stitches disappear.
- Skipping the padding. Many goldwork designs sit on a soft padded base of felt that lifts the metal off the fabric. For your first pieces it is optional, but know it exists.
Frequently asked questions
Is goldwork very expensive to start?
Not anymore. A beginner kit with imitation Japanese thread, a few inches each of pearl purl and bright check purl, a chenille needle, and beeswax typically costs less than a nice restaurant dinner. Real gold thread is the expensive part, and you do not need it until (and unless) you fall in love with the craft.
Can I wash or iron finished goldwork?
Generally no. Metal threads tarnish with water and detergents, and heat can melt imitation metallic coatings. Treat finished goldwork as decorative art: frame it, mount it on a pouch you spot-clean, or keep it as a hoop piece. If you must press the surrounding fabric, press from the back with a cool iron and a pressing cloth, never touching the metal.
Why does my metallic thread keep fraying?
Almost always one of three causes: the length is too long (cut it shorter), the needle eye is too small (size up), or you are stitching too fast and dragging the thread roughly. Slow down, wax your couching thread, and check that you are not splitting the metal wrapping with the needle tip.
What is the easiest first goldwork project?
A small star or leaf ornament about 2 inches across: a couched Japanese thread outline (technique 1), a chipped center (technique 3), and optionally a pearl purl border (technique 2). It uses every skill in this guide, finishes in one or two evenings, and looks impressive enough to gift.
Goldwork rewards a gentle hand and a little patience, and the learning curve is much kinder than its reputation suggests. Couch one smooth golden line tonight, add a row of pearl purl tomorrow, and by the weekend you will have a glittering motif that looks like it came from a much more experienced stitcher. Start small, keep your lengths short, and enjoy the shine.