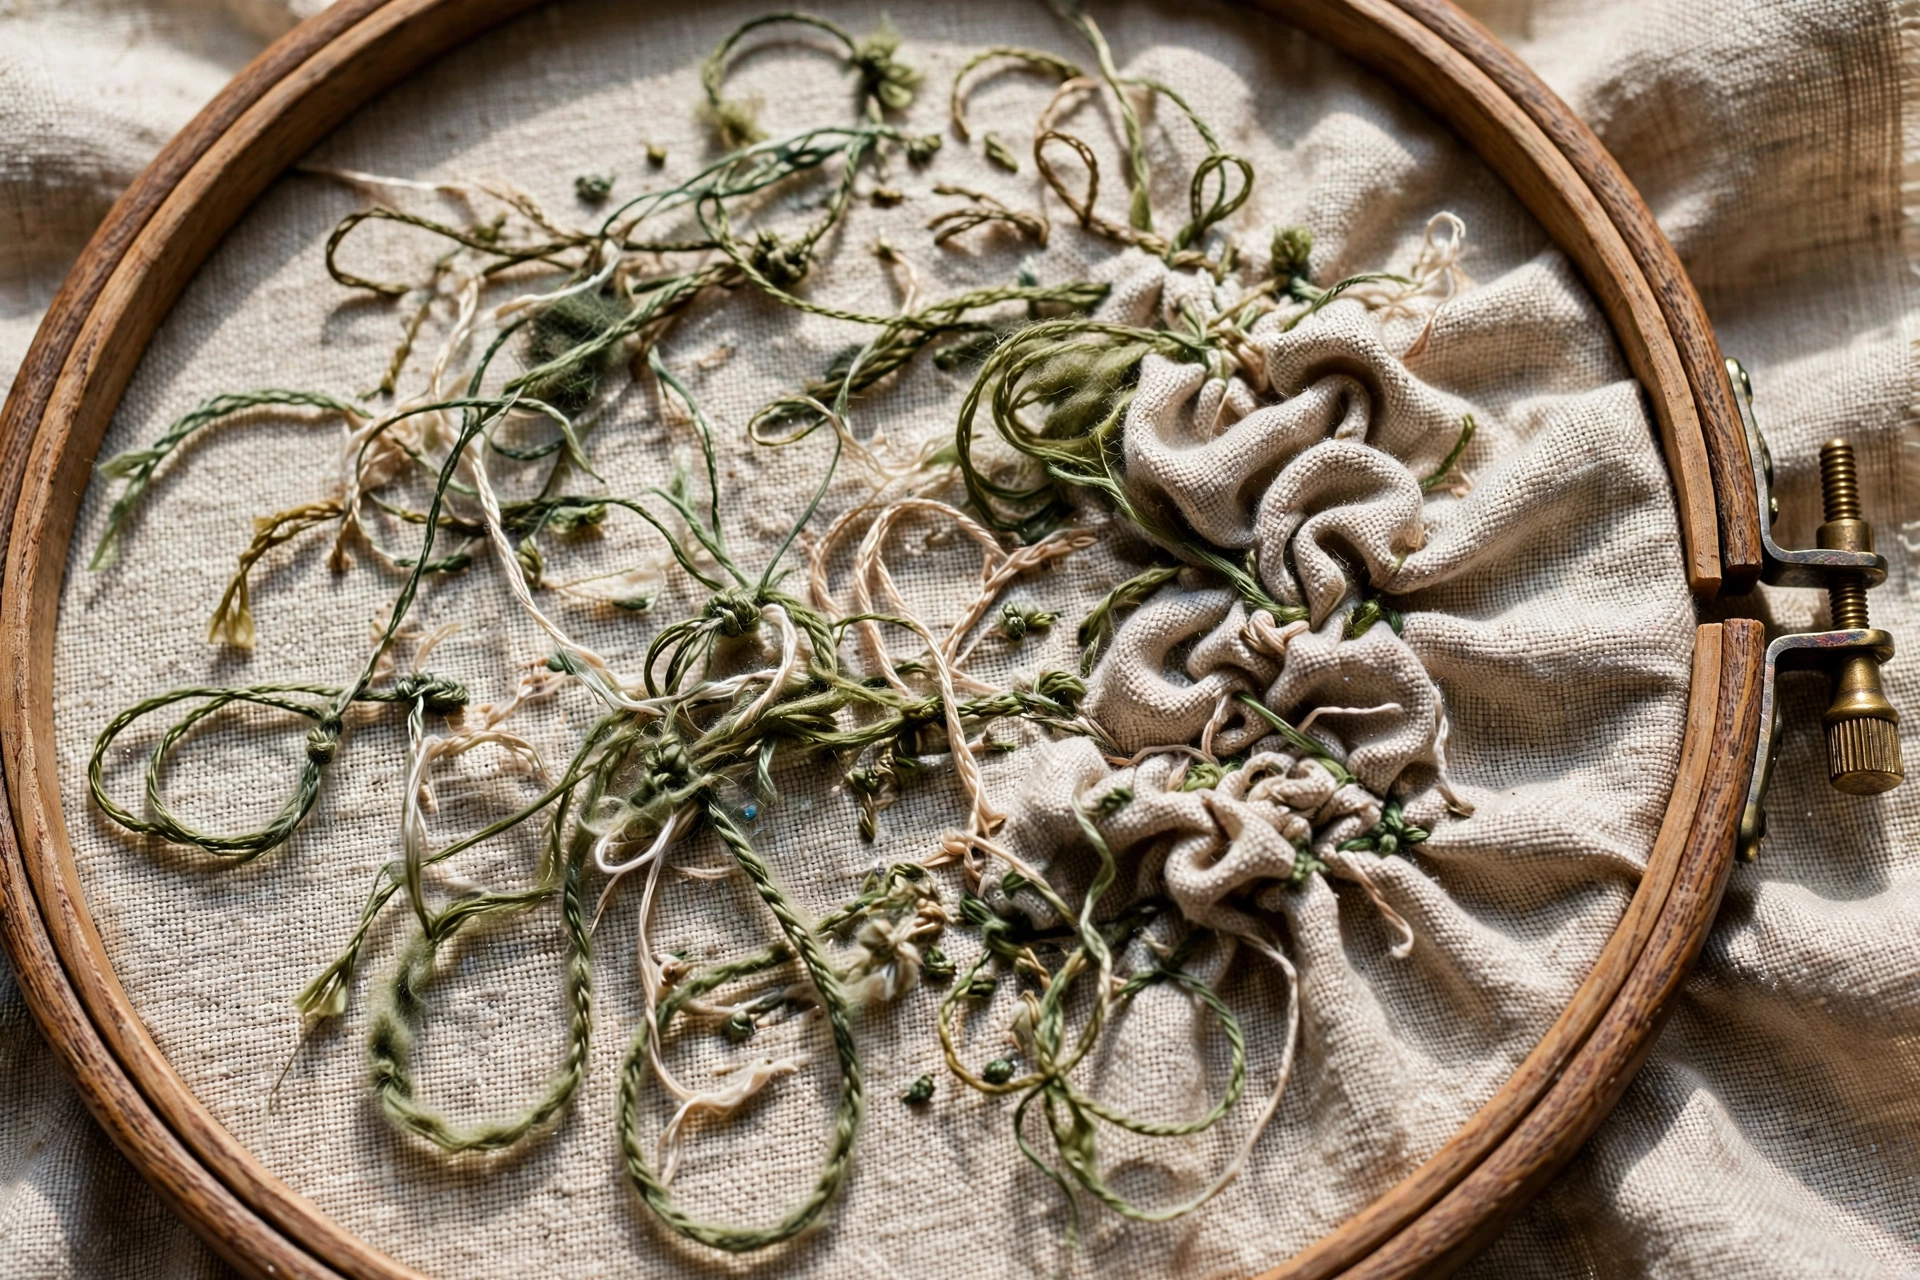
If uneven tension embroidery sessions have left you with lines that wave, stitches that sink, and a back that looks like a plate of spaghetti, you are dealing with the most common technical problem in hand embroidery and also the most fixable. Tension is invisible while you stitch. You cannot see it the way you can see a crooked line. You only see its effects, and by then you have stitched an hour of them. This post is about catching it early, diagnosing it fast, and building the hand memory that makes good tension automatic.
Diagnosing uneven tension embroidery in 60 seconds
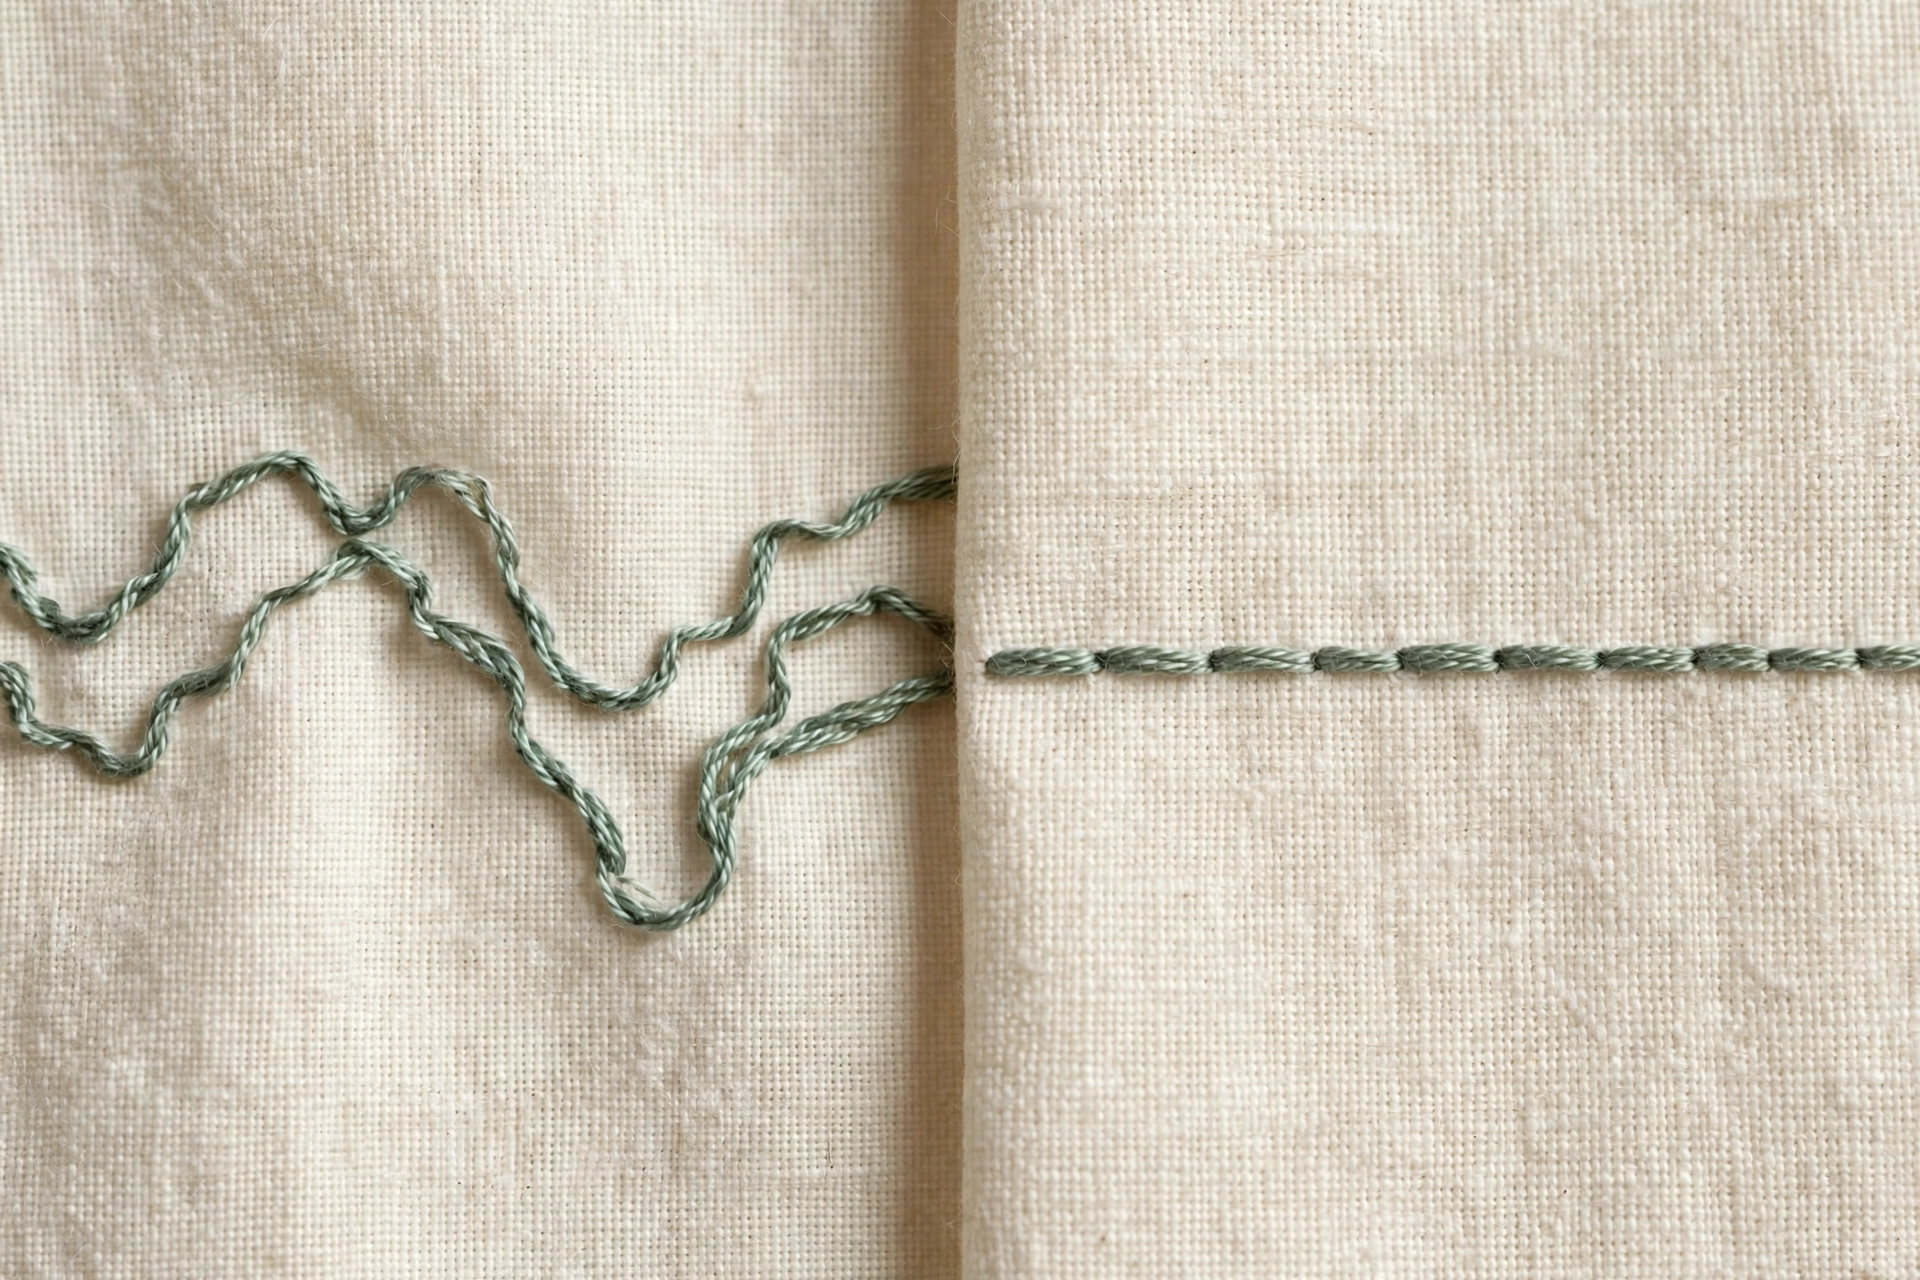
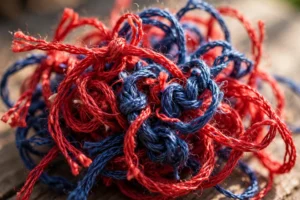
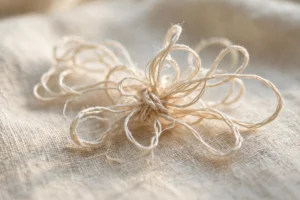
Flip your hoop over. The back of your work is a tension report card, and it does not flatter. Even tension shows as neat, uniform stitches lying flat against the fabric. Uneven tension shows as a mix of three things: puckered spots where the fabric dimples around tight stitches, loose loops of thread standing proud of the surface, and stitches that have sunk so deep they barely register. If you see all three in the same square inch, your pulling force is varying stitch to stitch, and that is the diagnosis.
The second test is the pull test, and you do it on the front. Stitch one slow, deliberate stitch, pulling with what feels like the right force. Look at it. Does the thread lie flat with no daylight under it and no dimple around it? That is the target. Now stitch five more at normal speed. If they do not match the deliberate one, your natural rhythm is the problem, not your judgment. Your hands know the right pull. They just do not do it consistently yet.
Five tension faults, ranked by damage
1. The death grip pull. Yanking every stitch tight as if the thread might escape. This puckers fabric, shrinks stitches, and makes the piece look anxious. It is the number one fault because it is the default of every beginner, including me for my entire first year. The fix is embarrassingly simple: pull until the thread lies flat, then stop. The stitch is done. There is no bonus round.
2. Strand creep. You rethread your needle and accidentally pick up three strands instead of two, or a strand splits and you do not notice. The thicker thread needs a different pull, so the next few stitches sit differently from the ones before. The back-check catches this: if the tension changed suddenly after a rethread, count your strands. I check strand count every single time I thread a needle, because I have been bitten by the phantom third strand more times than I will admit.
3. Hoop slippage mid-session. The hoop was tight when you started. Twenty minutes of handling has loosened it, the fabric now shifts under each stitch, and the shifting eats your consistency. The fix is infrastructure: re-tighten the hoop every time you rethread, which turns maintenance into rhythm. The full method is in my guide to keeping fabric tight, and it does more for tension than any amount of careful pulling.
4. Rushing the boring stretches. Long straight runs get stitched fast and loose, tricky curves get stitched slow and tight, and the piece ends up with two different tensions wearing one design. Stitch to a steady rhythm, the same tempo on the easy parts and the hard parts. Boring advice. Works completely.
5. Pulling at an angle. Drawing the thread up and sideways instead of straight up torques the stitch and tightens one side. Pull straight up, perpendicular to the fabric, every time. This one mostly affects satin stitch and long straight stitches, where the angle compounds across the row.
The calibration drill
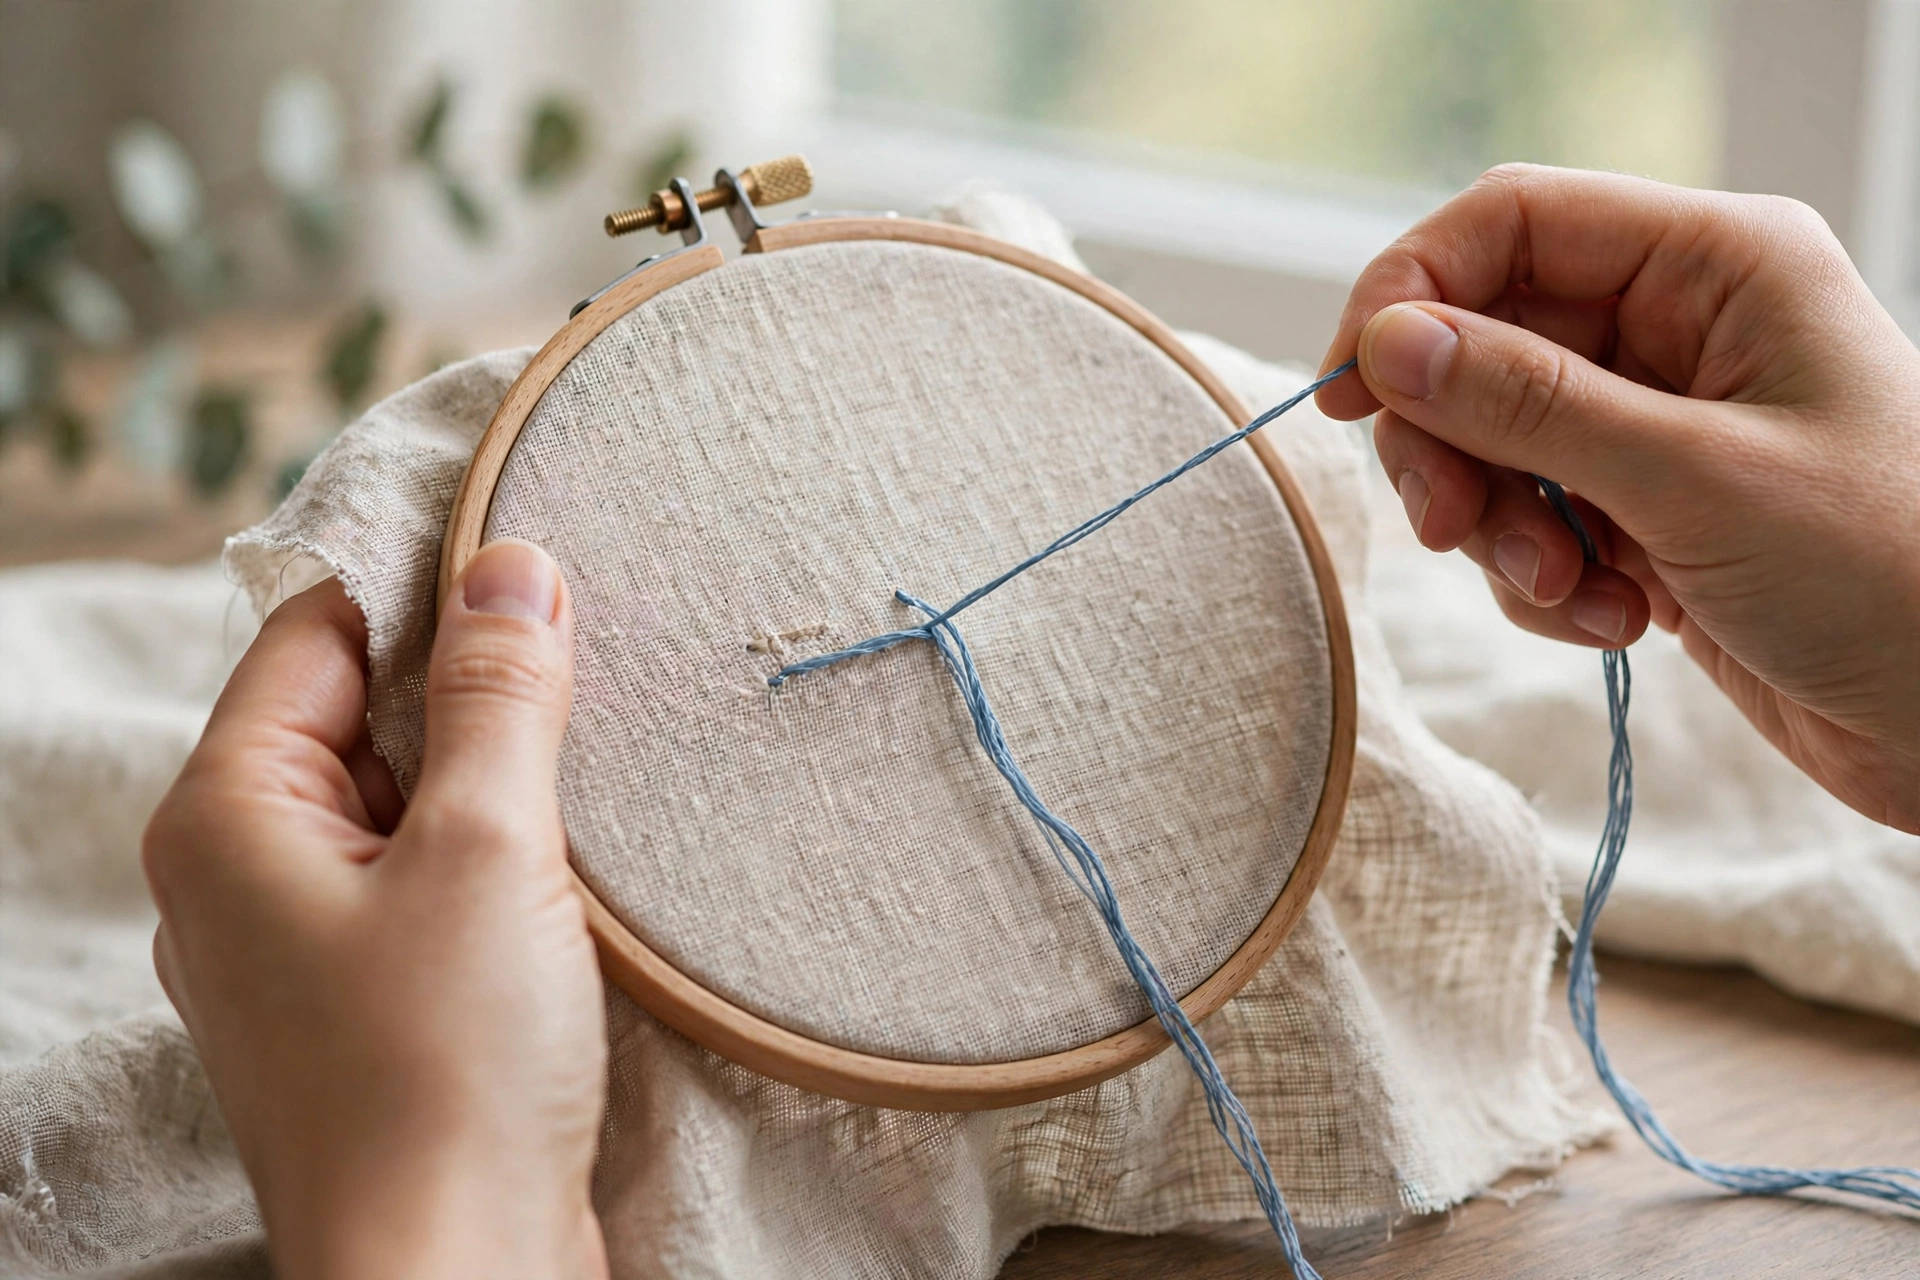
Here is the ten-minute practice that fixed my tension, and I recommend it the way dentists recommend flossing. Take a scrap of linen and hoop it properly. Thread two strands of DMC 321, because red shows everything, and stitch a row of twenty backstitches, slowly, pulling each one with deliberate, identical force. Check the back. Circle the three best stitches with a water-soluble pen. Those three are your reference standard.
Now stitch twenty more at normal speed, then compare the new row to your circled reference stitches. Where they differ, you have data: are the fast ones tighter or looser? Adjust and repeat. Do this for ten minutes a day for a week. It is deeply unglamorous, and it rewires your hands faster than any amount of project stitching, because project stitching divides your attention between tension and design. The drill isolates the variable.
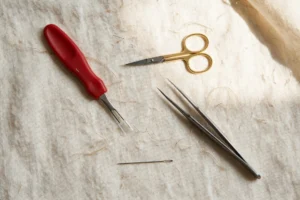
Two details that make the drill work. First, use the same needle you use for projects, a John James sharps size 7 or 8, because needle size changes the pull feel and practicing with a different needle teaches your hands the wrong lesson. Second, stop when your hands get tired. Fatigue breaks consistency before you notice it breaking, and practicing bad tension teaches bad tension. Ten good minutes beat thirty sloppy ones.
When it is the setup, not your hands
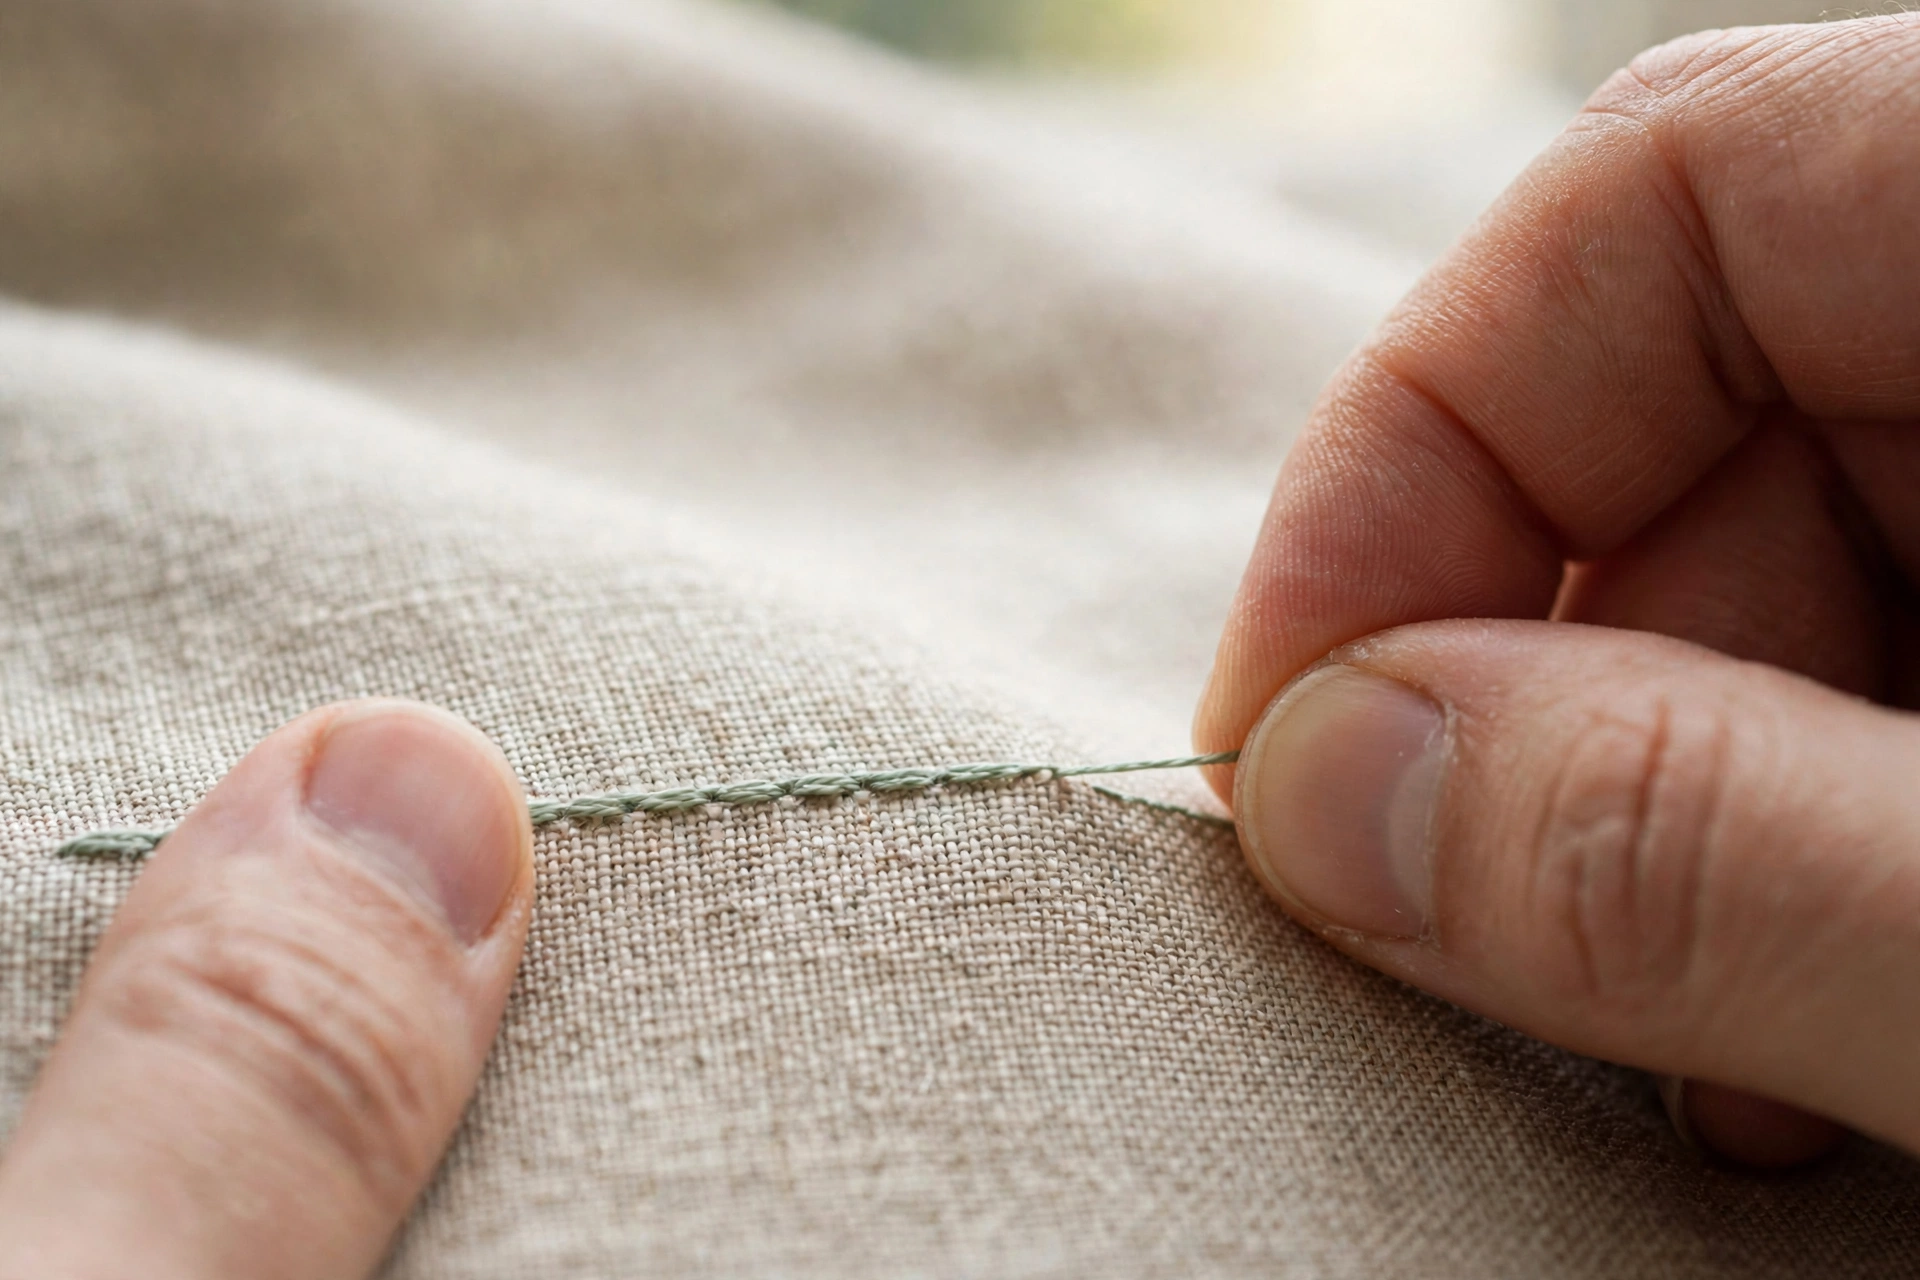
Sometimes the tension is uneven because the materials are fighting you. Thread that is too thick for the needle drags on every pull, so the force varies whether you want it to or not. A needle with a too-small eye frays the thread, and frayed thread behaves unpredictably. Fabric that is too flimsy for the stitch density shifts no matter how well you hoop it. Before you blame your hands, check the trio: right needle for the thread, right thread count for the fabric, fabric stabilized if the design is dense. Fixing the setup has rescued more “tension problems” of mine than any drill.
And a word about stitch evenness generally: tension is half of it, stitch length is the other half. If your tension is now consistent but the stitches still look irregular, the lengths are varying, and that is a marking and measuring problem with its own fixes.
Good tension feels like nothing. The thread glides, the stitch lands, your hand moves on. When you catch yourself thinking about the pulling, something is off. When you stop noticing it, you have arrived. The back of your work will tell you first. Check it often, trust what it says, and give your hands the two weeks they need to learn the feeling.