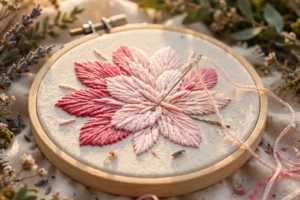
There is a moment in every stitcher’s journey when flat, single-colour petals stop feeling like enough. You want your rose to glow, your daisy to curve, your pansy to look like it might lift off the fabric. That leap from flat to lifelike has a name: satin stitch shading. It is the simple idea of laying smooth satin stitches in graduated colour values, from dark to light, so a petal appears rounded and dimensional instead of flat.
I remember the first flower I ever shaded. It was a small wild rose, pink on the outside edges melting into deep magenta at the centre, and when I finished the last stitch I just sat there staring at it. It looked painted. That is the magic of satin stitch shading for realistic flowers: a needle, some thread, and a little colour logic can mimic what an artist does with paint.
Here is the whole process: which threads to choose, how to map light and dark, and the stitching order that keeps edges crisp. Practise on a scrap first. It is far less intimidating than it looks.
What satin stitch shading actually is
A plain satin stitch covers a shape with parallel stitches laid edge to edge, like little rows of ribbon. Satin stitch shading keeps that smooth coverage but blends two or three shades of thread across the shape. Where a petal catches the light you stitch the palest thread; where it folds into shadow you use the deepest shade; and a middle tone bridges them in between.
The effect fools the eye. Smooth rows of thread read as a continuous surface, and the gradient reads as curve and depth: the same trick painters use with highlights and shadows.
A quick vocabulary note: you will see the terms shading and long and short stitch used almost interchangeably. The difference is small but useful. Satin stitch shading usually means rows of straight satin stitches in clear colour bands, while long and short stitch blends the bands together with staggered stitch lengths so the colours melt into each other. In practice, most shaded flowers use a bit of both, and this tutorial does too.
What you will need
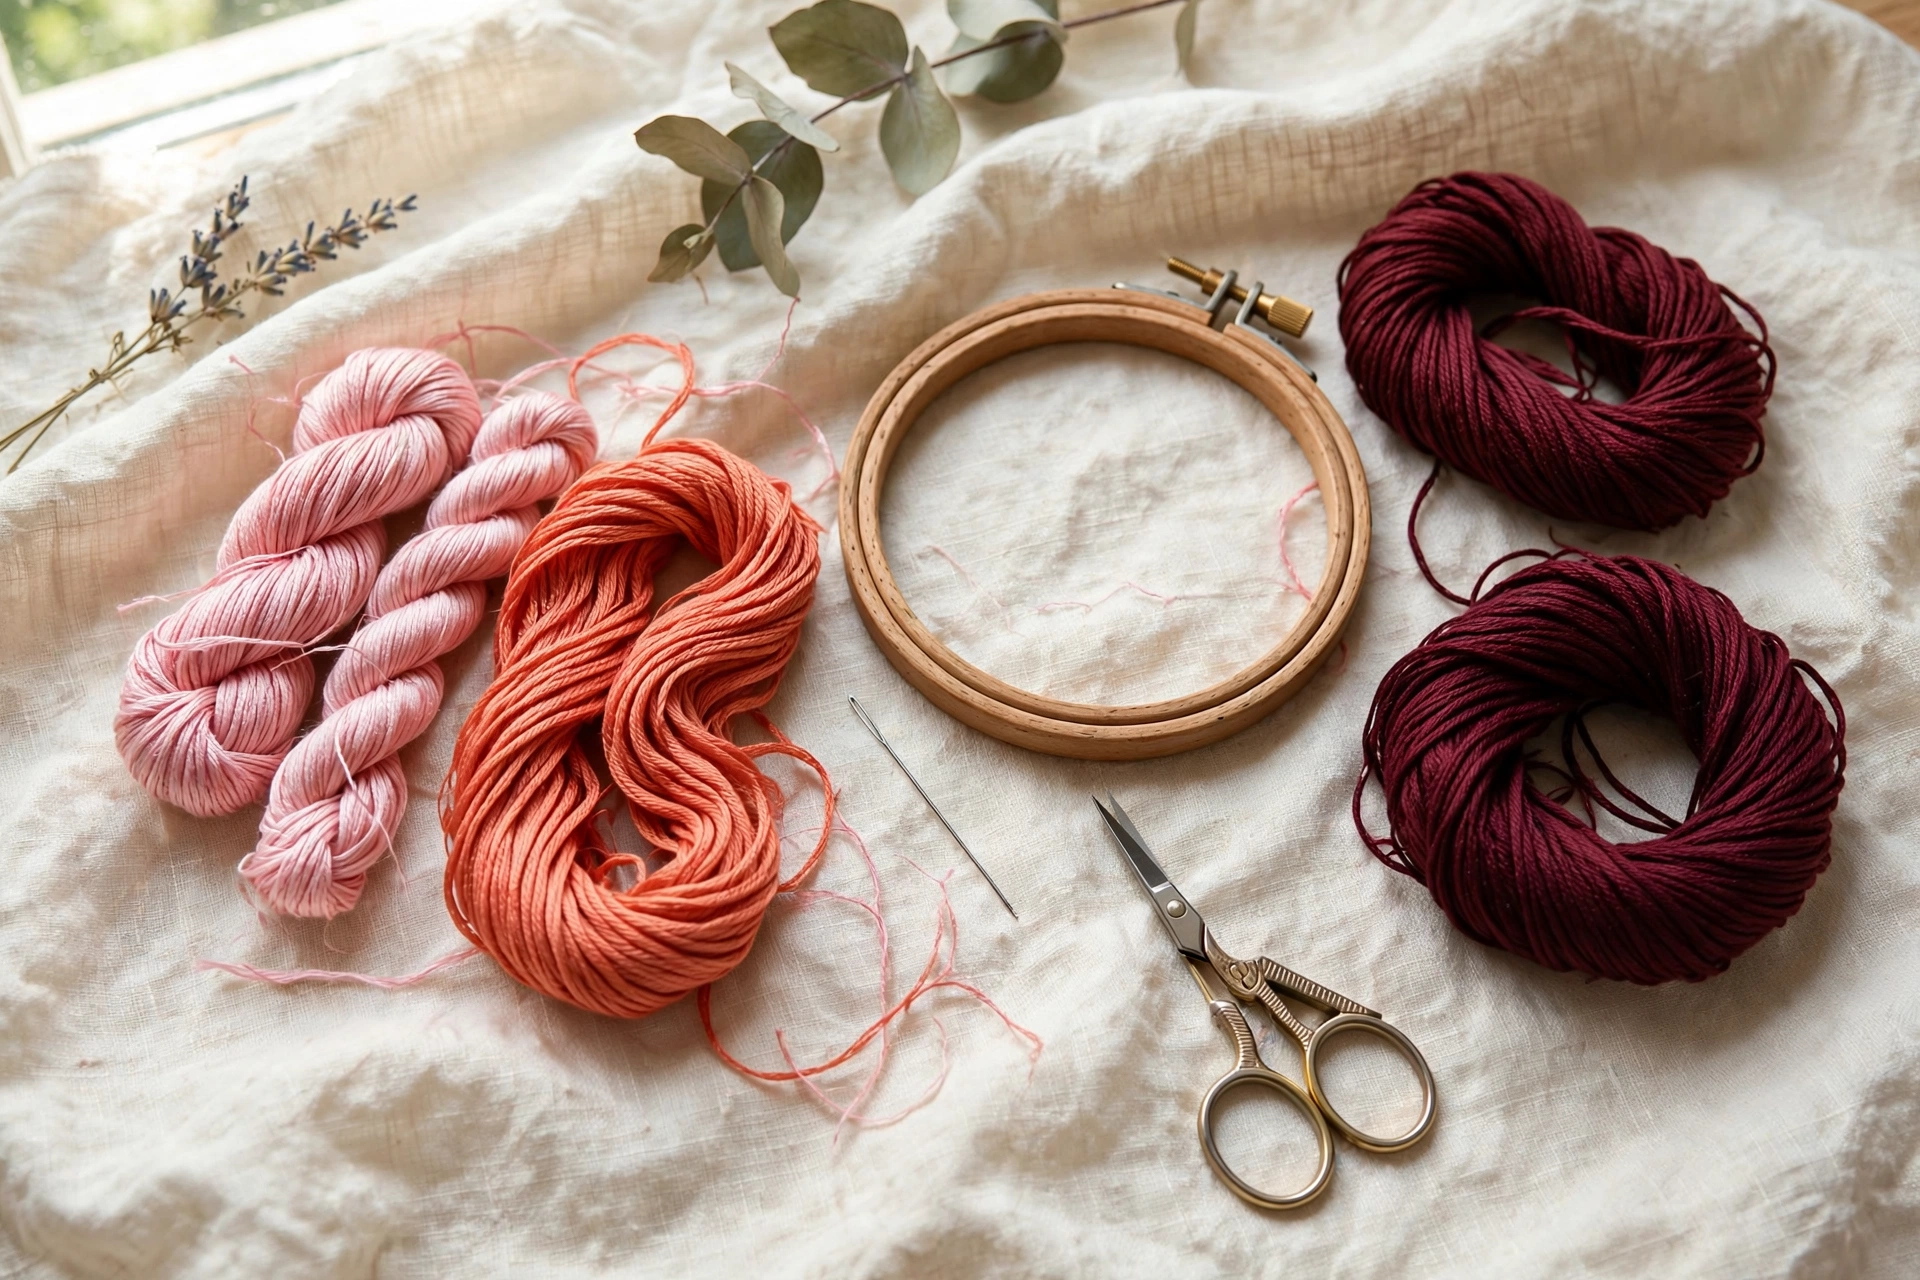
- Fabric: a medium-weight, tightly woven fabric such as linen-cotton blend, Kona cotton, or plain calico. Avoid stretchy or loosely woven fabrics; long satin stitches need a firm foundation. White or natural fabric shows colour blends best.
- Embroidery hoop: 6 inch (15 cm) is ideal for a practice flower. Keep the fabric drum-tight; slack fabric is the number one cause of puckered satin stitch.
- Thread: stranded cotton floss (DMC or Anchor). Pick three shades in the same colour family: a light, a medium, and a dark. For a pink rose try DMC 818 (baby pink), 3806 (light mauve-pink), and 3689 (deep mauve). For a yellow daisy try 745, 743, and 676.
- Needle and tools: a size 7 or 8 embroidery (crewel) needle, small sharp scissors, a water-soluble fabric marker or light pencil, and good lighting.
- A practice design: draw one simple petal shape, about 1.5 inches (4 cm) long, on scrap fabric. Master one petal before you attempt a whole flower.
Choosing your three shades
Shading lives or dies on colour choice. Pull skeins until you have a light, a medium, and a dark that sit next to each other on the colour card, with a clear visible step between each one.
Here are beginner-friendly trios that blend beautifully:
- Pink rose: DMC 818 (light), 3806 (medium), 3689 (dark)
- Red poppy: DMC 666 (bright red), 321 (dark red), 815 (deep garnet)
- Yellow daisy: DMC 745 (pale yellow), 743 (medium yellow), 676 (old gold)
- Purple pansy: DMC 211 (light lavender), 210 (medium), 208 (dark purple)
- White petal with shadow: DMC Blanc, 762 (very light grey), 415 (pearl grey). White flowers shade with greys, not darker white.
Use two strands of floss for practice. Three cover faster but are harder to lay smooth; one strand is for tiny detail later.
Mapping light and shadow on a petal
Before you stitch a single row, decide where the light comes from. Pick one direction, usually the top of your design, and imagine sunlight hitting the petal. The area facing the light gets your palest shade. The area curving away, typically near the petal base or a folded edge, gets your darkest shade. The middle carries the medium tone.
Mark this on your drawn petal with your fabric marker: write L, M, and D lightly in the zones. This takes thirty seconds and saves you from the classic beginner error of stitching a whole petal in one colour and then wondering where the shading went.
A useful rule of thumb: petals are usually darker at the base near the flower centre and lighter at the outer edge catching the light.
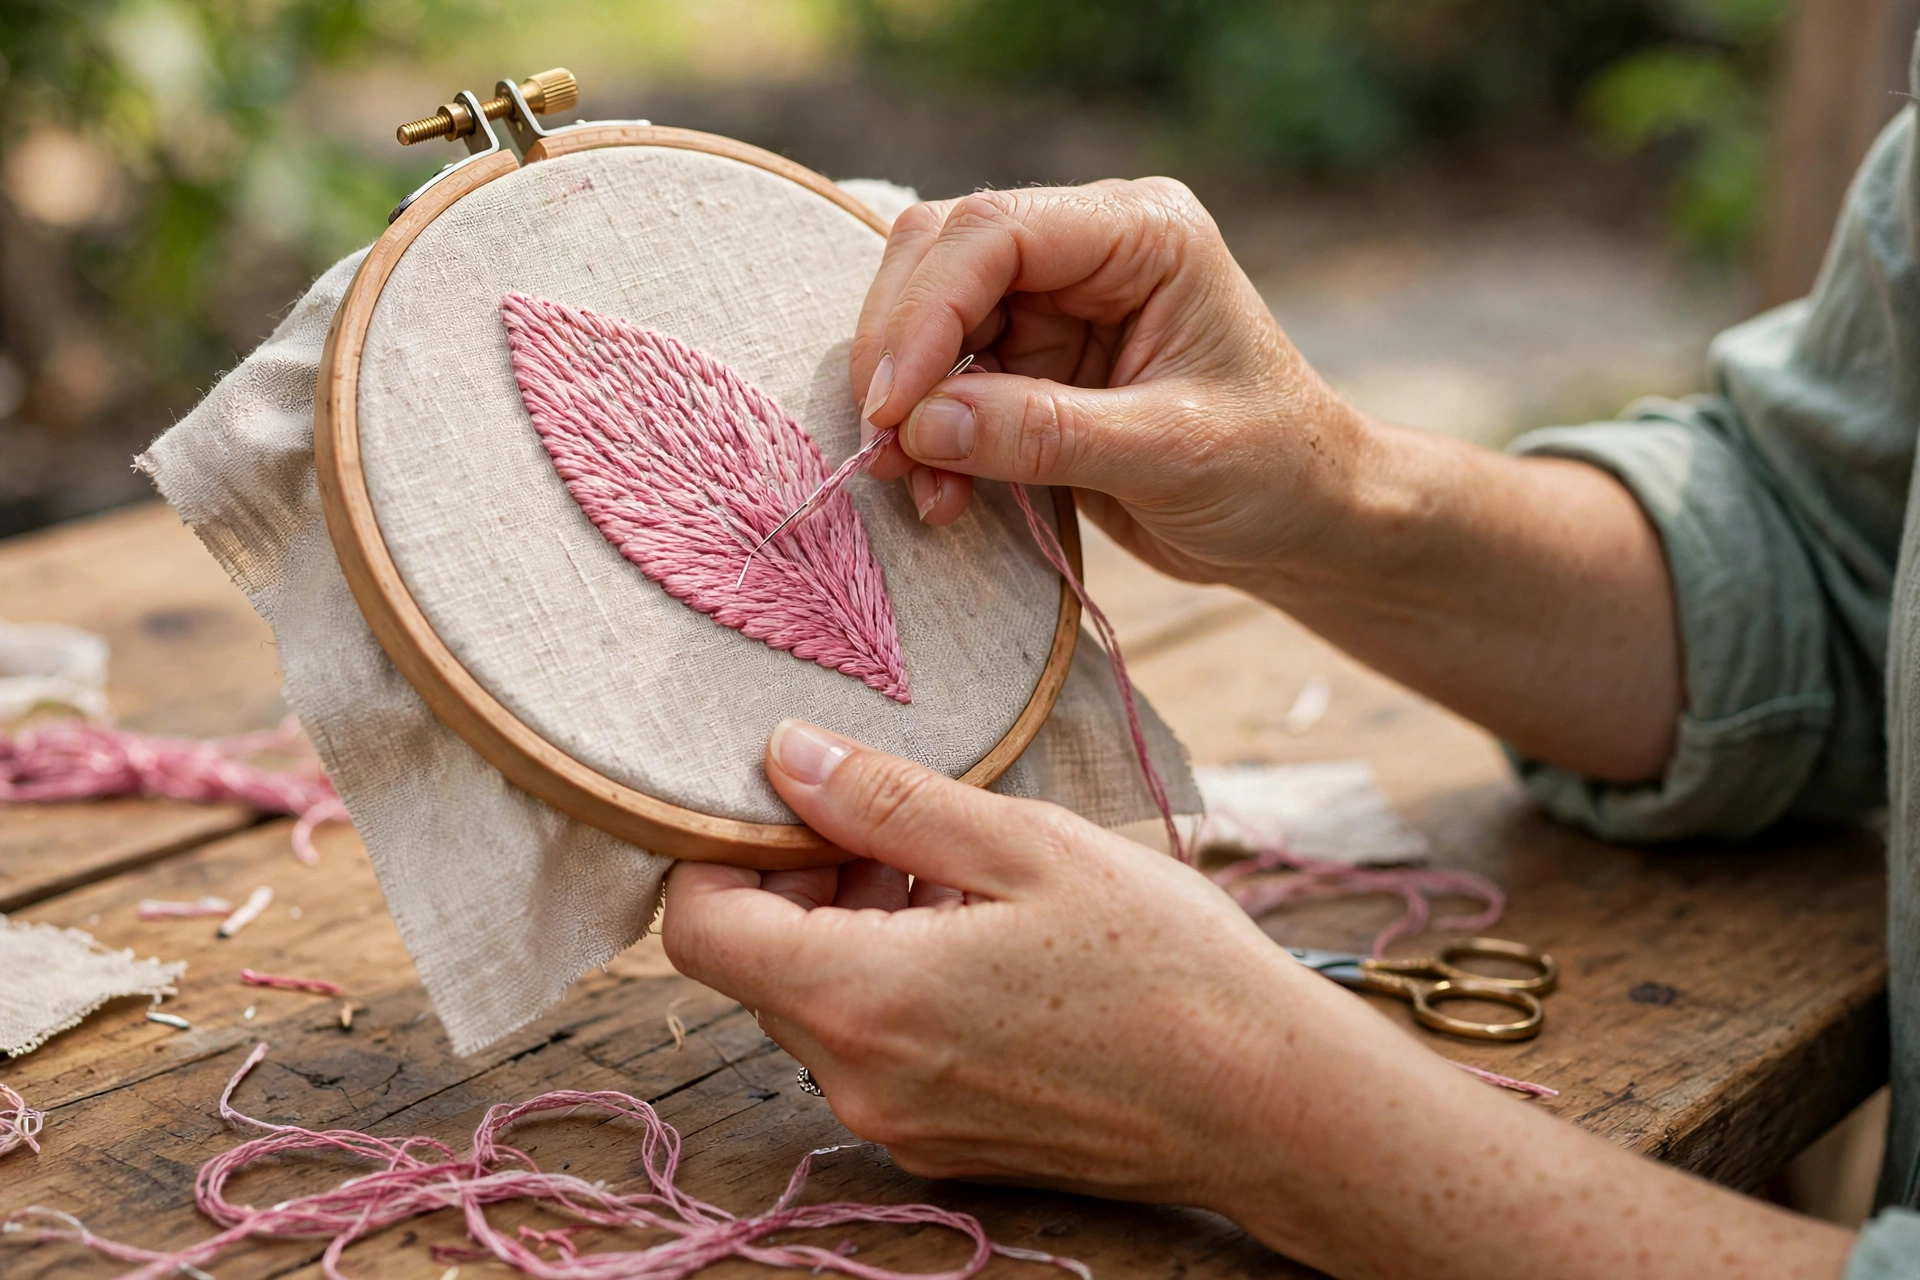
Step-by-step: shading one petal
Let us stitch a single petal, darkest at the base, lightest at the tip. Work in a hoop with the fabric taut.
Step 1: Outline the petal
Using two strands of your medium shade, work a simple backstitch or split stitch around the drawn petal outline. This stitched outline is your fence. It keeps your satin stitches from wandering past the edge and gives a crisp boundary, keeping outline stitches small, about 2 mm each.
Step 2: Stitch the dark base
Thread two strands of your darkest shade. Start at the petal base (the D zone) and lay straight satin stitches side by side, following the direction the petal grows, from base toward tip. Each stitch should be about 4 to 6 mm long, snug against the last, with no fabric showing between them. Fill the bottom third of the petal.
Step 3: Bridge with the medium shade
Switch to your medium shade. Here is where blending begins. Instead of starting your medium stitches in a hard straight line, stagger them: make some stitches longer so they reach down into the dark zone, and some shorter so they start higher up. This zigzag edge, the heart of long and short stitch, is what melts one colour into the next. Fill the middle third, letting your staggered stitches overlap the dark zone by about 3 mm.
Step 4: Finish with the light shade
Switch to your lightest shade and repeat the staggered start, this time overlapping into the medium zone. Continue with even satin stitches all the way to the petal tip, ending right at your outline. The tip should read as pure pale colour, the brightest part of the petal.
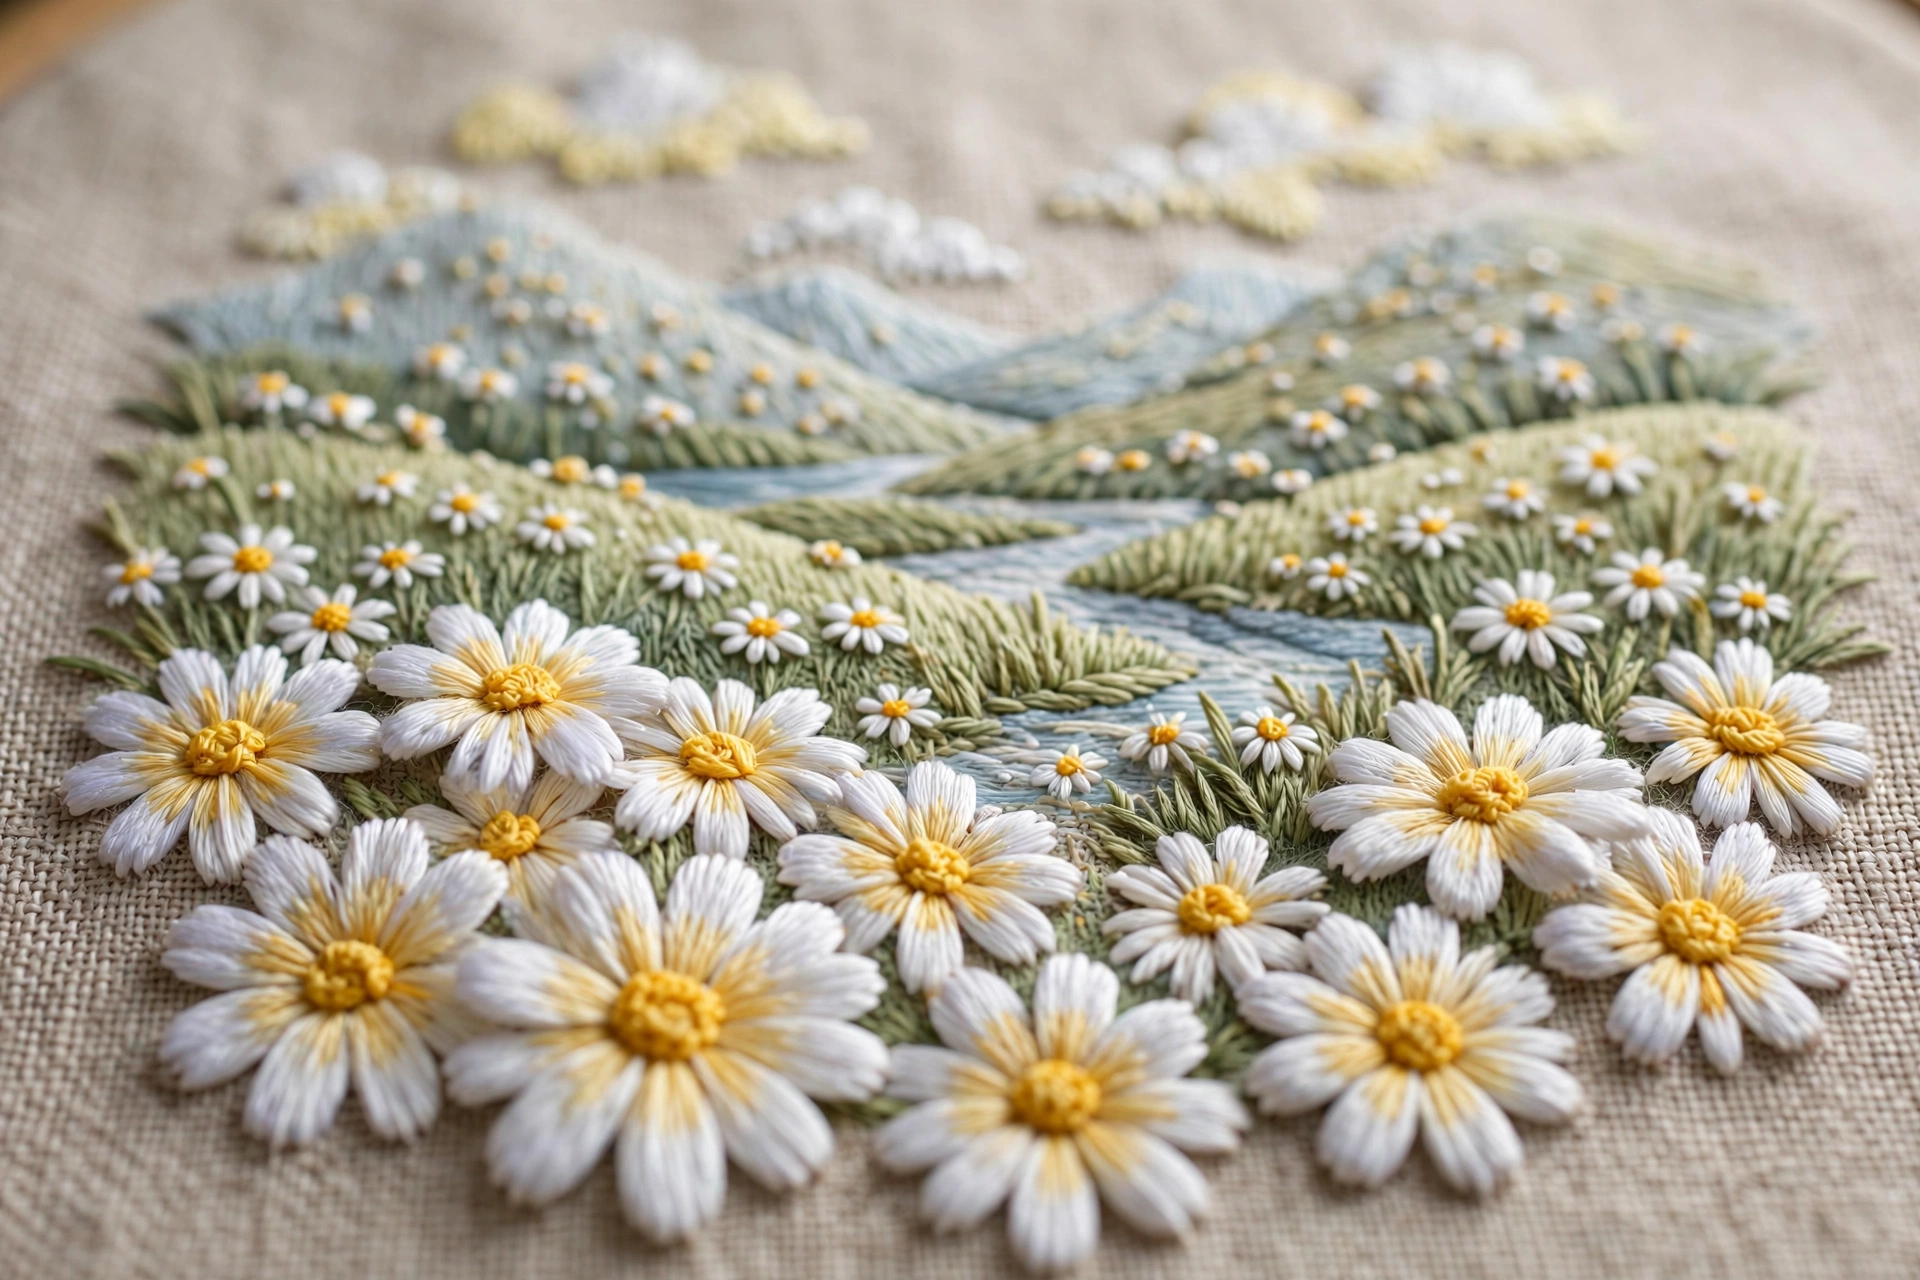
Step 5: Check, then blend further if needed
Hold the hoop at arm’s length. If you can see a hard line between zones, add more staggered stitches across the boundary in the lighter shade, reaching into the darker zone. Squinting blurs detail and shows whether the gradient reads as a smooth curve.
Step 6: Repeat for every petal, then the centre
Stitch each petal the same way, keeping your light direction consistent: real petals all catch light from the same sky. Finish the centre with French knots in a contrasting colour, like golden yellow 743 for a pink rose.
Stitching a full flower: putting petals together
A single petal is practice; a flower is the payoff. Draw a simple five-petal flower about 3 inches (7.5 cm) across. Shade each petal with the base dark and tip light, but vary them slightly: make the petals on the shadow side of the flower one shade deeper overall, and the petals facing your light source one shade lighter. This extra layer of whole-flower shading is what separates a nice flower from a realistic one.
Stitch back petals first, then front petals over them, tucking each base slightly over the finished edge behind it. That small overlap adds a lot of depth.
Tips that make it easier
- Keep every stitch the same tension. Satin stitch shows tension like nothing else. Pull each stitch just snug, never tight. Tight stitches pucker fabric and make shading bands look pinched.
- Stitch in the direction of growth. Petal stitches should run from base to tip, following the petal’s natural grain. Stitches laid across the petal look wrong even when the colours are perfect.
- Use a laying tool or your needle tip to nudge each stitch parallel to its neighbour before it settles. Parallel rows reflect light evenly, which is half of what makes satin stitch look smooth.
- Shorten your thread. Work with 14 to 16 inch (35 to 40 cm) lengths. Long thread twists, thins, and wears as you pull it through, and worn thread shades unevenly.
- Stitch the lightest colour last. Light thread picks up dye from dark thread if you drag dark floss across finished light stitches. Working dark to light keeps your highlights clean.
- Photograph your work in progress. A phone photo flattens the image and reveals harsh band edges your eyes miss in person.
Mistakes to avoid
- Shades that are too close together. If your three colours are nearly identical, no one will see the shading. Be bolder than feels comfortable; the finished gradient always looks softer than the skeins do.
- Hard straight boundaries between colours. A ruler-straight line between dark and medium kills the illusion. Always stagger the meeting point with long and short stitch lengths.
- Changing the light direction mid-flower. If one petal is light at the tip and the next is light at the base, the flower looks assembled from spare parts. Mark L, M, D before you start and honour them.
- Stitches that are too long. Satin stitches longer than about 8 to 10 mm snag easily and sit loosely on the fabric. On a large petal, split it into two rows of shorter stitches rather than spanning the whole shape in one go.
- Loose hoop tension. If the fabric gives under your needle, stitches sink unevenly and shading bands ripple. Re-tighten the hoop every twenty minutes or so.
- Skipping the outline. It feels like a shortcut to skip the backstitched edge, but satin stitches without a fenced edge wander, and ragged edges ruin a smooth gradient faster than any colour mistake.
Frequently asked questions
How many shades do I need for satin stitch shading?
Three is the sweet spot for beginners: light, medium, and dark. Two shades can work for small petals, and experienced stitchers sometimes blend four or five, but three gives you a smooth gradient without decision fatigue. Get comfortable with three first.
Can I shade with just one strand of thread?
You can. One strand gives the smoothest, most painterly coverage because thin stitches pack tighter, but a 3-inch flower in single strand takes many hours. Start with two strands, then try one strand on a small petal.
What is the difference between satin stitch shading and thread painting?
Satin stitch shading blends a few clear colour bands across a shape, usually three values of one colour. Thread painting uses many more colours, often a dozen or more, with very fine single-strand stitches to render detailed, almost photographic images. Think of shading as the foundation skill and thread painting as the advanced art it leads into.
My gradient looks stripey. How do I fix it?
Stripey gradients mean the boundaries are too straight or the shades too far apart. Add staggered long and short stitches across the boundary in the lighter shade, reaching into the darker zone. If the gap still shows, add a true middle shade between them.
Your turn to shade
Satin stitch shading is one of those skills that looks like wizardry from the outside and feels like common sense once your needle is moving. Dark where the shadow sits, light where the sun lands, a soft staggered blend between them. That is genuinely the whole secret.
So pull three pretty shades, draw one brave little petal, and stitch it. It will not be perfect, and that is exactly how mine started too. By your fifth petal you will see the curve appear, and you will wonder why you ever thought shading was only for advanced stitchers. Happy stitching, friend.