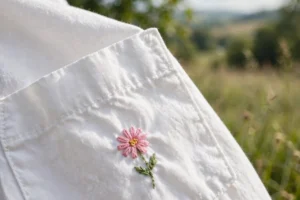
Pockets and collars are the jewelry spots of a shirt. A tiny embroidered motif tucked onto a pocket corner or trailing along a collar edge draws the eye exactly where you want it, and it turns an ordinary shirt into something that looks thoughtfully designed. But these small, shaped, sometimes layered areas come with their own challenges. Fabric bunches, hoops do not fit, and there is barely room to maneuver your needle. This guide will show you how to handle all of it, step by step.
You will learn how to work in tight spaces, when to use a small hoop and when to skip the hoop entirely, how big your designs can be, how to transfer a pattern onto a pocket or collar, the best stitching order for small areas, and how to keep the back of your work neat so it looks professional from every angle. By the end, those tricky little spots will feel like the easiest places to stitch.
Why Pockets and Collars Are Tricky
A pocket is a small pouch of doubled fabric, often with thick seams around its edges and a stiff top hem. A collar is a folded, interfaced, curved band, sometimes with a collar stand underneath. Both areas are smaller than a standard embroidery hoop, both have layers that make the fabric bulky, and both sit in visible places where mistakes show. The good news is that small designs are quick, and the techniques for handling these areas are simple once you know them. Most of the difficulty is just unfamiliarity.
Choosing Your Approach: Small Hoop vs No Hoop
You have two main options for stitching in tight spots. The first is a small hoop, typically three or four inches in diameter, which will fit over most chest pockets. A small hoop gives you the taut fabric that makes stitching easier and keeps tension even. The downside is that the hoop can distort the pocket shape if you clamp it too tightly, and it may not fit at all on narrow collars or small children’s pockets.
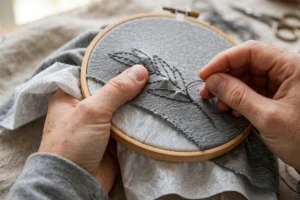
The second option is stitching without a hoop, sometimes called stitching in hand. This is the traditional way many embroiderers work on clothing, and it is ideal for collars where a hoop simply will not sit flat. To stitch without a hoop, you rely on stabilizer ironed to the back of the fabric to keep it firm, and you keep your stitches small and your tension gentle. It takes a little practice to keep the fabric from puckering, but many stitchers prefer it for collars because you can feel the fabric’s natural drape as you work.
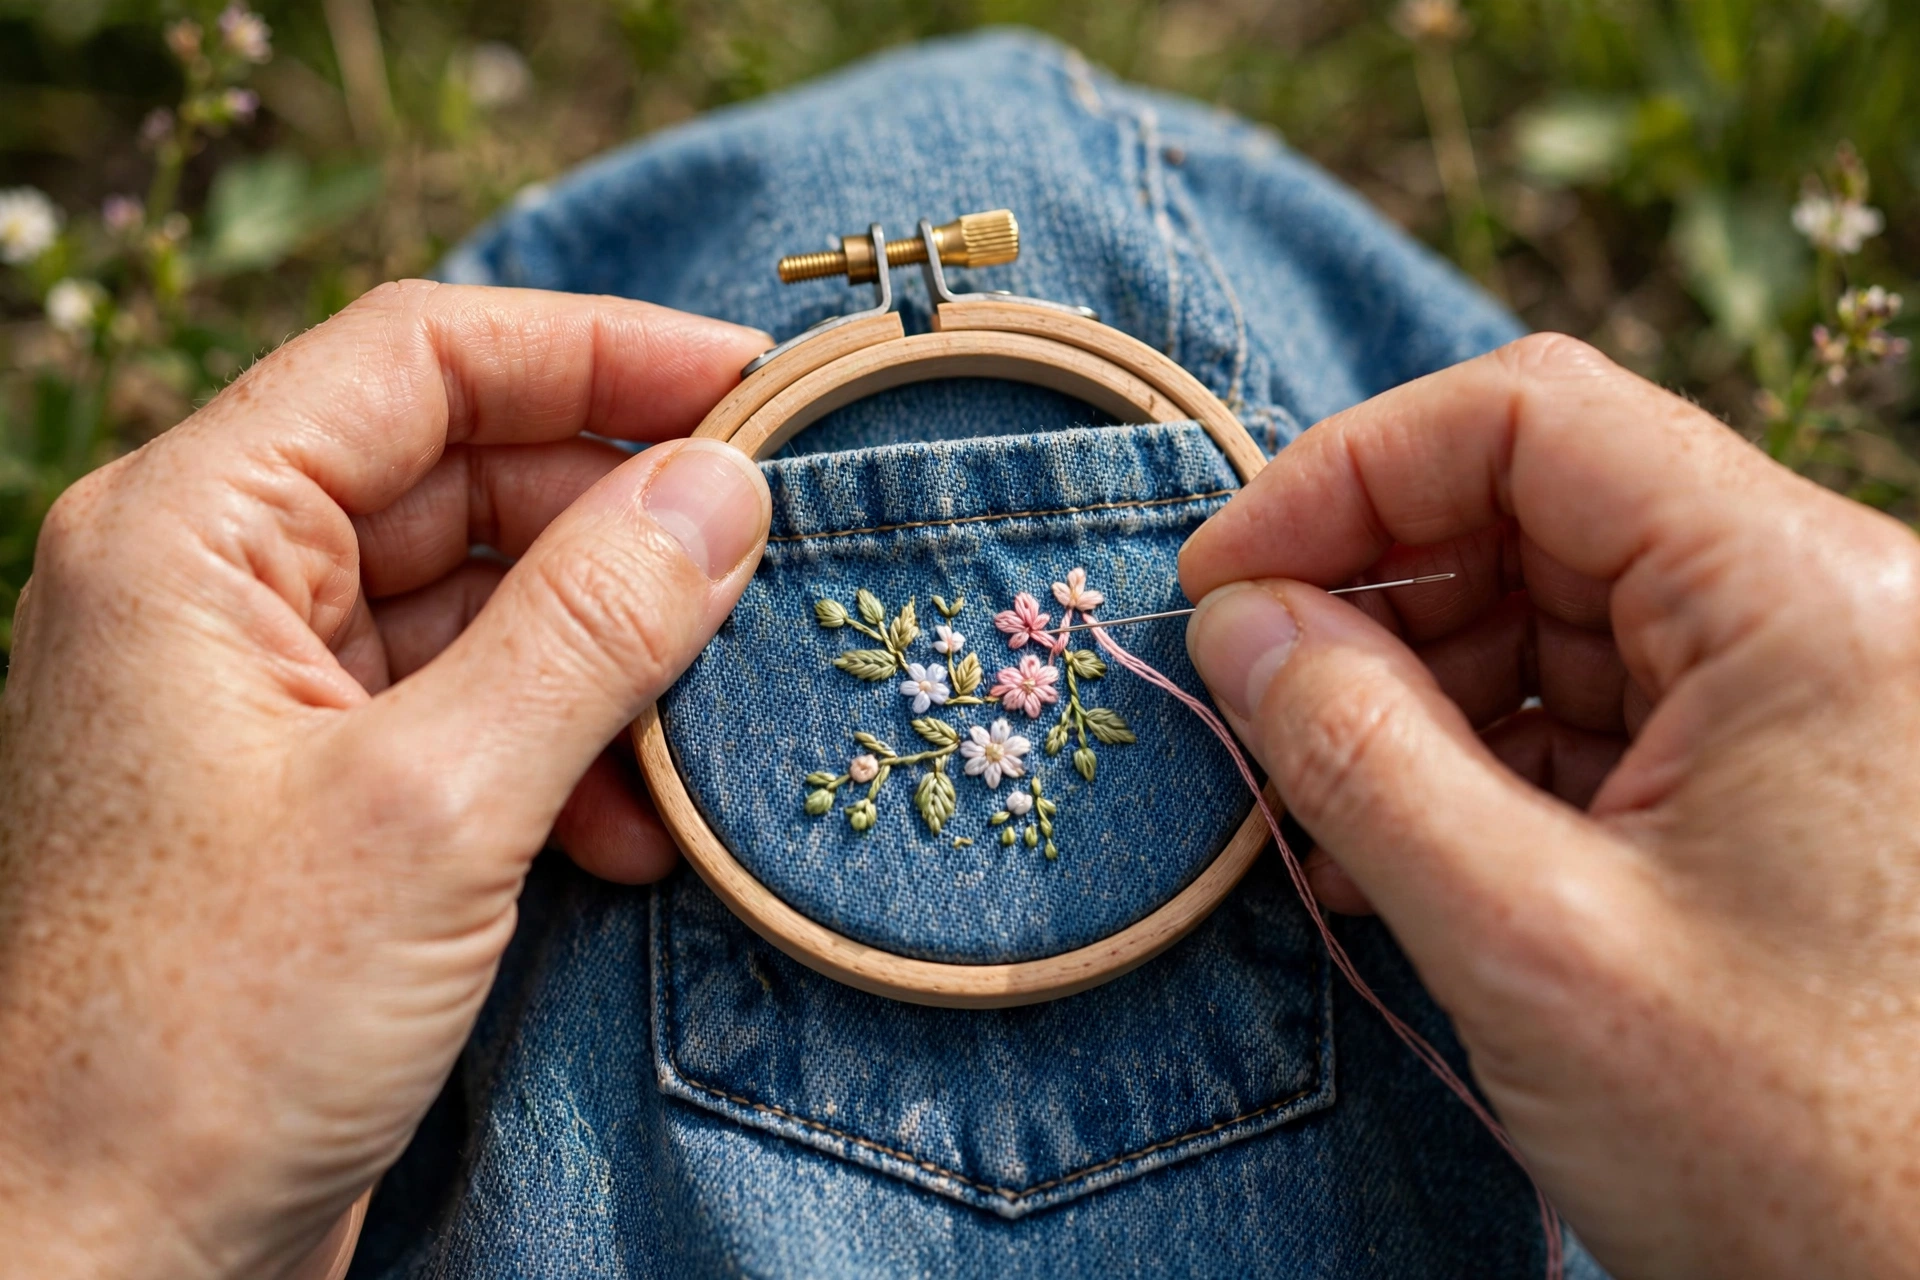
My recommendation for beginners: use a small hoop on pockets whenever it fits, and learn the no-hoop method for collars. Both skills are worth having, and neither takes long to learn.
Design Size Limits
Size discipline is everything on pockets and collars. A design that is slightly too big will look crowded and will fight the seams, while a design with breathing room around it looks intentional and polished. For a standard adult chest pocket, keep your design under two inches in its longest dimension, and leave at least a quarter inch of clear fabric between the design and every pocket edge. For shirt collars, the embroidery typically runs along the outer edge or sits at the collar points, and designs should stay under one inch tall so they do not overwhelm the collar’s proportions.
Children’s pockets are even smaller, so measure the actual pocket before you choose a design. A good habit is to cut a paper template at your planned design size and lay it on the pocket or collar. If it looks cramped on paper, it will look cramped in thread. When in doubt, go smaller. A tiny, perfect motif beats a large, squeezed one every time.
Preparing the Area: Stabilizer Is Non-Negotiable
Before you transfer anything, stabilize. Cut a piece of lightweight fusible interfacing slightly larger than your design area and iron it onto the wrong side of the fabric. For pockets, you can usually slide the interfacing inside the pocket and iron it to the pocket’s back layer, or iron it to the inside of the shirt behind the pocket if you prefer to stitch through only the pocket’s front layer. For collars, iron the interfacing to the underside of the collar, on the part that will not show.
Stabilizer does three jobs: it keeps the fabric from stretching as you stitch, it prevents puckering around your stitches, and it gives the needle a consistent surface to pass through. On collars, which often already contain interfacing from manufacturing, one light layer is usually enough. On soft pocket fabric, do not skip this step even if the fabric feels sturdy. The difference in your finished result will be dramatic.
Transferring Your Design to Small Areas
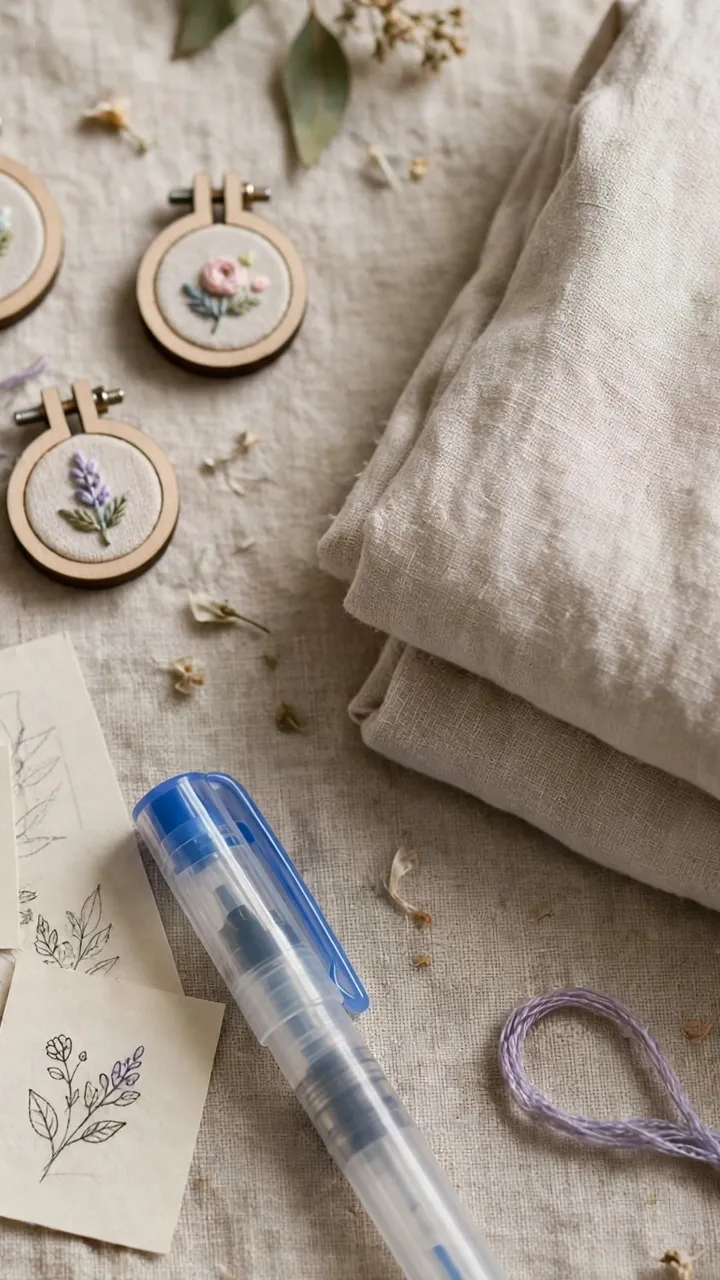
Getting the design onto a pocket or collar accurately is half the battle. For light-colored fabric, a water-soluble marking pen is the easiest tool. Draw your design directly on the fabric, or trace it through using a lightbox or a sunny window. The marks vanish with water when you are done, which is wonderfully forgiving.
For dark fabric where pen marks will not show, use a white water-soluble pencil or a chalk-based marking tool. Another reliable method is the tissue paper technique: trace your design onto tissue paper, pin or baste the tissue to the pocket or collar, stitch right through the paper, then gently tear the paper away when you finish. This works beautifully on collars where drawing a curved design freehand is difficult.
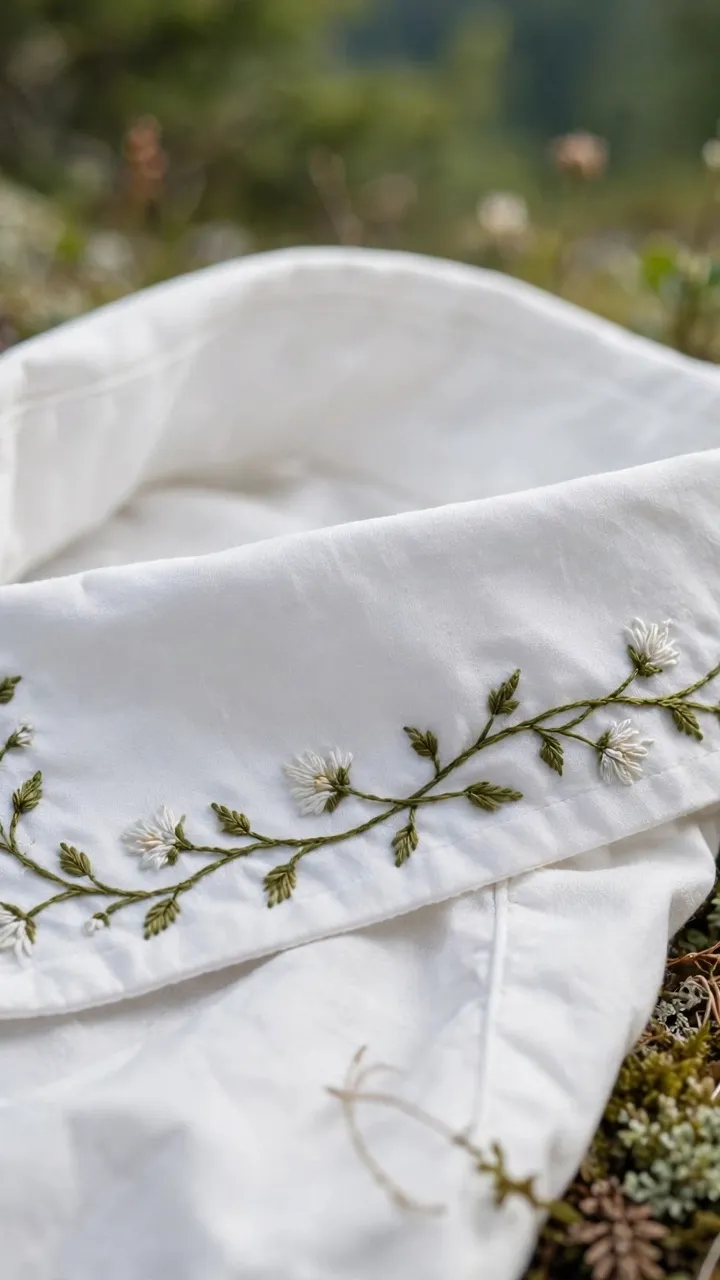
Placement matters as much as the transfer method. On pockets, the classic placements are the bottom corner, centered near the top edge, or a small motif floating in the middle. On collars, embroidery usually sits along the outer edge, at the collar points, or as a small motif on one side of a band collar. Use a ruler to center your design, and step back to check that it looks balanced before you make your first stitch.
Stitching Order for Small Areas
When your workspace is tiny, the order you stitch in makes a real difference. Start with the elements that sit underneath or in the background, then work forward. For a flower on a pocket, stitch the stem first, then the leaves, then the petals, then the center details last. This layering looks natural and means you are not trying to squeeze background stitches under finished foreground work in a cramped space.
Work from the center of the design outward when you can. This keeps the fabric tension even and prevents the design from creeping off-center as you go. On collars, stitch any outline or border first to establish the design’s boundaries, then fill in the details. And always complete one small area before moving to the next rather than jumping around. On a small design, traveling threads across the back between distant elements create bulk that shows through thin shirt fabric.
Securing Threads Neatly on the Back
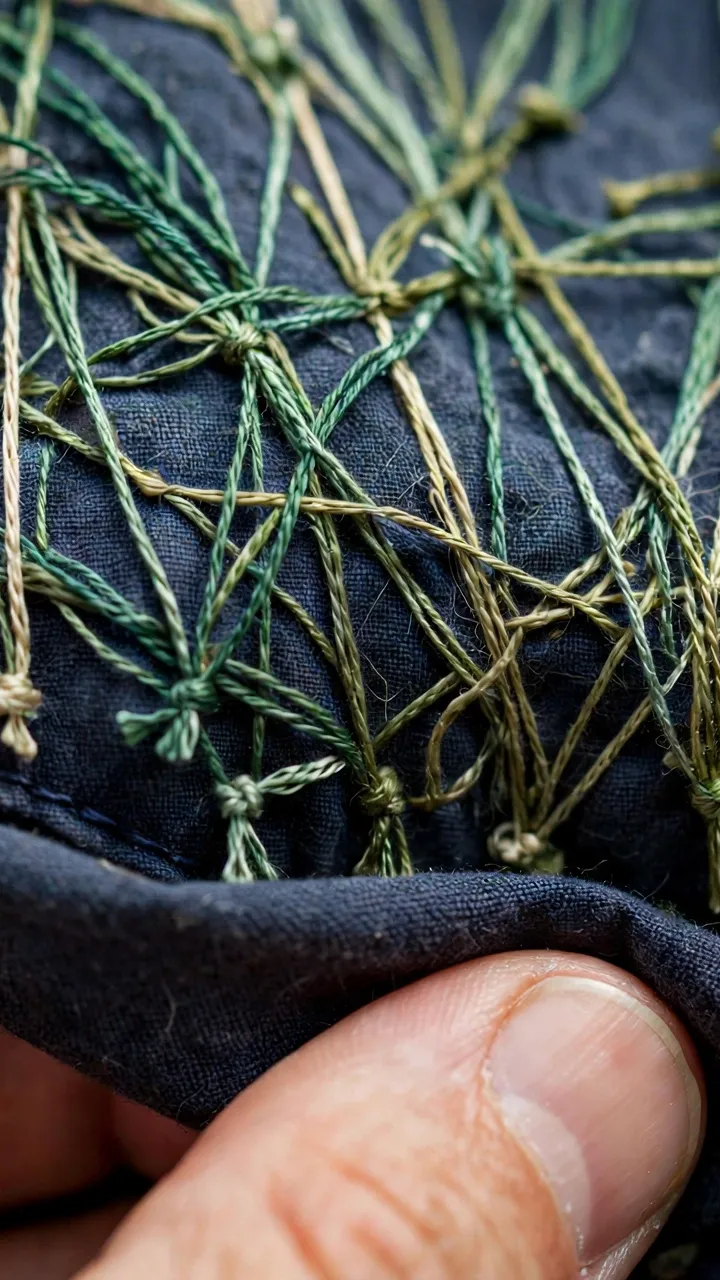
The back of pocket embroidery is often visible when the pocket gaps open, and collar embroidery backs can sometimes be glimpsed from underneath. A neat back is part of good craftsmanship, and it also makes the embroidery more durable. Start your thread by weaving the tail under a few existing stitches on the back, or use a tiny knot tucked where it will be covered by your first stitches. Avoid long knots that create lumps.
To end a thread, run your needle under four or five stitches on the back, then trim the tail close. When moving between two parts of the design, carry the thread across the back only if the distance is short, under half an inch. For longer jumps, end the thread and start fresh. On pockets, keep in mind that the inside of the pocket will be handled and items will be pushed in and out, so secure ends extra carefully and trim tails very short so nothing snags.
If the back will be frequently visible, consider adding a small piece of lightweight iron-on interfacing over the finished back of the embroidery to cover the thread ends. This gives a clean finish and protects the stitches during washing. It is a professional touch that takes thirty seconds.
Handling Seams and Bulk
Pocket edges and collar folds are thick, and your needle will protest. Use a sharp needle, and consider a slightly larger size than usual, like a size 5 or 6 embroidery needle, which has the strength to push through layers. A needle gripper or a small piece of rubber shelf liner gives you extra traction for pulling the needle through bulk. Work slowly near seams, and if a stitch must cross a very thick seam, consider ending your design just before it rather than fighting through.
On collars, the fold is the challenge. Stitch with the collar lying flat and natural, not stretched or folded sharply. If your design crosses the collar fold, stitch it with the collar in its natural worn position so the design looks right when the shirt is actually being worn. This is a detail many beginners miss, and it makes the difference between embroidery that looks placed and embroidery that looks pasted on.
Common Mistakes to Avoid
The most common mistake is choosing a design that is too large, then cramming it in. Measure twice, stitch once. The second is clamping a hoop so tightly over a pocket that the pocket stretches out of shape. If you use a hoop on a pocket, tighten it just enough to hold the fabric smooth, and check that the pocket still lies flat when you remove the hoop. The third mistake is stitching through all the pocket layers accidentally, sewing the pocket shut. Before you start, pin the pocket’s front layer away from the shirt or slip a piece of card inside the pocket as a barrier.
Other pitfalls include forgetting stabilizer on collars because they feel stiff already (collar stiffness is not the same as stitching stability), using dark thread tails that show through light fabric on the back (match your securing thread to the fabric, not just the design), and ironing directly over fresh embroidery on a collar, which flattens textured stitches. Always press collars from the underside with a pressing cloth.
Finishing and Pressing
When your stitching is done, remove any transfer marks according to your marking tool’s instructions. Water-soluble marks need a rinse or a dab with a damp cloth. Then press the area gently. For pockets, press from the inside with the pocket slipped over the narrow end of the ironing board or a tailor’s ham. For collars, press from the underside, shaping the collar with your hands as you go so it keeps its natural curve.
Small Spaces, Big Charm
Embroidering on pockets and collars is one of those skills that looks impressive precisely because the canvas is so small. A tiny vine on a collar point or a miniature bouquet on a pocket corner suggests care, patience, and an eye for detail. Start with a pocket, where a small hoop makes the work easy, and graduate to a collar once your hands know the rhythm. These little placements use minimal thread and time, which makes them perfect for experimenting. Stitch one, wear it, notice how many compliments it earns, and then you will be looking at every plain collar in your closet as an opportunity.