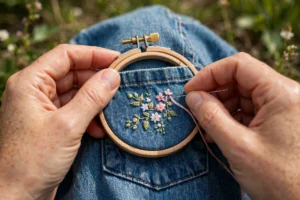
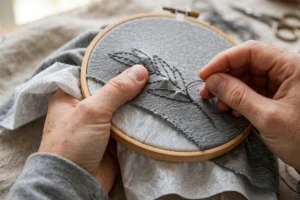
There is something quietly magical about a plain shirt with a small embroidered flower on it. It takes an ordinary garment you could buy anywhere and turns it into something that feels personal, handmade, and entirely yours. Floral designs are the perfect starting point for embroidering on shirts because they are forgiving. Flowers are organic shapes, so slightly uneven petals look natural instead of wrong. If you are new to stitching on clothing, this is the gentlest way in.
In this guide, I will walk you through seven simple floral motifs that look beautiful on shirts, tell you exactly which stitches each one needs, and share where to place them for the prettiest effect. You will also learn how to scale a design up or down and which color palettes work best on different shirt fabrics. Grab a hoop, some thread, and a shirt, and let us turn something plain into something lovely.
What You Need Before You Start
Keep your supplies simple. You need a shirt (cotton, linen, or chambray are ideal), a hoop at least one inch larger than your design, stranded cotton floss, a sharp embroidery needle (size 7 or 8), small scissors, and a water-soluble marking pen. Iron lightweight interfacing onto the inside of the shirt behind your stitching area to prevent puckering. This one supply makes more difference than anything else, so do not skip it.
1. The Classic Daisy
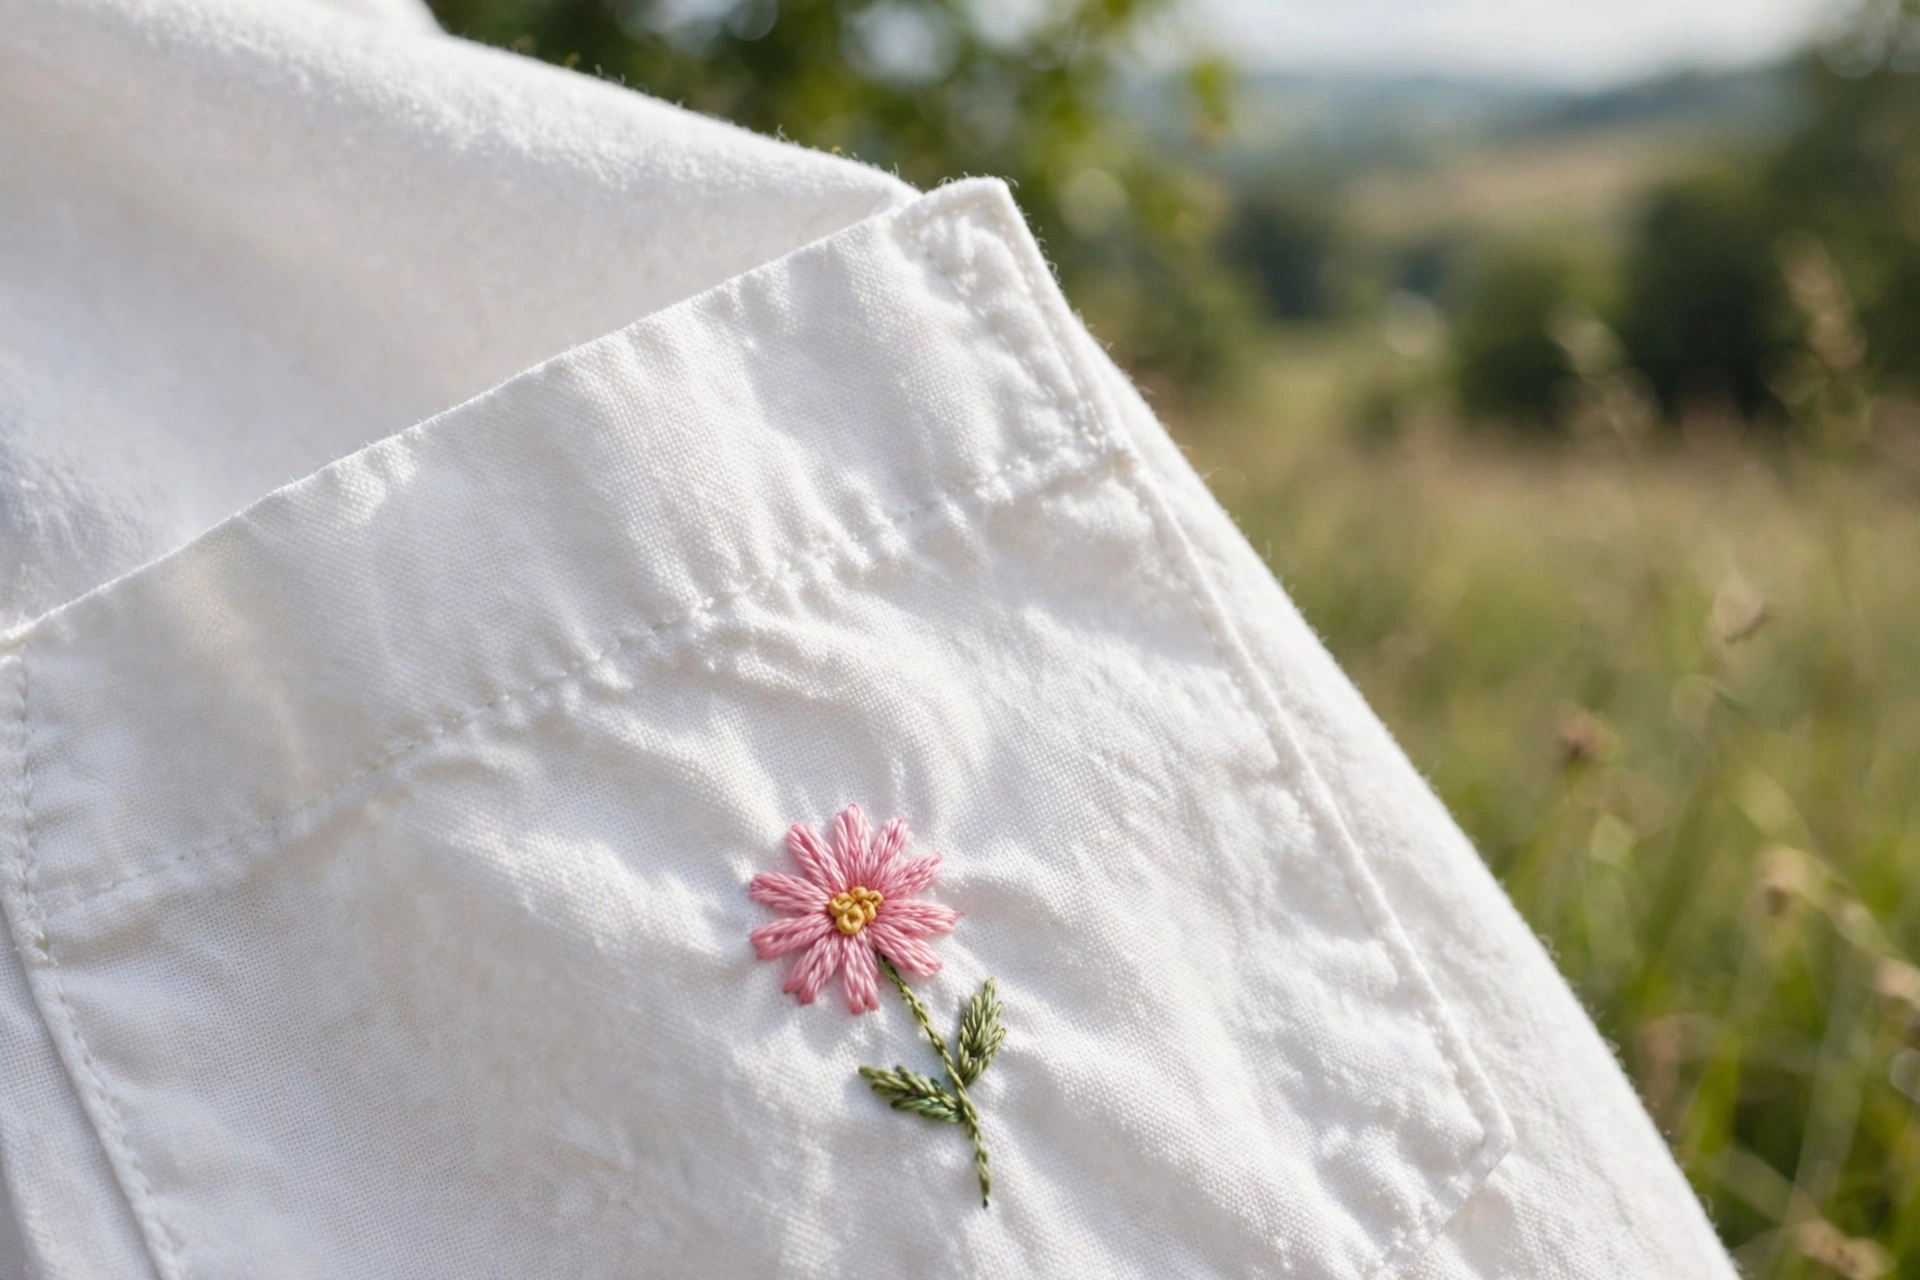
The daisy is the beginner’s best friend. It uses one stitch, the lazy daisy stitch (also called the detached chain stitch), and it always looks cheerful. To make a daisy, bring your needle up at the center point, push it back down right next to where you came up to form a small loop, and bring the needle up at the tip of the petal to tack the loop down with a tiny anchoring stitch. Repeat this five to seven times around the center and you have a flower. The center is usually a cluster of French knots or a few satin stitch dots.
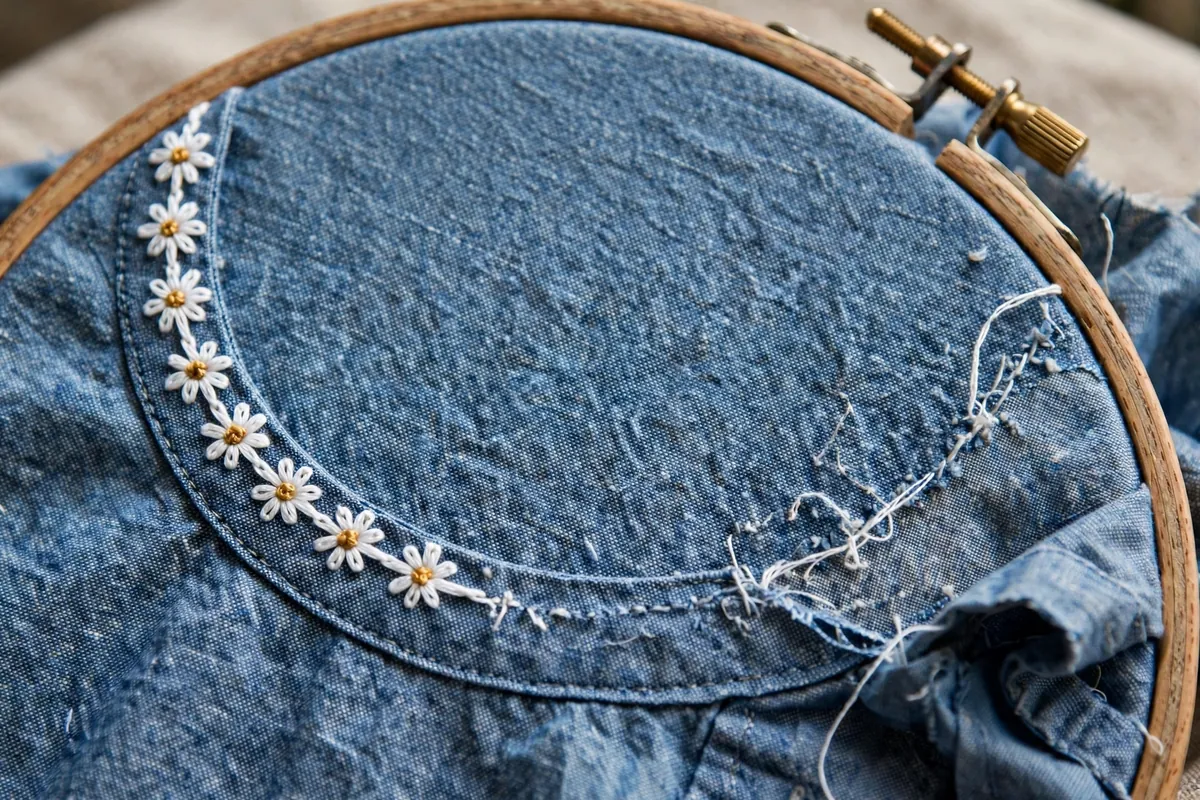
Daisies work best with two strands of floss on shirt fabric. For a classic look, stitch white petals with a yellow center on a chambray or light blue shirt. On a white shirt, try pink or coral petals so the design shows up clearly. A single daisy at the corner of a chest pocket is charming, and a row of three small daisies along the bottom of a sleeve placket looks like something from a boutique. Keep your petals even in length by marking a tiny circle as a guide before you stitch.
2. Lavender Sprigs
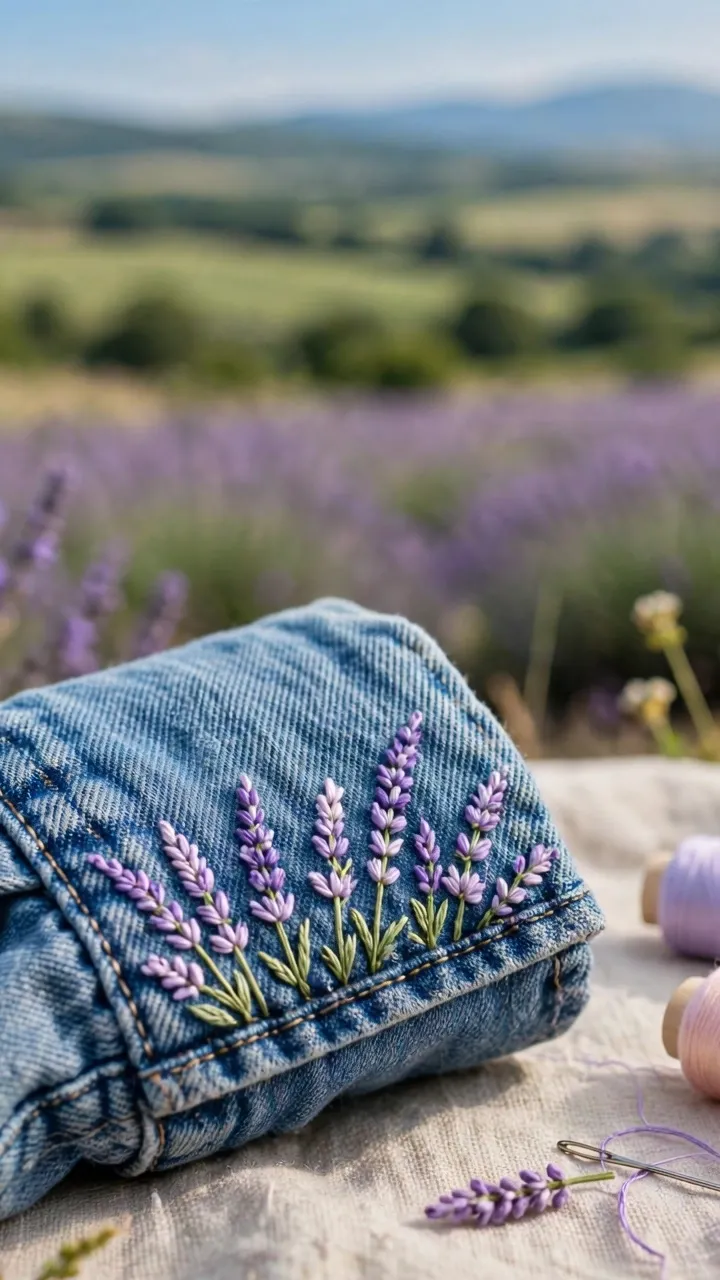
Lavender looks elegant and takes only minutes. The stem is a simple stem stitch or backstitch worked in green, and the little buds are French knots or small straight stitches clustered along the top half of the stem. Three to five sprigs grouped together make a lovely bouquet shape, or you can stitch a single sprig for a minimal, modern look.
The classic palette is purple buds with sage green stems, but lavender in dusty blue or soft pink is beautiful on white and cream shirts. Lavender sprigs are wonderful on sleeve cuffs, where the narrow space suits a slim vertical design. They also look gorgeous trailing down from a shoulder seam or tucked along the edge of a collar. Use French knots for the buds if you want texture, or straight stitches if you prefer a flatter, neater finish that will survive washing better.
3. Wildflower Sprig
A wildflower sprig is a loose, freeform stem with small leaves and a few tiny blooms scattered along it. There is no strict pattern to follow, which makes it wonderfully low pressure. Build the sprig with a stem stitch for the main stem, lazy daisy stitches for the leaves, and a mix of French knots and tiny lazy daisy flowers for the blooms. Vary the sizes and let the stem curve naturally.
Wildflower sprigs shine in mixed color palettes. Try coral, mustard, and dusty pink blooms with olive green stems on a white or natural linen shirt. One sprig on the chest pocket area, or a pair of sprigs curving along the neckline, gives a relaxed, cottage-garden feel. Because the design is deliberately a little wild, small imperfections blend right in. This is the motif I recommend when a beginner feels nervous about keeping things even.
4. The Simple Five-Petal Blossom
This is the flower you probably doodled in the margins of your notebooks. Five rounded petals around a center, stitched with satin stitch or lazy daisy petals and a French knot center. What makes it special on shirts is repetition. A scatter of tiny five-petal blossoms across a yoke or down a button placket looks intricate, but each flower takes about two minutes.
Cherry blossom colors (pale pink petals, darker pink or gold center) are a favorite, and they look stunning on navy or dark shirts when stitched in lighter thread. White blossoms on a light blue shirt give a crisp, fresh feeling. For tiny blossoms, use a single strand of floss and keep each flower under half an inch wide. A sweet placement is a gentle arc of blossoms following the curve of a neckline, like a floral necklace.
5. The Embroidered Wreath
A mini wreath is a circle of leaves and small flowers, and it makes a perfect pocket-sized design. Draw a circle about two inches across with your water-soluble pen. Stitch leaves around it with lazy daisy or fishbone stitch in two greens, then dot small flowers and French knot berries around the ring. Leave a small gap at the top or bottom of the circle for a modern, open wreath look.
Wreaths are ideal for the chest pocket area because the round shape fits neatly in the square space. They also make lovely monogram frames. Stitch a wreath and add an initial in backstitch in the center for a personalized shirt that makes a wonderful gift. Keep the wreath loose and airy rather than densely packed. Negative space is what keeps it looking fresh instead of heavy.
6. Tulips
Tulips are built from three simple shapes: the cup of the flower, the stem, and two leaves. The cup can be three satin stitch petals or a single lazy daisy shape with a straight stitch down the middle for definition. The stem is a stem stitch, and the leaves are lazy daisy stitches angled outward. A row of three tulips in graduating heights makes a delightful border along a shirt hem or pocket top.
Tulips love bold color. Red, coral, or sunny yellow tulips with deep green stems pop beautifully on white shirts. For a softer look, try blush pink tulips on a cream shirt. Tulips also scale well. Enlarge the design to about three inches tall and a single tulip on the back yoke of a shirt becomes a statement piece. When scaling up, switch from two strands to three strands of floss so the satin stitch coverage stays smooth and even.
7. Ditsy Floral Scatter
Ditsy means tiny and scattered, and this is the easiest design of all because there is no single motif to get right. Scatter small flowers, dots, and leaves randomly across an area like the collar, the yoke, or one whole side of a shirt front. Mix lazy daisy mini flowers, French knot dots, and straight stitch leaves in a coordinated palette of three to four colors.
The trick to a good ditsy scatter is restraint. Mark your dots lightly first so the spacing looks even, then stitch. Step back (or hold the shirt at arm’s length) every few minutes to check the overall balance. Ditsy prints are a classic fabric pattern, so this technique basically lets you print your own fabric design onto a plain shirt. It is also the most forgiving approach for knit shirts like t-shirts, because no single element carries the design.
Placement Ideas That Flatter
Where you put the flowers matters as much as which flowers you choose. The chest pocket corner is the classic spot, especially for a single daisy, a small wreath, or a lavender sprig. The neckline is beautiful for arcs of blossoms or wildflower sprigs that follow the curve. Sleeve cuffs suit slim vertical designs like lavender or single stems. The back yoke, the area between the shoulders, is a lovely surprise spot for a larger design like an enlarged tulip or a floral spray. Shirt hems take borders beautifully, and a trail of small flowers climbing from the hem toward the waist looks effortless.
Think about how the shirt will be worn. A design on the chest pocket shows when a jacket is open, while back yoke embroidery is a secret delight. Avoid placing dense embroidery where the shirt stretches a lot, like directly over the bust on a fitted shirt, because the stitches will distort with wear.
Scaling Your Design Up or Down
Most shirt motifs look best between one and three inches. Pocket designs should stay under two and a half inches so they fit with a margin of fabric around them. To resize, redraw the design freehand at the new size or use a printer to scale it to a percentage. When shrinking, simplify: drop the fiddliest details and let two stitches do the work of five. When enlarging, add a strand of floss for smooth coverage and consider extra leaves to fill the space. Always test on scrap fabric first, because stitch proportions change in ways paper cannot predict.
Color Palettes for Shirt Embroidery
Choosing colors is half the fun. For white and cream shirts, almost anything works, but medium tones like dusty rose, sage green, mustard, and dusty blue look sophisticated rather than garish. On chambray and light blue shirts, white, yellow, coral, and navy create a fresh contrast. Dark shirts like navy, black, or forest green need light and bright threads to show up: think cream, gold, pale pink, and light blue.
Limit yourself to three to five colors per design. A reliable formula is one color for petals, one for centers or accents, and one or two greens for stems and leaves. If you are unsure, look at a photo of real flowers and borrow its exact palette.
Common Mistakes to Avoid
The biggest mistake beginners make with shirt embroidery is skipping stabilizer. Without it, the fabric puckers around your stitches and the shirt looks homemade in the wrong way. Iron a lightweight fusible interfacing on the inside of the shirt behind your design area before you start. The second mistake is pulling thread too tight, which also causes puckering and can even tear delicate shirt fabric. Let the thread lie on the surface with gentle tension.
Other pitfalls: using too many strands of floss (two is right for most shirt fabrics; six looks bulky and wears poorly), stitching a design too large for its placement (a three-inch flower crammed onto a pocket looks crowded), and forgetting to check the inside of the shirt. Long loose threads on the inside will catch on things in the wash, so keep your carried threads short and secure your ends neatly. Finally, always pre-wash your shirt before embroidering. If the fabric shrinks after you stitch, your beautiful flowers will pucker.
A Note on Washing Embroidered Shirts
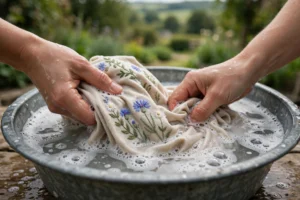
Wash embroidered shirts inside out in cool water on a gentle cycle, and air dry when you can. If you must use a dryer, choose low heat. Press from the inside with a pressing cloth between the iron and the embroidery to protect textured stitches like French knots.
Your First Floral Shirt
Start with one daisy on one pocket corner. It will take less than an hour, and wearing it brings a pride only handmade things give. Then try lavender sprigs on the cuffs. Floral embroidery on shirts is not about perfection. It is about adding a little handmade beauty to everyday life, one petal at a time.