Stretchy fabric scares a lot of embroiderers, and honestly, it used to scare me too. Jersey, interlock, performance knits, leggings material, ribbed cotton: these fabrics move, bounce, and distort in ways that plain cotton never does. But here is the truth I wish someone had told me earlier: stretchy fabric is not harder, it is just different. Once you learn a handful of specific techniques, embroidering on stretch knits becomes not only doable but genuinely enjoyable.
This article gathers the tips that actually work, the ones I return to every time I stitch on something stretchy. We will cover the right needles, the right stabilizer, the hooping technique that prevents most disasters, stitches that flex with the fabric, and thread choices that survive real wear. Let us turn that intimidating knit into your next favorite project.
Understand What You Are Working With
Stretchy fabrics fall into a few families, and it helps to know which one you have. Jersey is the classic t-shirt knit: soft, with moderate stretch, usually more stretch across the width than the length. Interlock is a double-knit that is smoother and more stable than jersey, with stretch in both directions. Rib knit has visible vertical ribs and a lot of bounce, used for cuffs, necklines, and fitted tops. Performance and athletic knits often contain spandex or elastane for serious stretch and recovery. Ponte and scuba are heavier, stable knits with moderate stretch, popular for skirts and structured garments.
The stretchier and lighter the fabric, the more support it needs. A stable ponte might behave almost like a woven with minimal help, while a slinky rayon jersey or a spandex legging knit needs the full toolkit. Before you start, do a quick stretch test: pull the fabric gently in both directions and watch how far it goes and how well it springs back. That tells you how much stabilization to plan for.
Tip 1: Switch to Ballpoint Needles
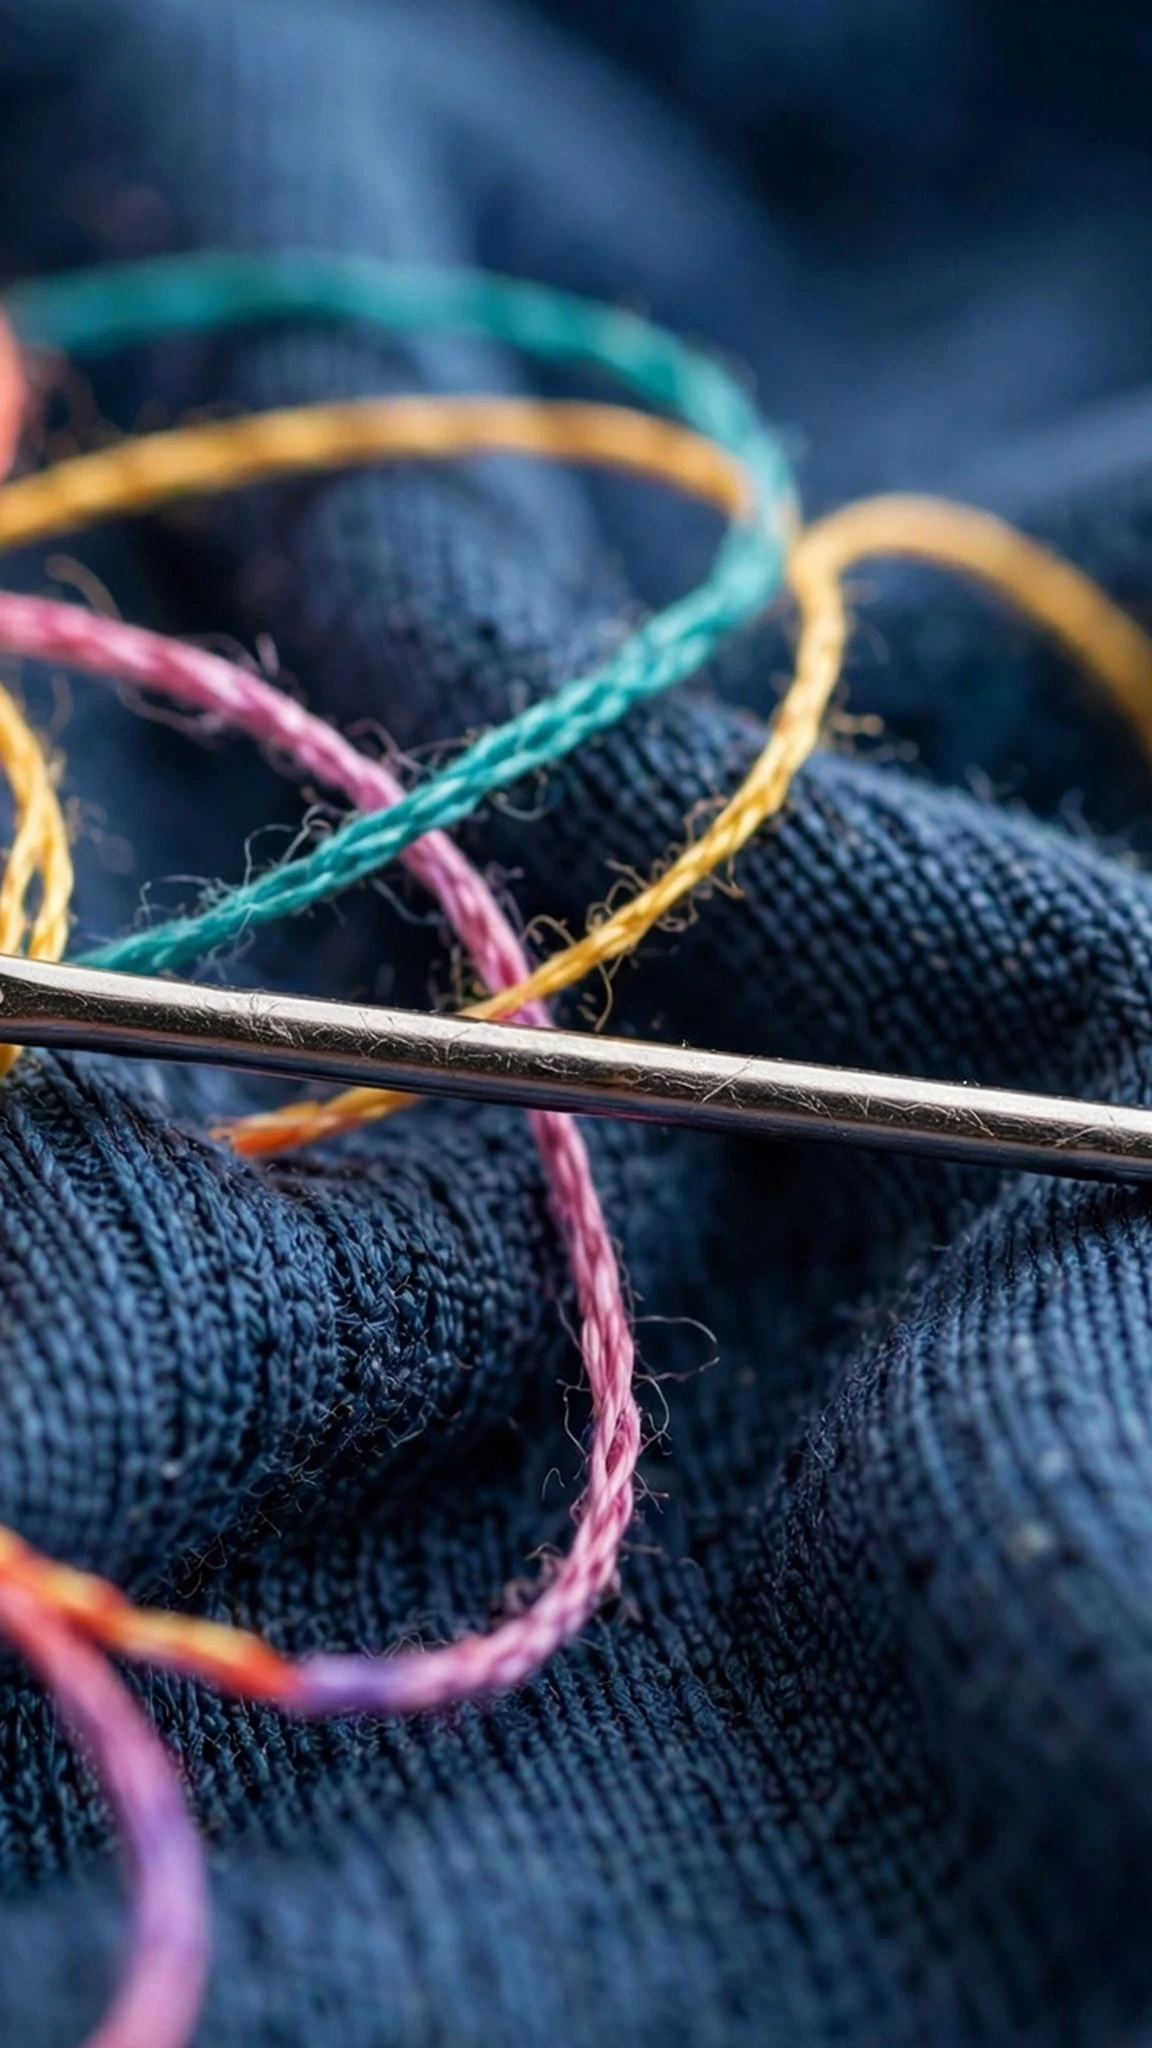
This is the single easiest upgrade you can make. A standard sharp embroidery needle pierces straight through knit loops, which can cut the fibers, leave visible holes, and weaken the fabric. A ballpoint needle has a rounded tip that slides between the loops instead of piercing them, parting the fibers gently and letting them close back up afterward.
For hand embroidery on knits, look for ballpoint or “jersey” hand needles in sizes comparable to what you would normally use: roughly a size 7 or 8 for two to three strands of floss, a size 5 for heavier thread. The difference is immediately visible on fine or delicate knits, where sharp needles leave a trail of tiny punctures and ballpoints leave the fabric looking untouched. On medium-weight jerseys the difference is subtler but still real. If you stitch on knits regularly, keep ballpoints in your kit permanently.
Tip 2: Stabilize Every Time, No Exceptions
On stretchy fabric, stabilizer is not optional, it is the project. The stretchiest fabrics need the most thoughtful stabilization. Your best options:
- Fusible knit tricot or no-show mesh: the top choice for most stretchy garments. These bond to the fabric with an iron, move with the knit instead of fighting it, and stay soft against the skin. No-show mesh is nearly invisible and wonderfully light.
- Lightweight fusible interfacing: works well on medium knits like sweatshirt fleece and stable jersey. Match the weight to the fabric: featherweight for delicate knits, light to medium for heavier ones.
- Cut-away stabilizer: the strongest option, best for very stretchy fabrics like leggings material or for dense designs on any knit. Hoop it with the fabric or adhere it with temporary spray. Trim after stitching.
Avoid tear-away on stretchy fabrics. It does not bond, it can shift while you stitch, and it tears away leaving the knit unsupported, which is exactly when puckering strikes. Also consider doubling up on very tricky fabrics: a fusible mesh bonded to the fabric plus a light cut-away hooped behind it gives you both fabric stability and stitch support.
Tip 3: Master the No-Stretch Hooping Technique
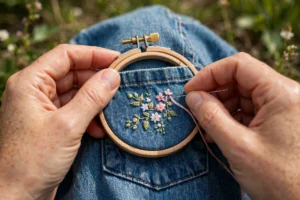
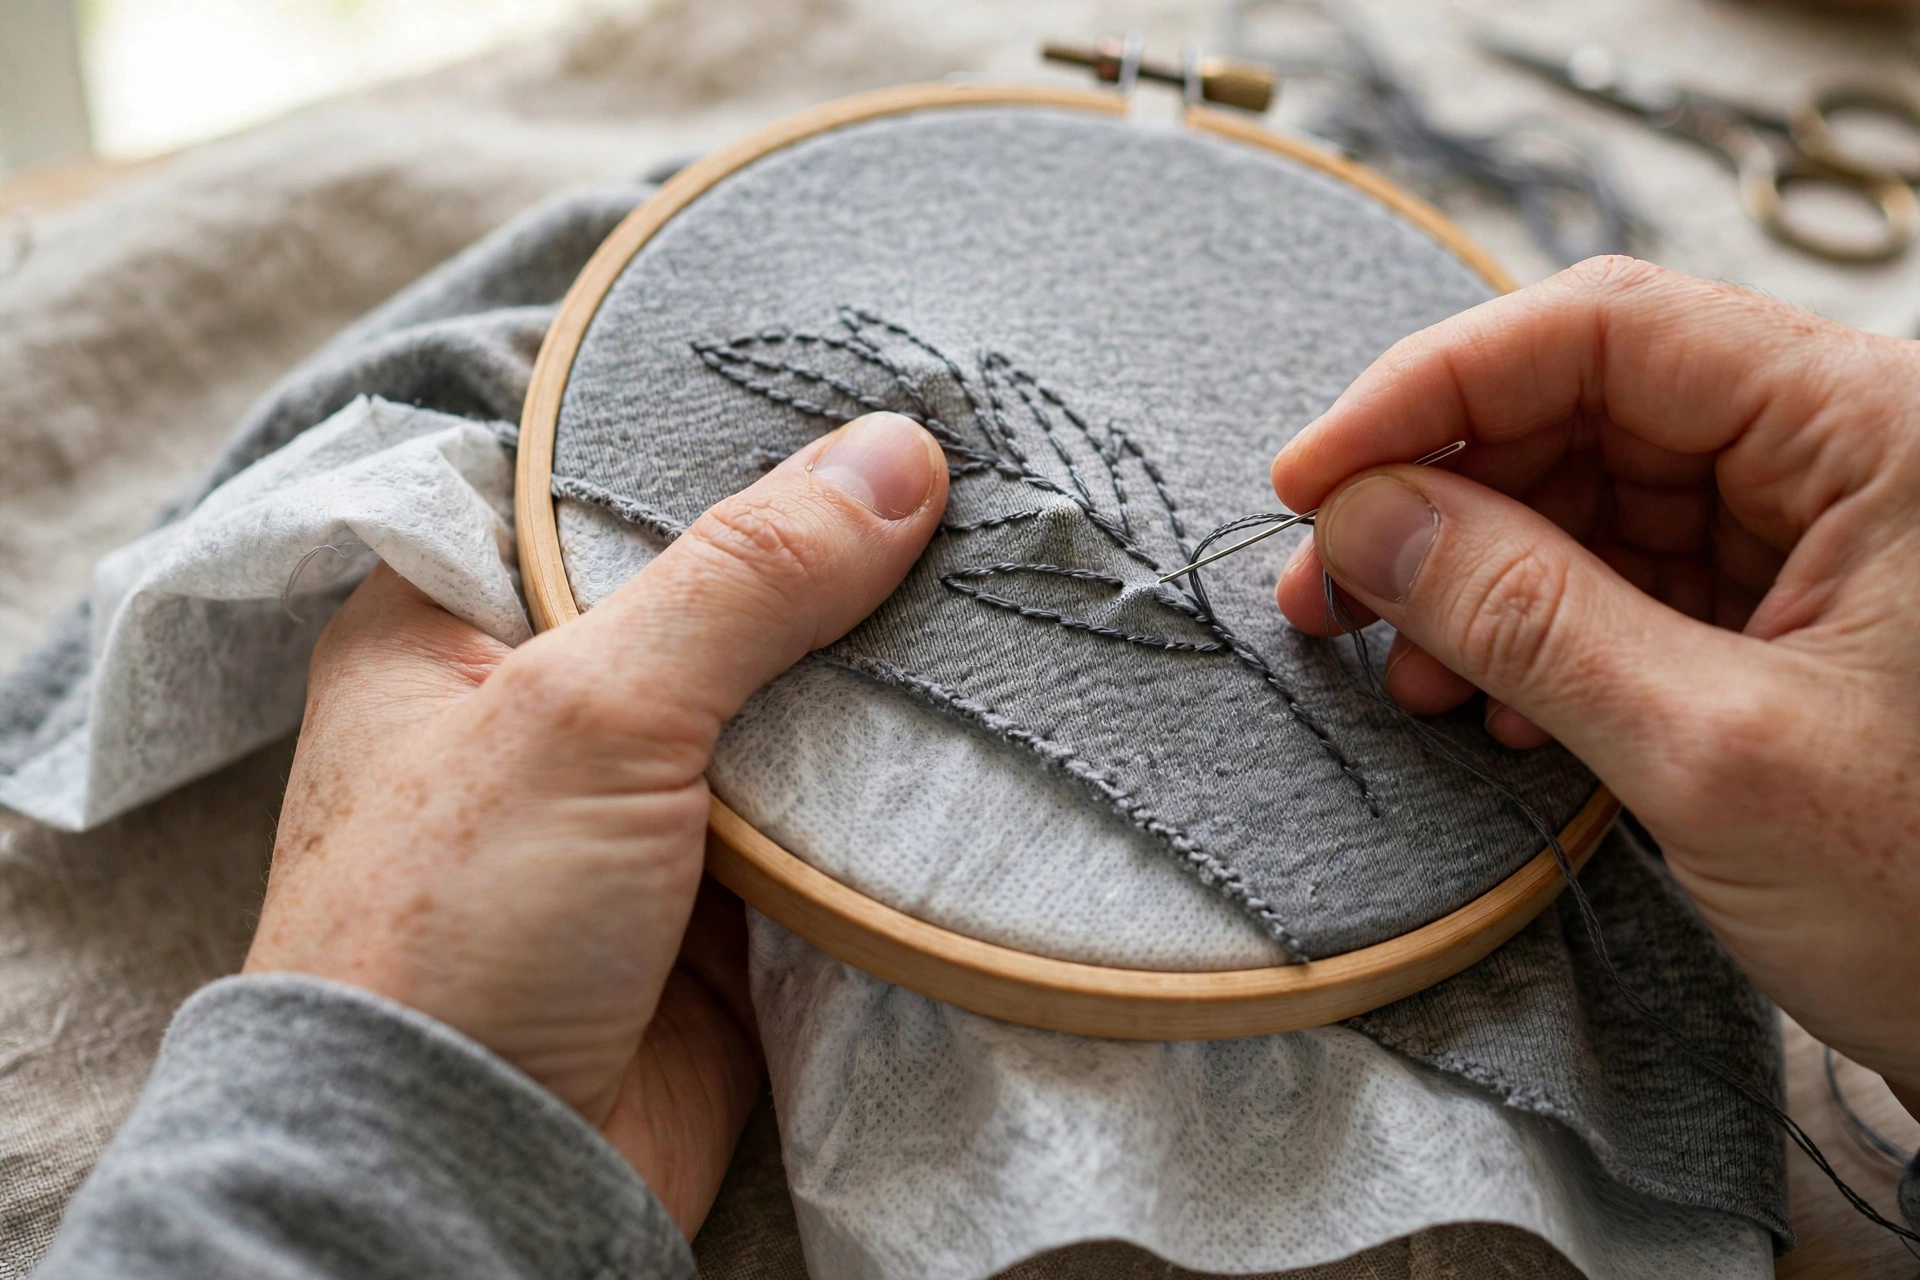
How you hoop stretchy fabric matters as much as what stabilizer you use. The goal is to hold the fabric perfectly relaxed, with its natural unstretched dimensions, while you stitch. Here is the method:
- Lay the garment flat on a table and smooth the stitching area completely flat, letting the fabric rest in its natural, unstretched state.
- Slide the inner hoop underneath the area.
- Press the outer hoop down gently, smoothing the fabric outward just enough to remove wrinkles. Do not pull or tug.
- Tighten the screw only as much as needed to hold the fabric. Over-tightening distorts knits.
- Check your work: look at the knit’s texture and any nearby print. If lines look pulled or wavy, loosen and redo it.
The fabric in the hoop should feel secure but look completely natural, not drum-tight. A useful mental image: you are framing the fabric, not stretching it on a rack. And as with all knits, do not leave the project in the hoop overnight. Loosen the hoop when you stop for the day so the fabric can relax.
Tip 4: Choose Stitches That Move With the Fabric
Here is something many guides skip: your stitches themselves need to stretch. A garment that flexes will stress rigid embroidery. Dense, locked-down stitching on a very stretchy area can pop threads or pucker when the fabric moves. Choose accordingly:
- Chain stitch is the star of stretchy fabric. Each loop interlocks with the next, so the line has natural give. It is the traditional stitch for embroidering on knits for exactly this reason.
- Backstitch worked with slightly relaxed tension flexes reasonably well and is great for outlines and lettering.
- Stem stitch has a little natural elasticity from its overlapping structure.
- Split stitch creates a flexible, slightly textured line that moves nicely.
- French knots and colonial knots work fine as accents; they are compact and do not restrict the fabric much.
Be cautious with large areas of satin stitch on very stretchy fabric. A solid block of satin stitch acts like a rigid patch: when the fabric stretches, the patch does not, and something has to give. If you love filled areas, keep them small, use fewer strands, and consider open fillings like seed stitch that leave the fabric free to move between stitches. As a rule of thumb, the stretchier the fabric, the more open and linear your design should be.
Tip 5: Keep Your Tension Gentle and Even
On stretchy fabric, every stitch should be laid in place, not pulled tight. Pulling hard does two bad things: it distorts the knit loops right now, and it creates stitches with no slack, so the first time the fabric stretches, the thread takes the strain and can snap or pucker.
Develop a light, consistent hand. Pull each stitch just until it lies smoothly on the surface, then stop. Consistency matters as much as gentleness: uneven tension shows up as wavy lines and lumpy fills. If you are new to knits, stitch a practice sampler on a stabilized scrap first and pay attention to how little pulling is actually needed. Most beginners are surprised.
Tip 6: Pick Thread That Can Take It
Standard six-strand cotton floss is fine for most stretchy-fabric projects, especially decorative ones. But if the garment will be worn, stretched, and washed often, consider thread with a bit more resilience. Pearl cotton is a twisted, non-divisible thread that is strong and slightly springy, and it looks gorgeous on knits. Polyester embroidery floss has more stretch and colorfastness than cotton, making it a smart choice for athletic wear and children’s clothes that get rough treatment.
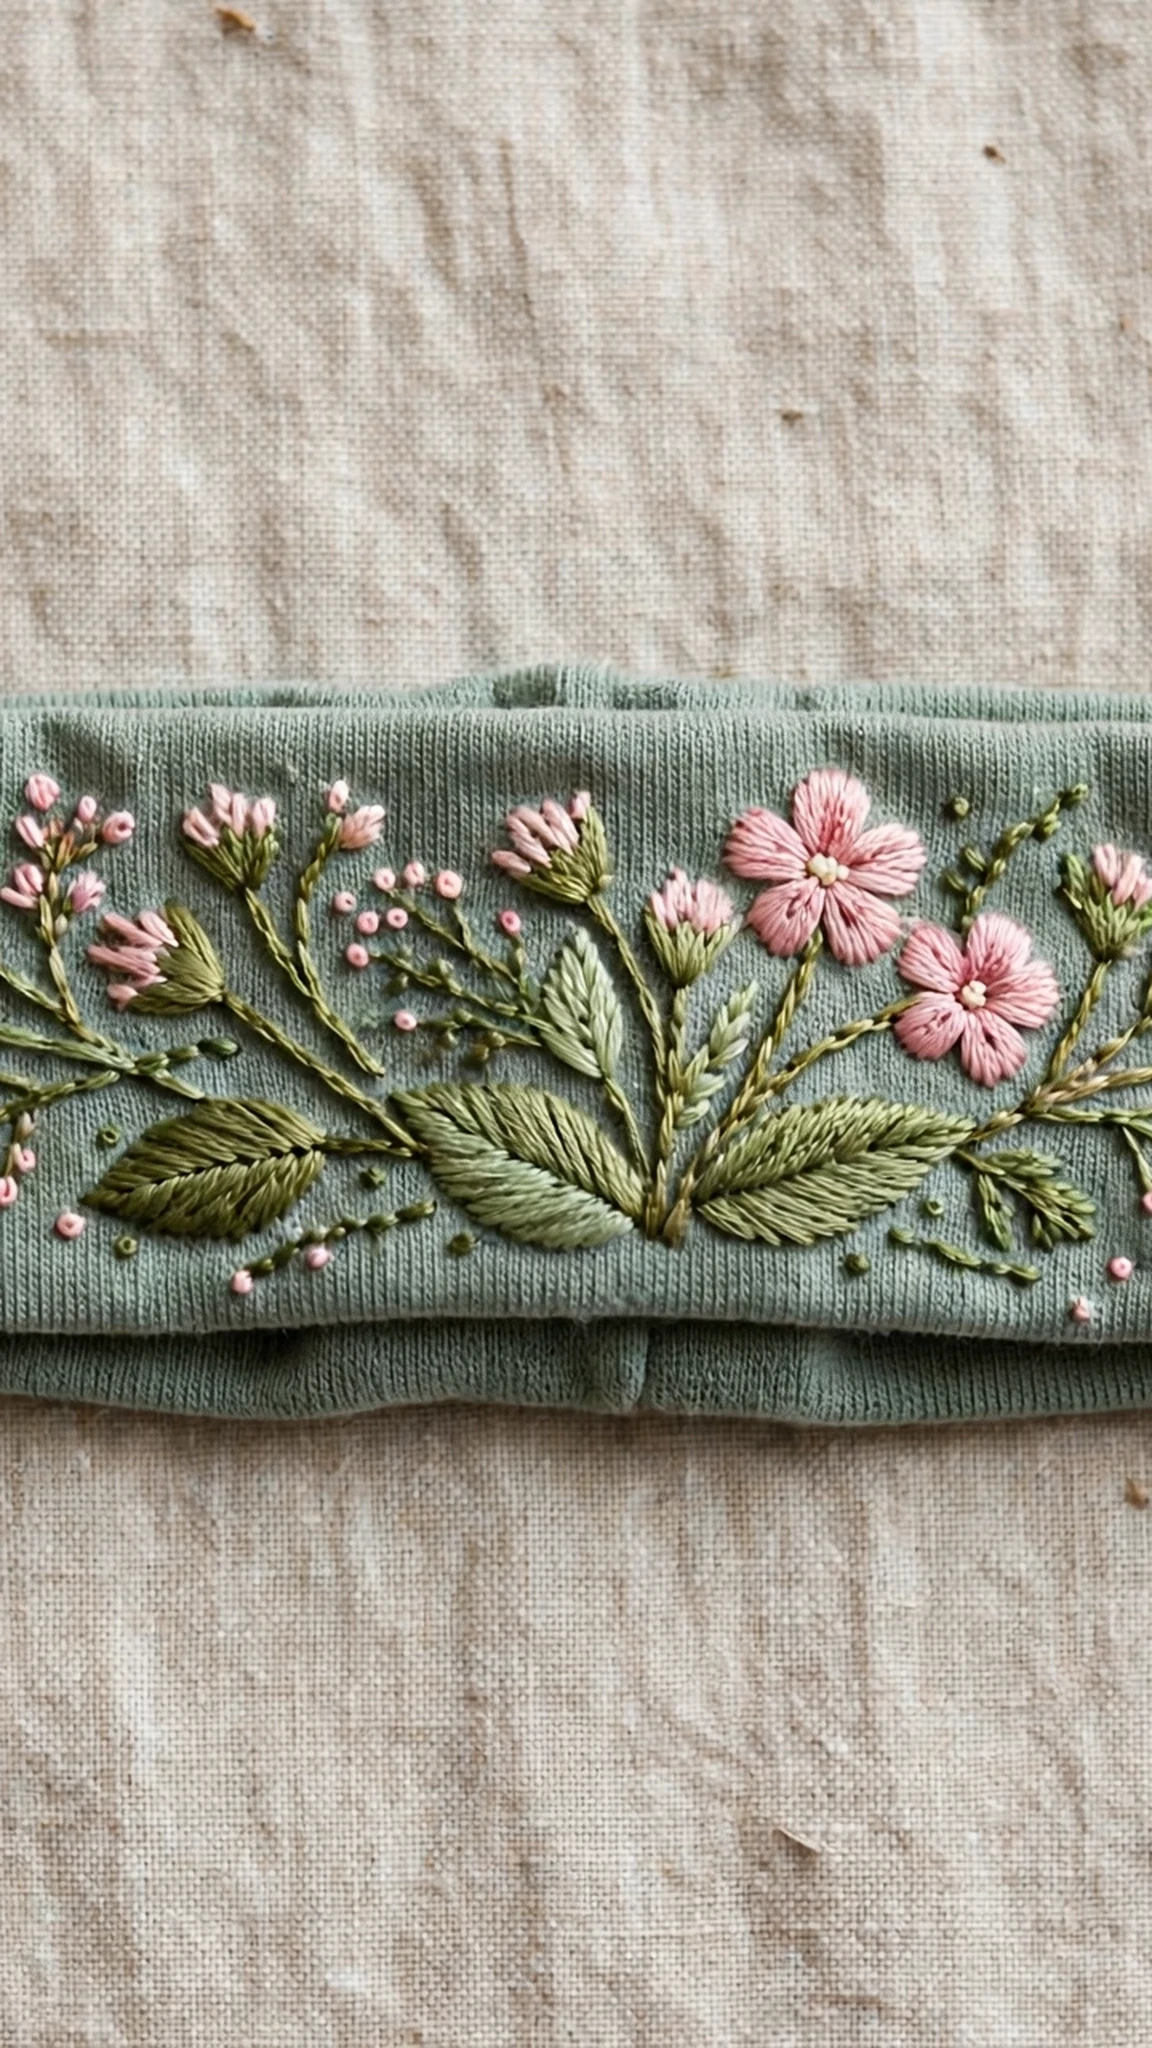
Whatever thread you use, keep working lengths short, around 12 to 15 inches. Thread dragged repeatedly through knit fabric wears faster than on wovens, and worn thread breaks and frays. Shorter lengths mean fresher thread and fewer mid-stitch breaks. And always check colorfastness on a scrap before stitching a garment that will be washed.
Tip 7: Design With the Stretch in Mind
Smart design choices prevent half your problems. Place embroidery where the fabric stretches least: the chest of a tee rather than across the bust line, the upper back rather than the waistband area, the outer thigh of leggings rather than the knee. Avoid placing dense embroidery directly over seams or ribbed areas that do most of the stretching work.
Scale your design to the fabric. Small to medium motifs are safer than huge filled designs on very stretchy knits. Leave breathing room between design elements so the fabric can flex in the gaps. And think about direction: lines of stitching running with the grain of least stretch will behave better than lines fighting the main stretch direction.
Tip 8: Test, Wash, Then Commit
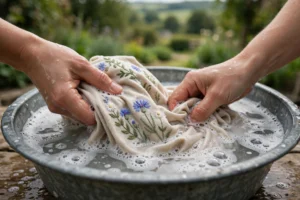
The test scrap is non-negotiable on stretchy fabric. Cut a piece of the same or similar knit, apply your stabilizer exactly as planned, hoop it with the no-stretch technique, and stitch a sample of your real design with your real stitches, thread, and tension. Then wash and dry the scrap the way the garment will be treated, and stretch it the way it will be worn.
This test reveals everything: whether the stabilizer is sufficient, whether stitches pop or pucker when stretched, whether thread bleeds, and whether the finished area feels comfortable. Twenty minutes of testing can save hours of unpicking. Make it a ritual.
Common Mistakes to Avoid
- Using sharp needles on fine knits. They pierce and weaken the loops. Switch to ballpoints.
- Using tear-away stabilizer. Wrong tool for stretchy fabric; it shifts and leaves no lasting support.
- Hooping the fabric stretched. Stitching into stretched fabric guarantees puckering when the hoop comes off.
- Choosing rigid, dense fillings on very stretchy areas. Big satin-stitch blocks cannot flex; keep fills small and open.
- Pulling stitches too tight. Tight stitches have no slack for the fabric to move, so they pucker or snap.
- Placing embroidery on the stretchiest part of the garment. Design around high-stretch zones, not on top of them.
- Skipping the wash test. Some problems only appear after the first wash. Test first.
- Using very long thread lengths. Knits abrade thread quickly; keep lengths short and rethread often.
Stretchy Fabric Is Worth It
The garments we wear most, our favorite tees, cozy sweatshirts, comfy leggings, are almost all knits. Learning to embroider on stretchy fabric means you can personalize the clothes you actually live in, not just decorative linens. The techniques are specific but they are not difficult: the right needle, the right stabilizer, a relaxed hoop, flexible stitches, and a gentle hand.
Start with a stable knit like a medium-weight jersey or sweatshirt fleece, where the learning curve is gentlest. Stitch something small, wash it, wear it, and feel how the embroidery moves with the fabric. Once you have that success under your belt, the stretchier fabrics will feel like a natural next step rather than a scary leap. You have got this.