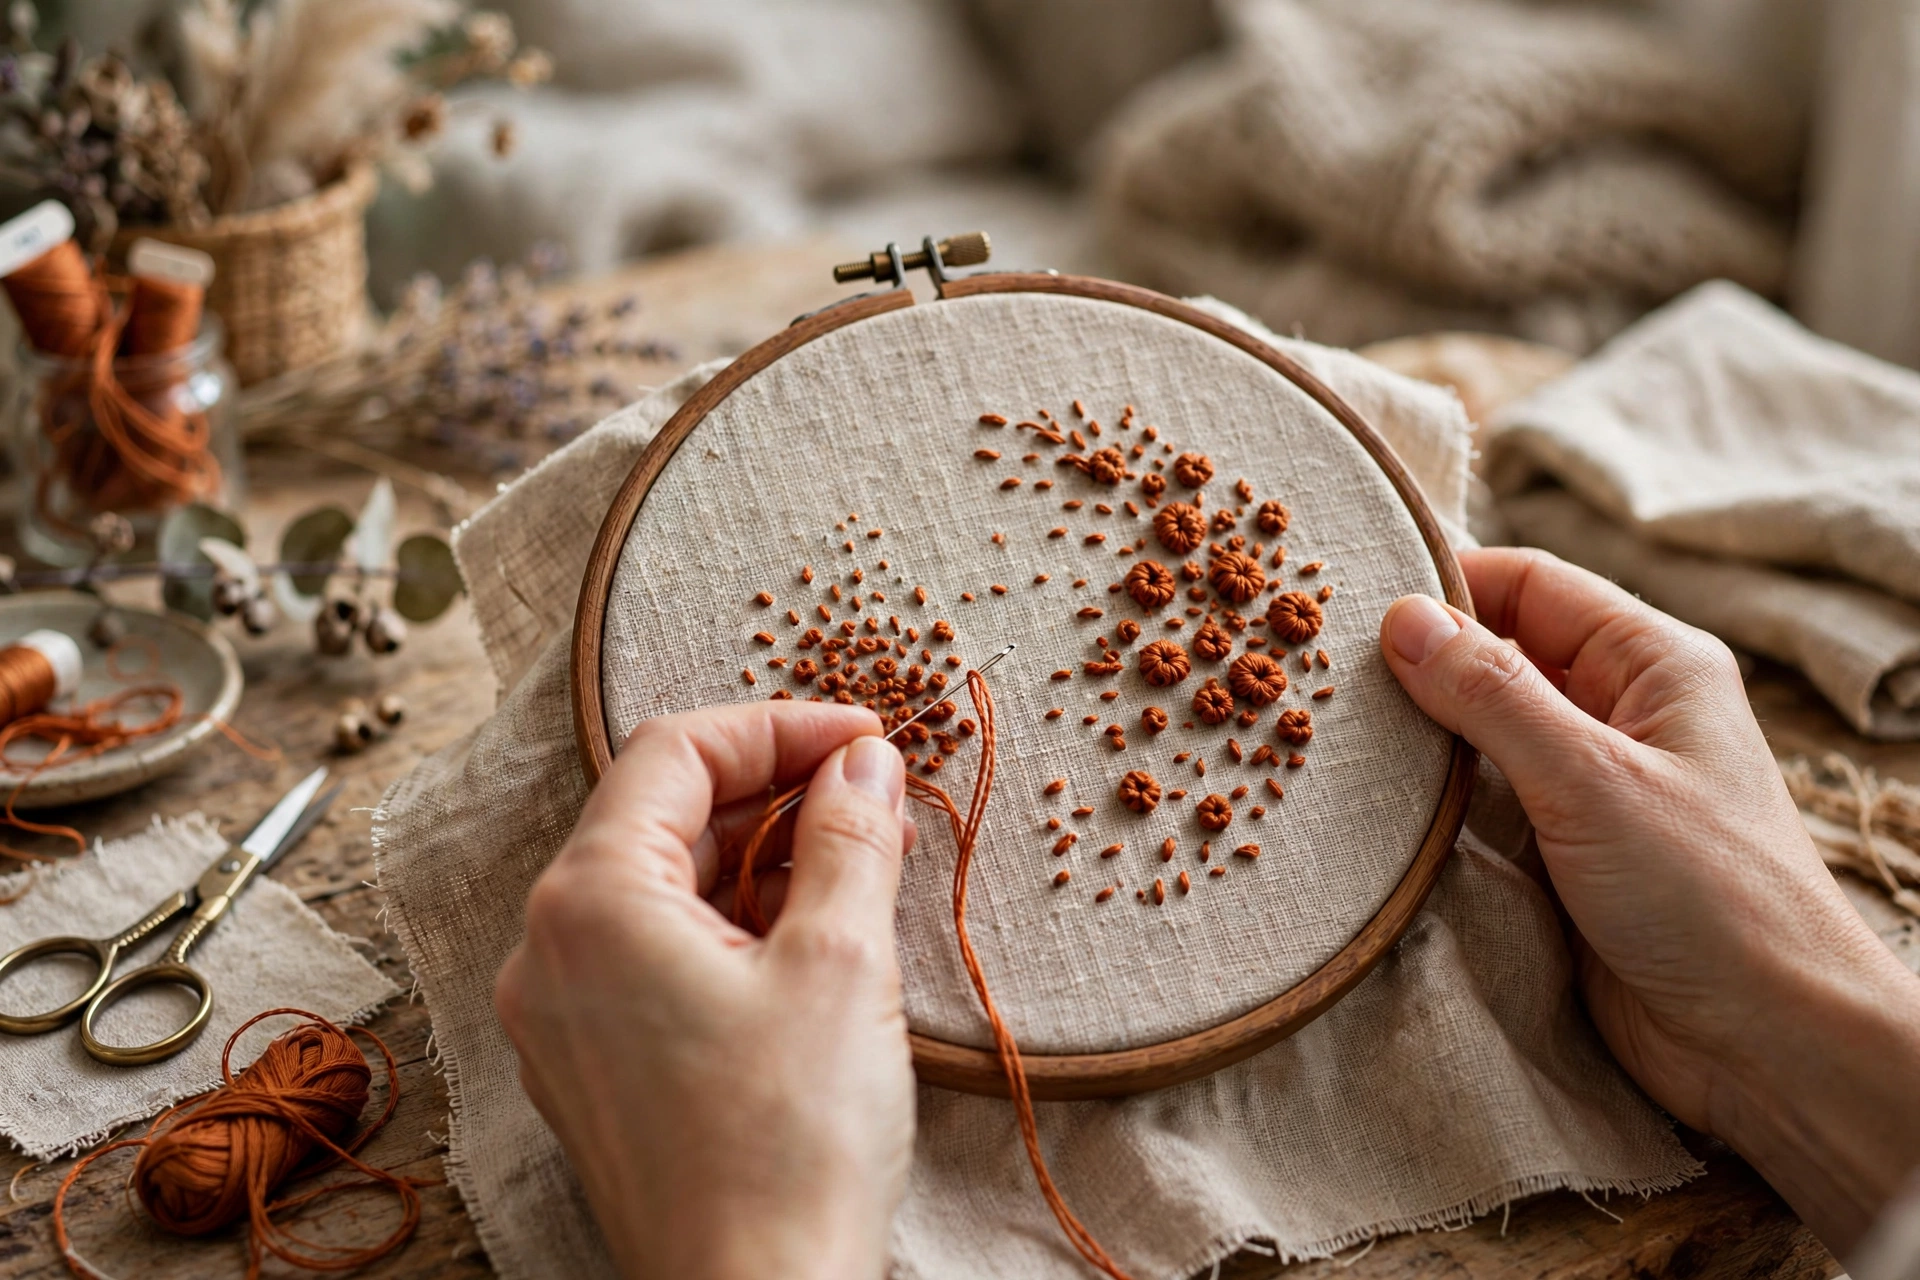
Have you ever run your fingers over a piece of embroidery and felt the stitches rise and dip under your touch? That lovely touchable quality is texture, and it is one of the easiest ways to turn flat, plain stitching into something rich and professional. Here is the secret I wish someone had told me in my first week: you do not need fancy new stitches to create texture. You mostly need to play with stitch length.
Stitch length is simply how long each individual stitch is on the front of your fabric. A tiny 2-millimeter seed stitch and a bold 12-millimeter satin stitch are the same basic movement, just different sizes, but what a difference that size makes. Short stitches sit tight and dense like velvet, long stitches flow and relax like corduroy. Mix them on purpose, and your hoop goes from flat to fascinating.
In this guide, I will show you exactly how to use different stitch lengths to build texture. You will get real measurements, thread strand counts, fabric suggestions, and a simple practice sampler you can finish in an afternoon. Grab your hoop and let us make some beautiful bumps and ridges together.
What Texture in Embroidery Really Means
When stitchers talk about texture, they mean the physical relief of the thread on the fabric, the way light catches some stitches while shadows fall between others. Texture is not about color. You could stitch an entire piece in one shade of dusty rose and still have tons of texture if your stitch lengths vary. Texture is about dimension.
Think of it this way. A closely mowed lawn feels smooth underfoot, while a meadow of long wildflowers feels varied and bouncy. Your embroidery works the same way. Tight, short stitches pack into a firm, smooth surface, while longer stitches float over the fabric as little bridges of thread that catch the light. Use short dense stitches for smooth petals and long loopy ones for fluffy grass, and that contrast tells a story your viewer reads without realizing it.
What You Will Need
- Embroidery hoop: 6 inch (15 cm) hoop, perfect for a practice sampler.
- Fabric: natural or cream linen, or a medium-weight quilting cotton. A slightly open weave makes texture easier to feel.
- Thread: stranded cotton floss (DMC or Anchor). Pick three colors: a warm rust or terracotta, a golden mustard, and a soft sage green. Matte floss shows texture best.
- Needles: size 7 or 8 embroidery (crewel) needles with a larger eye.
- Scissors: small sharp embroidery scissors.
- Water-soluble pen or pencil: for marking sampler lines.
- Ruler: a small ruler to check stitch lengths while you practice.
You do not need specialty textured threads for this lesson. Standard 6-strand floss, separated into the right number of strands, will show every bit of texture you need.
The Three Length Zones
Before we pick up the needle, let us build your intuition with the three length zones I teach every beginner.
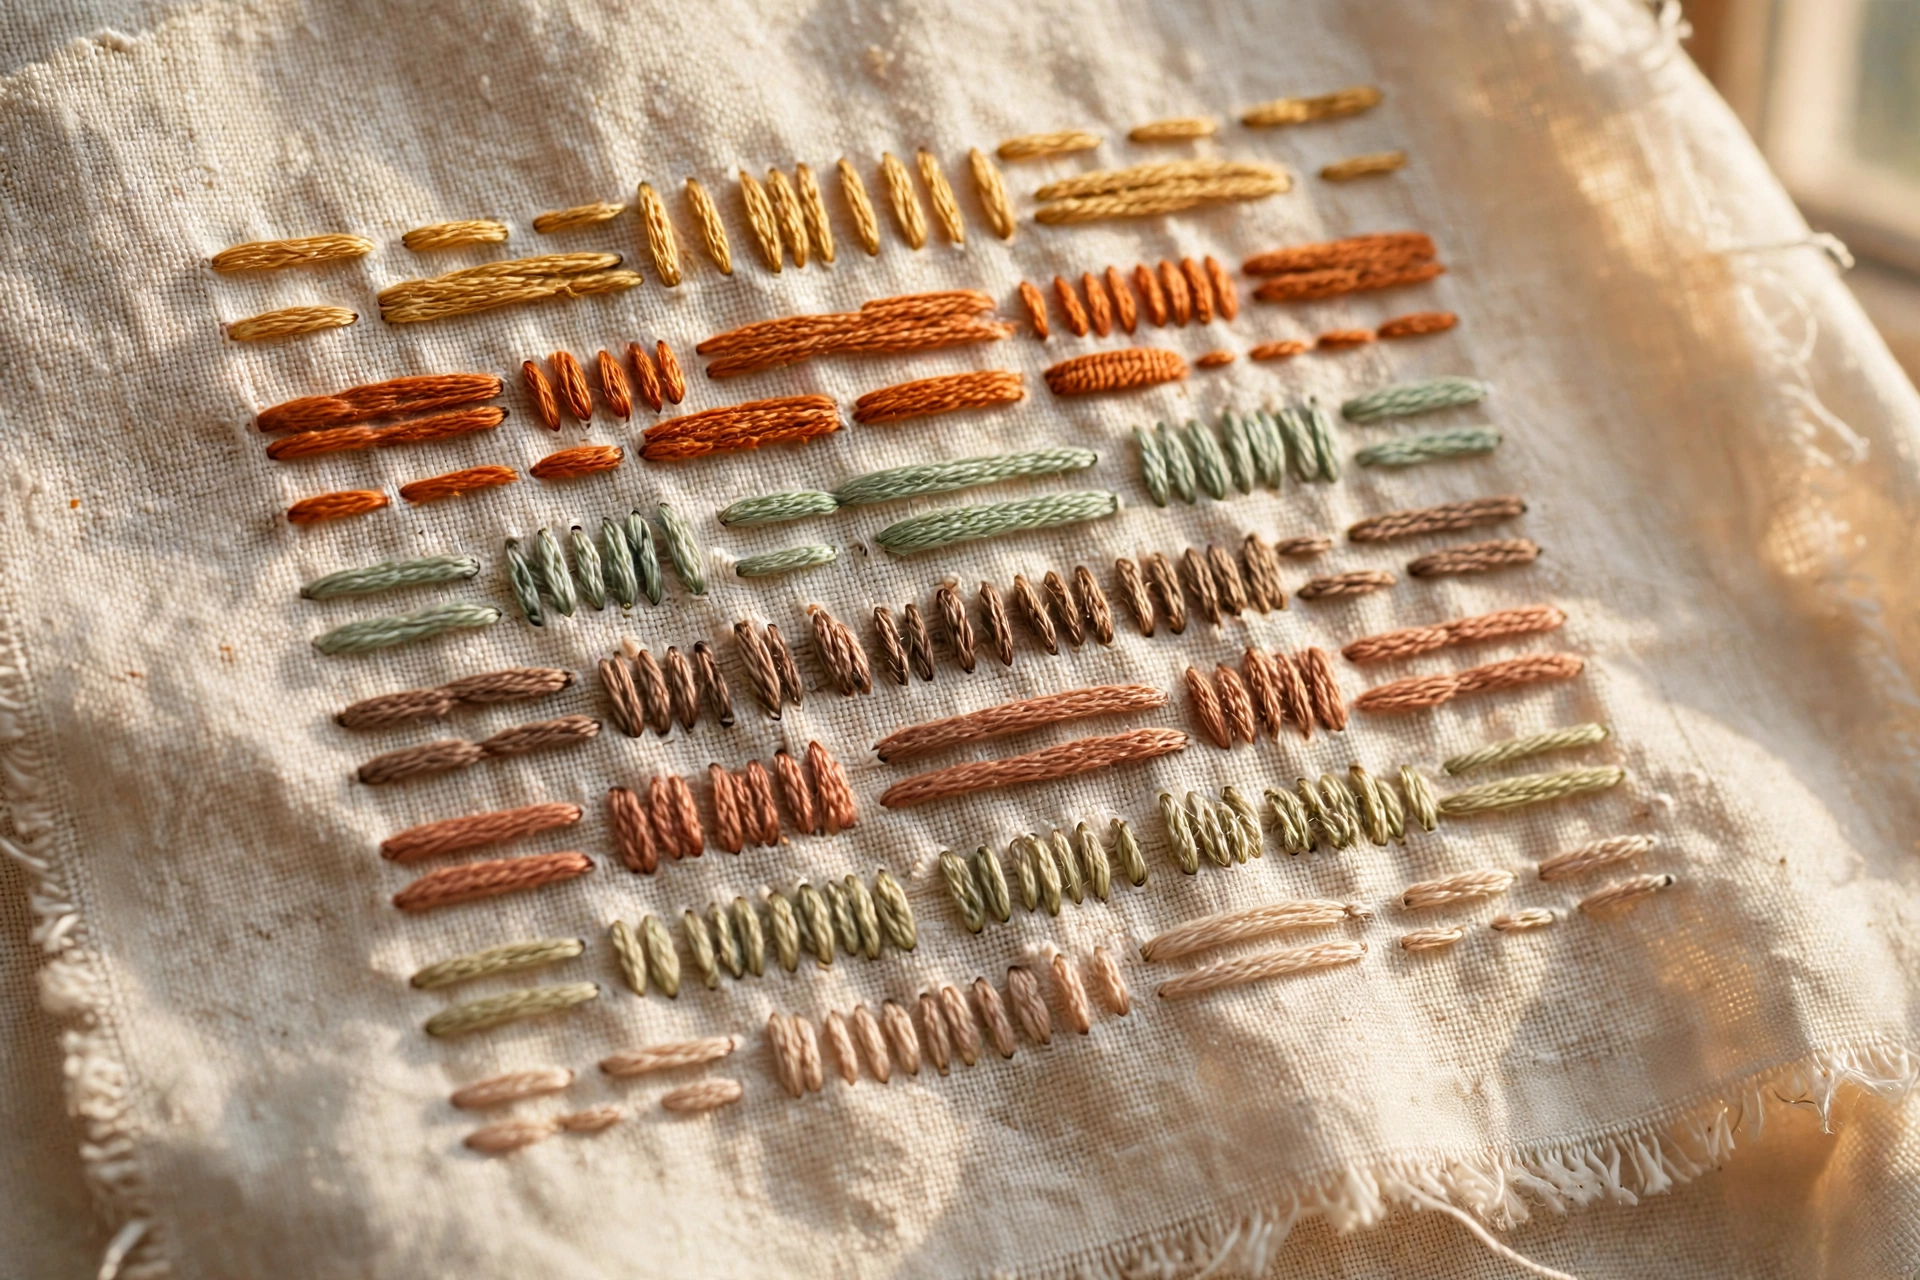
Short: 1 to 3 millimeters
Stitches in this range are your smooth, firm workhorses. Seed stitches, tiny straight stitches, and French knots all live here. Placed close together, short stitches barely touch the fabric between entry points, so the surface feels firm and almost solid, like a dense carpet. Use them for control, detail, and a smooth feel.
Medium: 4 to 7 millimeters
This is where most beginners naturally stitch, and it is wonderfully versatile. Stem, chain, and backstitches in this range lie relaxed with a gentle softness, like fine corduroy. Medium stitches are long enough to show off the twist of the thread but short enough to stay neat and secure.
Long: 8 to 15 millimeters
Long stitches are your drama makers. Long satin stitches and extended straight stitches create high points of thread that float over the fabric, catching light and shadow. A 12-millimeter straight stitch in 6 strands feels like a tiny cord under your finger. The trade-off is that long stitches snag more easily, so in finished pieces you anchor them with couching, which we will cover below.
Step-by-Step: A Texture Sampler You Can Finish Today
We are going to stitch a sampler with four bands, each using the same stitch, straight stitch, in a different length. By the end, you will be able to touch the piece and instantly feel the difference length makes. It is the best 45-minute lesson in embroidery texture stitches you will ever do.
Step 1: Mark your sampler
Place your fabric in the 6-inch hoop and tighten it until it sounds like a soft drum when tapped. Draw four horizontal lines across the fabric, each about 5 cm long and 2 cm apart. Label them lightly in the margin: Band 1 (2 mm), Band 2 (5 mm), Band 3 (9 mm), Band 4 (mixed).
Step 2: Stitch Band 1, the short stitches
Cut about 45 cm of floss, separate out 3 strands, and thread your needle. Knot the end, or leave a 7 cm tail on the back to catch under your first stitches. Along the first line, make 2-millimeter straight stitches, placed side by side like tiny soldiers, almost touching. Notice how firm and dense it already feels.
Step 3: Stitch Band 2 at medium length
Rethread with 3 strands of your second color. Make 5-millimeter straight stitches with the same close spacing. Run your finger over both bands. Band 1 feels like tight velvet, Band 2 feels softer and slightly springy. Same stitch, same spacing, same strand count. Only the length changed, and you can already feel the texture shift.
Step 4: Stitch Band 3, the long stitches
Rethread with 4 strands of your third color, because long stitches look fuller with more thread. Make 9-millimeter straight stitches along the third line. They will stand proud of the fabric and catch the light. Tug gently after each stitch so they lie relaxed, not pulled tight.
Step 5: Stitch Band 4, the mixed band
Here is where the magic happens. Stitch a repeating rhythm: three 2-millimeter stitches, then one 9-millimeter stitch, then three more short ones, all in 3 strands. This pattern creates a rippled, almost knitted texture. If you have room, try a second rhythm on the same line: alternating 3-millimeter and 7-millimeter stitches. That bumpy rhythm is deliberate texture, made with nothing but length changes.
Step 6: Finish and keep your sampler
Remove the hoop, rinse away pen marks, and press gently from the back with a warm iron. Write the strand counts and lengths on a little paper tag and pin it to the sampler. Keep it in your stitching journal. Every time you start a new project, glance at it and ask: which texture does this part of my design need?
Five Ways to Combine Lengths for Gorgeous Texture
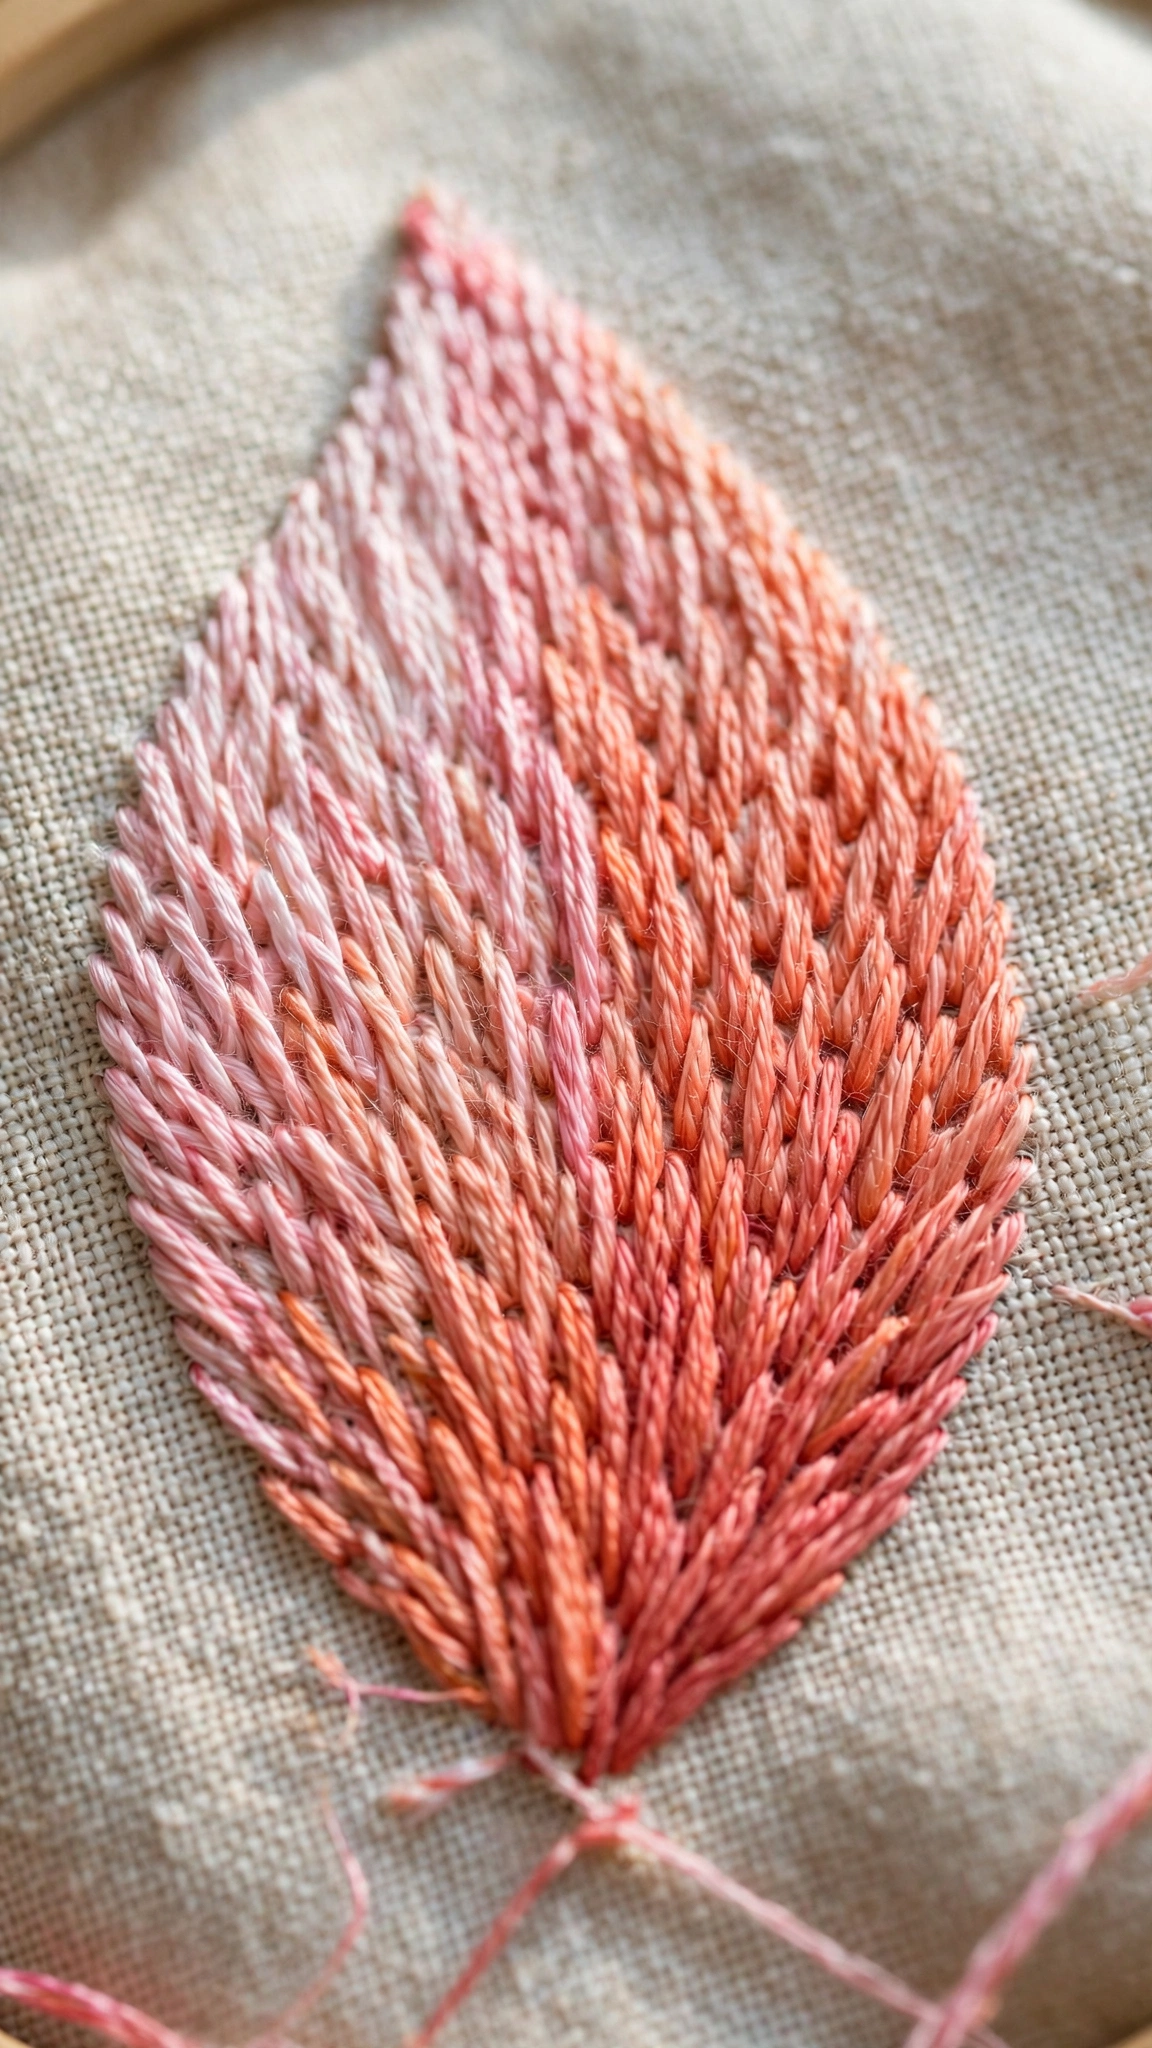
1. Long and short stitch for petal shading
Work rows of alternating long stitches (8 to 10 mm) and short stitches (3 to 4 mm) in 2 or 3 strands. The long stitches sink into the gaps of the row below, creating a smooth but visibly textured blend, perfect for petals, feathers, and fruit.
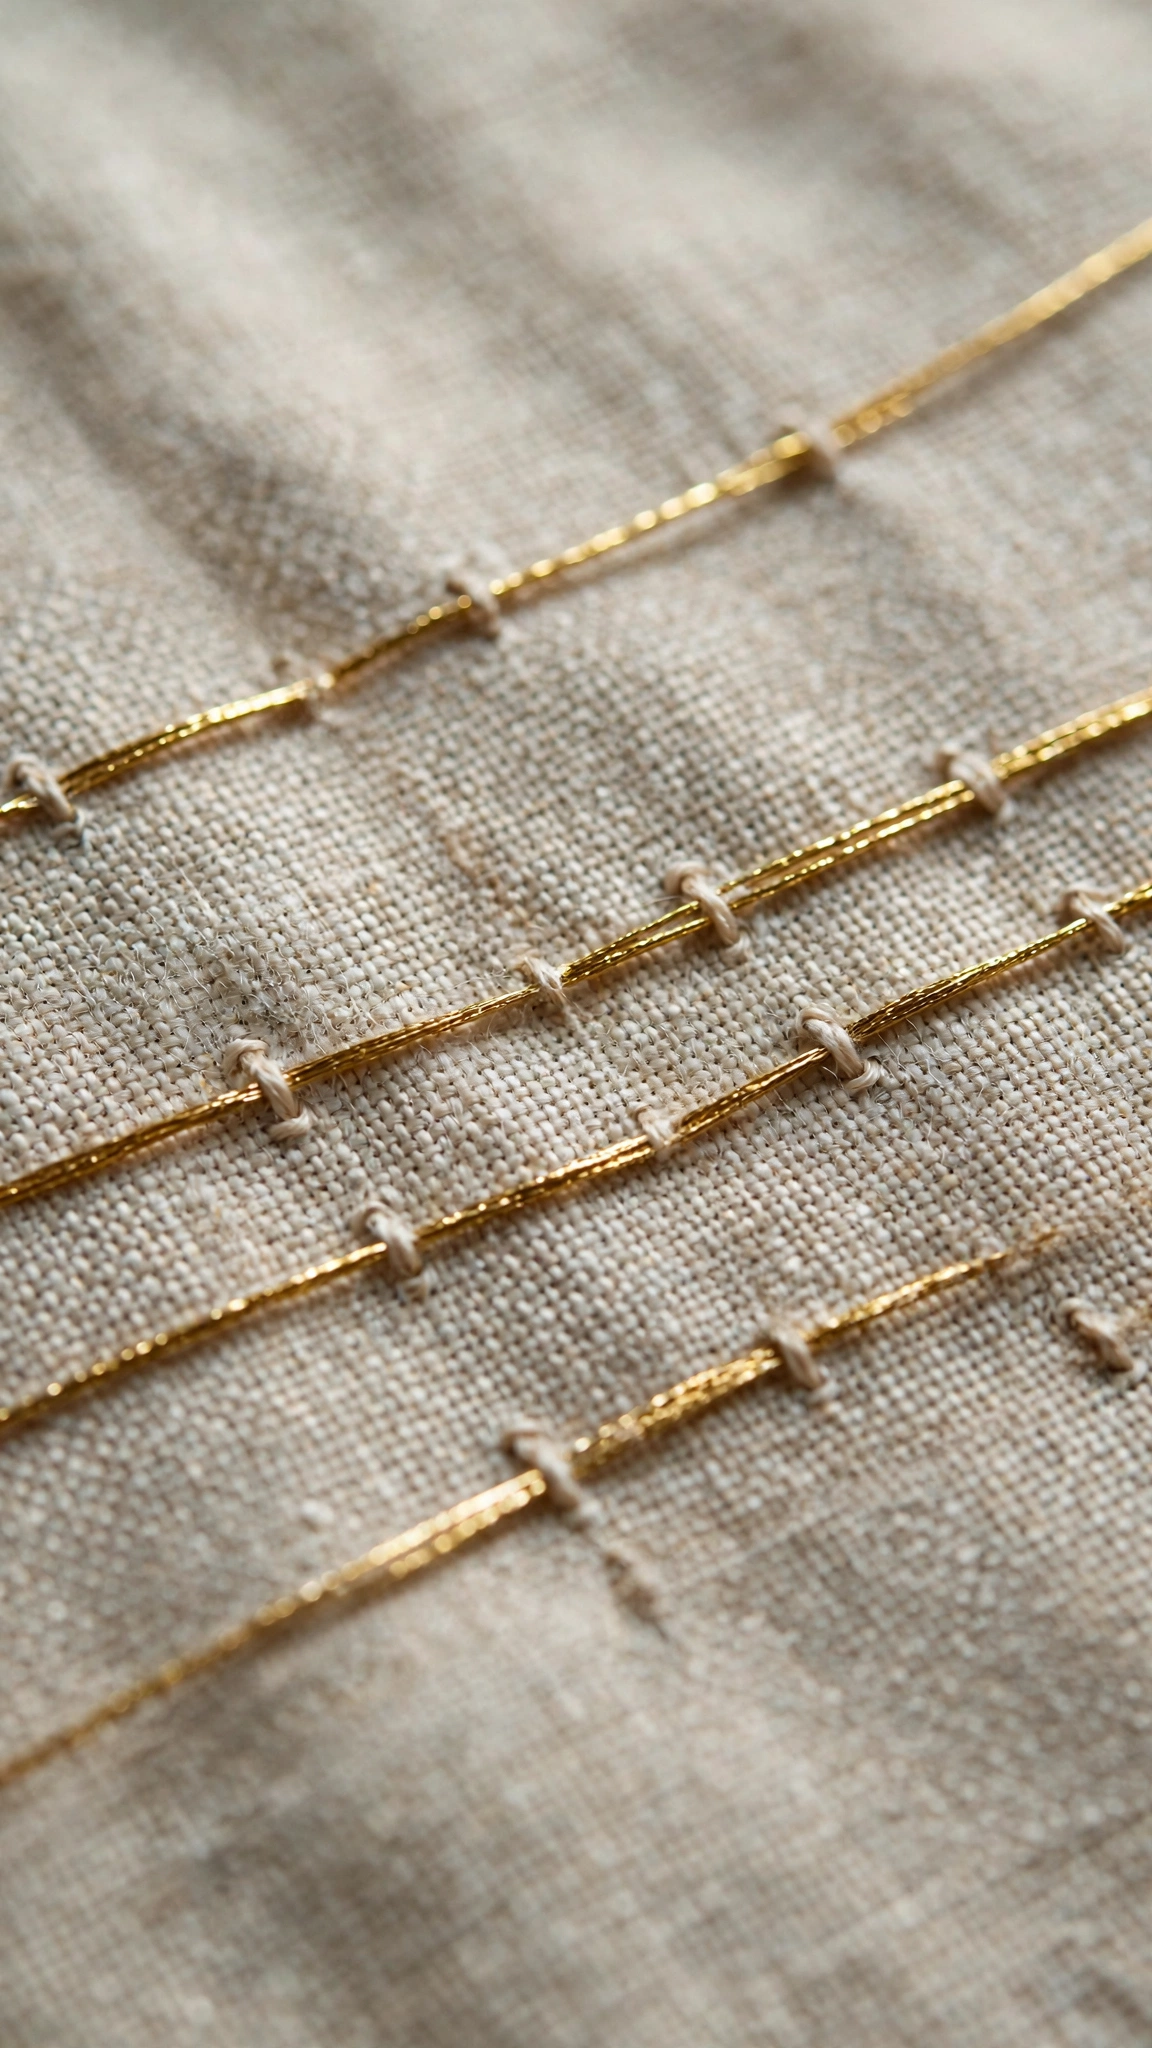
2. Couching for controlled long floats
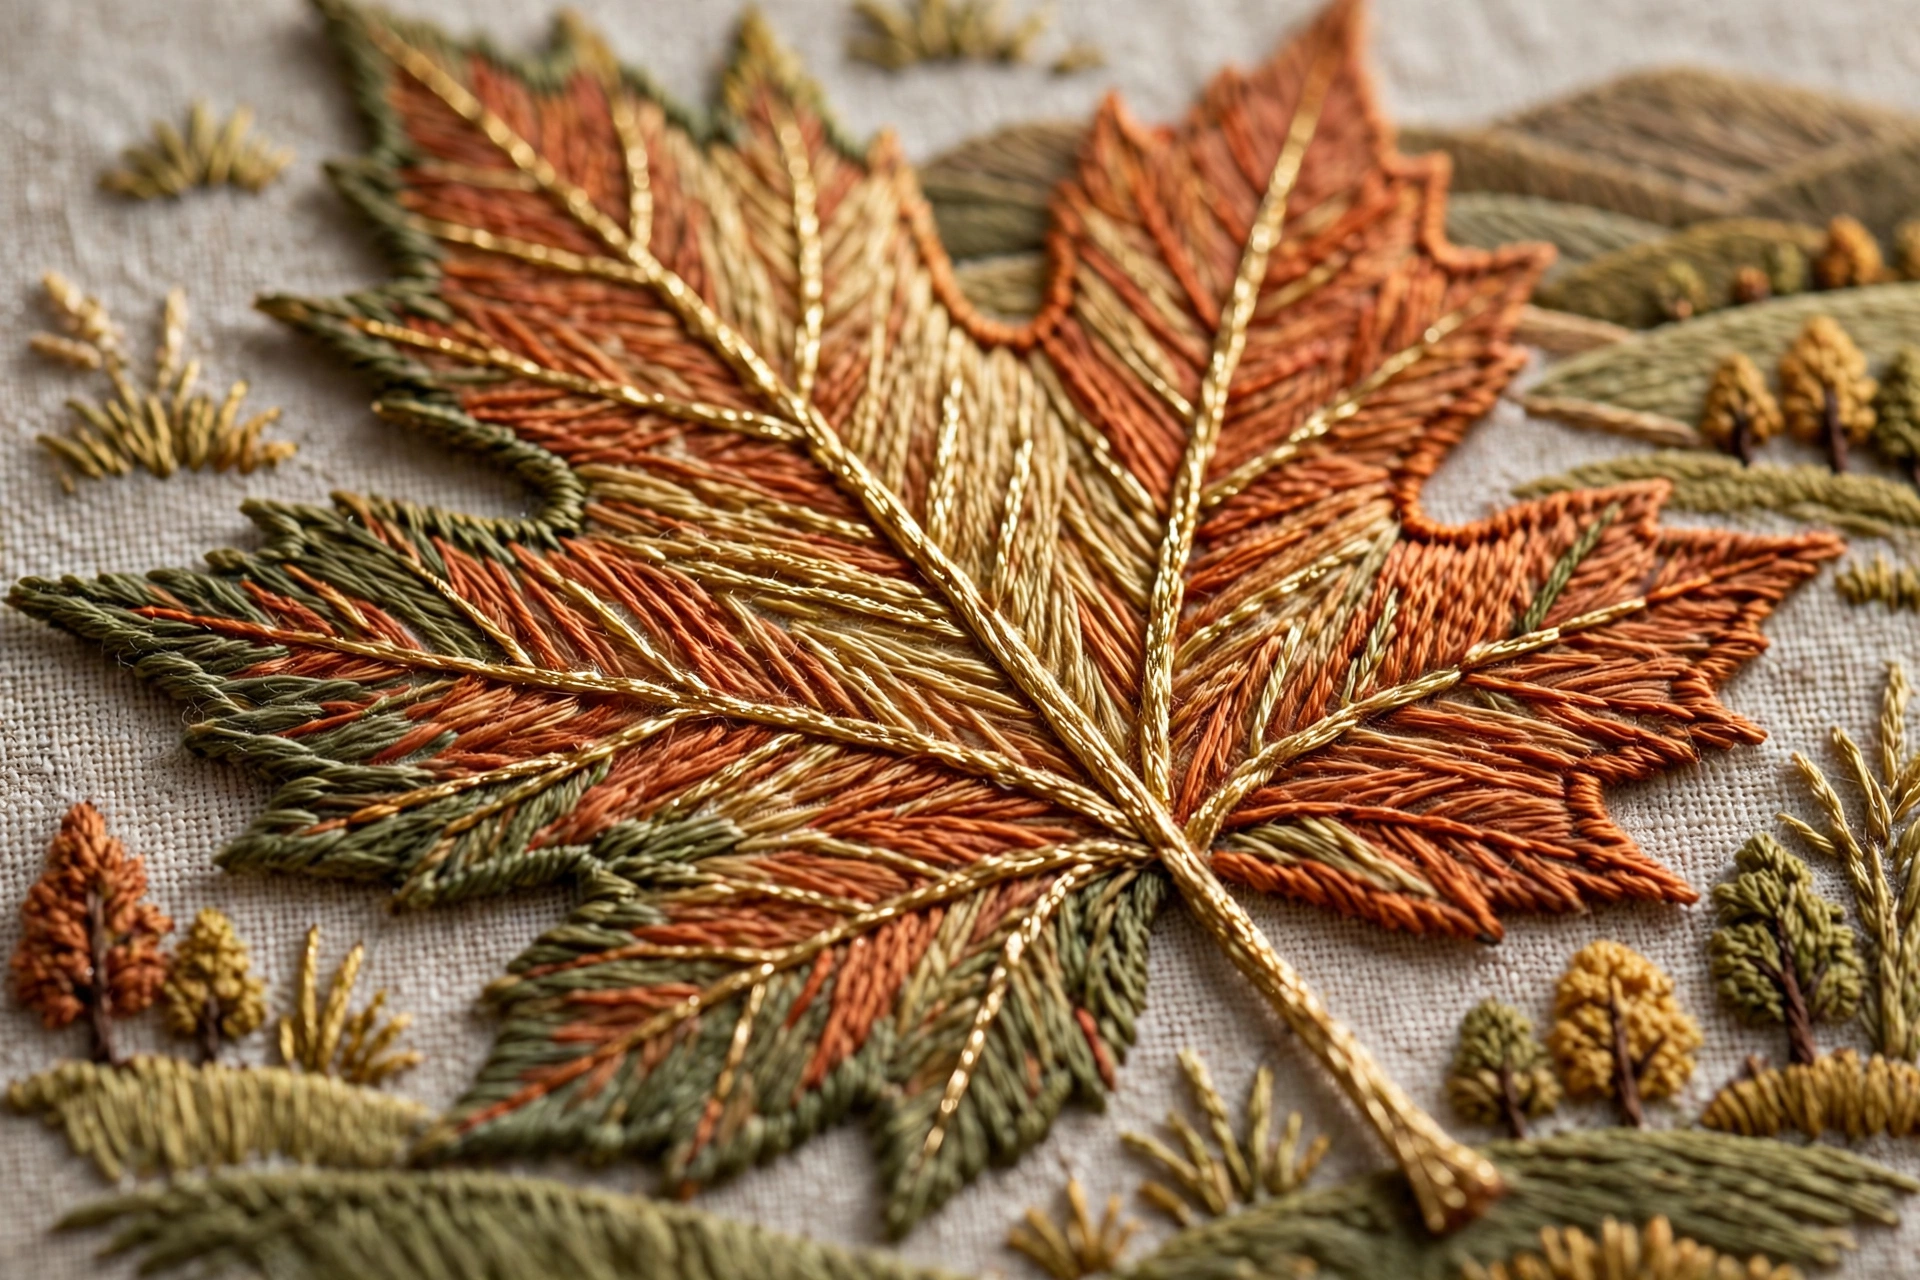
Lay very long threads, 15 millimeters or more, across the fabric and tack them down with tiny stitches. You get the bold raised texture of a long float without the snagging risk. Try couching gold thread over a leaf outline with tiny sage stitches.
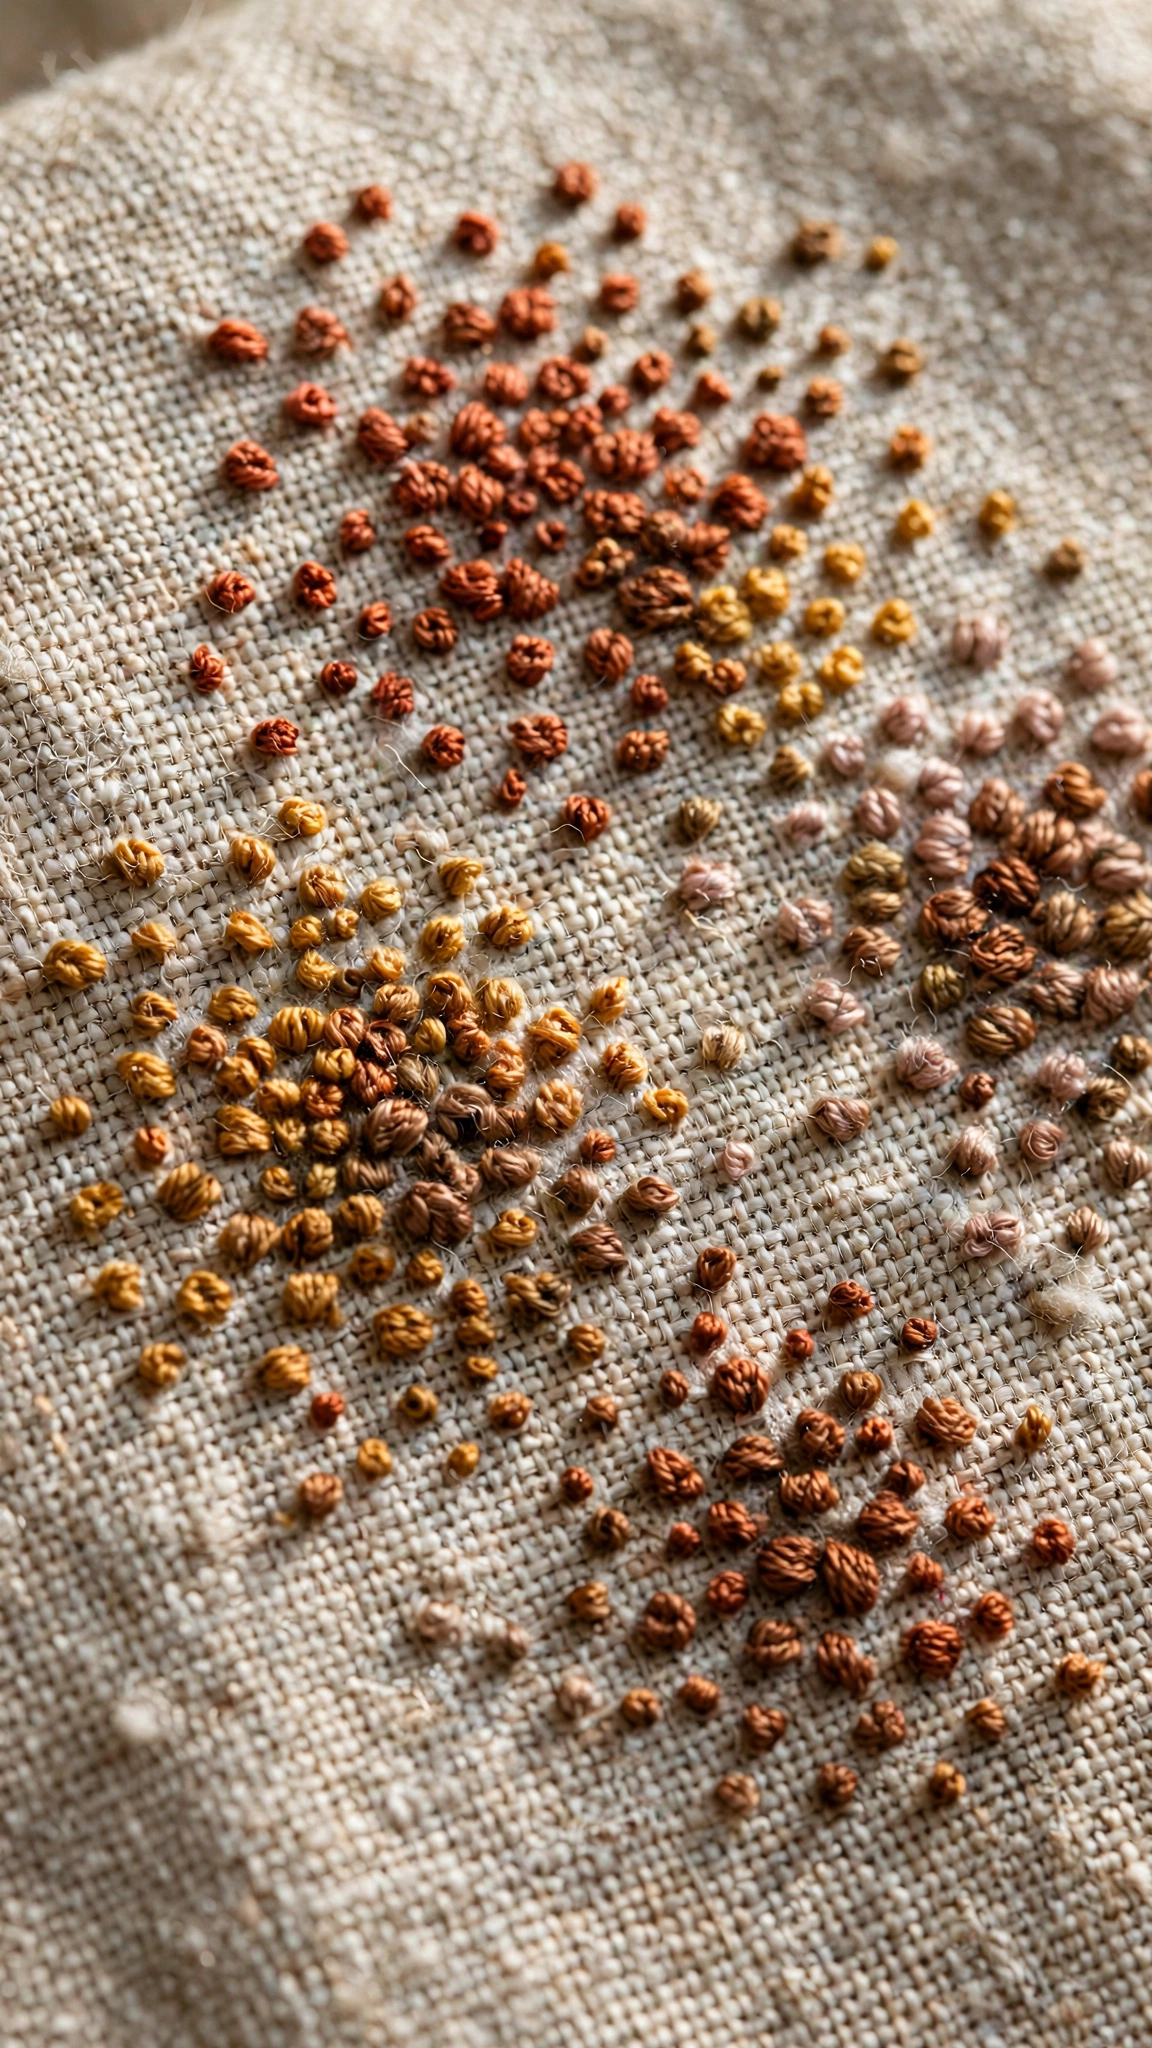
3. Mixed-size seed stitch clusters
Scatter seed stitches of 1, 2, and 3 millimeters randomly in an area with 2 strands. The irregular sizes read as natural texture, like a daisy center, the fuzz on a peach, or sandy ground. Randomness is the point, so let your hand wander.
4. Raised knots beside flat stitching
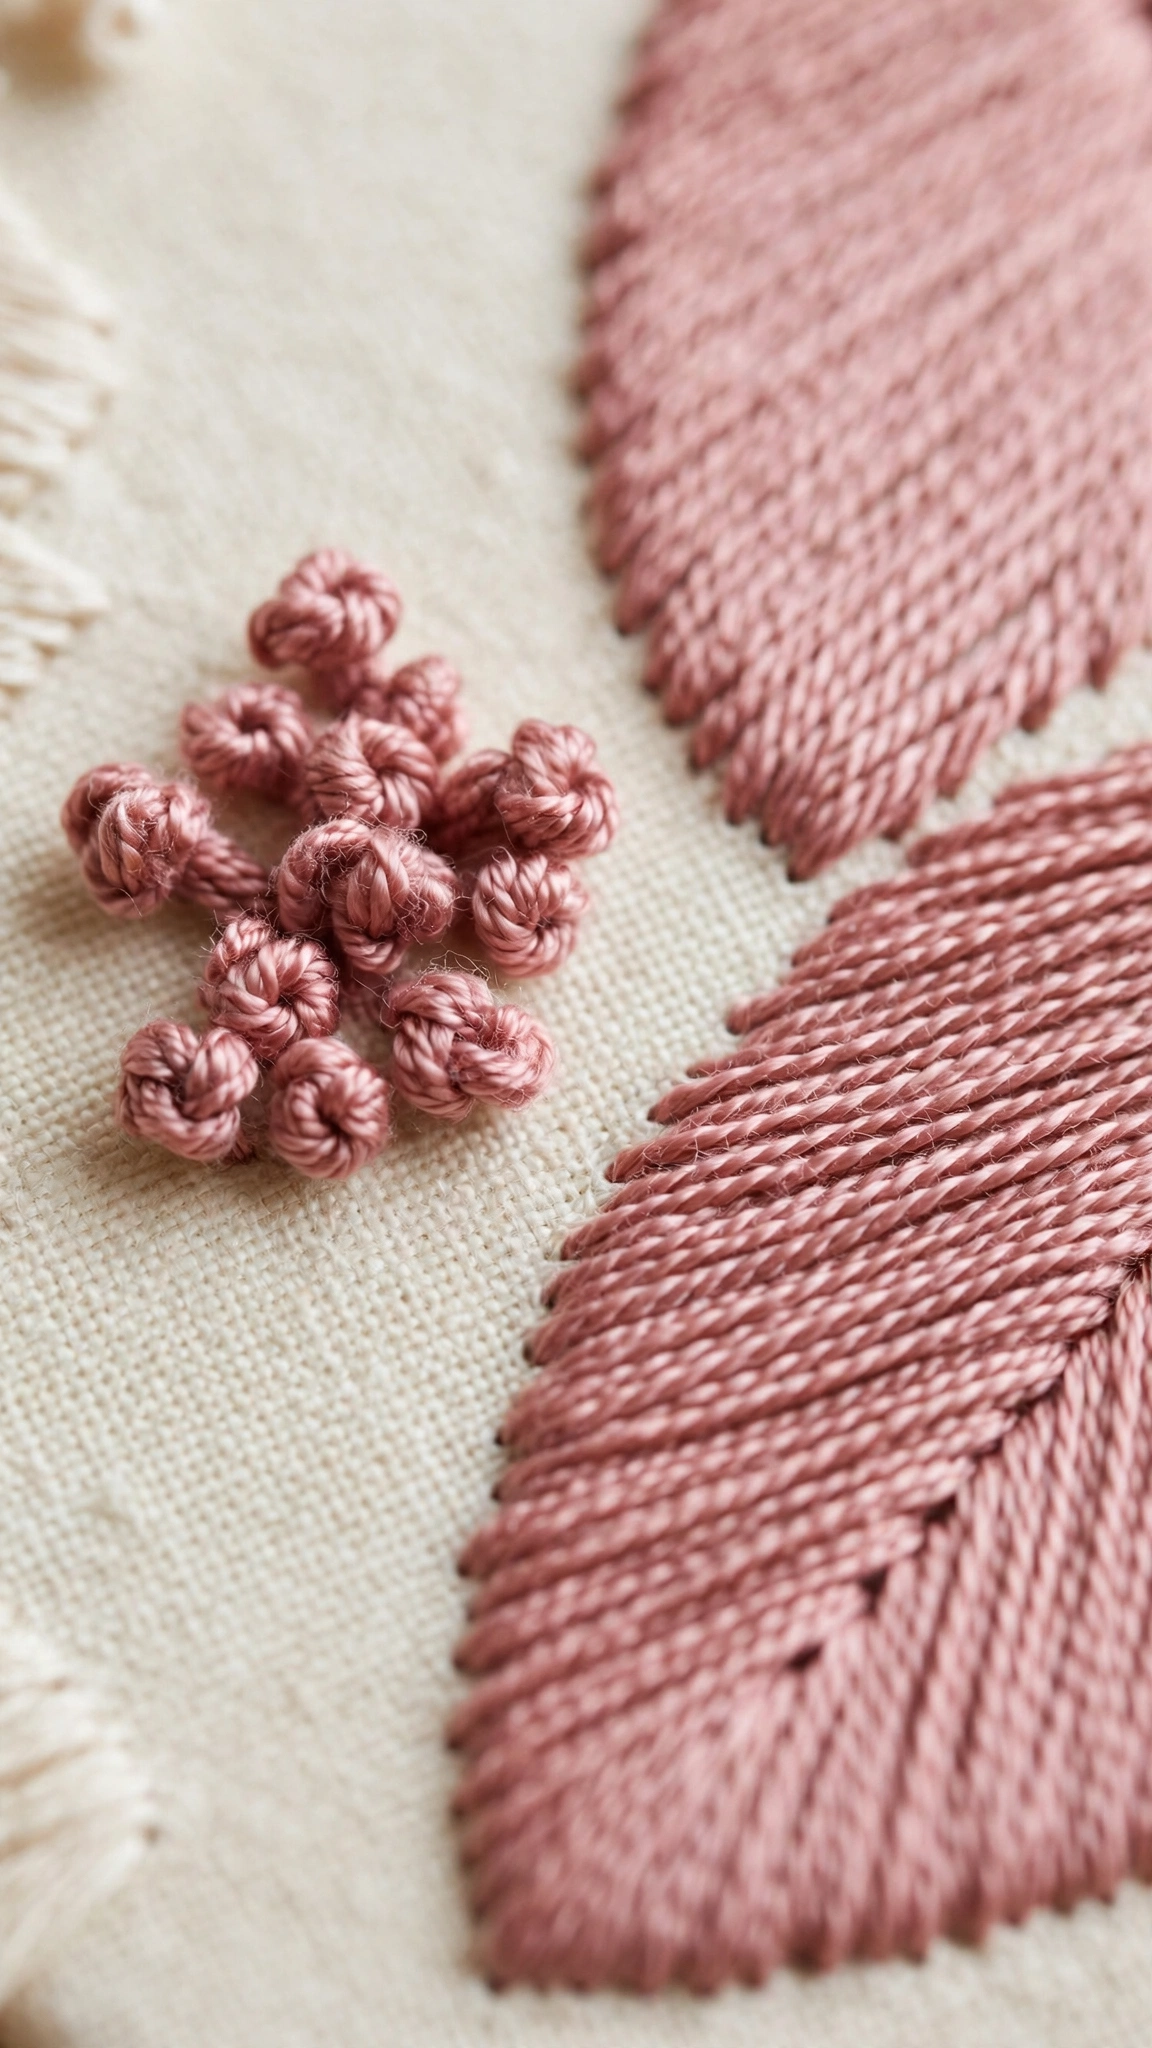
Place plump French knots (3 strands, wrapped twice) right next to flat satin stitch areas. The contrast between tiny raised dots and a smooth flat surface makes both textures look more dramatic, perfect for flower centers and tree bark.
5. Layered stitching, short over long
Stitch a base layer of long stitches in a light color, then stitch short stitches in a darker shade over the top in the same direction. The short stitches sink between the long ones and the layers peek through each other, creating a woven, tapestry-like texture.
Tips That Make It Easier
- Match strand count to length. Short stitches look best in 2 to 3 strands, long stitches need 4 to 6 to look full. A 12-millimeter stitch in 2 strands looks thin and sad; bump it to 5 strands and it becomes a gorgeous cord.
- Keep your fabric drum-tight. Texture depends on stitches sitting on the surface. If the fabric sags, long stitches sink in and disappear. Retighten your hoop every 20 minutes.
- Let long stitches relax. Pull each long stitch through, then gently ease the thread so it lies softly. Yanking it tight flattens the texture you are trying to build and puckers the fabric.
- Test on a scrap first. Before committing to a texture combination on your real piece, stitch a 3-centimeter test on a scrap of the same fabric. Colors and textures always look slightly different in the hoop than in your head.
Mistakes to Avoid
- Making every stitch the same length. The number one texture killer. If petals, leaves, and background all use 5-millimeter stitches, the piece reads as flat even with five colors. Vary lengths on purpose between design areas.
- Going too long without anchoring. Any stitch longer than about 12 millimeters on a handled piece should be couched or tacked down. Unanchored floats snag, wash badly, and slowly loosen.
- Using too few strands for long stitches. Long stitches in 1 or 2 strands look thin and show fabric through the gaps. Scale your strand count up as stitch length grows.
- Mixing textures with no plan. Random texture everywhere reads as chaos. Give each part of your design one job: smooth petals, bumpy centers, feathery leaves. Contrast between areas is what makes texture readable.
Frequently Asked Questions
What is the best stitch for creating texture in embroidery?
There is no single best stitch, because texture comes from varying length, not from a magic stitch name. Long and short stitch, seed stitch, French knots, and couching are the four most useful texture builders in a beginner toolkit. Master those with deliberate length changes and you can texture almost anything.
How many strands of floss should I use for textured stitches?
Use 2 to 3 strands for short stitches like seed stitch and French knots, 3 to 4 for medium stitches, and 4 to 6 for long stitches over 8 millimeters. More strands make each stitch rounder and more visible, which amplifies the texture.
Does fabric choice affect embroidery texture?
Yes. A slightly open weave like linen lets stitches sit on the surface and feel more dimensional. Very tight, smooth fabrics can swallow short stitches and flatten texture. For maximum texture, choose medium-weight linen or a quilting cotton with some body, and keep it drum-tight.
Can I create texture with a single color of thread?
Absolutely, and it is one of my favorite exercises. Stitch a small motif in one color, say warm terracotta, varying only the stitch lengths. Texture alone, with zero color change, can create depth and shading. It is proof that length is doing the real work.
You Already Know Enough to Start
Texture is not an advanced skill reserved for experienced stitchers. It is a beginner skill hiding in plain sight, because every stitch you have ever made already had a length, you just were not choosing it on purpose. Now you can. Stitch that little four-band sampler this week and run your fingers over it.
Then take the idea into your next project. Give your flower centers the bumpy seed-stitch treatment, let your leaves flow in longer relaxed stitches, and couch one bold line just for the joy of it. Your embroidery is about to feel as good as it looks. Happy stitching, and I will see you in the next lesson.