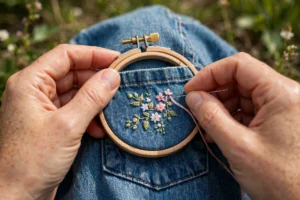
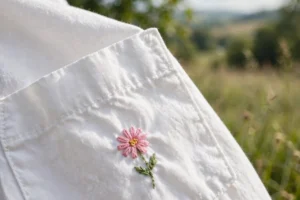
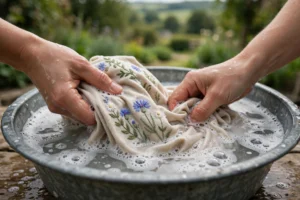
Ask any experienced stitcher what the secret to beautiful embroidery on clothes is, and most will give you the same one-word answer: stabilizer. It is the hidden layer that sits behind your stitches, giving fabric the support it needs to hold embroidery without puckering, stretching, or distorting. Yet stabilizer is also one of the most confusing supplies for beginners. Cut-away, tear-away, wash-away, fusible mesh: the names blur together, and choosing wrong can genuinely ruin a project.
This guide is your plain-English map of the stabilizer world. You will learn what each type does, which fabrics each one suits, how to apply it correctly, and when to layer more than one. By the end, you will be able to walk into a fabric shop or browse online and pick exactly the right stabilizer for any garment, with confidence.
What Stabilizer Actually Does
Embroidery thread is strong, and every stitch pulls on the fabric a little. On stable fabric like quilting cotton, the weave resists that pull. On clothing fabrics, many of which are knits or lightweight wovens, the fabric gives way. Stabilizer adds a support layer behind the stitching area: it keeps fabric from stretching while you work, keeps dense stitches from pulling the fabric in, and keeps finished embroidery smooth through washing and wearing.
Think of it like this: the stabilizer is the foundation, and your stitches are the house. A foundation makes everything solid. Once you start using stabilizer consistently, your embroidery looks neater and your fabric stays flat.
Cut-Away Stabilizer: The Heavy-Duty Workhorse
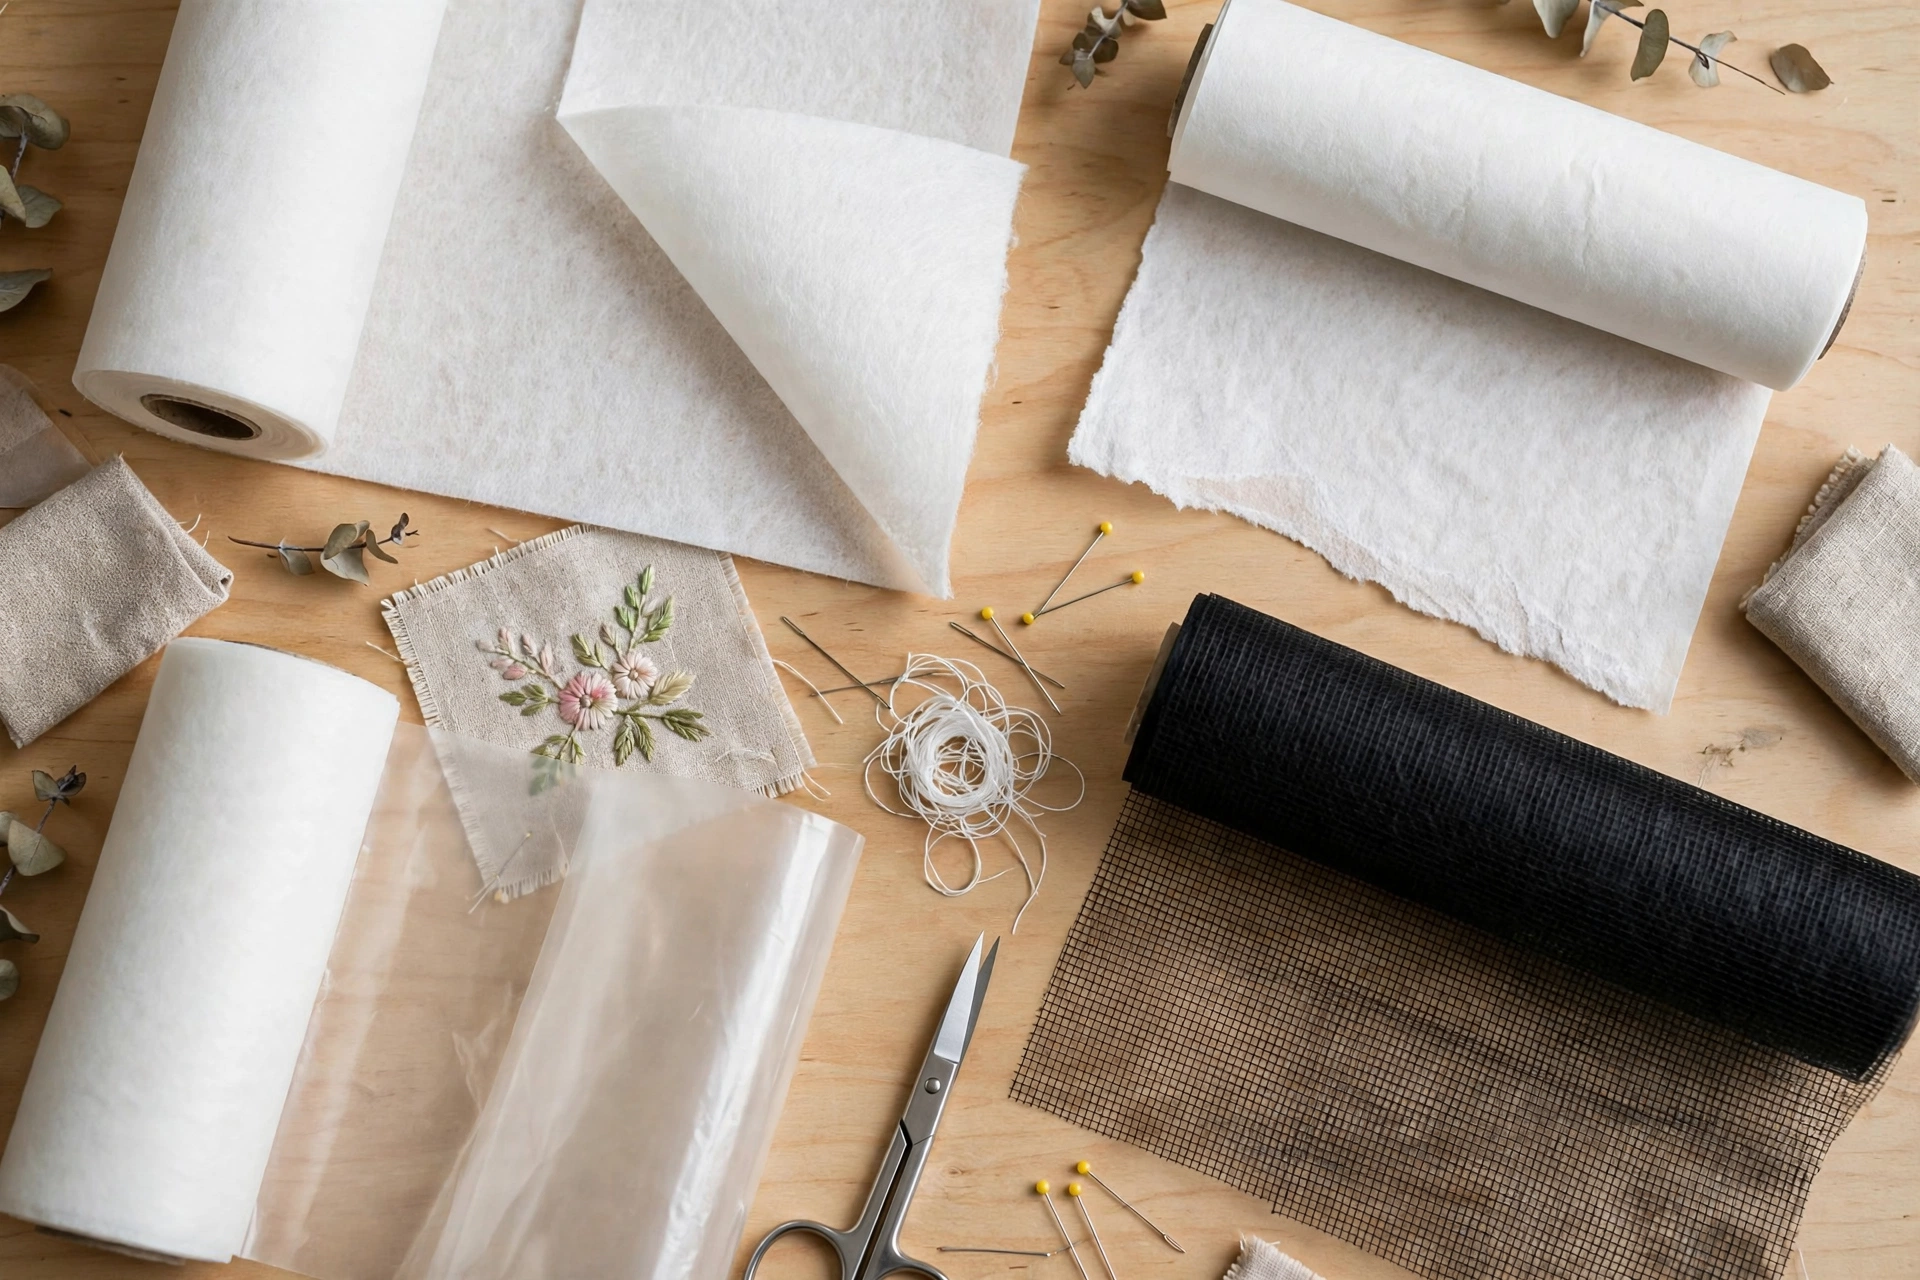
Cut-away stabilizer is a soft, non-woven fabric that stays in your garment permanently. After you finish stitching, you trim away the excess around the design, leaving the part behind the embroidery as lifelong support. It comes in weights from light to heavy, and it is the strongest, most reliable option in the stabilizer family.
Best for: knit fabrics like t-shirts and sweatshirts, stretchy fabrics, and any garment washed and worn often. If you are embroidering a dense design on a knit, cut-away is your safest choice.
How to use it: cut a piece larger than your hoop or design area, with at least an inch or two of margin all around. Hold it in place with a light mist of temporary fabric adhesive spray, or hoop it together with the garment. Stitch as normal, then trim the excess close to the stitching with small sharp scissors, leaving about a quarter inch beyond the outermost stitches. For extra comfort against the skin, cover the trimmed edge with a small piece of soft fusible tricot.
The trade-off: cut-away adds a permanent layer to the garment, which can feel a little bulky on very lightweight fabrics, and you must cut it carefully to avoid nicking the garment. But for durability and pucker prevention on knits, nothing beats it.
Tear-Away Stabilizer: The Woven-Fabric Specialist
Tear-away stabilizer is a paper-like sheet that you tear away from the back of the embroidery when you are done. It perforates along your stitching lines and pulls off in pieces, leaving the back of the design clean and nearly stabilizer-free. It comes in light, medium, and heavy weights.
Best for: stable woven fabrics that do not stretch, such as denim jackets, canvas tote bags, linen shirts, and cotton button-downs. On these fabrics the stabilizer mainly needs to prevent the fabric from shifting and to keep dense stitches crisp, and tear-away handles that job beautifully.
How to use it: hoop the tear-away together with the garment, or adhere it with temporary spray adhesive if hooping both layers is awkward. Stitch normally, then carefully tear the stabilizer away, supporting the stitches with your other hand so you do not distort them. For small interior bits that will not tear cleanly, use tweezers.
Important warning: do not use tear-away on stretchy knits like t-shirts. The stabilizer can shift during stitching, and because it tears away, the knit is left with no lasting support. The result is often worse puckering than using nothing at all. Tear-away is a woven-fabric tool, full stop.
Wash-Away Stabilizer: The Vanishing Helper
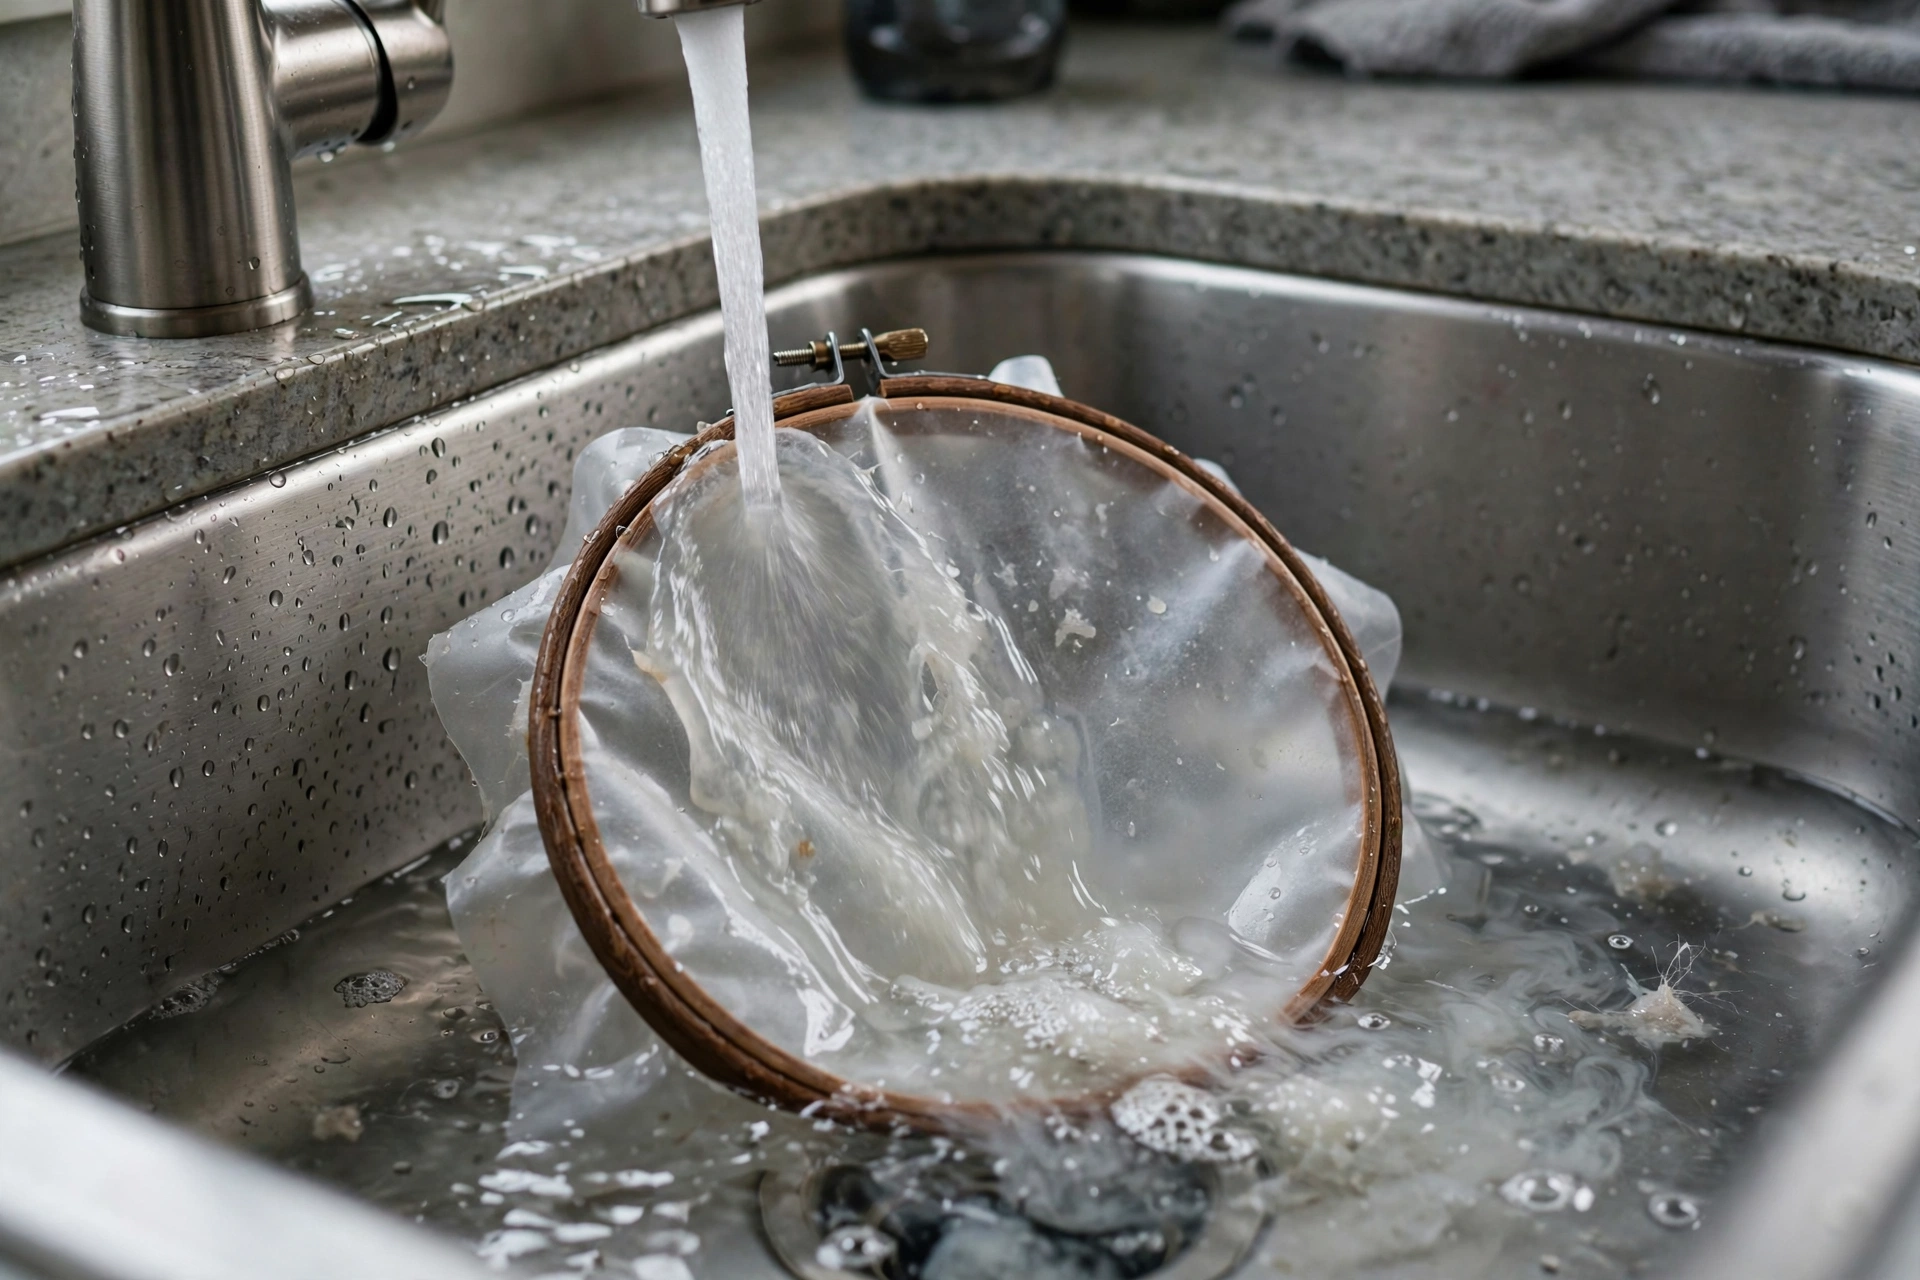
Wash-away stabilizer dissolves completely in water, leaving nothing behind. It comes as a clear film, a fibrous sheet, or even a printable version you can run through an inkjet printer to print your design directly onto it. There is also a sticky-backed version that adheres to the fabric like a sticker.
Best for: situations where you want zero permanent bulk. It is wonderful on top of textured fabrics like towels or velvet, where it keeps stitches from sinking in. The printable and sticky versions are brilliant as design transfer tools: print or trace your design onto the stabilizer, stick it to the garment, stitch right through it, then rinse it away.
How to use it: place it where you need it, stitch through it, then rinse the garment in cool or lukewarm water until the stabilizer dissolves. Always check the product instructions, because some wash-away films need a thorough rinse to disappear completely, and residue can stiffen the fabric if under-rinsed. Test your thread for colorfastness before soaking, since the stabilizer requires a full wet rinse.
The trade-off: because it vanishes, wash-away gives no long-term support. Do not rely on it as the only stabilizer for a dense design on a stretchy knit.
Fusible (Iron-On) Stabilizer: The Beginner’s Best Friend
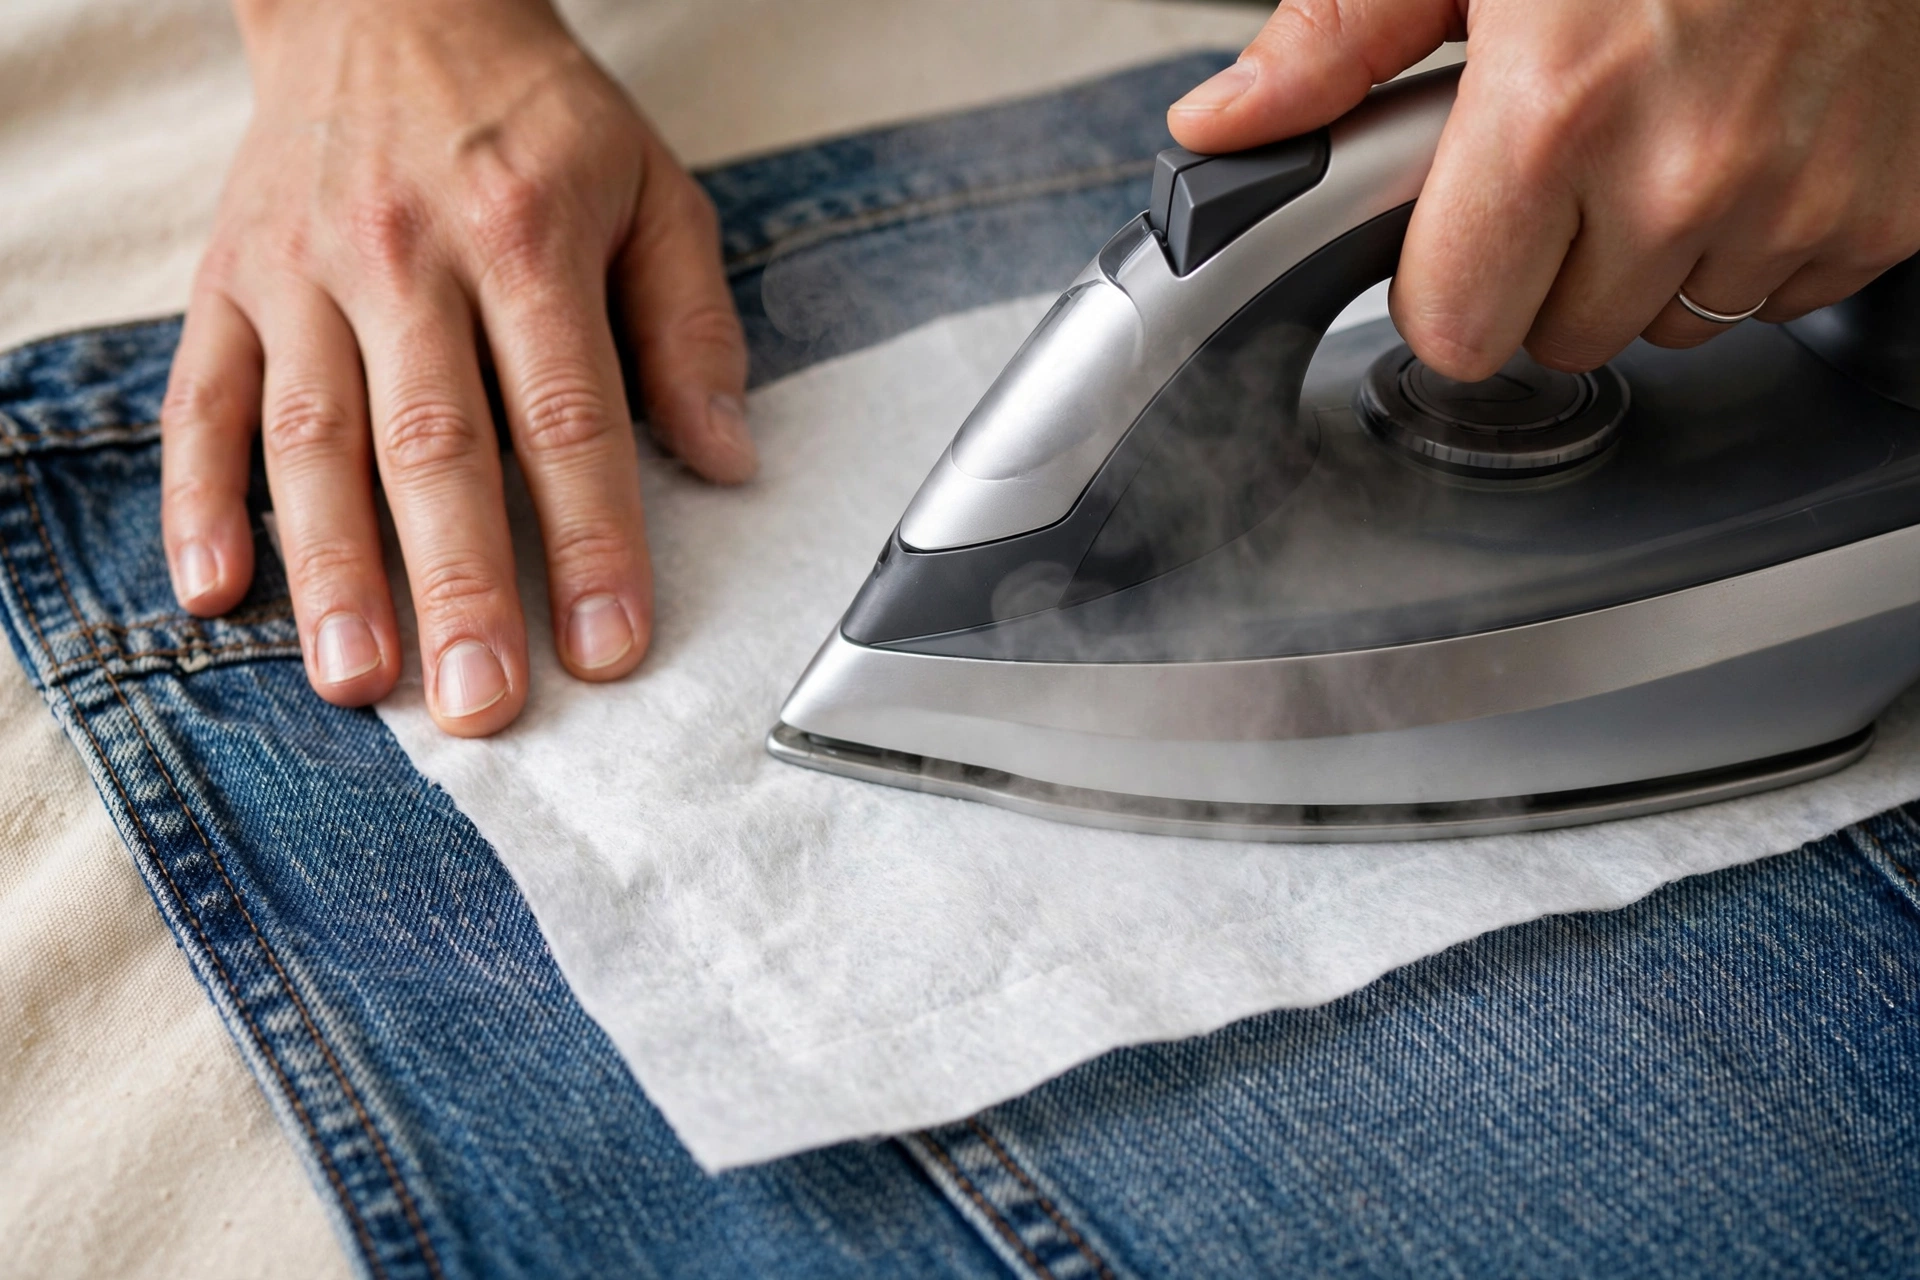
Fusible stabilizer, also sold as fusible interfacing, has a heat-activated adhesive on one side. You iron it directly onto the wrong side of the fabric, where it bonds permanently and becomes one with the garment. It comes in woven and non-woven versions and in weights from featherweight to heavy.
Best for: t-shirts and other lightweight knits, where its ability to bond directly to the fabric prevents any shifting during stitching. It is the simplest option for beginners because there is nothing to hoop separately and nothing to trim awkwardly afterward. It also works nicely inside shirt plackets, collars, and pocket areas.
How to use it: cut a piece larger than your design area, place it adhesive-side down on the wrong side of the garment, and press with an iron according to the package directions, usually with a press cloth to protect the fabric. Let it cool before moving the garment so the bond sets, then hoop and stitch as normal.
Choosing weight matters: featherweight or lightweight fusible is right for most t-shirts and light knits, medium for sweatshirts and heavier knits. Using a heavyweight fusible on a delicate tee will make the area feel like cardboard, so match the stabilizer weight to the fabric weight.
Fusible Mesh and Knit Tricot: The Soft Options
Worth a special mention: fusible knit tricot and no-show mesh are soft, stretchy stabilizers designed specifically for knits. No-show mesh is a whisper-thin, slightly stretchy mesh that fuses to the fabric and becomes nearly invisible. Fusible knit tricot is a soft knit interfacing that moves with the fabric.
Best for: lightweight and delicate knits where standard interfacing would feel too stiff, and for areas against the skin where comfort matters. Many stitchers use no-show mesh as their default for t-shirts because it stabilizes without changing the hand of the fabric. If you embroider baby clothes or fine jersey tops, these are the stabilizers to reach for.
Which Stabilizer for Which Fabric: A Quick Guide
- T-shirts and jersey knits: lightweight fusible interfacing or no-show mesh; cut-away for dense designs.
- Sweatshirts and hoodies: medium-weight fusible or medium cut-away.
- Stretchy fabrics (leggings, performance wear): cut-away or fusible knit tricot; avoid tear-away.
- Denim jackets and jeans: medium tear-away, or light cut-away for very dense designs.
- Linen and cotton shirts (woven): light to medium tear-away.
- Sheer or delicate fabrics: wash-away or no-show mesh.
- Textured fabrics (towels, velvet): wash-away film on top as a topping, plus an appropriate backing stabilizer.
How to Apply Stabilizer Correctly
Placement matters as much as type. The stabilizer must cover the entire design area plus a margin of at least one to two inches on every side. Stabilizer that is smaller than the design leaves the outer stitches unsupported, and puckering will creep in at the edges. When in doubt, cut it bigger. You can always trim later.
For fusible types, press, do not slide: sliding the iron can stretch knit fabric and shift the stabilizer. Lift and press in sections, and let the piece cool completely before hooping, because the adhesive bond sets as it cools.
For hooped-together stabilizers (cut-away and tear-away), the key is smooth, wrinkle-free layering. Lay the stabilizer flat, lay the garment smoothly on top with no wrinkles, and hoop both without stretching the garment layer. Temporary adhesive spray is a helpful third hand here: a light mist on the stabilizer lets you smooth the garment onto it and holds everything aligned while you hoop. Use the spray in a ventilated area and keep the mist light; a heavy coat can gum up your needle.
Layering Stabilizers for Difficult Projects
Sometimes one layer is not enough. A very dense design on a thin, drapey knit might need two layers: for example, a fusible no-show mesh bonded to the fabric plus a layer of light cut-away hooped behind it. The fusible layer stabilizes the fabric itself, while the cut-away layer supports the weight of the dense stitching. This combination is a professional trick for tricky projects.
Another useful pairing is wash-away on top plus cut-away or fusible underneath. The top layer keeps stitches sitting pretty on textured or dark fabrics (and can carry your printed design), while the bottom layer does the structural work. Just remember that every layer adds some stiffness, so layer only when the project genuinely needs it.
Common Mistakes to Avoid
- Using tear-away on stretchy knits. It shifts and leaves no lasting support. This is the classic beginner error.
- Cutting the stabilizer too small. It must extend well beyond the design on all sides.
- Using a stabilizer heavier than the fabric. Heavy stabilizer on a delicate tee feels like cardboard and can actually cause its own distortion.
- Sliding the iron instead of pressing. Sliding stretches knits and wrinkles the bond.
- Skipping the test scrap. Always test your stabilizer choice on a similar scrap before committing to the garment.
- Leaving wash-away residue. Rinse thoroughly according to the product directions, or the area will feel stiff.
- Forgetting comfort. On garments worn against skin, consider how the stabilizer will feel. Soft options like tricot or no-show mesh, or a soft backing patch over trimmed cut-away, make a big difference.
Building Your Stabilizer Stash
You do not need to buy every type at once. A sensible starter stash covers nearly all clothing projects: a lightweight fusible interfacing for t-shirts and light knits, a medium cut-away for dense designs and stretchy fabrics, a medium tear-away for denim and stable wovens, and a sheet of wash-away film for design transfer and textured fabrics. Buy small quantities first, test each on scraps, and restock the ones you reach for most.
Store stabilizers flat or rolled, away from heat and humidity. Fusible types can lose their adhesive power if stored somewhere hot, and wash-away film can get gummy in damp conditions.
The Right Foundation Changes Everything
Stabilizer is not the glamorous part of embroidery. Nobody frames the back of a shirt. But it is the difference between embroidery that looks handmade in the best way and embroidery that puckers, sags, or falls apart in the wash. Once choosing the right stabilizer becomes second nature, a whole world of garments opens up to you, and your finished pieces will look smoother, last longer, and make you prouder.
Start with one garment and one stabilizer from the guide above. Test it on a scrap, stitch your design, wash it, and see the difference for yourself. That smooth, flat, professional result is not luck. It is just the right foundation, and now you know how to choose it.