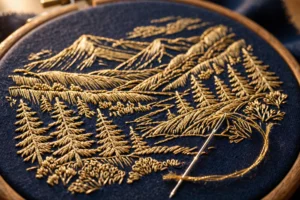
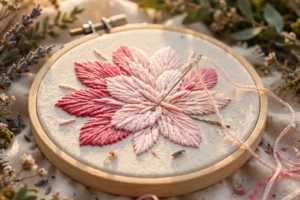
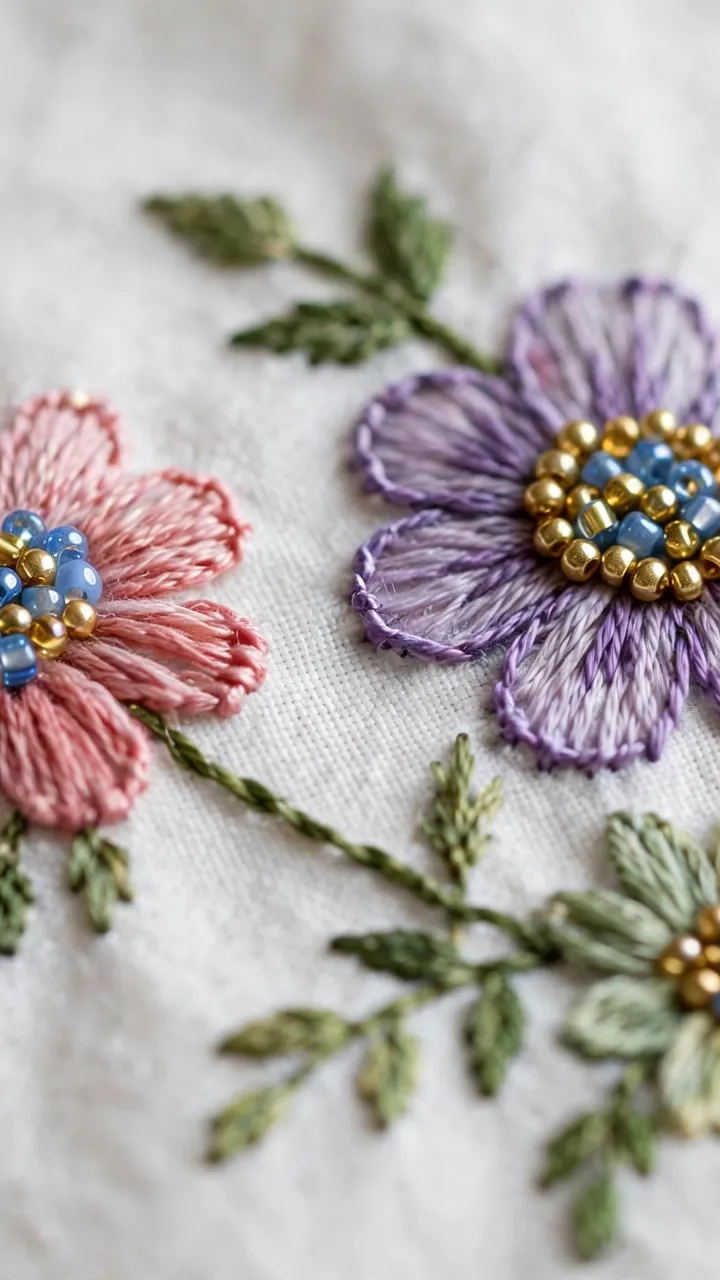
There is a moment in every embroiderer’s life when thread alone stops feeling like enough. You finish a flower and it is perfectly fine, neat petals, good colors, and yet your eye lands on it with a small shrug. I know that shrug well. It happened on a hoop I stitched for my sister’s birthday: a garden scene, months of work, sitting flat like a drawing instead of singing like a garden. Then I sewed twenty tiny seed beads into the flower centers on a whim, and the piece went from flat to luminous in one evening. I have barely stitched a flower center without beads since.
Beading looks intimidating, but sewing a bead onto fabric is one of the easiest skills in embroidery. There is exactly one core move, it takes about sixty seconds to learn, and every fancier technique is just that move repeated with a plan. This guide covers the supplies that matter, the single stitch that attaches every bead, four beginner-friendly techniques, and the mistakes that make beads fall off. By the end you will be able to bead flower centers, outlines, and borders without breaking a sweat.
What you will need
You probably own most of this already. Beading adds only two specialty items to a standard embroidery kit, and both are cheap.
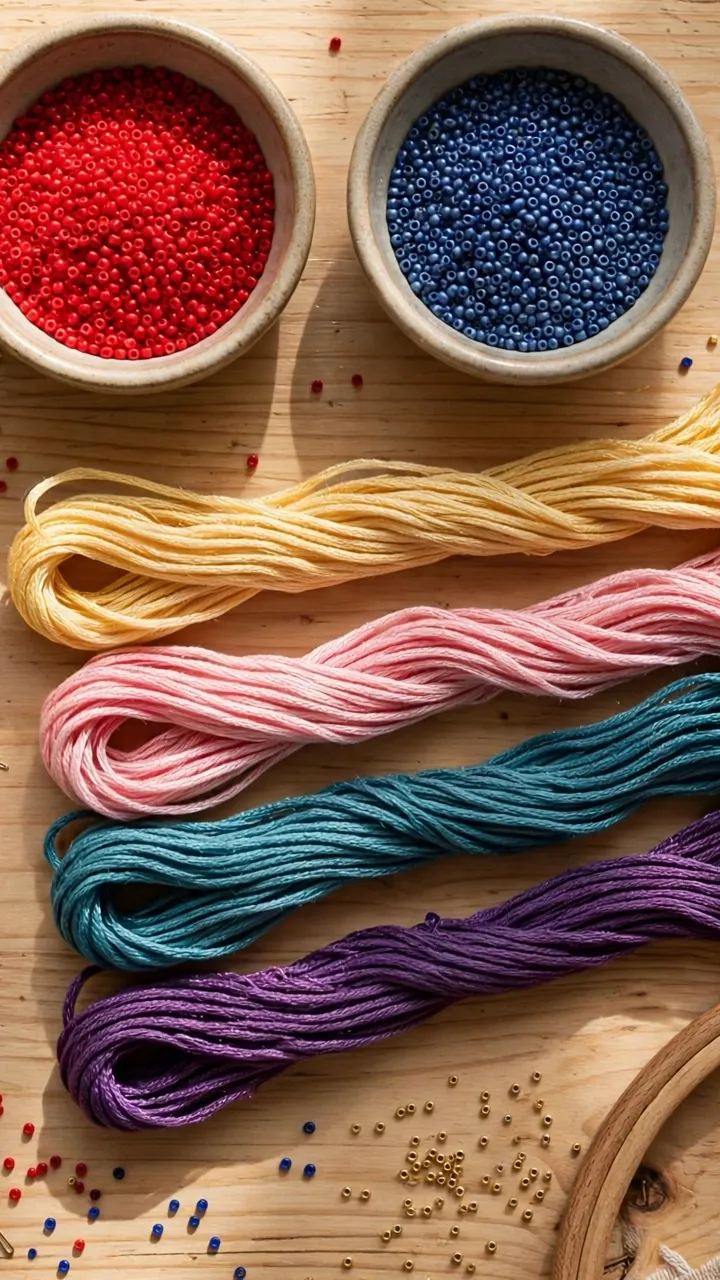
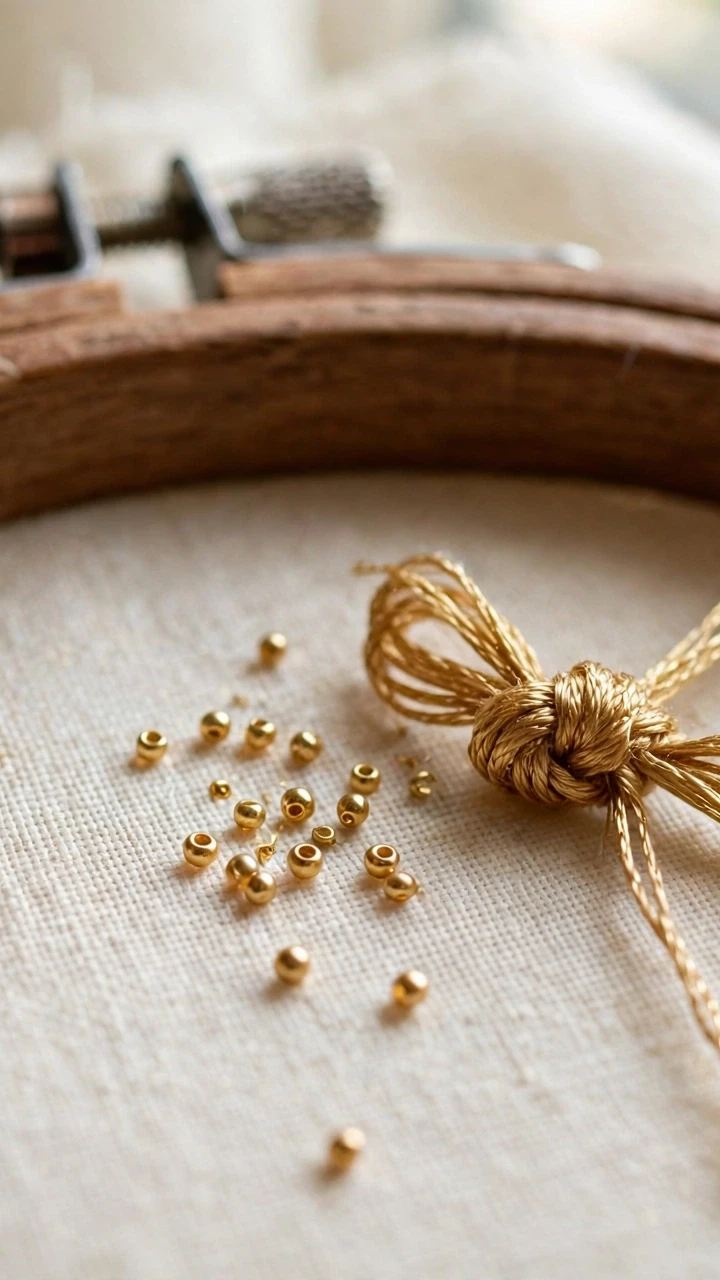
- Seed beads, size 11/0. The workhorse of embroidered beading. Size 11/0 (pronounced “eleven aught”) means about two millimeters across, small enough to sit on a petal without dominating it. I like Miyuki and Toho brands because the holes are consistent and the colors do not rub off. For your first project, buy an opaque white or pearl, a gold, and one bright color you love.
- Beading needles. Regular embroidery needles are too fat to pass through a size 11/0 bead hole twice. Beading needles are long, thin, and flexible. I use John James size 10 for general work and size 12 for the tiniest beads.
- Thread that fits through the bead. Two good options. Beading thread like Nymo size D is strong and slightly waxy so it resists fraying. Or one strand of DMC floss, which fits through 11/0 beads easily and matches your embroidery colors exactly. I use Nymo for pieces that will be handled or washed, and one strand of DMC for hoop art.
- A tight-weave fabric. Beads are heavy, so the fabric must hold them without sagging. Medium-weight cotton, tight-weave linen, or cotton twill all work. Avoid loosely woven fabrics like burlap, where beads can pull through the gaps.
- A hoop or frame. Non-negotiable with beads. Taut fabric keeps stitches even and beads sitting at a consistent height. I use a 6-inch wooden hoop for practice and most beaded hoop art.
- Small scissors and a bead mat. Sharp little scissors for trimming thread close to the bead. A bead mat, or a folded dish towel, keeps beads from rolling off the table when you spill some. You will spill some.
- A wax thread conditioner (optional). Beeswax or Thread Heaven makes beading thread glide and resist tangling. Rub the thread through once before you start.
Skip the specialty beading looms, the bead spinners, and the twenty-tube color assortments for now. You need one tube of beads, one needle, and the thread you already own.
The one stitch that attaches every bead
Every beaded technique in embroidery is built on a single move: thread a bead onto your working thread, then take the needle back down through the fabric so the bead is trapped against the surface. Here is the move in six small steps.
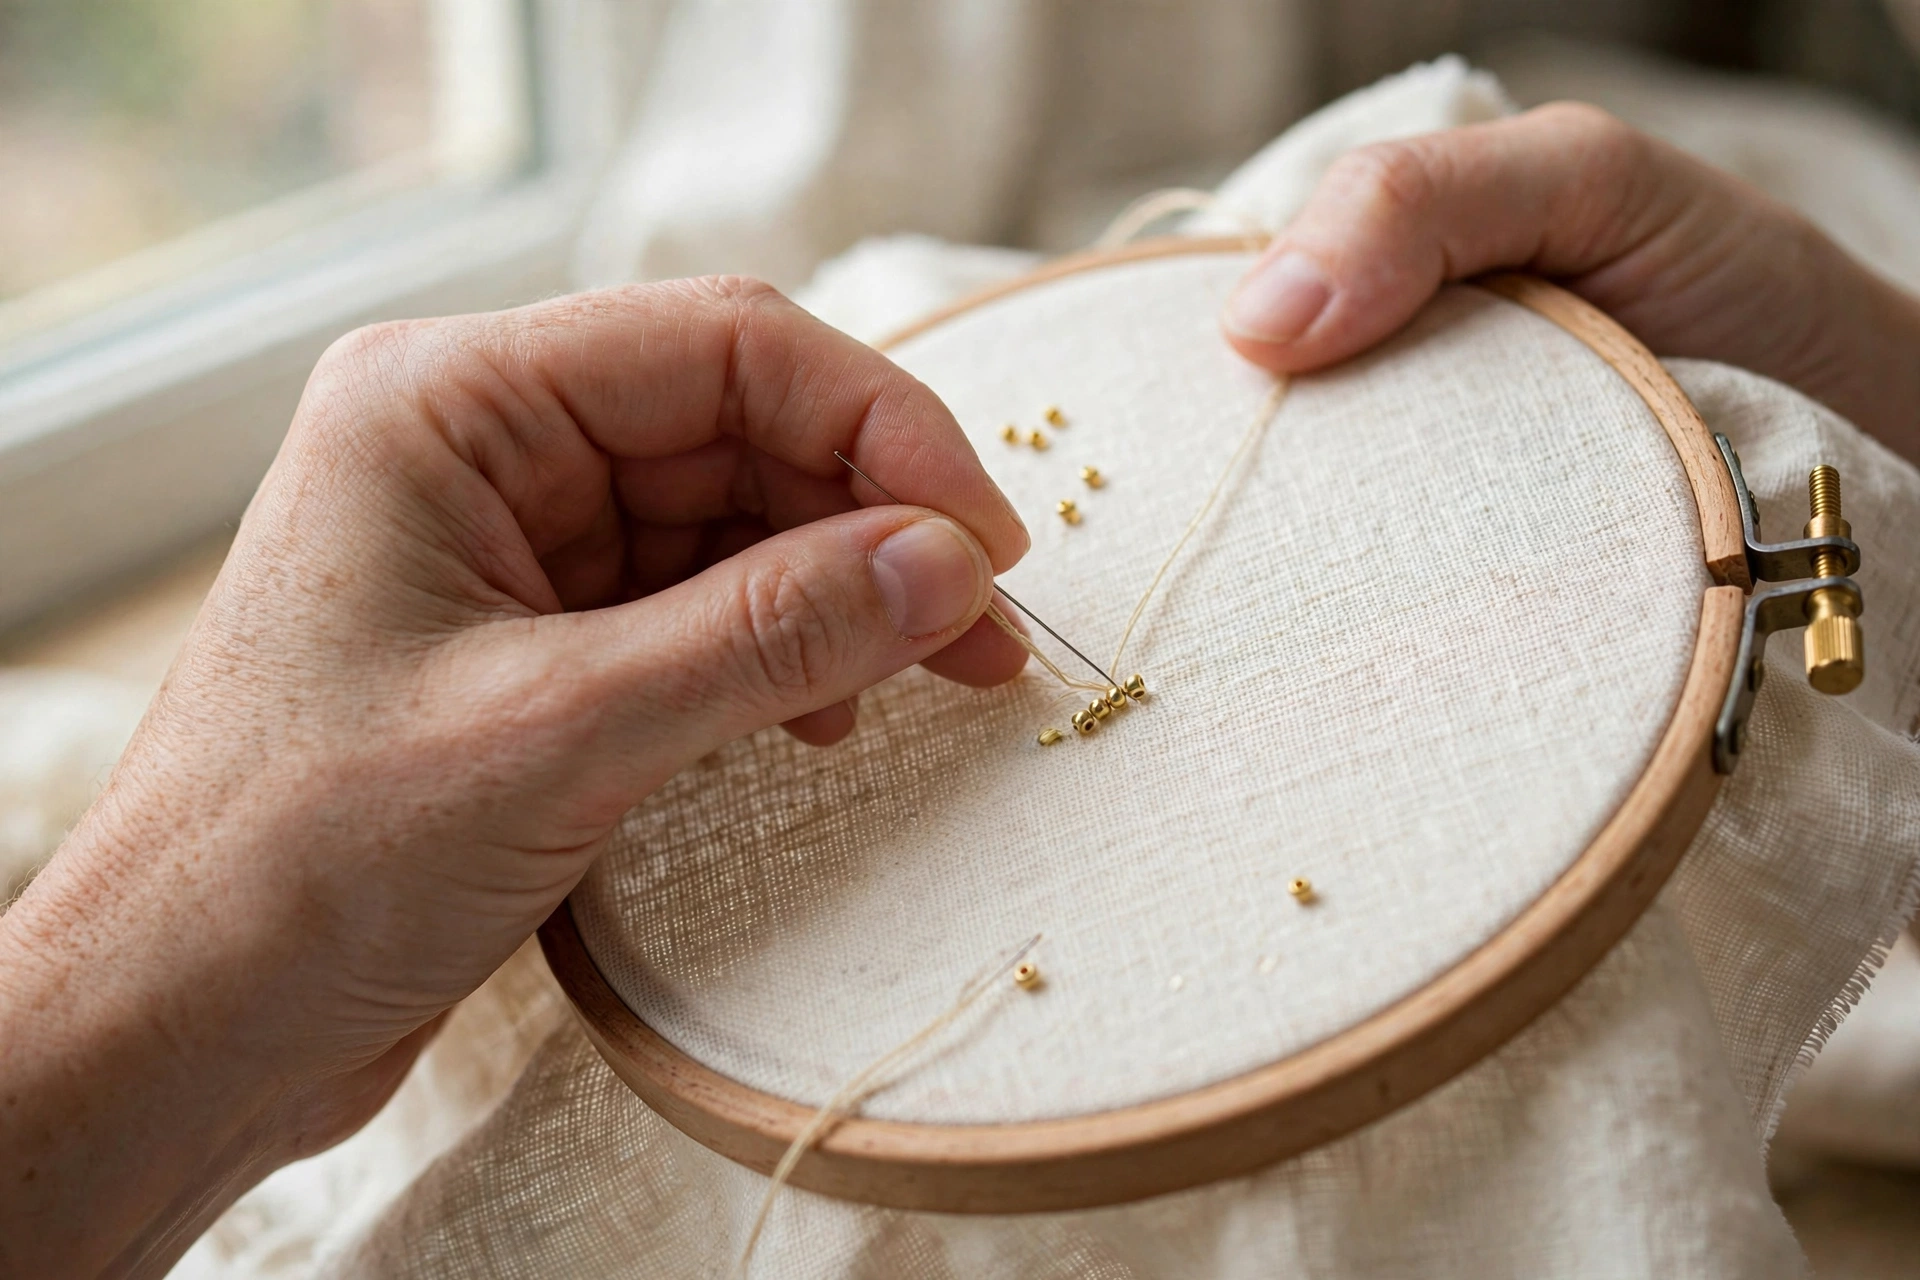
1. Come up where the bead should sit
Bring your needle up through the fabric at the exact spot where you want the bead’s center to rest. Keep your thread tension normal, the same as for a backstitch.
2. Thread the bead
Slide one bead onto the needle and let it travel down the thread until it touches the fabric. Thread beads one at a time from your dish rather than scooping. Scooping is how beads end up on the floor.
3. Settle the bead flat
For a single accent bead, nudge it with your fingertip so it sits flat, hole side down, like a tiny dome.
4. Go back down
Take the needle down through the fabric just beside the bead’s edge, about a bead’s width from the entry hole, so the thread makes a tiny span across one side of the bead and holds it down. Do not pull so tight that the bead tips sideways; it should sit plump and upright.
5. Secure it (optional but smart)
On pieces that will be handled or washed, bring the needle back up and down through the same bead a second time. This double pass means the bead survives even if the first loop of thread wears through. For wall-hung hoop art, one pass is plenty.
6. Continue or tie off
Placing several beads in a row? Stay on the front and repeat. Last bead? Turn the work over, anchor the thread with two tiny stitches under existing thread on the back, and trim close. Never tie a big knot on beaded work; knots snag and press the beads crooked from behind.
Practice this move ten times on a scrap of fabric before touching your real project. By the tenth bead your hands will know the motion.
Four bead techniques every beginner should know
Now that you own the core move, here are the four patterns that cover almost everything a beginner wants to bead. Master these and you can bead flower centers, outlines, borders, and whole starry skies.
Technique 1: The scattered accent
Single beads placed one by one, each with its own entry and exit holes. This is how you add sparkle to flower centers, dot the sky with stars, or place a bead at the center of every French knot on a wreath. Space accents at least a quarter inch apart so they read as deliberate points of light instead of clutter. I bead flower centers in groups of three: one gold bead in the middle, two smaller ones flanking it.
Technique 2: The beaded backstitch line
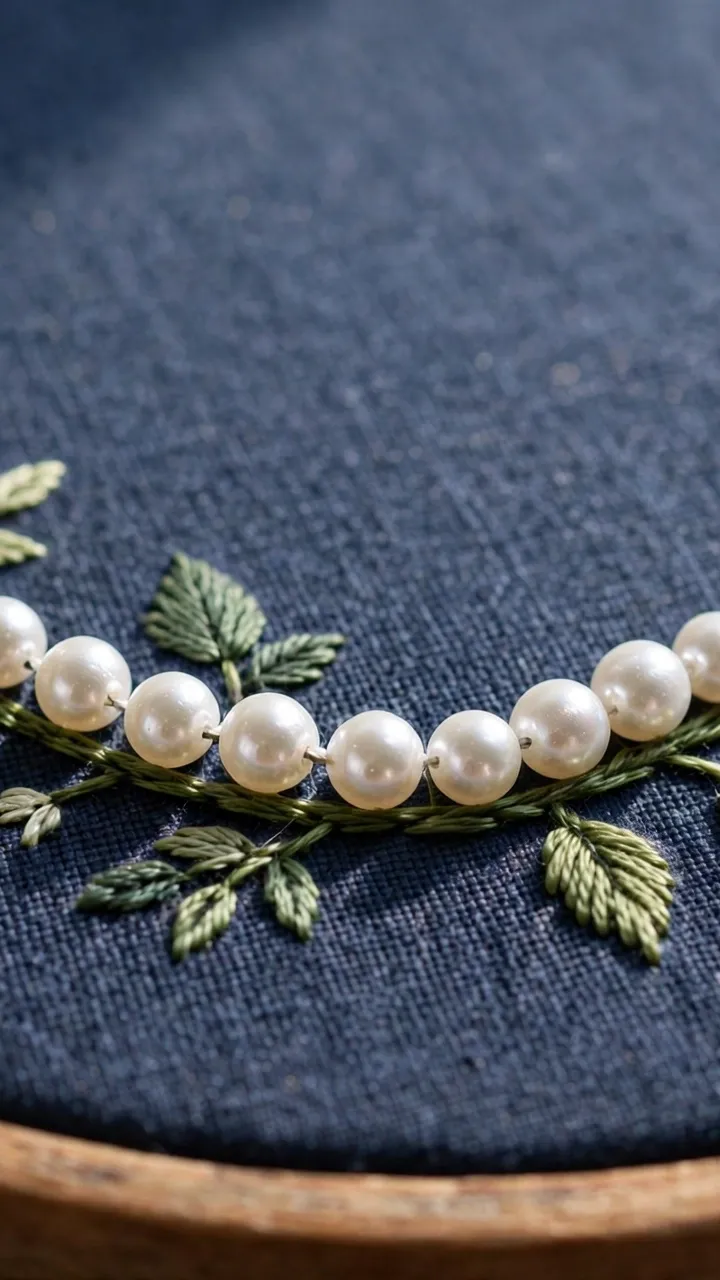
Thread three or four seed beads onto the working thread, lay them along your drawn line, then take the needle down at the end of the beads. Come back up between the last two beads and pass the needle through the last bead again to lock the row straight. Repeat in three-to-four-bead sections along the whole line. This gives you a smooth, flexible beaded line that follows curves beautifully. I use it for vine stems (green beads), necklace chains (gold beads), and borders around monograms. Keep each section to three or four beads; longer sections buckle and the line goes wavy.
Technique 3: The beaded lazy daisy
Work a lazy daisy stitch exactly as normal, but slide one bead onto the thread before you take the needle down to form the petal. The bead lands at the tip of the petal and anchors the chain loop, so the petal cannot pop loose and the flower gets a jeweled tip. A ring of six beaded lazy daisy petals around a French knot center is one of the prettiest beginner motifs in embroidery. Use contrasting beads, white on blue petals or gold on red, for maximum glow.
Technique 4: Beaded French knot clusters
Stitch three to five French knots tightly together in a small cluster, using two strands of floss, then top each knot with a single bead. The knot gives the bead a soft pedestal, so the bead sits proud of the fabric and catches light from every angle. This is my go-to for berry clusters, wild rose centers, and texture on stitched foliage. Space the knots about an eighth of an inch apart within each cluster so they read as one bunch rather than scattered dots. This little combination of knots and beads is a taste of stumpwork, the raised embroidery style that builds fully three-dimensional designs.
Tips that make it easier
Work under good light, ideally daylight. Beads are small and bead holes are smaller. A daylight lamp or a seat by a window saves more frustration than any fancy supply.
Pour beads into a shallow dish, not your palm. A ramekin or jar lid works. Beads in a palm get static-sticky and roll between your fingers; beads in a dish sit still and thread cleanly.
Match your thread to the bead, not the fabric. The thread shows as a tiny bridge across each bead, so gold thread with gold beads disappears while white thread with gold beads shows a pale halo. When in doubt, match the bead color.
Keep your working thread short. Eighteen inches maximum for beaded work. Longer thread drags through each bead hole repeatedly and frays, and frayed thread refuses to pass through the hole a second time.
Bead after the stitching is done. Add beads as the final step. Beads get in the way of the needle when you stitch around them, and pressing a hoop’s inner ring over finished beads can crack them. Stitch first, bead last.
Press beads down gently with your fingertip, not the needle. The needle can chip a bead’s coating. Your fingertip seats the bead exactly where you want it with zero risk.
Mistakes to avoid
Pulling the thread too tight. The number one beginner error. A death-grip tips the bead sideways and dents the fabric. Snug is the target: the thread lies flat against the bead with no slack, but the bead still sits upright.
Using a needle that barely fits the hole. If you force the needle through the bead, you will crack beads or bend the needle mid-project. The needle should slide through freely. Size 10 beading needles handle 11/0 beads comfortably.
Beading before you finish the floss work. Stitching around finished beads is miserable, and beads snag your working thread constantly. Beads are the garnish. They go on last.
Spacing beads by eye on long lines. On a beaded border, eyeballed spacing drifts, and the drift is visible from across the room. Mark your line with a water-soluble pen and add tick marks every quarter inch.
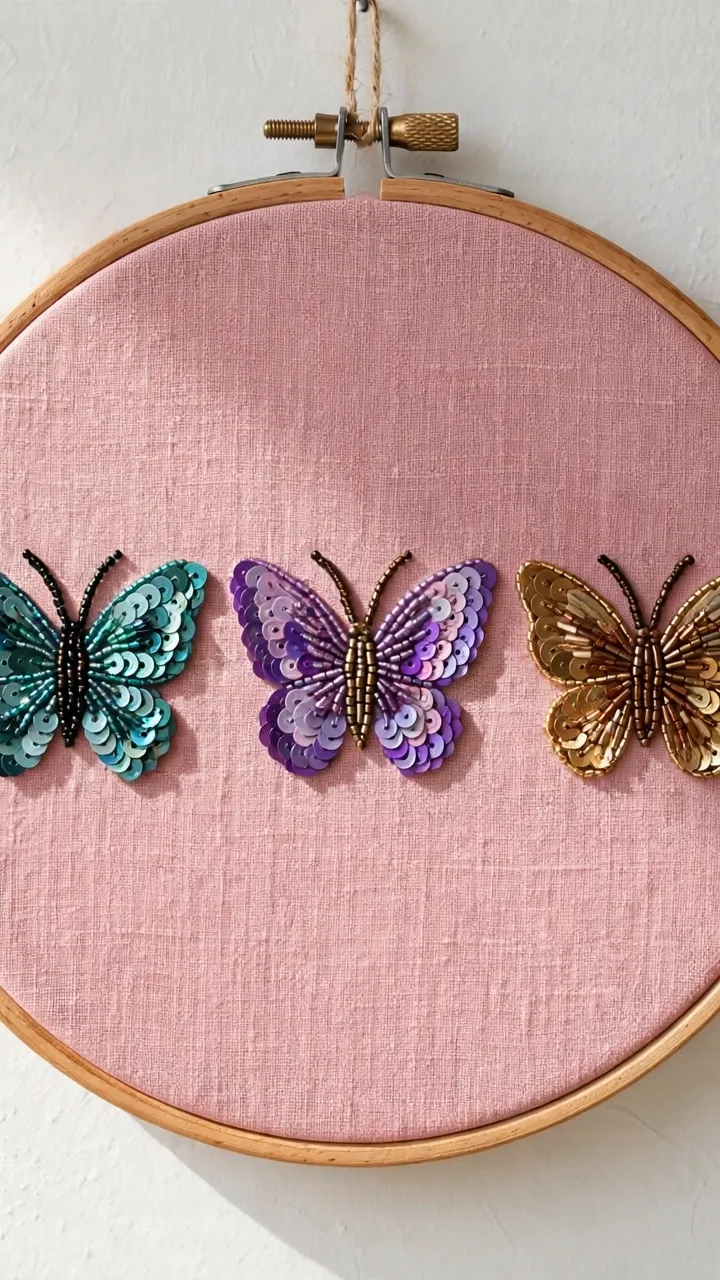
Forgetting that beads add weight. A heavily beaded area on lightweight fabric sags. If you are beading a large area, add iron-on interfacing behind the fabric first.
Frequently asked questions
Can I sew beads with regular embroidery floss?
Yes, and I do it all the time for hoop art. One strand of DMC floss passes through a size 11/0 seed bead easily and lets you match the thread to your stitching colors exactly. Switch to beading thread like Nymo only when the piece will be washed, worn, or handled a lot, because beading thread is stronger and more abrasion-resistant.
What is the best bead size for beginners?
Size 11/0 seed beads. Big enough to handle without tweezers, small enough to look refined. Size 8/0 beads are chunkier and easier still, but they can overwhelm delicate designs.
How do I keep beads from falling off over time?
Pass through each bead twice and anchor the thread on the back with two tiny stitches under existing thread. The double pass is the whole secret. On garments, add a dab of clear fabric glue on the back of the thread anchor for insurance.
Can I add beads to a piece I already finished?
Absolutely. Beads are almost always added last anyway, so an old finished piece is a perfect candidate. Work from the front, keep tension gentle so you do not pucker the old stitching, and tie off carefully on the back.
That is everything you need to start adding beads to your embroidery: one core stitch, four techniques, and the good sense to bead last and keep your thread short. Start small, a few gold beads in a flower center or a beaded line along a stem. The first time someone picks up your hoop and turns it toward the light to watch the beads catch it, you will understand why I bead almost everything now. If you want to push further into dimensional work, my guide to layering embroidery stitches for a 3D effect pairs beautifully with beads.