My first bullion knot looked like a tiny bird had built a nest on my linen. A sad, lopsided nest. I had wrapped the thread around the needle eleven times, exactly the way the tutorial said, pulled it through, and watched the whole coil collapse into a tangled lump the size of a lentil. That was a Thursday. By Sunday I had stitched forty-seven bullion knots and understood exactly why the first forty-six failed. A bullion knot is not a hard stitch. It is a fussy stitch, and fussy stitches reward precision, not talent.
Here is the whole method, the needle that fixes most problems, and the three mistakes that turn a plump bullion knot into that sad little nest.
Bullion knot, step by step
Work with two strands of floss on medium-weight fabric. Quilting cotton or a midweight linen is ideal. One strand looks spindly, three strands fight you on the pull-through, and I have the calluses to prove it.
Step 1: Use the right needle
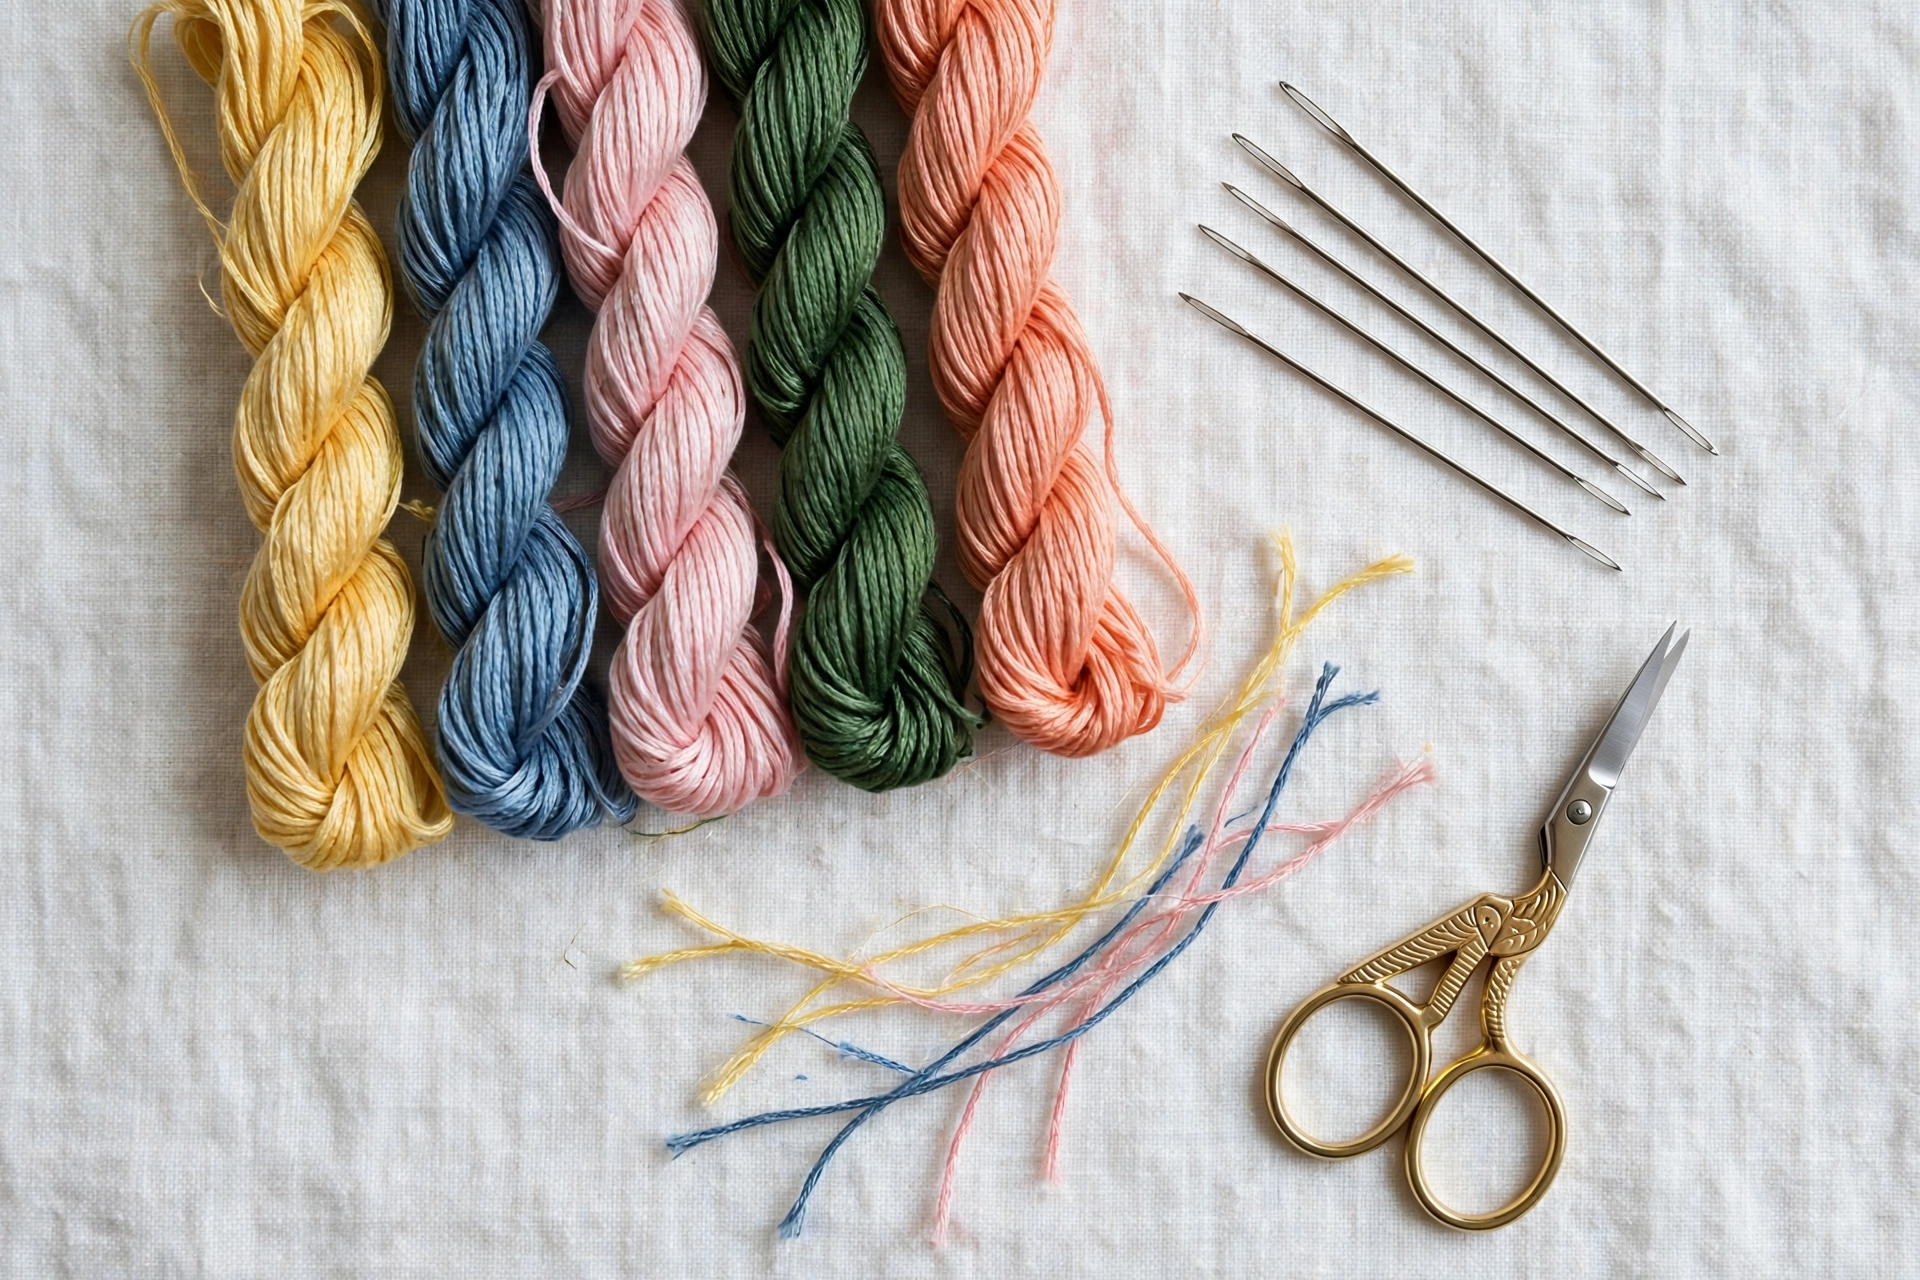
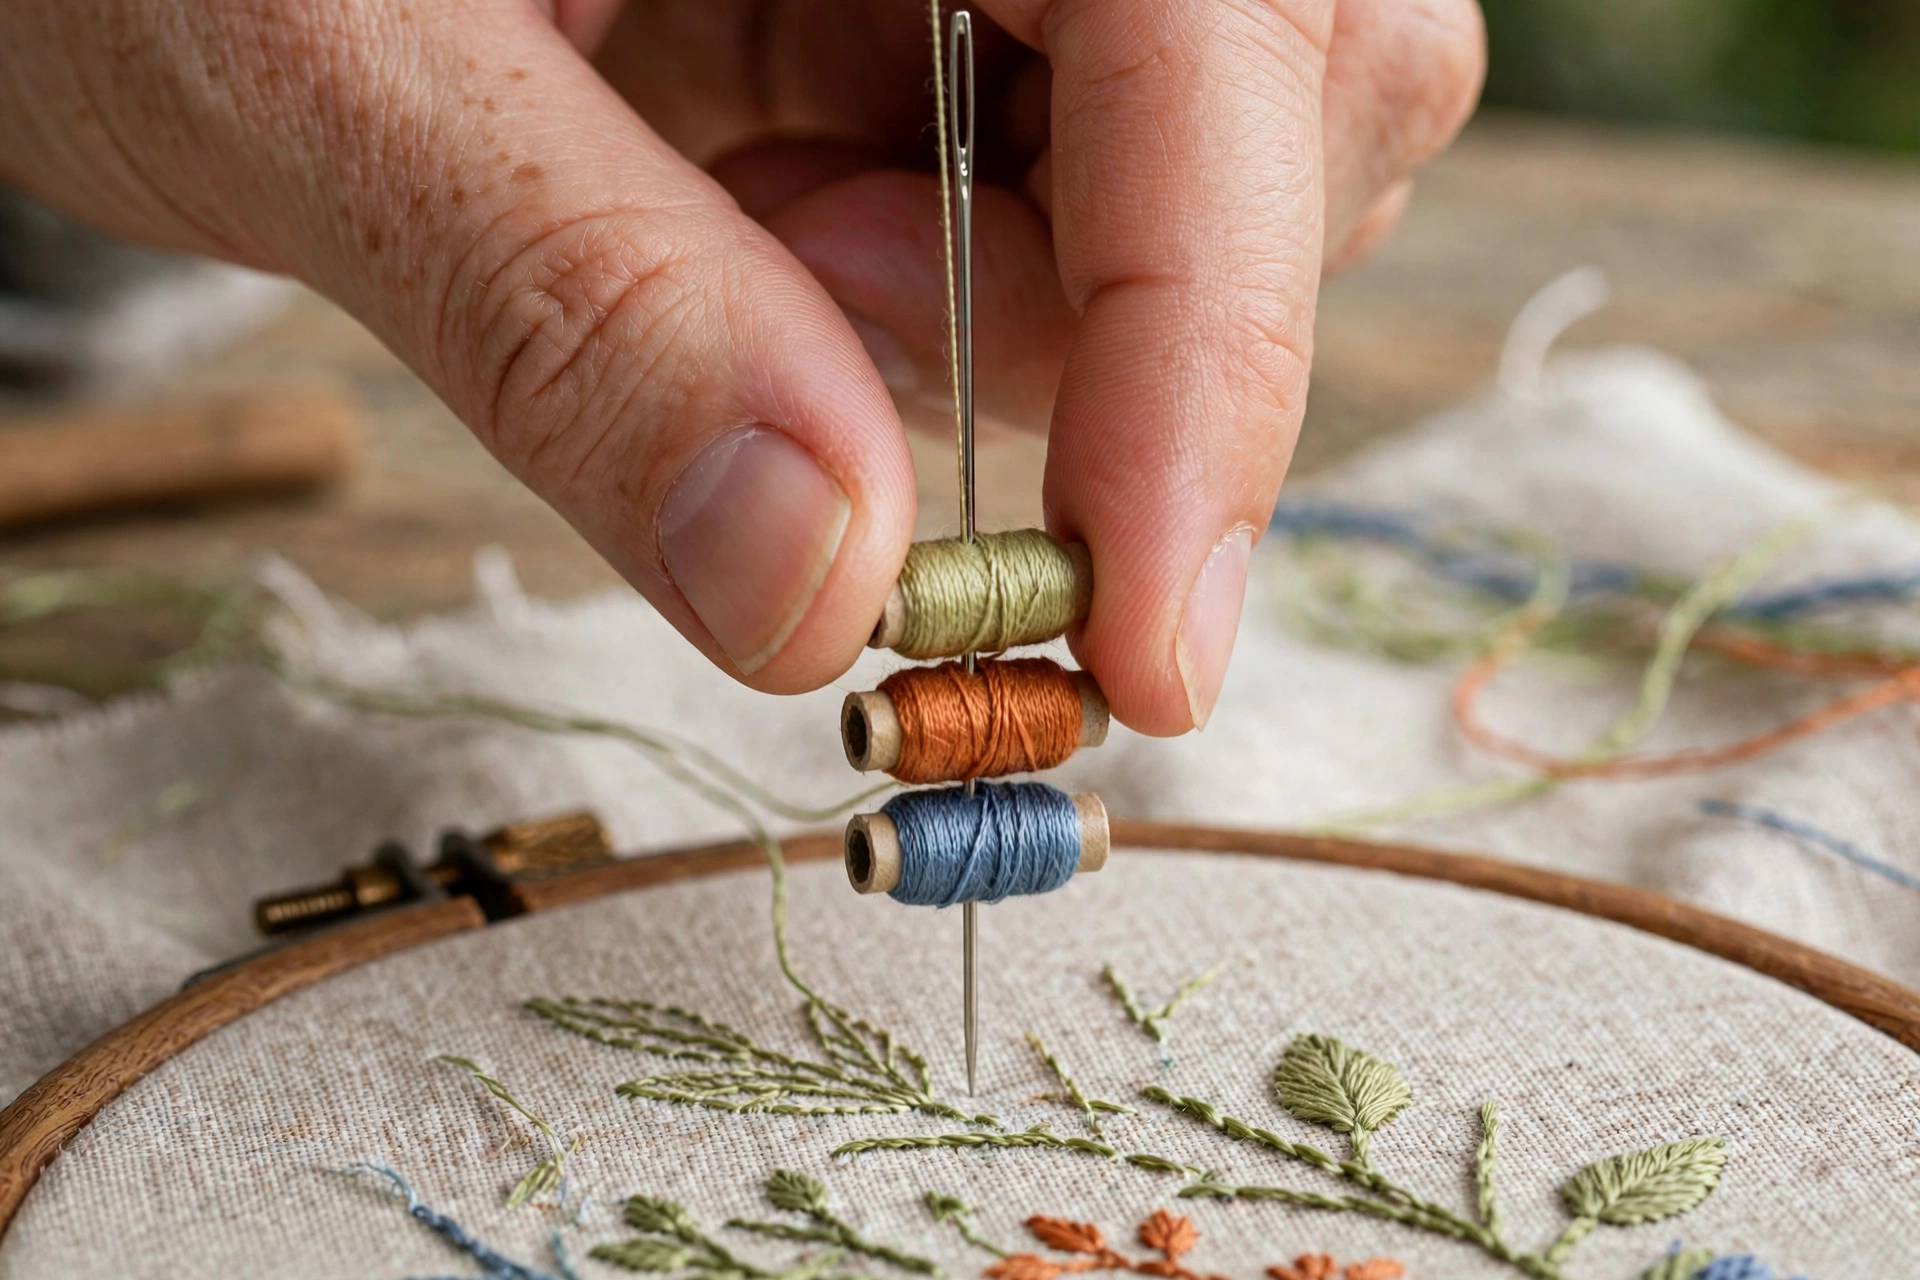
This is the step everyone skips and the reason most bullion knots fail. You need a milliner needle, also called a straw needle. It has the same diameter from eye to tip, so the wrapped coils slide off smoothly instead of snagging on a fat eye. A John James size 3 milliner costs about four dollars for a pack of six and will change your life. A regular embroidery needle has a wider eye than shaft, and the wraps catch on that eye every single time. I fought this for a full evening before someone at the library stitch group took one look and handed me a milliner. Ninety seconds later I had my first good knot.
Step 2: Come up, go down a knot-length away
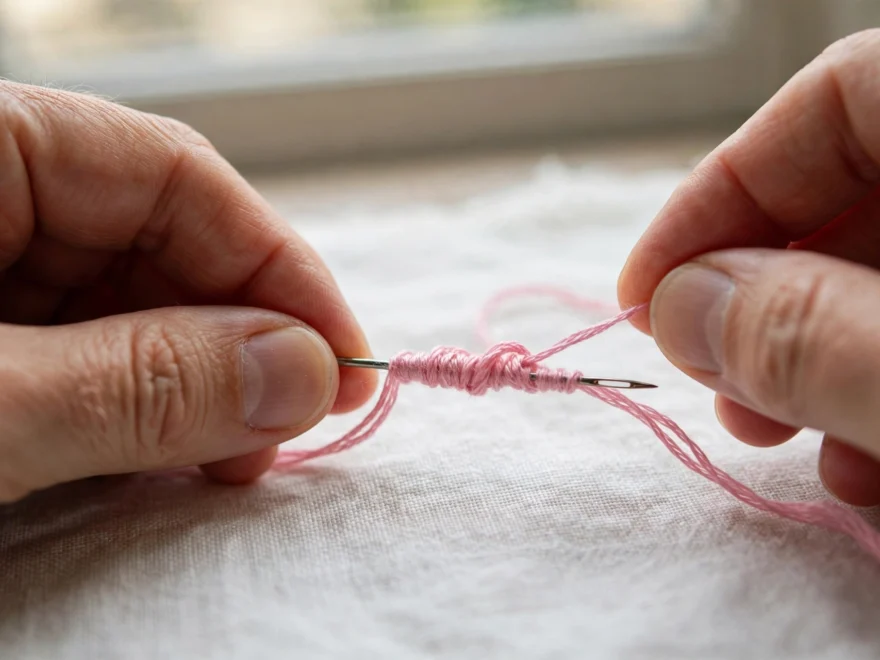
Bring the needle up through the fabric at point A. Now go back down at point B, which is one knot-length away. For a standard knot, that is about a quarter inch. Do not pull the needle all the way through yet. Leave it sitting in the fabric with the tip and a good inch of shaft still above the surface. This half-buried needle is your wrapping post.
Step 3: Wrap toward the fabric
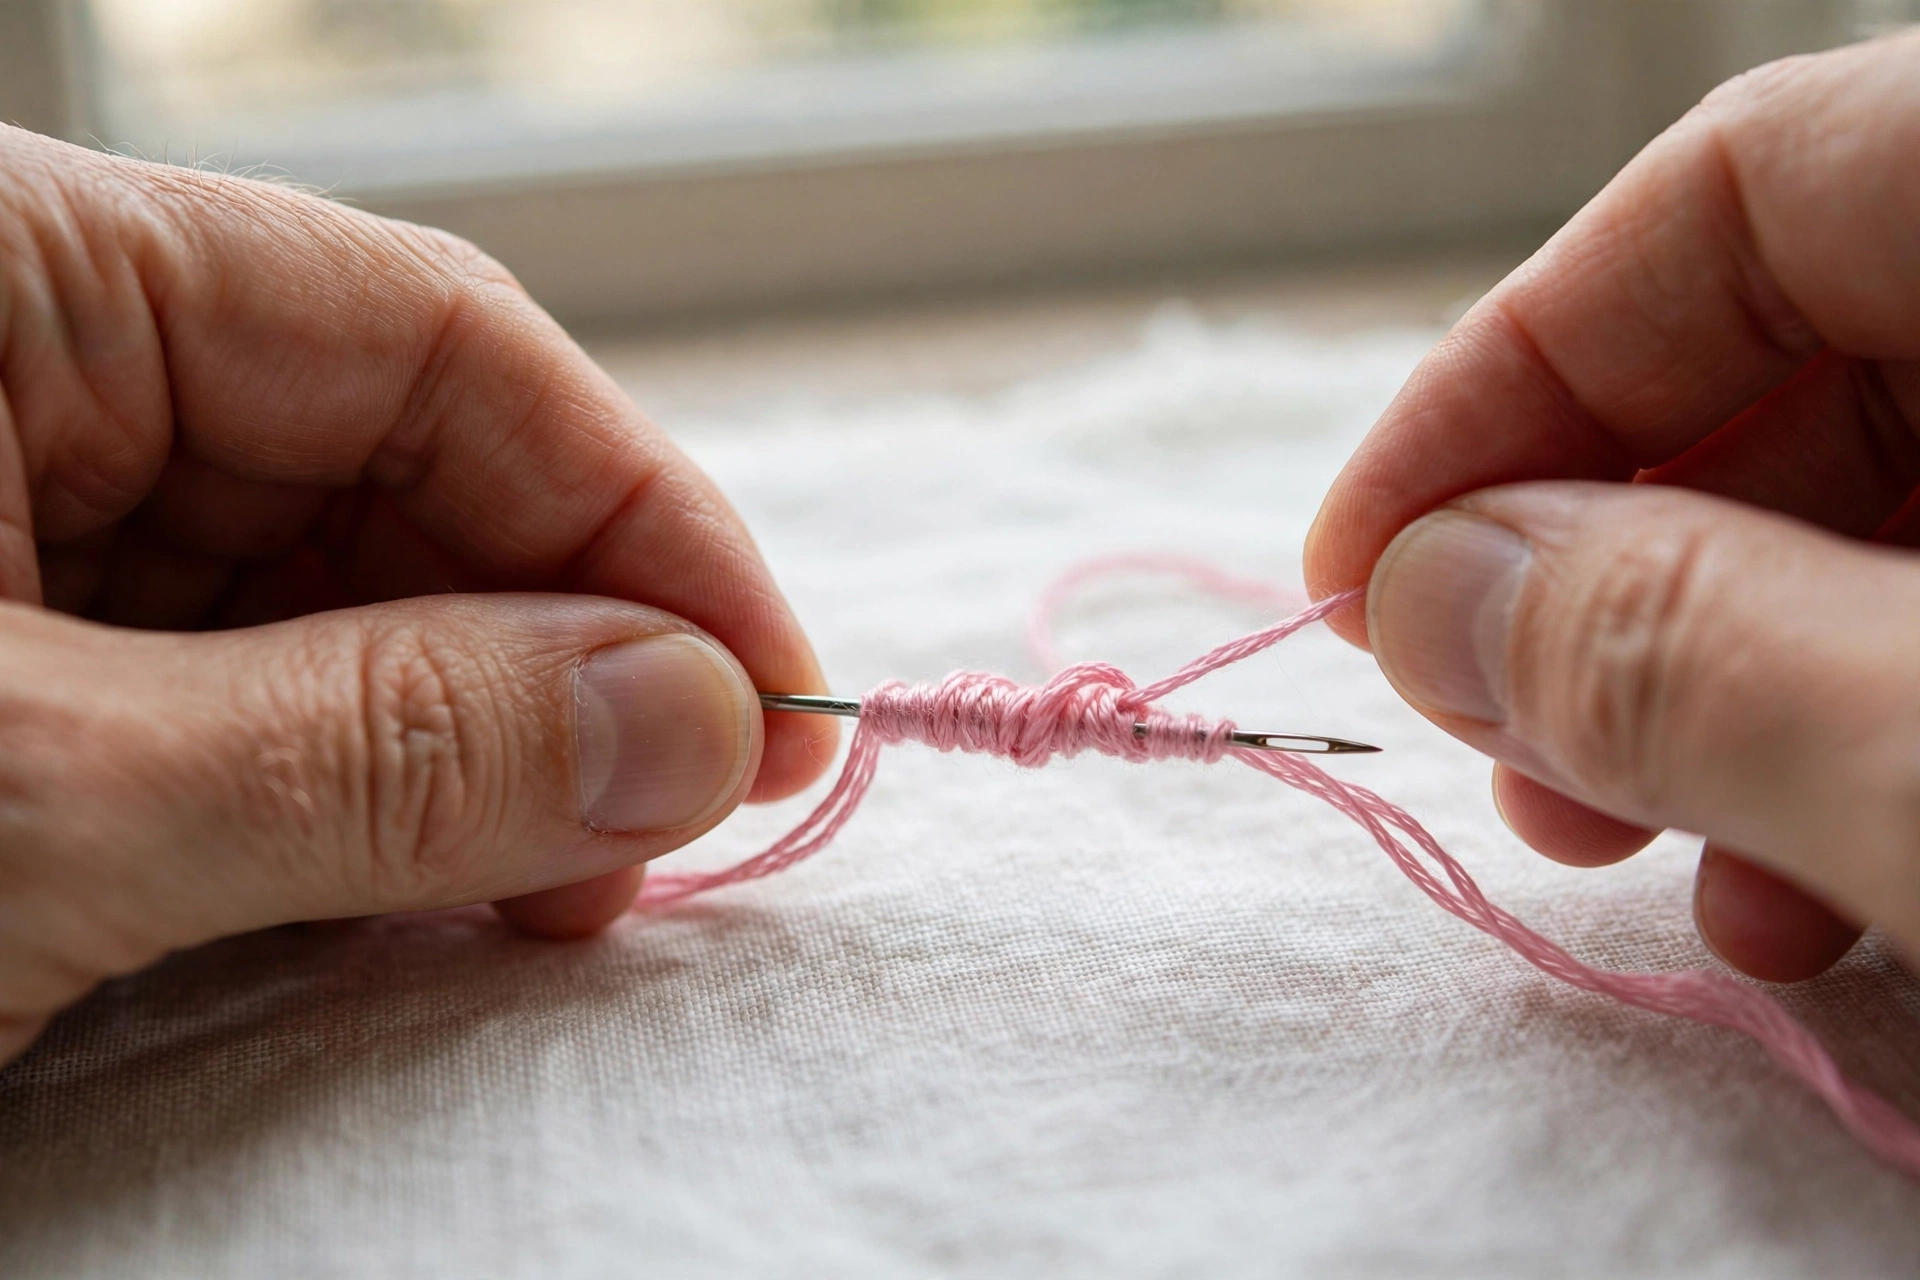
Take the working thread and wrap it around the needle shaft, starting near the fabric and working upward, away from the cloth. Wrap snugly but not strangling tight. Here is the wrap-count rule: the wraps should span exactly the distance between point A and point B. Hold them against the fabric to check. Too few wraps and the knot stretches thin and gappy. Too many and the coil buckles when you pull through. For a quarter-inch knot with two strands of DMC floss, that is usually seven to nine wraps. Count them. I still count out loud at wrap six, like a woman defusing something.
Step 4: The pull-through
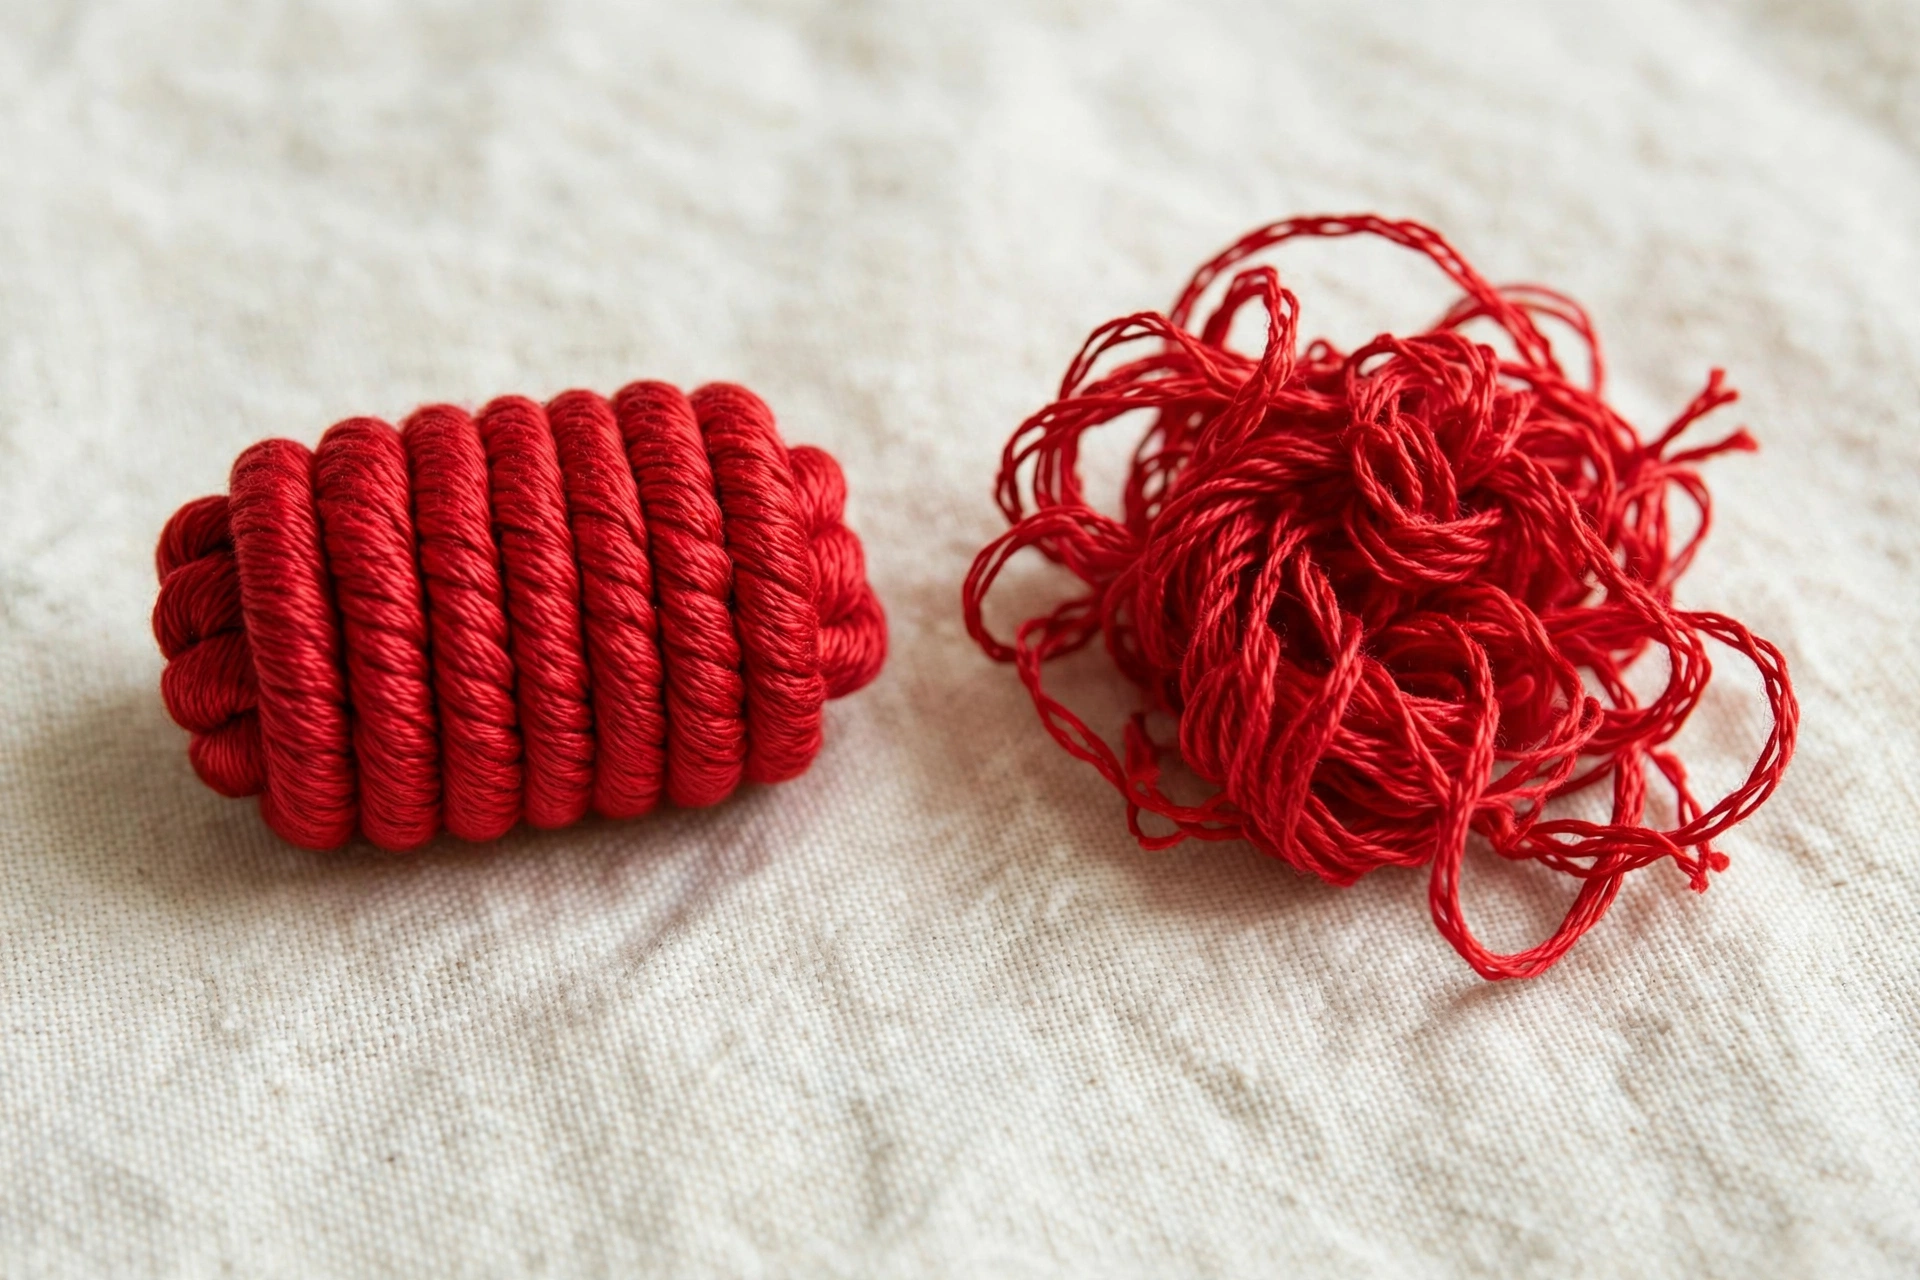
Hold the wraps gently between the thumb and forefinger of your non-dominant hand. Keep them snug against the needle. Now pull the needle through slowly and steadily, keeping the working thread taut with your other hand. Do not yank. A yank is how coils telescope into a mess. As the needle slides out, the wraps settle onto the thread and land on the fabric between A and B. Ease them into place with your fingertip, then pull the working thread fully taut to lock the knot. It should sit plump and even, like a tiny rolled cigar.
Why your bullion knot collapses: the three usual suspects
Wrong needle. Covered above, worth repeating because it causes half of all failures. If the wraps will not slide off smoothly, the needle is the problem, not you. Milliner needle, every time.
Wrong wrap count. The coil must match the A-to-B distance. This is pure measurement, not feel. Beginners almost always wrap too many, because more wraps look more impressive on the needle. Then the coil has nowhere to go and buckles. When in doubt, unwrap two and try again.
Slack working thread during pull-through. The moment you let the working thread go loose while pulling the needle out, the wraps lose their guide and tangle. Keep gentle tension on that thread from the first wrap to the final tug. Think of it as the spine the coil is built around.
What bullion knots are actually for
Roses, mostly. A bullion knot rose, three graduated knots curled into a spiral, is one of the prettiest small flowers in embroidery and takes about four minutes once you have the knot down. They also make excellent flower stamens, caterpillar bodies, and dimensional leaves. I use them anywhere a French knot feels too round and a straight stitch feels too flat. If you are choosing between the two for a flower center, my rule is simple: French knots for buds, bullion knots for anything that should look like it has petals.
They pair beautifully with woven wheel roses. Stitch the big woven rose, then ring it with tiny bullion knot buds in a darker shade. That combination has carried at least a dozen of my floral pieces.
The practice drill that actually works
Do not practice bullion knots on a real project. Take a six-inch square of scrap linen, hoop it drum tight, and stitch a row of ten identical knots, all the same length, all the same wrap count. Then a row of longer ones. Then a row of tiny ones with five wraps. Thirty knots total, about twenty minutes. By knot fifteen your hands know the motion. By knot thirty you will never fear this stitch again.
One more thing about thread. Stranded cotton is the forgiving choice while learning. Silk and rayon slip beautifully but punish beginners, because slippery thread plus loose wraps equals instant tangle. Learn the mechanics on DMC 321 or 666, the reds and blacks that show every flaw honestly, then graduate to the fancy fibers. And if a knot goes wrong mid-pull, do not try to rescue it. Pull it out, all of it, and start the knot over. A rescued bullion knot always looks rescued. Ask me how I know.
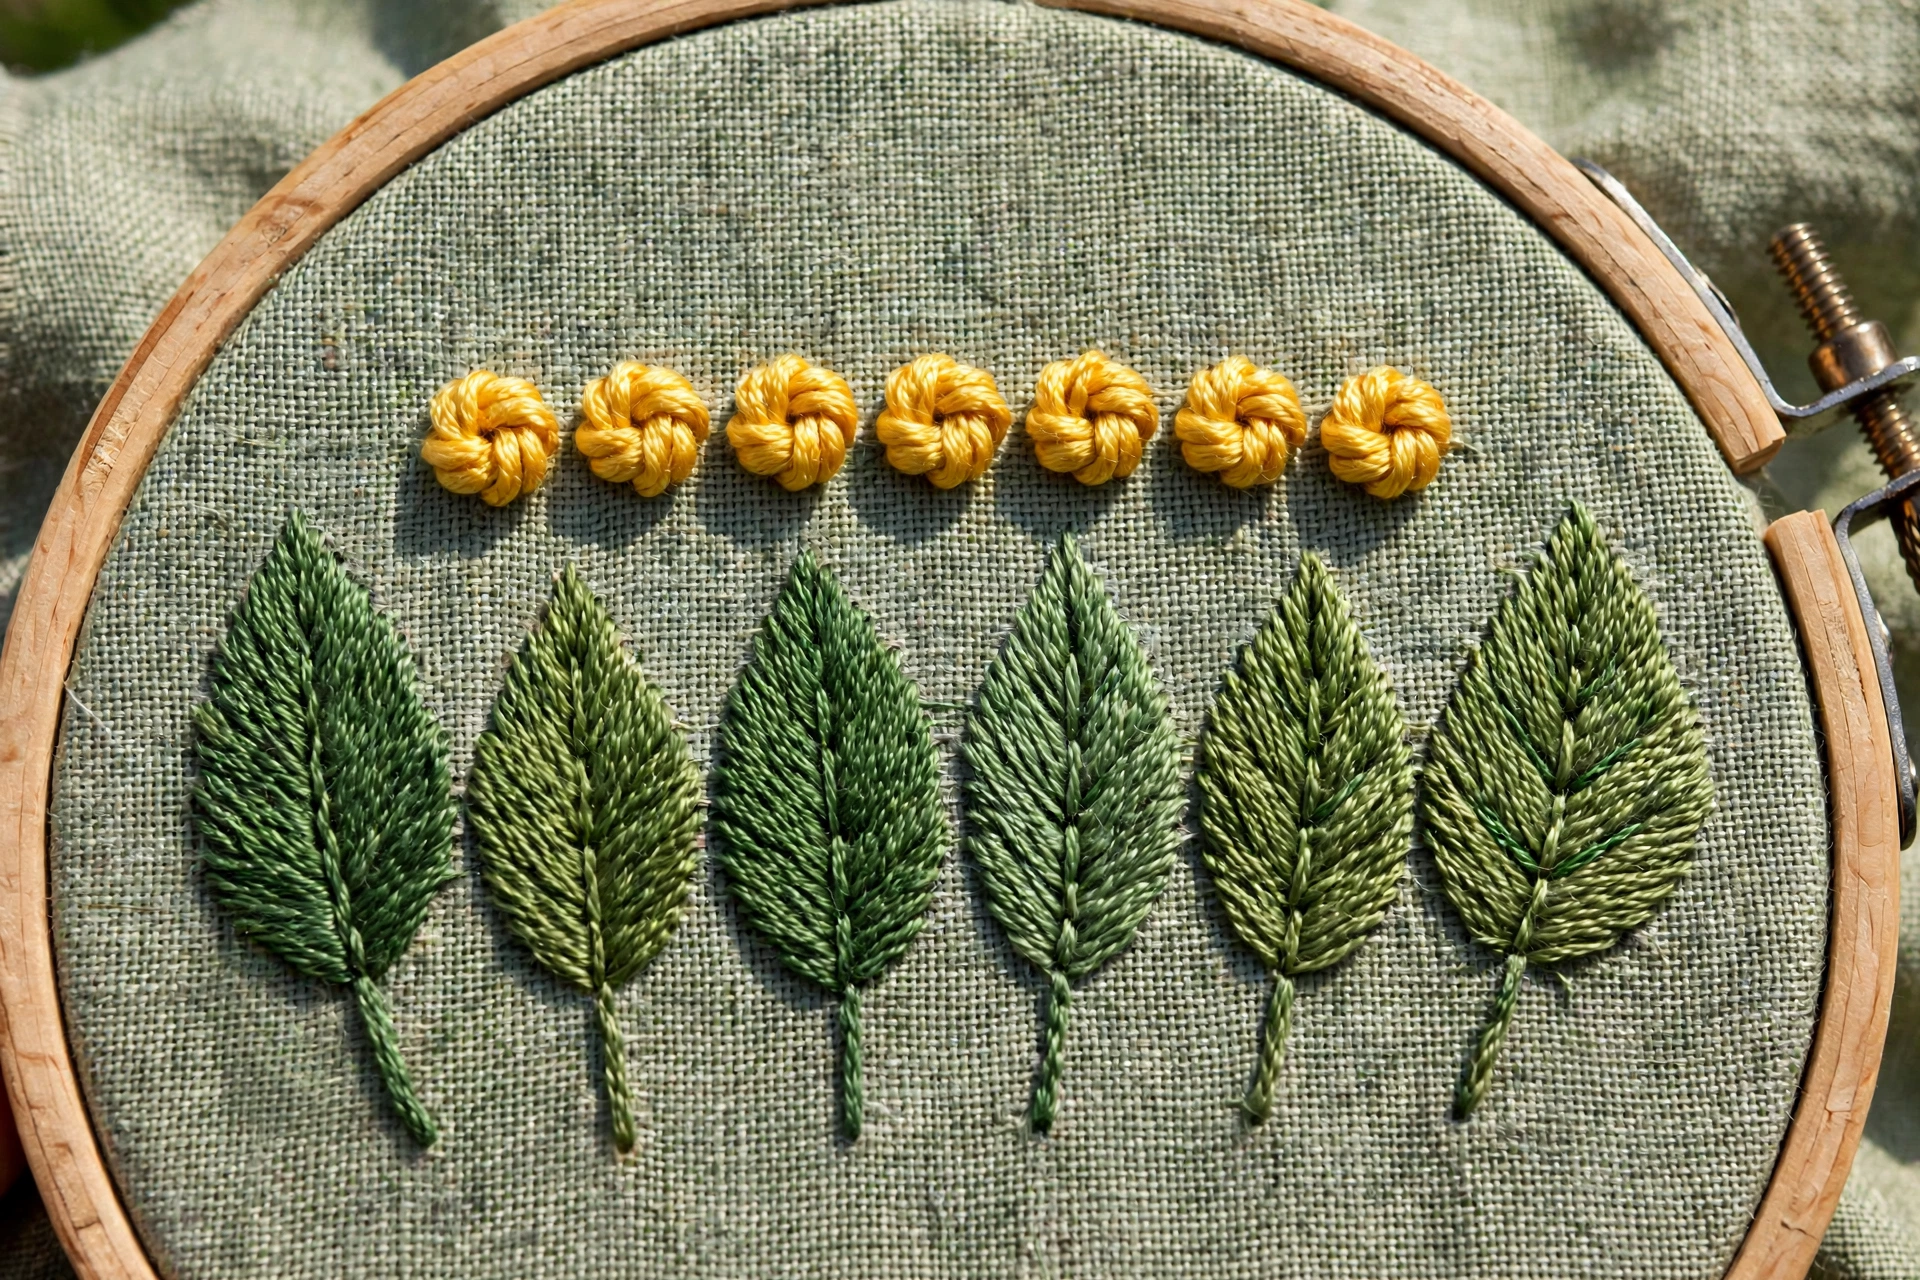
That is the whole stitch: milliner needle, measured wraps, taut thread, slow pull. The bullion knot looks like advanced embroidery and stitches like a recipe, which is my favorite kind of stitch. Once it clicks, you will start seeing places for it everywhere, which is exactly what happened to me on that Sunday, forty-seven knots in, surrounded by the evidence.