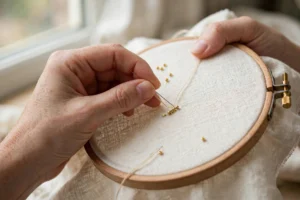
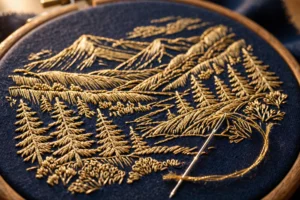
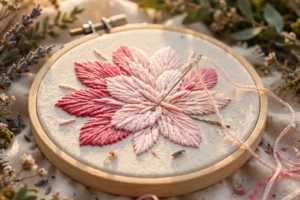
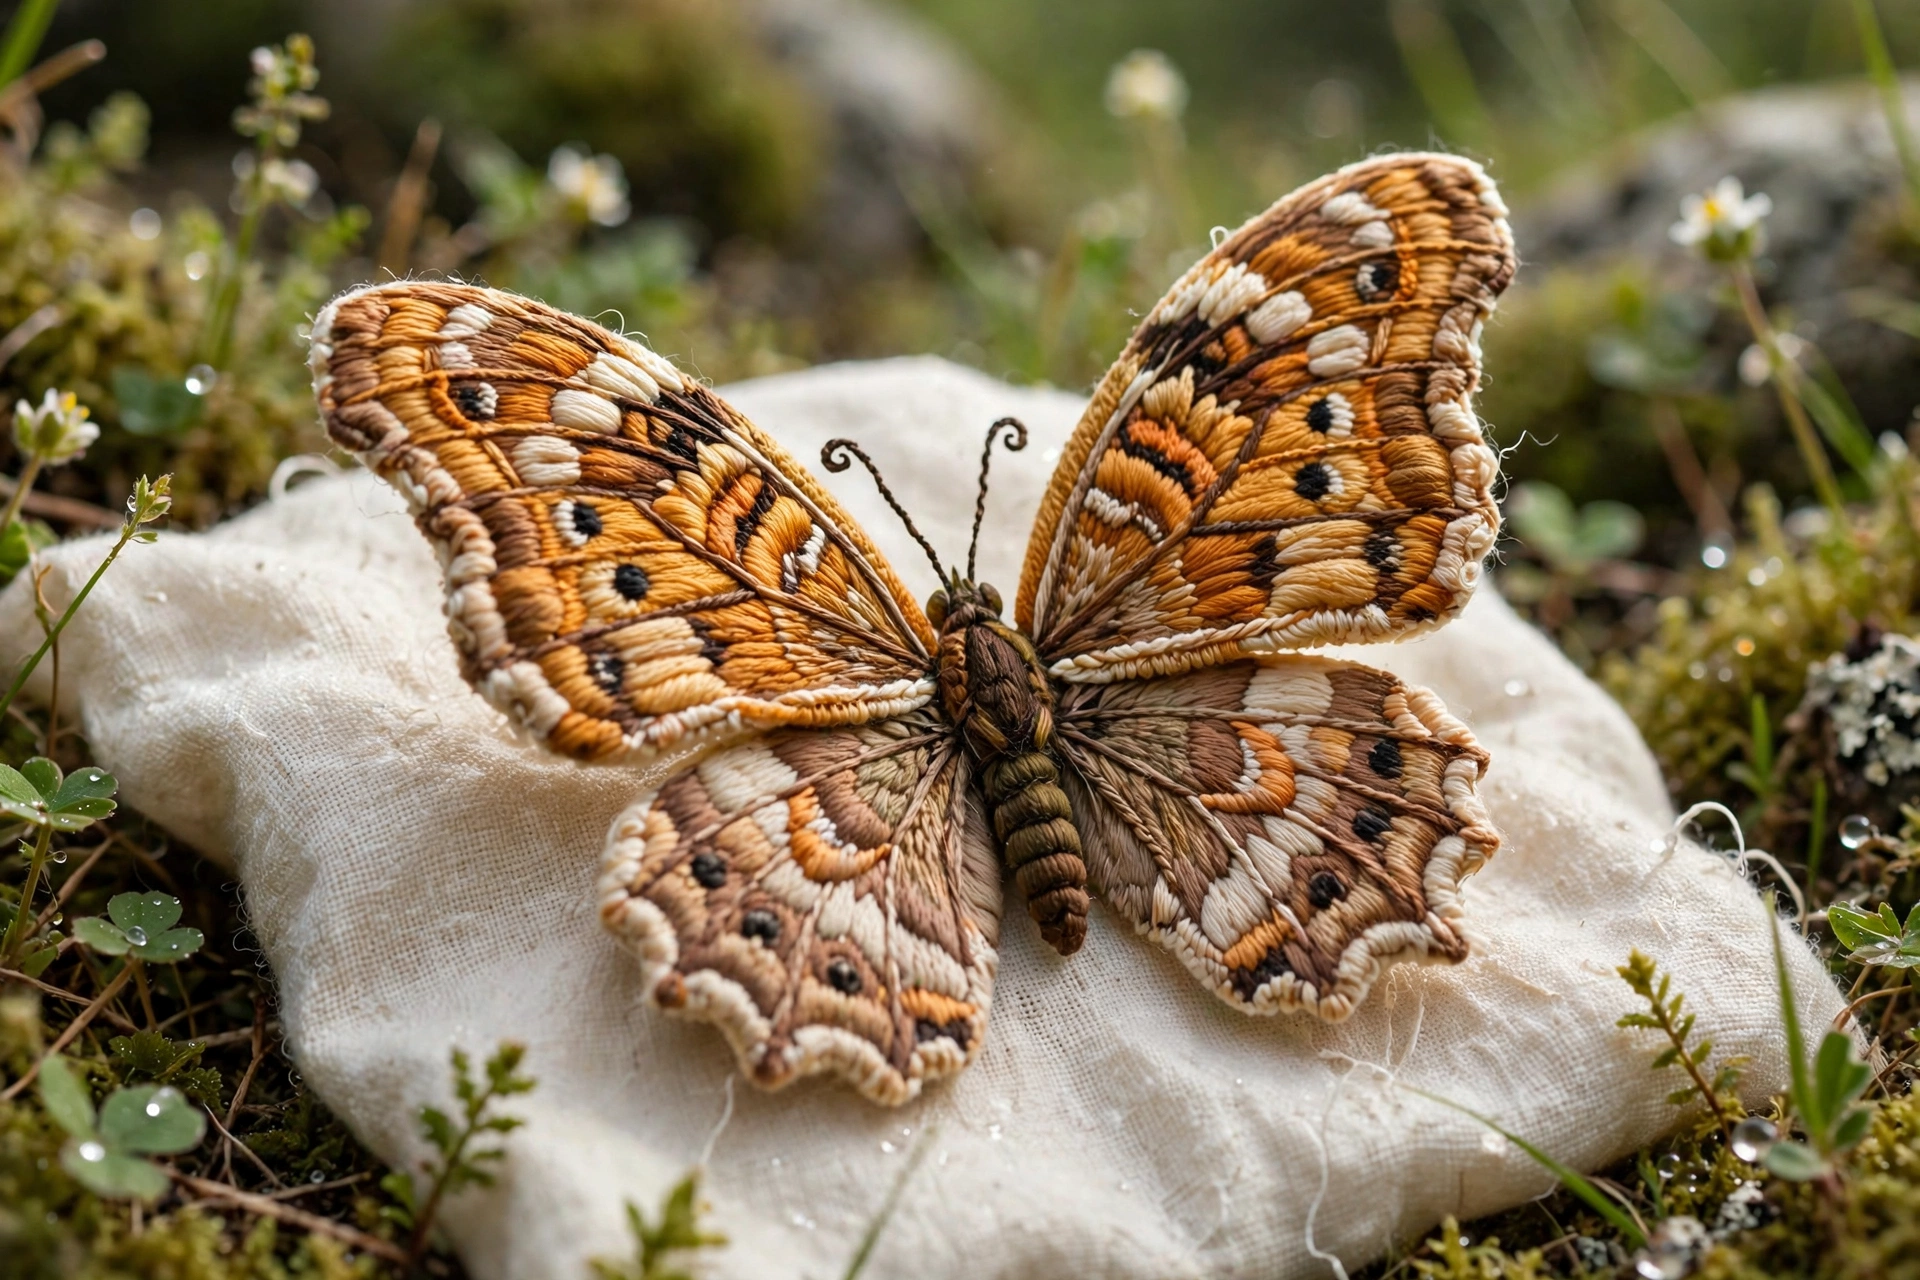
The first time I saw a stumpwork butterfly, I honestly thought a real insect had landed on the fabric. Its wings arched up off the linen, catching the light like they might flutter away. When I learned it was just thread, padding, and a bit of wire, I was hooked. Stumpwork is the art of raised embroidery, stitching that lifts off the fabric into soft, sculptural shapes, and the basics are completely beginner friendly.
Stumpwork sounds fancy, but it is really regular embroidery with a little engineering added. You pad an area to puff it up, or you stitch a shape over wire so it stands proud of the surface. If you can do a straight stitch, a satin stitch, and a French knot, you already own most of the skills you need.
In this guide, we will cover what stumpwork is, the simple materials you need, three beginner techniques, and an easy first project, a padded leaf sprig. By the end, you will be stitching little raised shapes with confidence.
What Is Stumpwork, Exactly?
Stumpwork is a style of embroidery where parts of the design are raised above the fabric surface for a three-dimensional effect. The name comes from the padded, stuffed work popular in the 1600s, when stitchers made elaborate raised pictures of plants and insects. Modern stumpwork is playful, colorful, and much simpler than those museum pieces suggest.
The “raised” part happens in three main ways. The first is padding, where you stitch over a little mound of felt or thread to build a soft dome, like stuffing a tiny pillow. The second is wire shaping, where you stitch around fine wire, then bend the shape and attach it so it stands up, which is how butterfly wings are made. The third is slips, small pieces stitched separately, cut out, and appliqued on with padding underneath. As a beginner, start with padding, try wire shaping next, and save slips for later.
What You Will Need
- Embroidery hoop: 5 or 6 inch (12 to 15 cm) hoop for practice pieces.
- Fabric: medium-weight natural linen or cotton twill with enough body to support padding. Avoid thin or stretchy fabrics.
- Thread: stranded cotton floss in a leafy green, soft pink, warm yellow, and medium brown. Matte floss shows raised shapes best.
- Needles: size 7 or 8 crewel needles for stitching, plus a fine sharp needle (size 10 sharps) for attaching wire shapes.
- Padding: white or natural felt scraps, 2 to 3 mm thick. Felt cuts cleanly and holds its shape, making it ideal for beginners.
- Fine wire: 28 or 30 gauge craft or florist wire that bends easily but holds its shape.
- Small pliers: flat-nose pliers for bending and trimming wire.
- Scissors: sharp embroidery scissors, plus an old pair for cutting wire.
- Water-soluble pen: for tracing shapes.
- Optional: clear-drying fabric glue for tacking felt in place.
You probably own most of this already. The only true stumpwork extras are the felt, the wire, and the pliers. Beads are a natural partner for all this padding and wire, and my beginner guide to adding beads to embroidery shows how to attach them securely.
Technique 1: Padded Satin Stitch
Padded satin stitch is the foundation of all stumpwork. You build a little mound of padding, then cover it with smooth satin stitches, creating a soft, domed shape. Flower petals, leaves, and insect bodies all start here.
Step 1: Cut your felt padding
Draw a leaf shape about 4 cm long on your felt and cut it out just inside the line, so the felt ends up slightly smaller than the shape you want to show. One layer gives a gentle dome, two layers glued together give a high, plump dome.
Step 2: Tack the felt to your fabric
Position the felt on your hooped fabric. Tack it with a tiny dot of fabric glue, or whipstitch around the edge with a single strand. The padding must not shift while you stitch.
Step 3: Stitch a foundation layer
With 3 strands of green floss, work straight stitches across the felt from base to tip. These can be loose and uneven. Their job is to grip the felt and give your top layer something to bite into.
Step 4: Cover with satin stitch
Work final satin stitches over the foundation, following the length of the leaf. Bring the needle up just outside the felt edge on one side and down just outside on the other, so the stitches wrap the padding and anchor into the fabric. Keep stitches close with no gaps and tension relaxed. Watch the leaf puff into a soft dome.
Step 5: Add a center vein
With 2 strands of darker green, work stem stitch down the center, letting the needle sink slightly into the padding. Add two or three short side veins. The vein presses a gentle groove into the dome and makes the leaf look real.
Technique 2: Wire-Shaped Elements
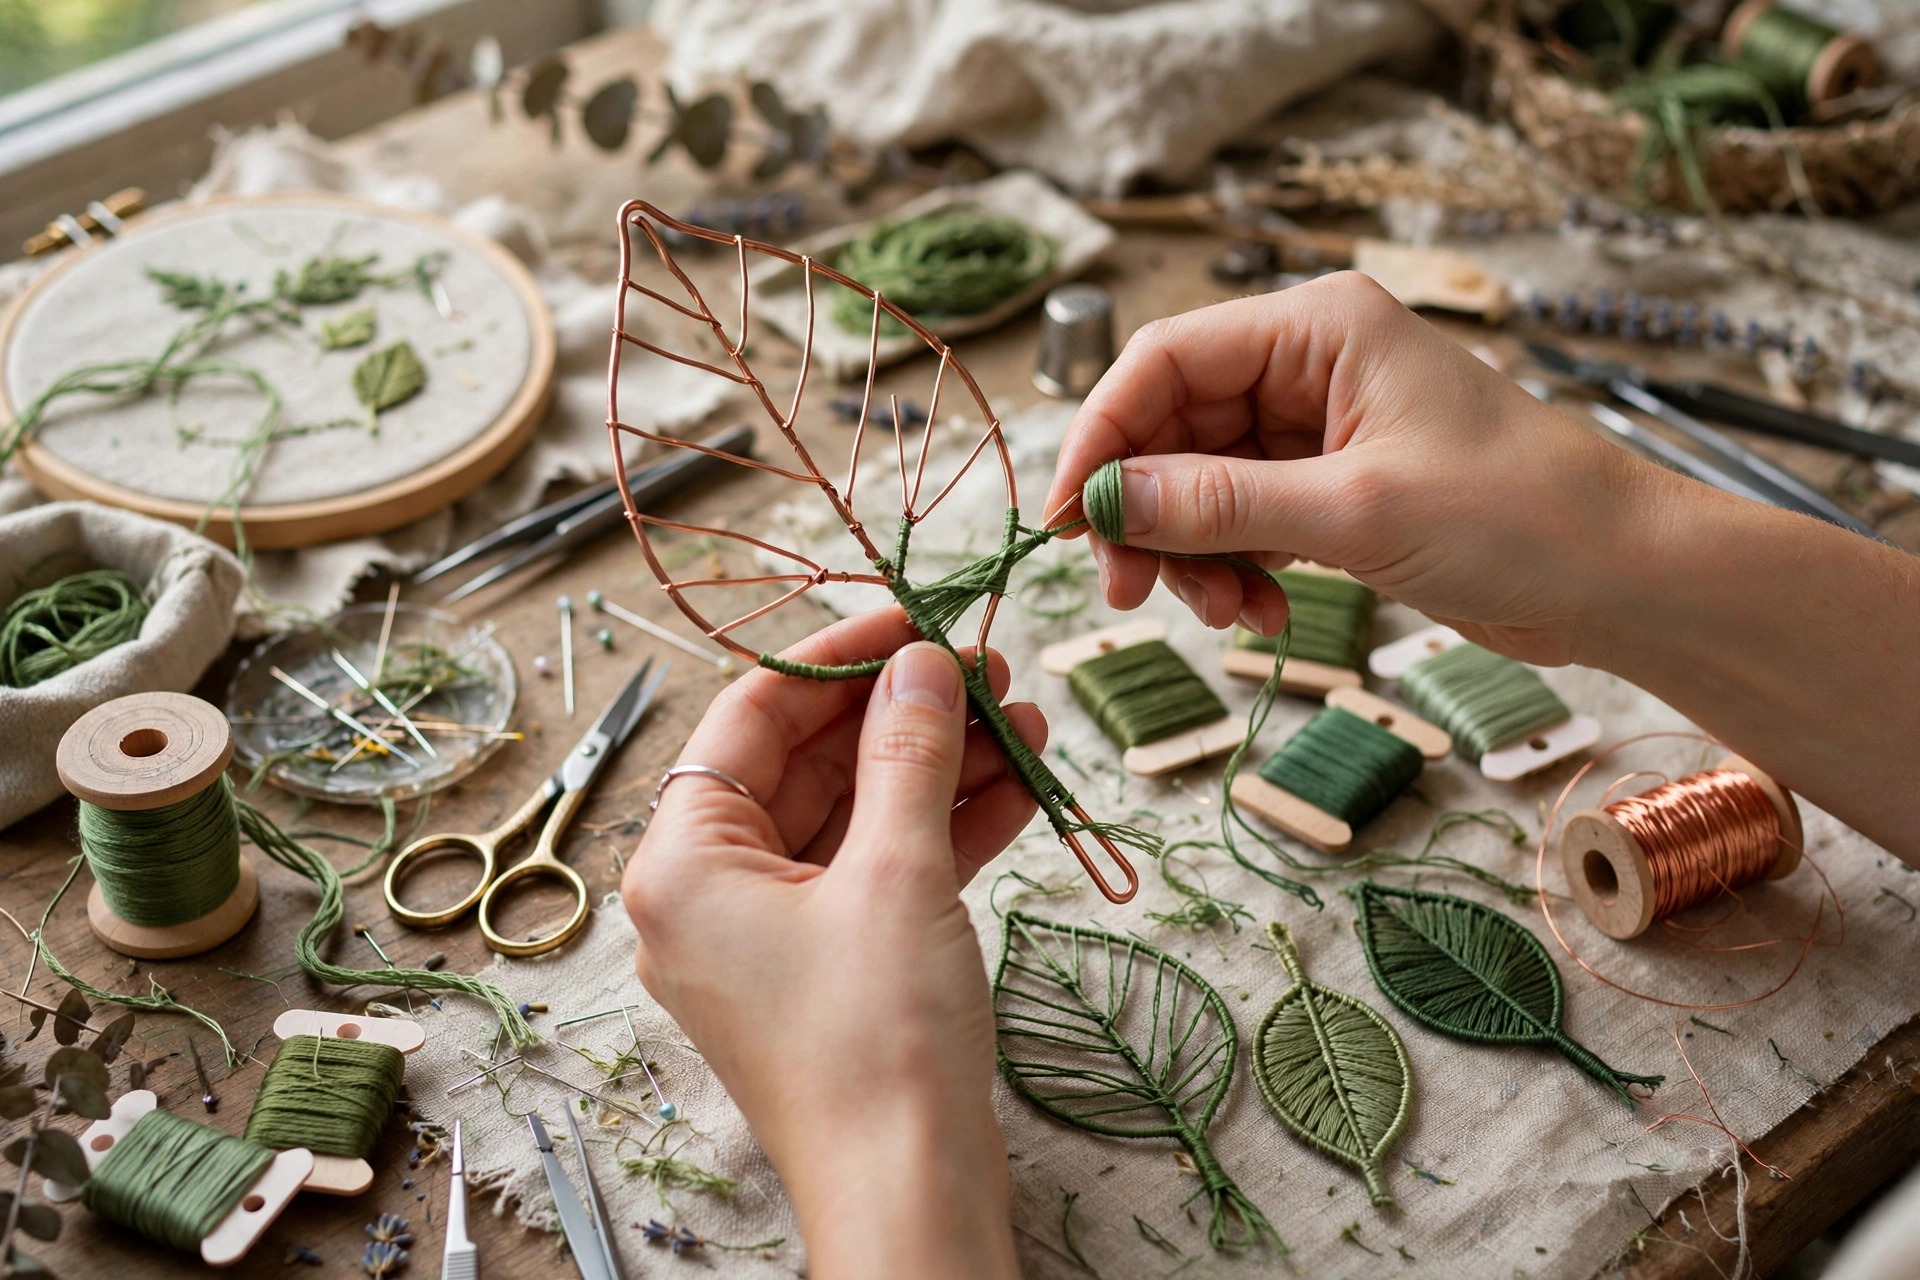
Wire shaping is behind those butterfly wings that arch off the fabric. You stitch a shape around a wire frame, bend it into a curve, and attach it.
Step 1: Make your wire frame
Cut about 15 cm of 28 gauge wire. With pliers, bend it into a wing or petal shape roughly 3 cm long, twisting the ends together at the base to form a 2 cm stem. This stem attaches the shape later. Make the shape slightly smaller than the finished piece, since stitching adds bulk.
Step 2: Wrap the wire
Thread 2 strands of floss in your wing color. Anchor at the base with tiny stitches, then wrap around the wire with buttonhole stitch, working around the whole frame. Keep wraps snug and even.
Step 3: Fill the shape
Fill the inside with straight stitches worked back and forth, catching into the buttonhole edge each time. Use 2 strands and keep stitches relaxed so they do not pull the wire out of shape. Fill until the wire is covered.
Step 4: Attach the shape to your fabric
Poke the twisted wire stem through the fabric from front to back. On the back, bend the stem flat and stitch over it several times with strong thread. Gently bend the wing upward into a natural curve. Two wings side by side, curved upward, instantly read as a butterfly.
Step 5: Hide the join
Cover the attachment point with French knots or a small padded body. Nobody will know where the wire goes in, and the shape will look like it grew there.
Technique 3: Raised Knot Clusters
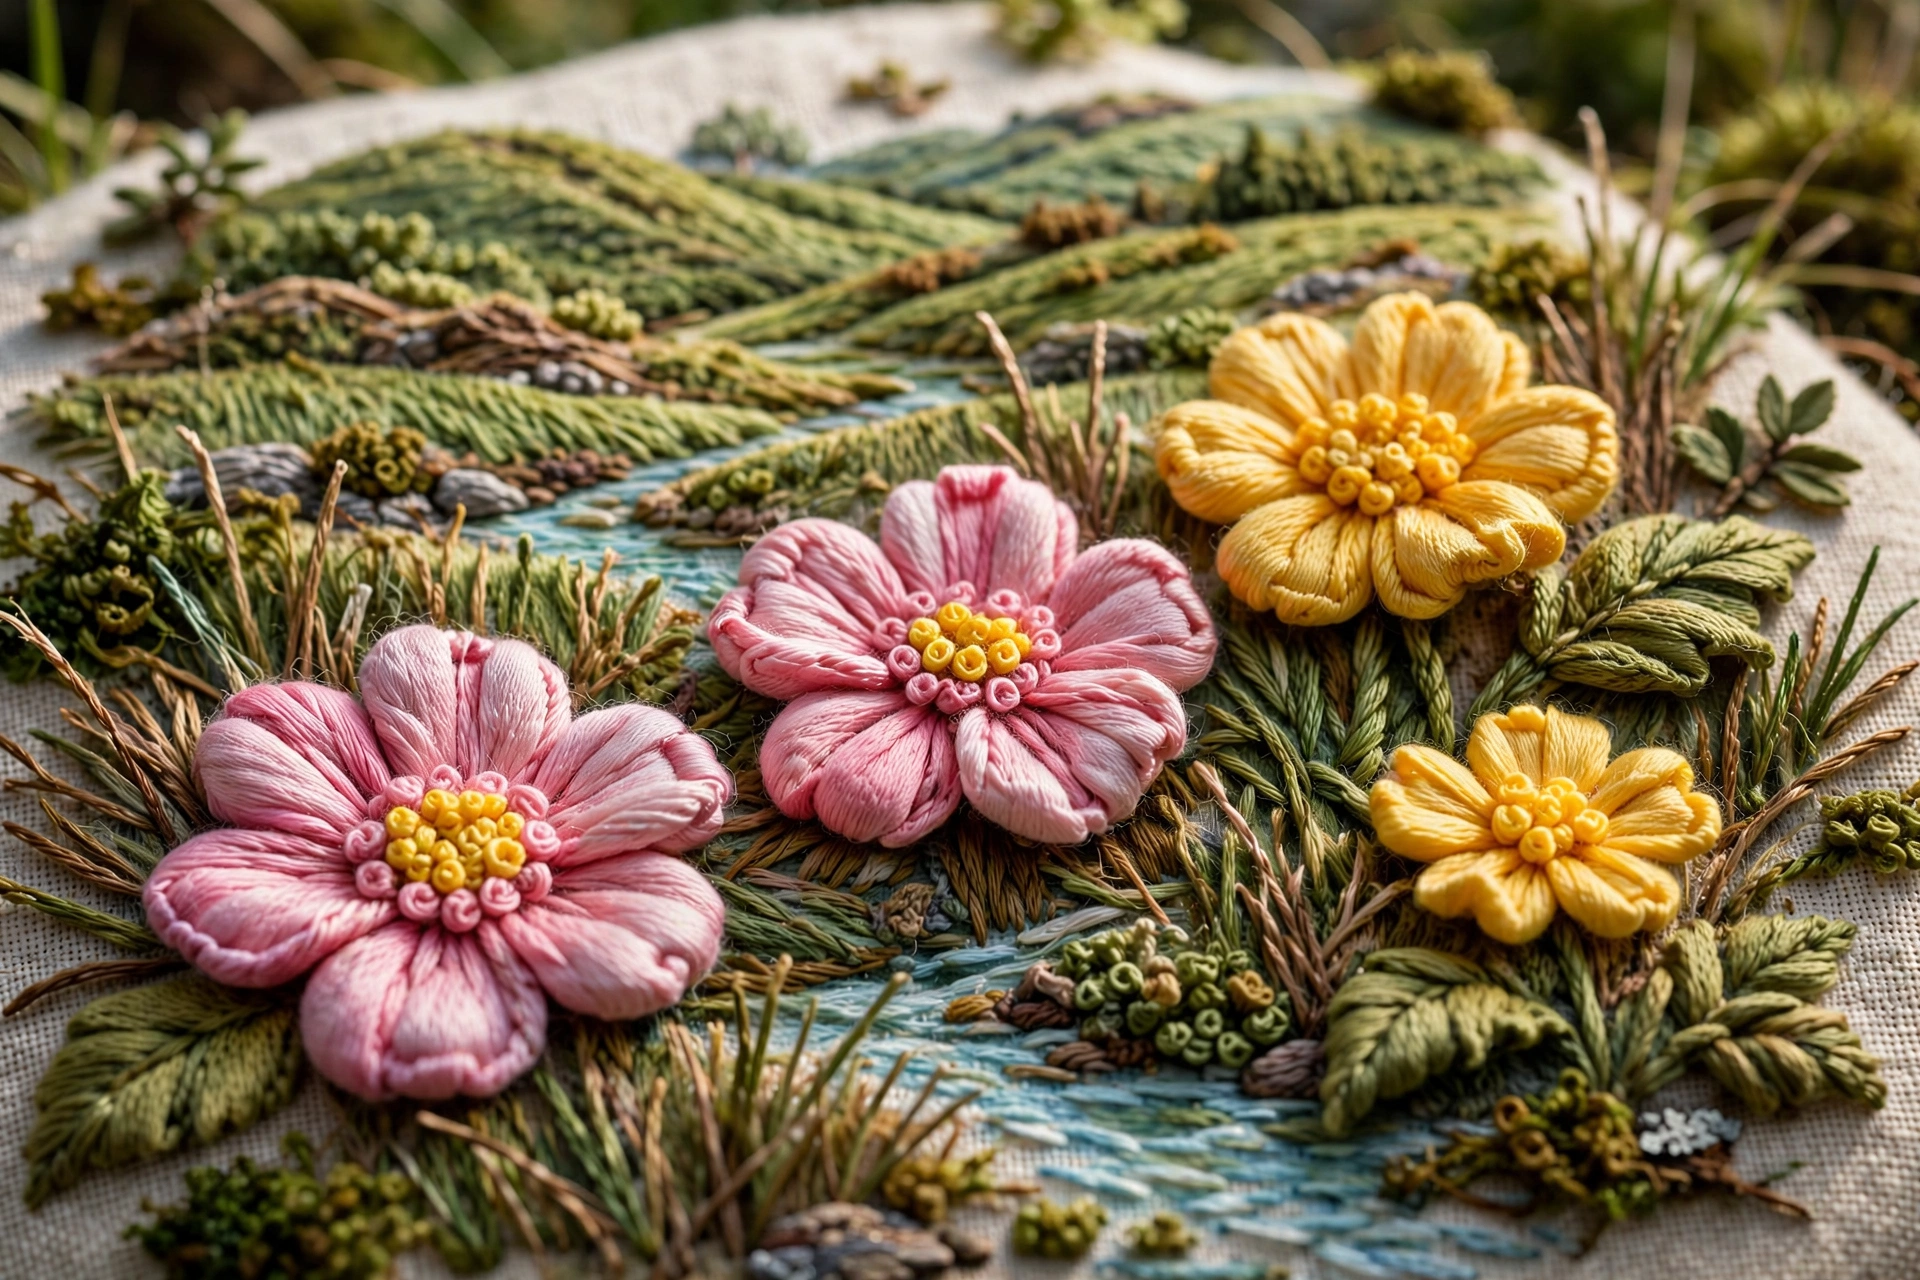
Not all stumpwork needs padding or wire. Clusters of raised knots are a legitimate stumpwork technique and the easiest entry point of all. French knots and bullion knots piled together make wonderful bumpy textures for flower centers and berries.
Step 1: Build a knot cluster
Thread 3 strands of warm yellow floss. Work about 12 French knots, each wrapped twice, packed into a circle about 1 cm across. Keep them close enough that they push against each other and mound upward instead of lying flat.
Step 2: Add height with bullion knots
A bullion knot is a French knot’s taller cousin. Wrap the thread around the needle 6 to 8 times, then slide the wraps onto the fabric in a little coil. Place three or four in the middle of your cluster for real height variation.
Step 3: Surround with flat stitching
Stitch flat petals or leaves around your raised center with ordinary satin or straight stitch. The contrast between the flat surround and the bumpy raised middle is pure stumpwork thinking, achieved with knots alone.
Your First Project: A Padded Leaf Sprig
Let us put Technique 1 to work. A sprig of three padded leaves takes about an hour and makes a beautiful gift tag or small hoop art.
Step 1: Mark the design
On hooped fabric, draw a gently curving stem about 8 cm long. Mark three leaf positions along it, alternating sides, each about 3.5 cm long and 1.5 cm wide. Stitch the stem in stem stitch with 3 strands of medium brown, using 4 mm stitches.
Step 2: Pad and stitch the leaves
Cut three felt leaf shapes, tack them in place, and cover each with padded satin stitch. Use a lighter green for two leaves and a darker one for the middle leaf to give the sprig depth. Add center veins to each.
Step 3: Add a raised bud and finish
At the stem tip, stitch a small cluster of 5 French knots in soft pink with 3 strands, wrapped twice. Rinse away pen marks and press gently from the back. Run your finger over the leaves and feel those soft domes. That is stumpwork, and you just did it.
Tips That Make It Easier
- Start with felt, not thread padding. Traditional stumpwork pads with layers of stitching, but felt gives you a perfect dome in seconds.
- Cut padding smaller than the finished shape. Your satin stitches need fabric to bite into around the edges. If felt reaches the edge, stitches slide off and the shape looks lumpy.
- Bend wire shapes before attaching. It is much easier to get a graceful curve while holding the shape in your fingers. Adjustments after stitching down risk loosening the join.
- Keep wire ends tidy. Trim stems to about 1.5 cm on the back and bend them flat.
- Work raised elements last. Stitch all flat background embroidery first, then add padded and wired pieces on top. This keeps raised work clean and avoids squashing it under the hoop.
Mistakes to Avoid
- Overstuffing the padding. An over-high dome looks like a blister and is hard to cover smoothly. One or two layers of felt is plenty for most beginner shapes.
- Pulling satin stitches too tight over padding. Tight stitches cut into the dome and create dents. Relaxed, even tension gives that pillowy look.
- Leaving gaps in the covering stitches. Any gap shows the felt underneath and ruins the illusion. Keep stitches snug against each other.
- Using wire that is too thick. Heavy wire is hard to bend into delicate shapes and leaves bulky stems. Stick with 28 to 30 gauge for beginner projects.
- Attaching wire shapes too loosely. A wobbling wing looks broken, not lifelike. Stitch the stem down firmly and give it a gentle wiggle test before calling it done.
Frequently Asked Questions
Is stumpwork hard for beginners?
Not at all, if you start with padding rather than complex wire work. Padded satin stitch uses skills you already have, and felt padding does most of the sculpting. Most beginners finish their first padded leaf in under an hour.
What is the difference between stumpwork and regular embroidery?
Regular embroidery stays flat on the fabric, while stumpwork rises above it using padding, wire armatures, or raised knots. Most stumpwork designs mix both: flat stitching for backgrounds, raised elements for the stars of the show.
What wire is best for stumpwork embroidery?
Use 28 or 30 gauge craft, beading, or florist wire for beginner shapes like wings and petals. It bends easily, holds its curve, and the thin stems hide under a few stitches.
How do I care for stumpwork pieces?
Treat stumpwork as display art, not washable fabric. Dust gently with a soft brush, keep it out of direct sunlight, and never machine wash it. Spot clean flat areas only with a barely damp cloth, avoiding the raised elements.
Your Embroidery Just Grew a Third Dimension
Think about what you can do now. You can puff a petal into a soft dome, arch a butterfly wing off the fabric on a whisper of wire, and pile knots into a center that casts real shadows. Those are the actual core techniques of stumpwork, and you learned all three in one sitting.
Start small and finish something. That little three-leaf sprig is the perfect first project, and once it is on your wall, you will look at every pattern differently, wondering which parts want to pop off the fabric. So thread up, pad something, and enjoy watching your stitching stand up and say hello. I will see you in the next lesson.