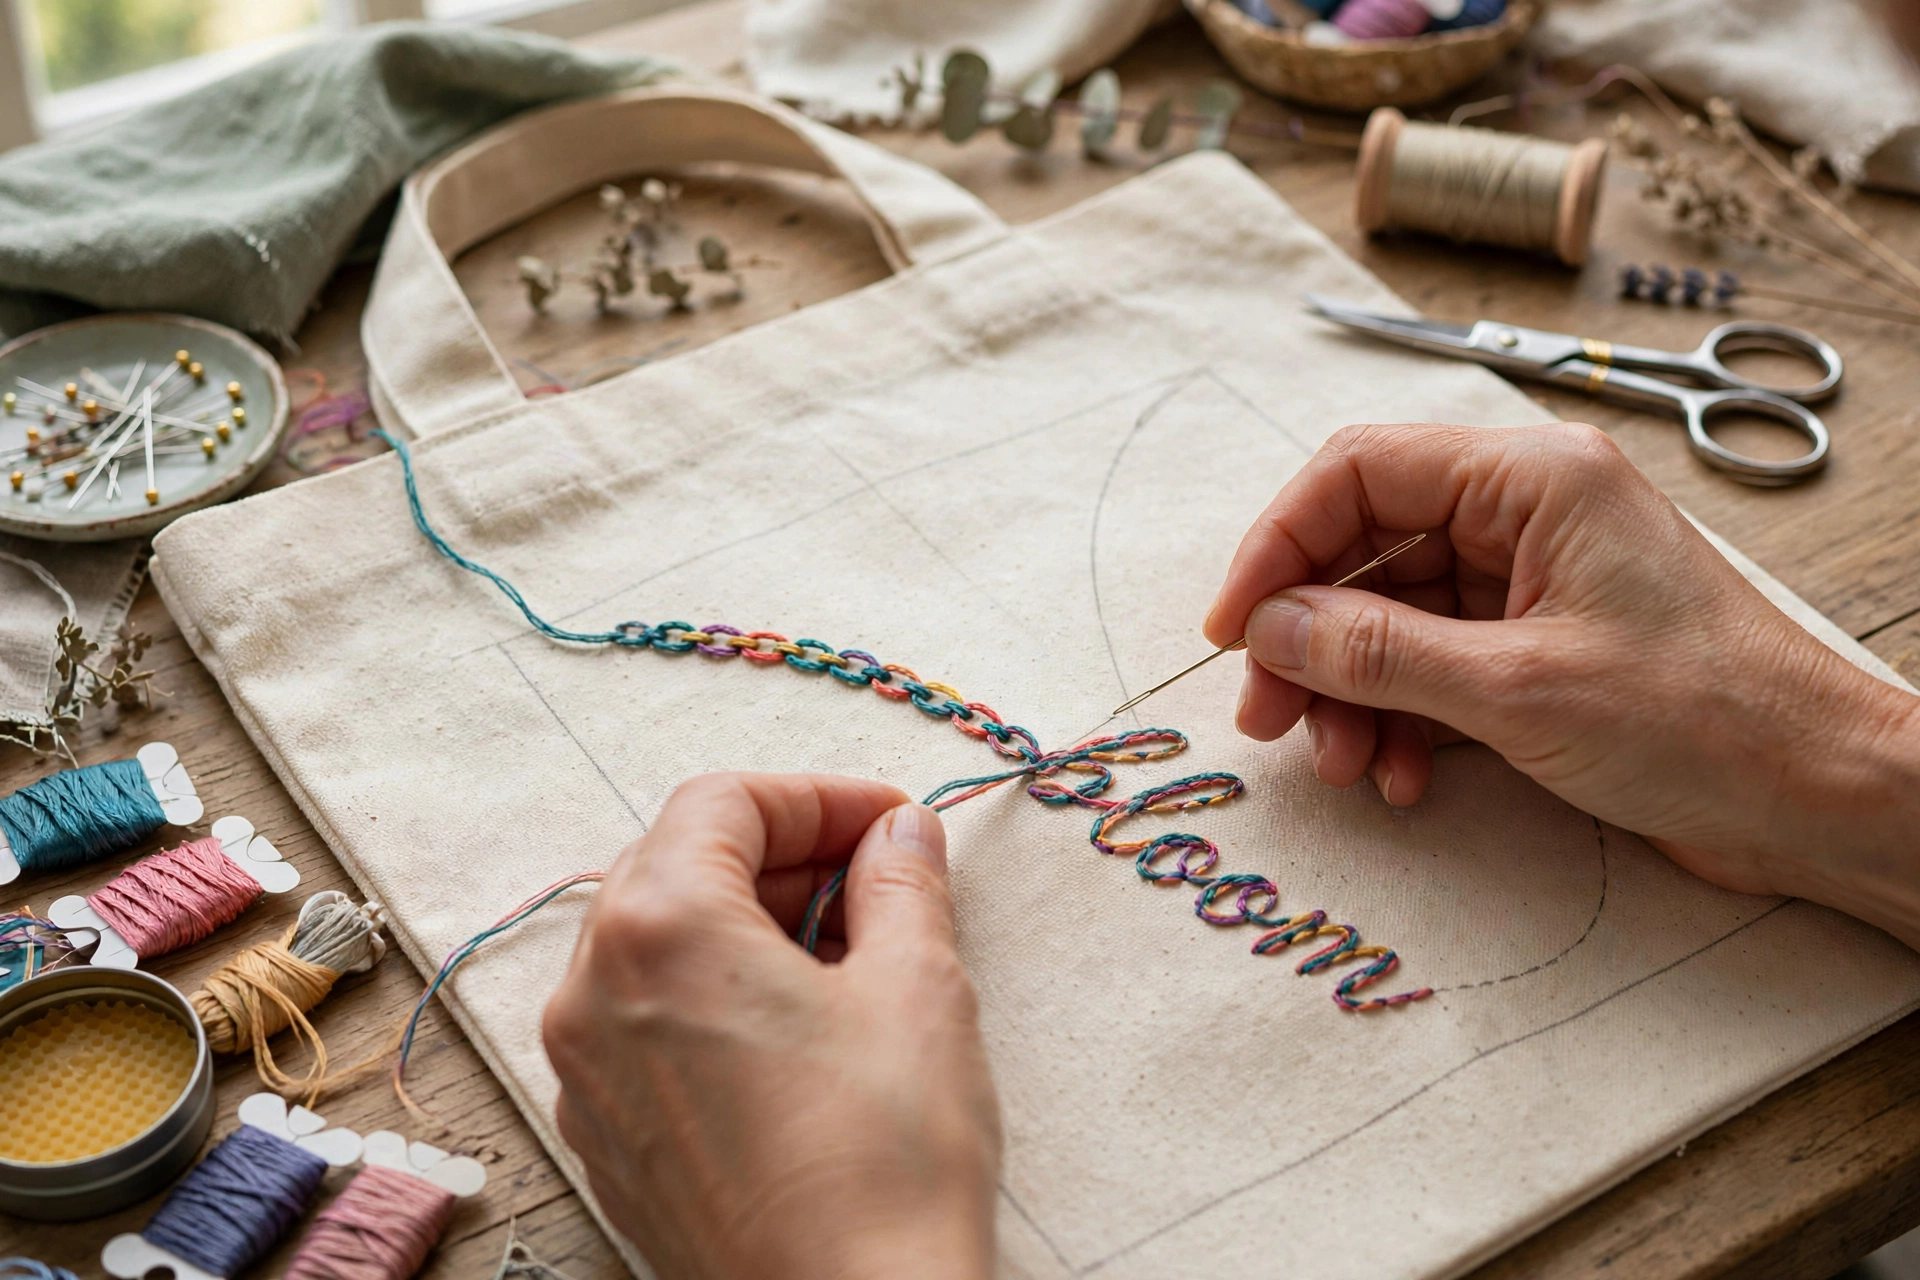
My chain stitch had a drinking problem. Every line I stitched wandered left, lurched right, and arrived at the end of the row a full quarter inch from where it started. I blamed my hands for a month. Then I watched a woman at a craft fair stitch a border so straight it looked printed, and I noticed the one thing she did that I did not: her needle came up inside the previous loop, every single time, at exactly the same spot. My lines were wobbly because my needle placement was improvised. Hers were straight because it was not. Chain stitch in a straight line is not a talent. It is a placement system.
The chain stitch, in thirty seconds
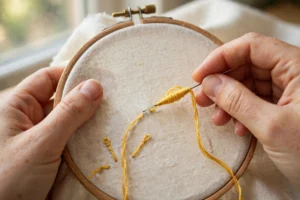
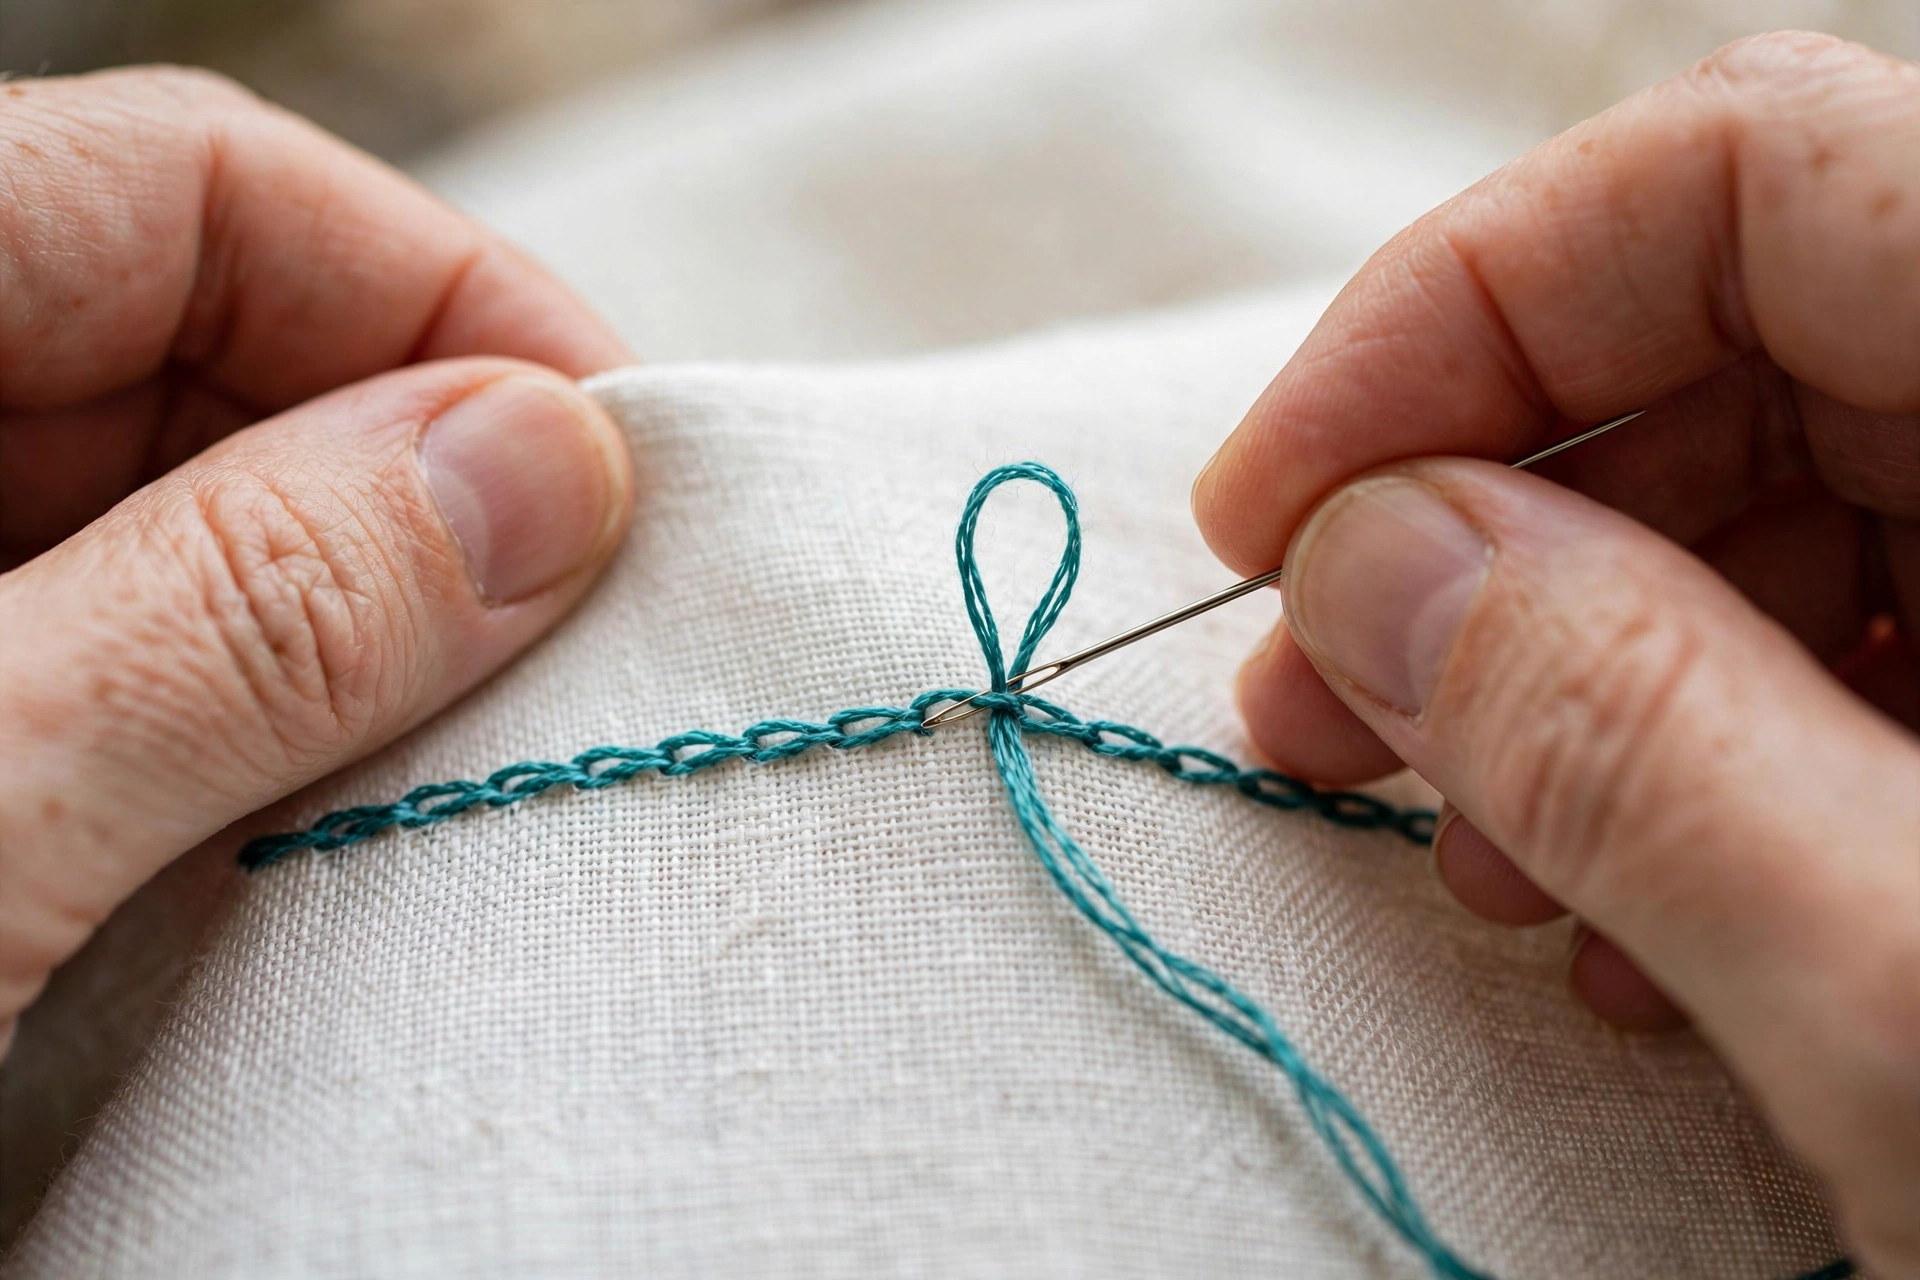
If the basic stitch itself is new to you: bring the needle up through the fabric, then go back down through the same hole, leaving a loop of thread on the surface. Bring the needle up a stitch-length ahead, inside that loop, and pull gently until the loop snugs into a chain link shape. Repeat. Each new link anchors the last one. That is the whole stitch, and it takes about two minutes to learn. The straight line part is where the craft lives.
The needle-angle fix
Here is the thing that straightened my lines overnight. The needle must come up at the same angle every time, pointing along the direction of travel, and it must emerge inside the previous loop at the same relative position, dead center. When the needle comes up at varying angles, sometimes left-leaning, sometimes right, each loop tilts a little differently, and those little tilts accumulate into a visible wobble by the fifth link.
Think of it as a marching formation. Every soldier steps the same way. Your needle is every soldier. Come up through the center of the last loop, keep the shaft pointing forward along your guideline, and pull each loop snug with the same gentle tension. I practiced this watching television, stitching row after row on a scrap, and by the third evening my lines had stopped drinking.
Mark a guideline and actually follow it
Freehand straight lines are a party trick, not a plan. Mark your line with a water-soluble pen and a ruler, then place every single loop so its center sits on that line. Not near the line. On it. The guideline is the boss of this operation.
For long lines, mark tick points every half inch along the guideline and land a loop center on each tick. This turns one long intimidating line into a series of short easy hops, and your spacing stays even automatically. Even spacing is half of straightness. Loops that alternate long-short-long-short make the line zigzag even when every loop is centered, because the eye reads the rhythm as much as the position.
Spacing rhythm: the metronome trick
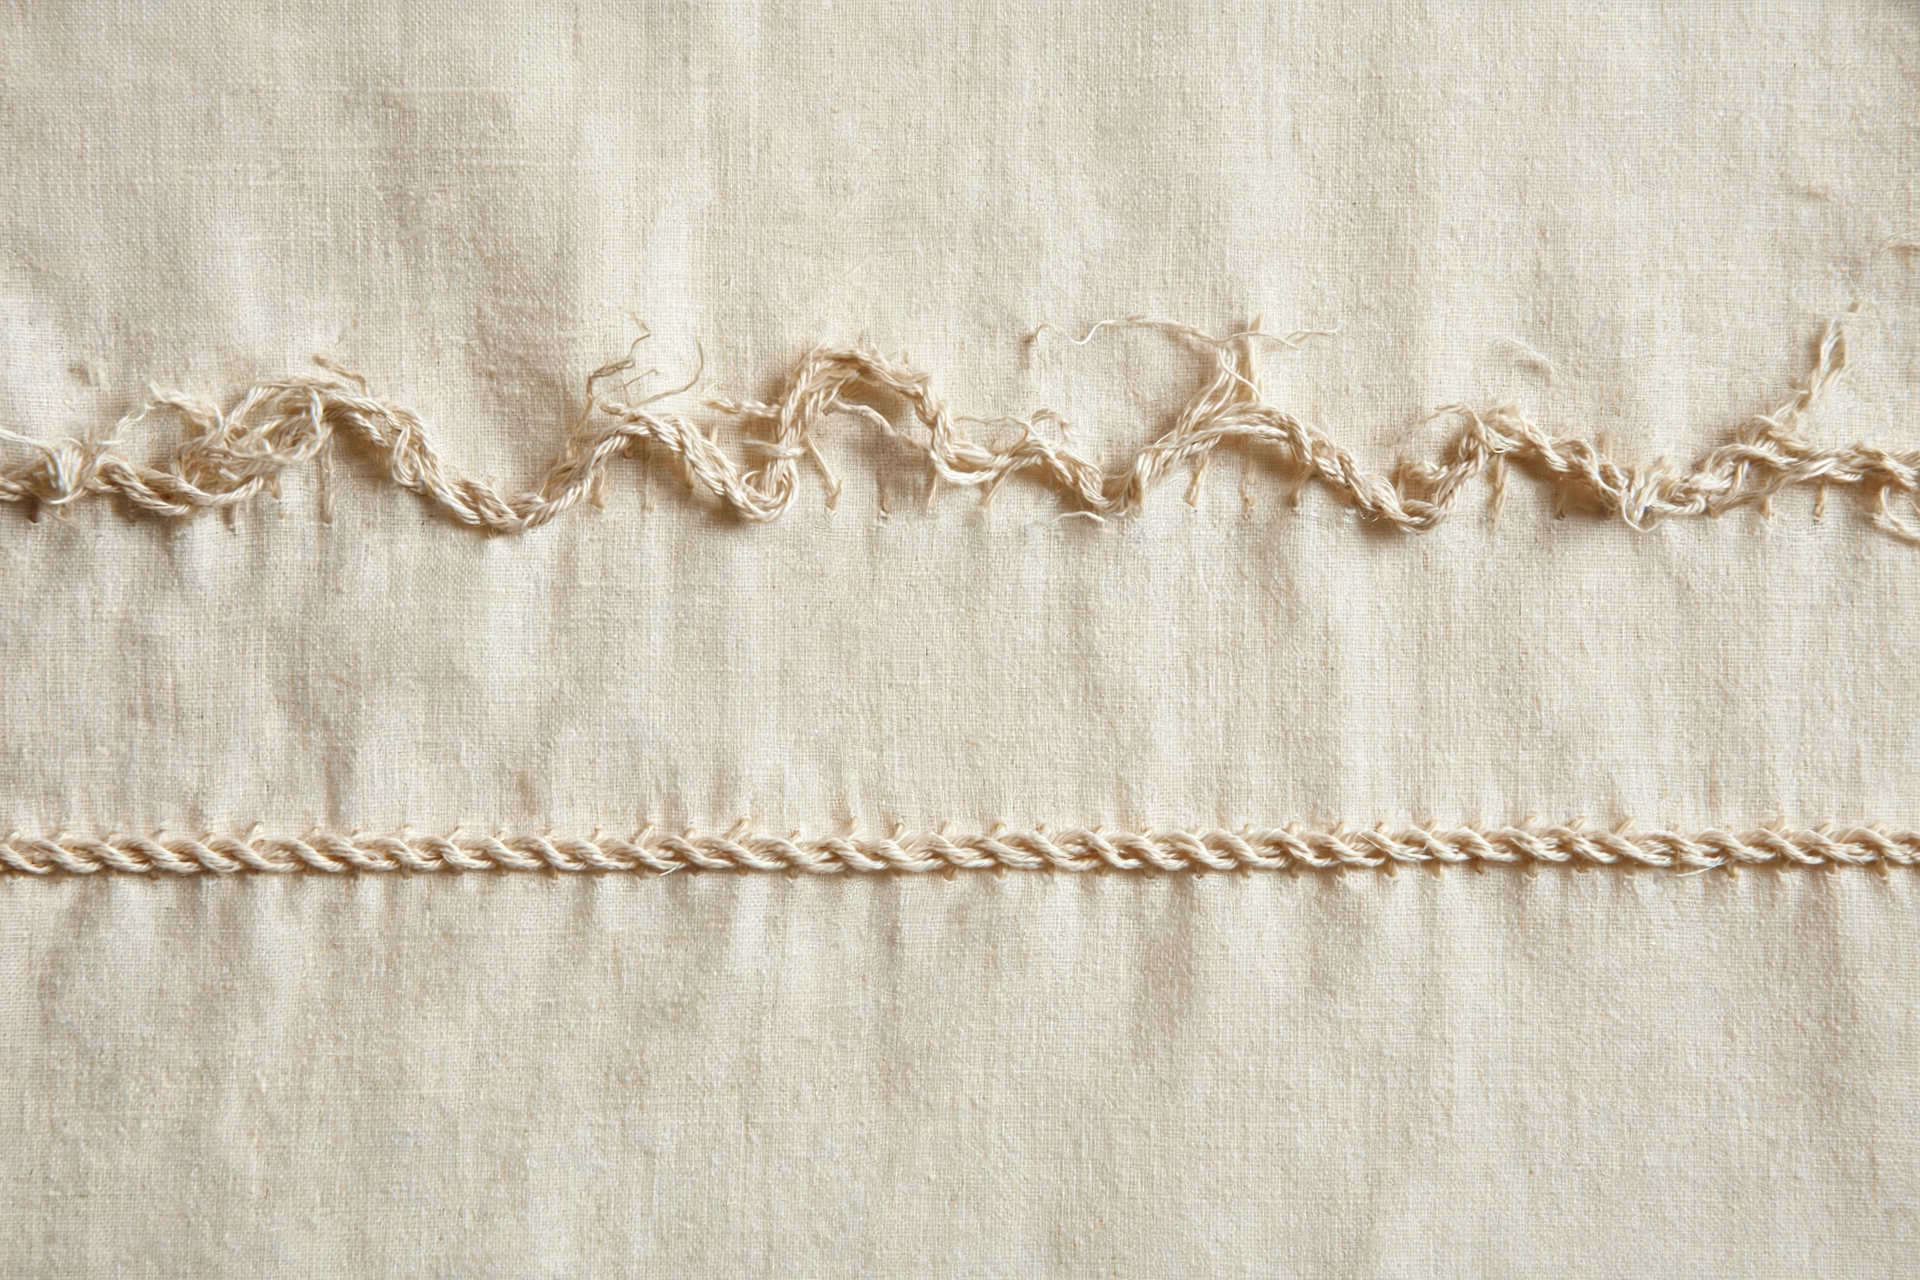
Chain stitch looks best when every link is the same size, and same-size links come from same-size motions. Develop a rhythm: up through the loop, forward a quarter inch, down, repeat. Count it if that helps. I count “one-two” under my breath, one for the needle coming up, two for it going down. It looks eccentric. It works.
Link size matters too. Smaller links, about an eighth of an inch, forgive wobbles better than big ones, because each tiny deviation corrects itself sooner. If your lines are wandering, shrink your links before you blame your hands. A row of small even chains reads as straight from any normal viewing distance. Save the big bold links for after the muscle memory arrives.
Fabric and thread choices that help
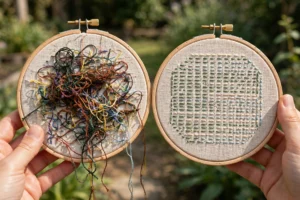
Even-weave fabric is training wheels for straight lines, and I mean that as a compliment. Linen with a visible weave gives your eye a grid to follow, and the grid does half the alignment work for you. On plain quilting cotton with no visible grain, you are navigating without landmarks, so the marked guideline becomes essential rather than optional.
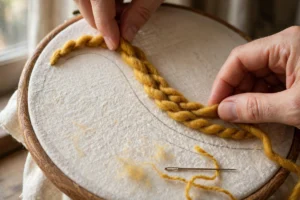
Thread-wise, two strands of stranded cotton is the sweet spot for learning. One strand makes such fine links that placement errors show more. All six strands make chunky links that hide wobbles beautifully but are harder to keep even. And keep your thread short, fourteen inches max. Long thread twists as you stitch, twisted thread makes uneven loops, uneven loops make wobbly lines. The whole chain of causation starts at your thread length, which is a sentence I never expected to write.
Where straight chain stitch earns its keep
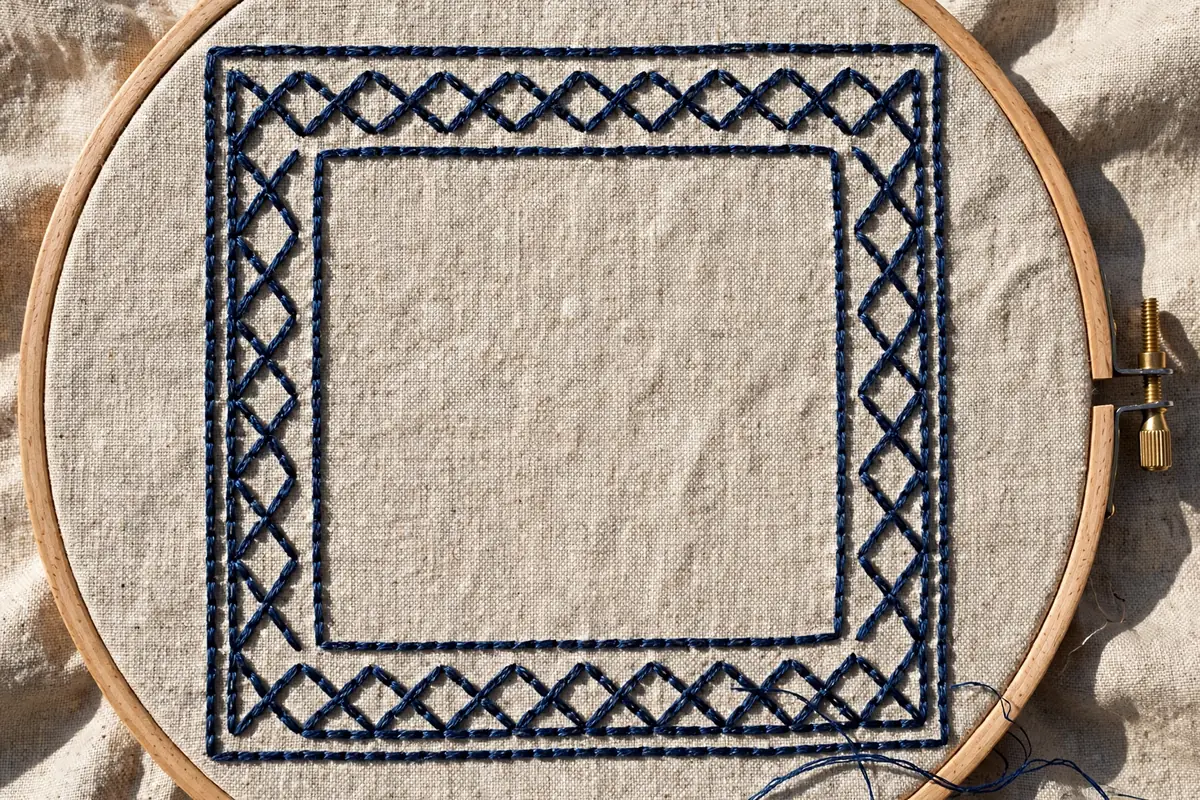
Outlines, borders, lettering, stems. A straight chain stitch line is the workhorse outline of embroidery, bold enough to read from across the room, textured enough to look handmade in the good way. I use it for every stem in my floral pieces, for geometric borders on table linens, and for lettering when I want a friendly handmade look rather than a formal one.
It also outlines circles beautifully. A chain-stitched circle has a lovely beaded texture that backstitch cannot match, and the loop structure is forgiving of small curve wobbles. If you learned circles from my earlier guide, try the next one in chain stitch. Same placement discipline, rounder result.
The practice drill: the straight-line ladder
Draw five parallel lines, four inches long, half an inch apart, on a scrap of linen. Chain stitch down each one, aiming for identical links and dead-center placement. Time yourself casually. The first line will take six minutes and wobble. The fifth will take three minutes and look respectable. That improvement is real and permanent, and it cost you half an hour and some scrap fabric.
Then draw the same five lines on the diagonal. Then in a gentle S-curve. Straight lines in every direction, because real designs do not confine themselves to horizontal. The S-curve is where you discover whether your needle angle discipline holds up when the direction changes. Mine did not, the first time. It does now.
Straight chain stitch is one of those skills that feels impossible until it feels easy, with almost nothing in between. The flip happens when placement becomes automatic, and placement becomes automatic through the ladder drill, not through wishing. Thirty minutes of deliberate practice, and your lines sober up for good.